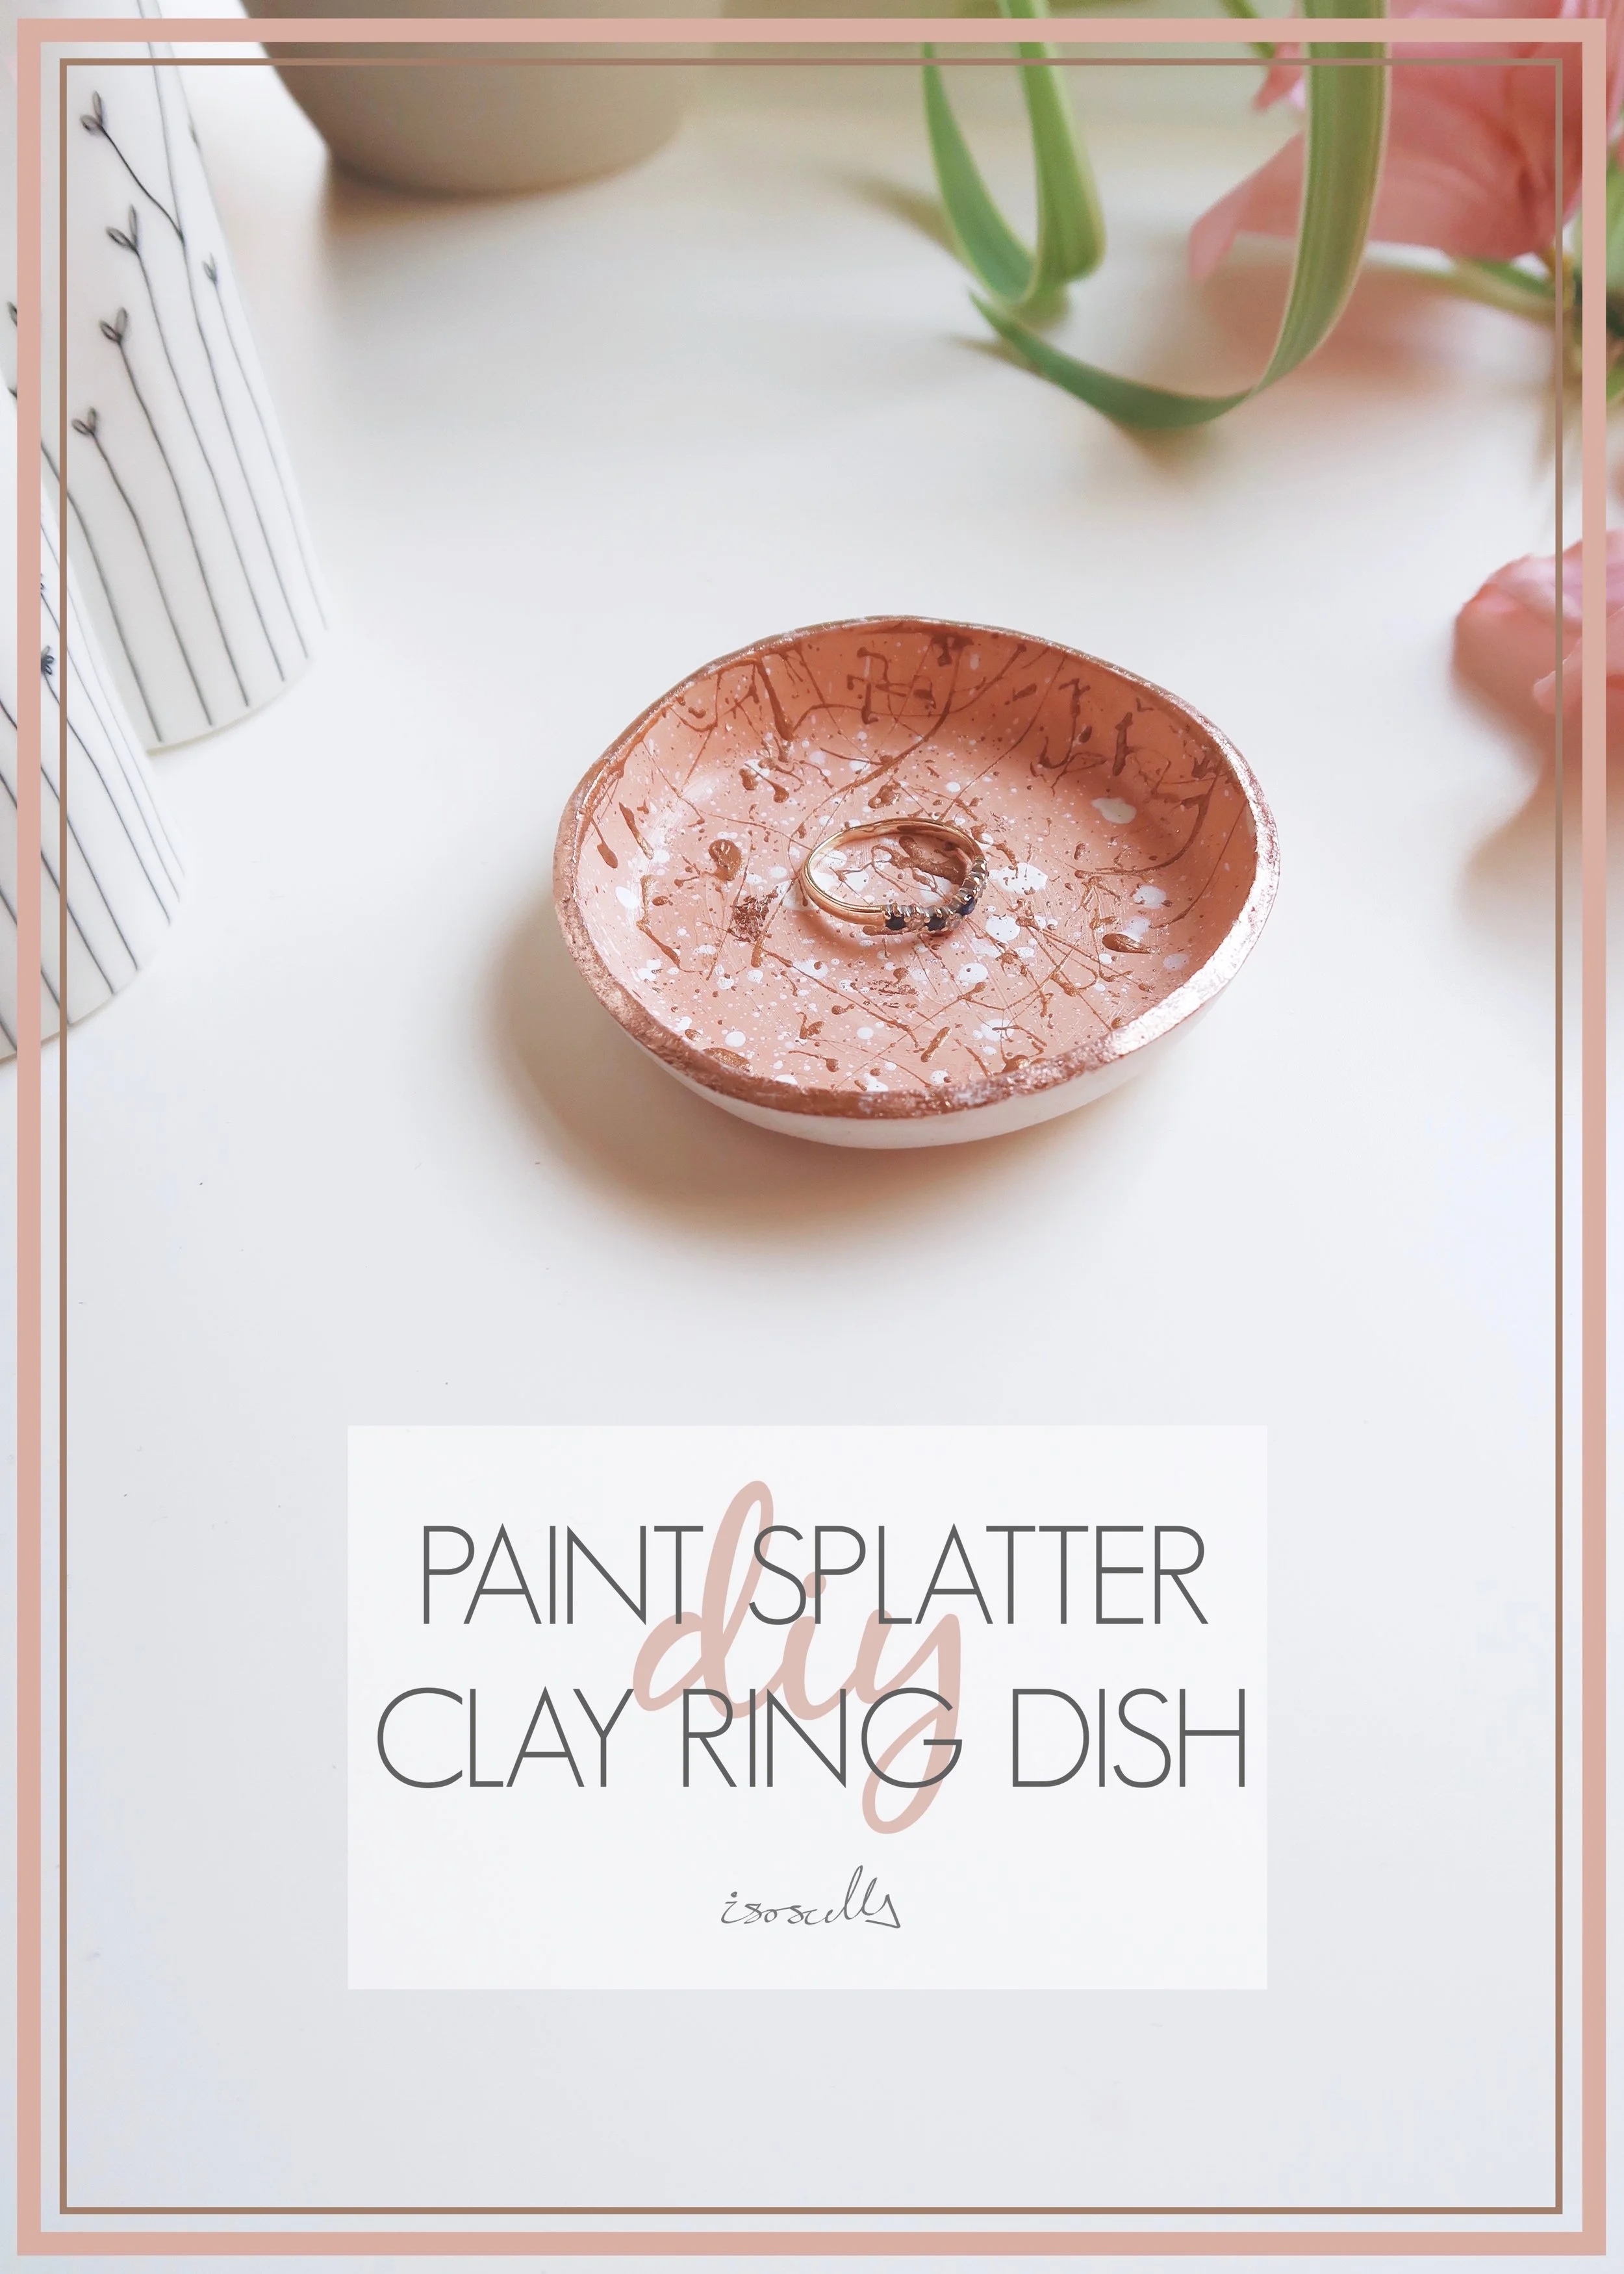

Mother's day has already been and gone for us in the UK, but for the rest of the world it's just a few weeks away. If you're planning to give your mum an extra special handmade gift, then you're going to love this DIY paint splatter clay ring dish!
Personally I love a bit of jewellery storage on my bedside table - it's a last little reminder for me to make sure I don't get into bed with my jewellery still on - and ring dishes are just great to quickly drop bits and bobs into. They're also pretty easy as well as a lot of fun to make using clay. I'm really happy with how this ring dish turned out, so much so that I'm keeping it all for myself, though it would make a great handmade gift for any jewellery-wearing women in your life. Keep reading to find out what I used and how I made it...


1.
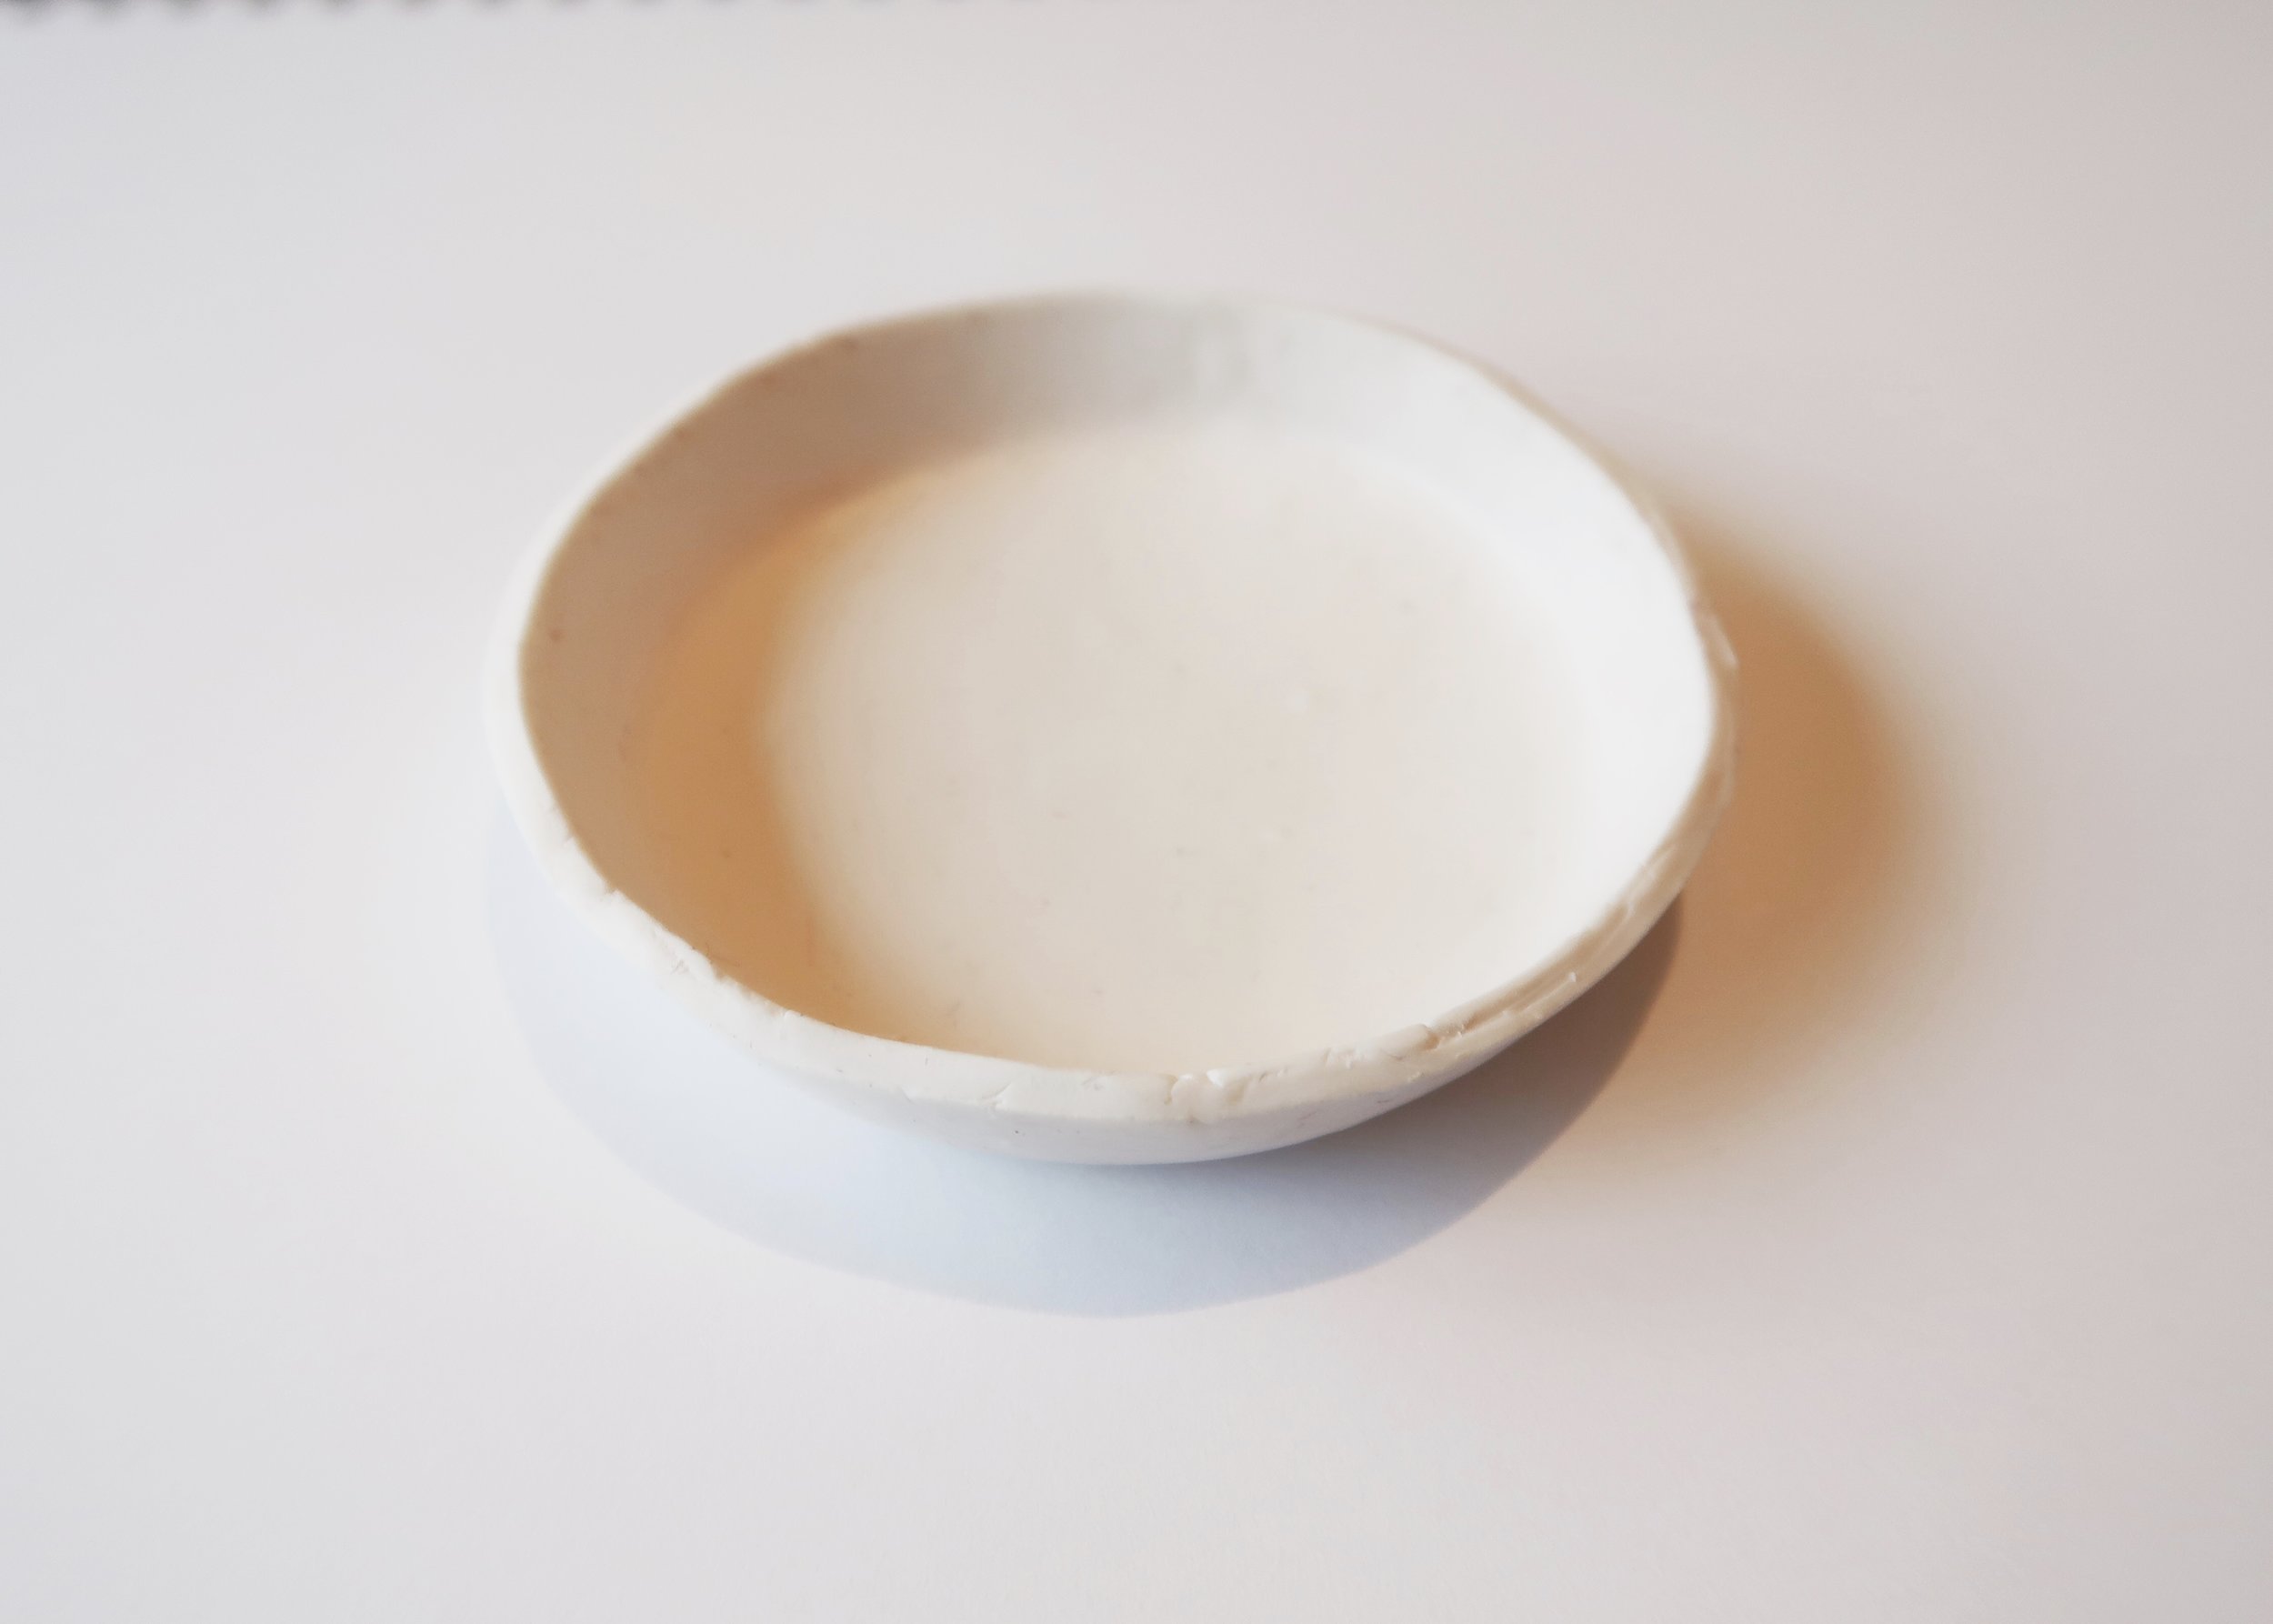
First of all, knead some polymer clay in your hands until it is softer and more pliable. Roll out the clay until it is large enough and trace a round glass with your craft knife to cut out a circle from the clay.

2.
Next, grab a slightly smaller round glass or votive and place it onto your work surface with the base facing upwards. Position your clay circle on top of this and mould the over hang downwards to create the sides of your ring dish.
3.
Using your craft knife, carefully separate your clay dish from the glass and pop it in the oven. Baking times can vary so check the guidance on your clay packaging. Once cool, lightly sand all over.

4.
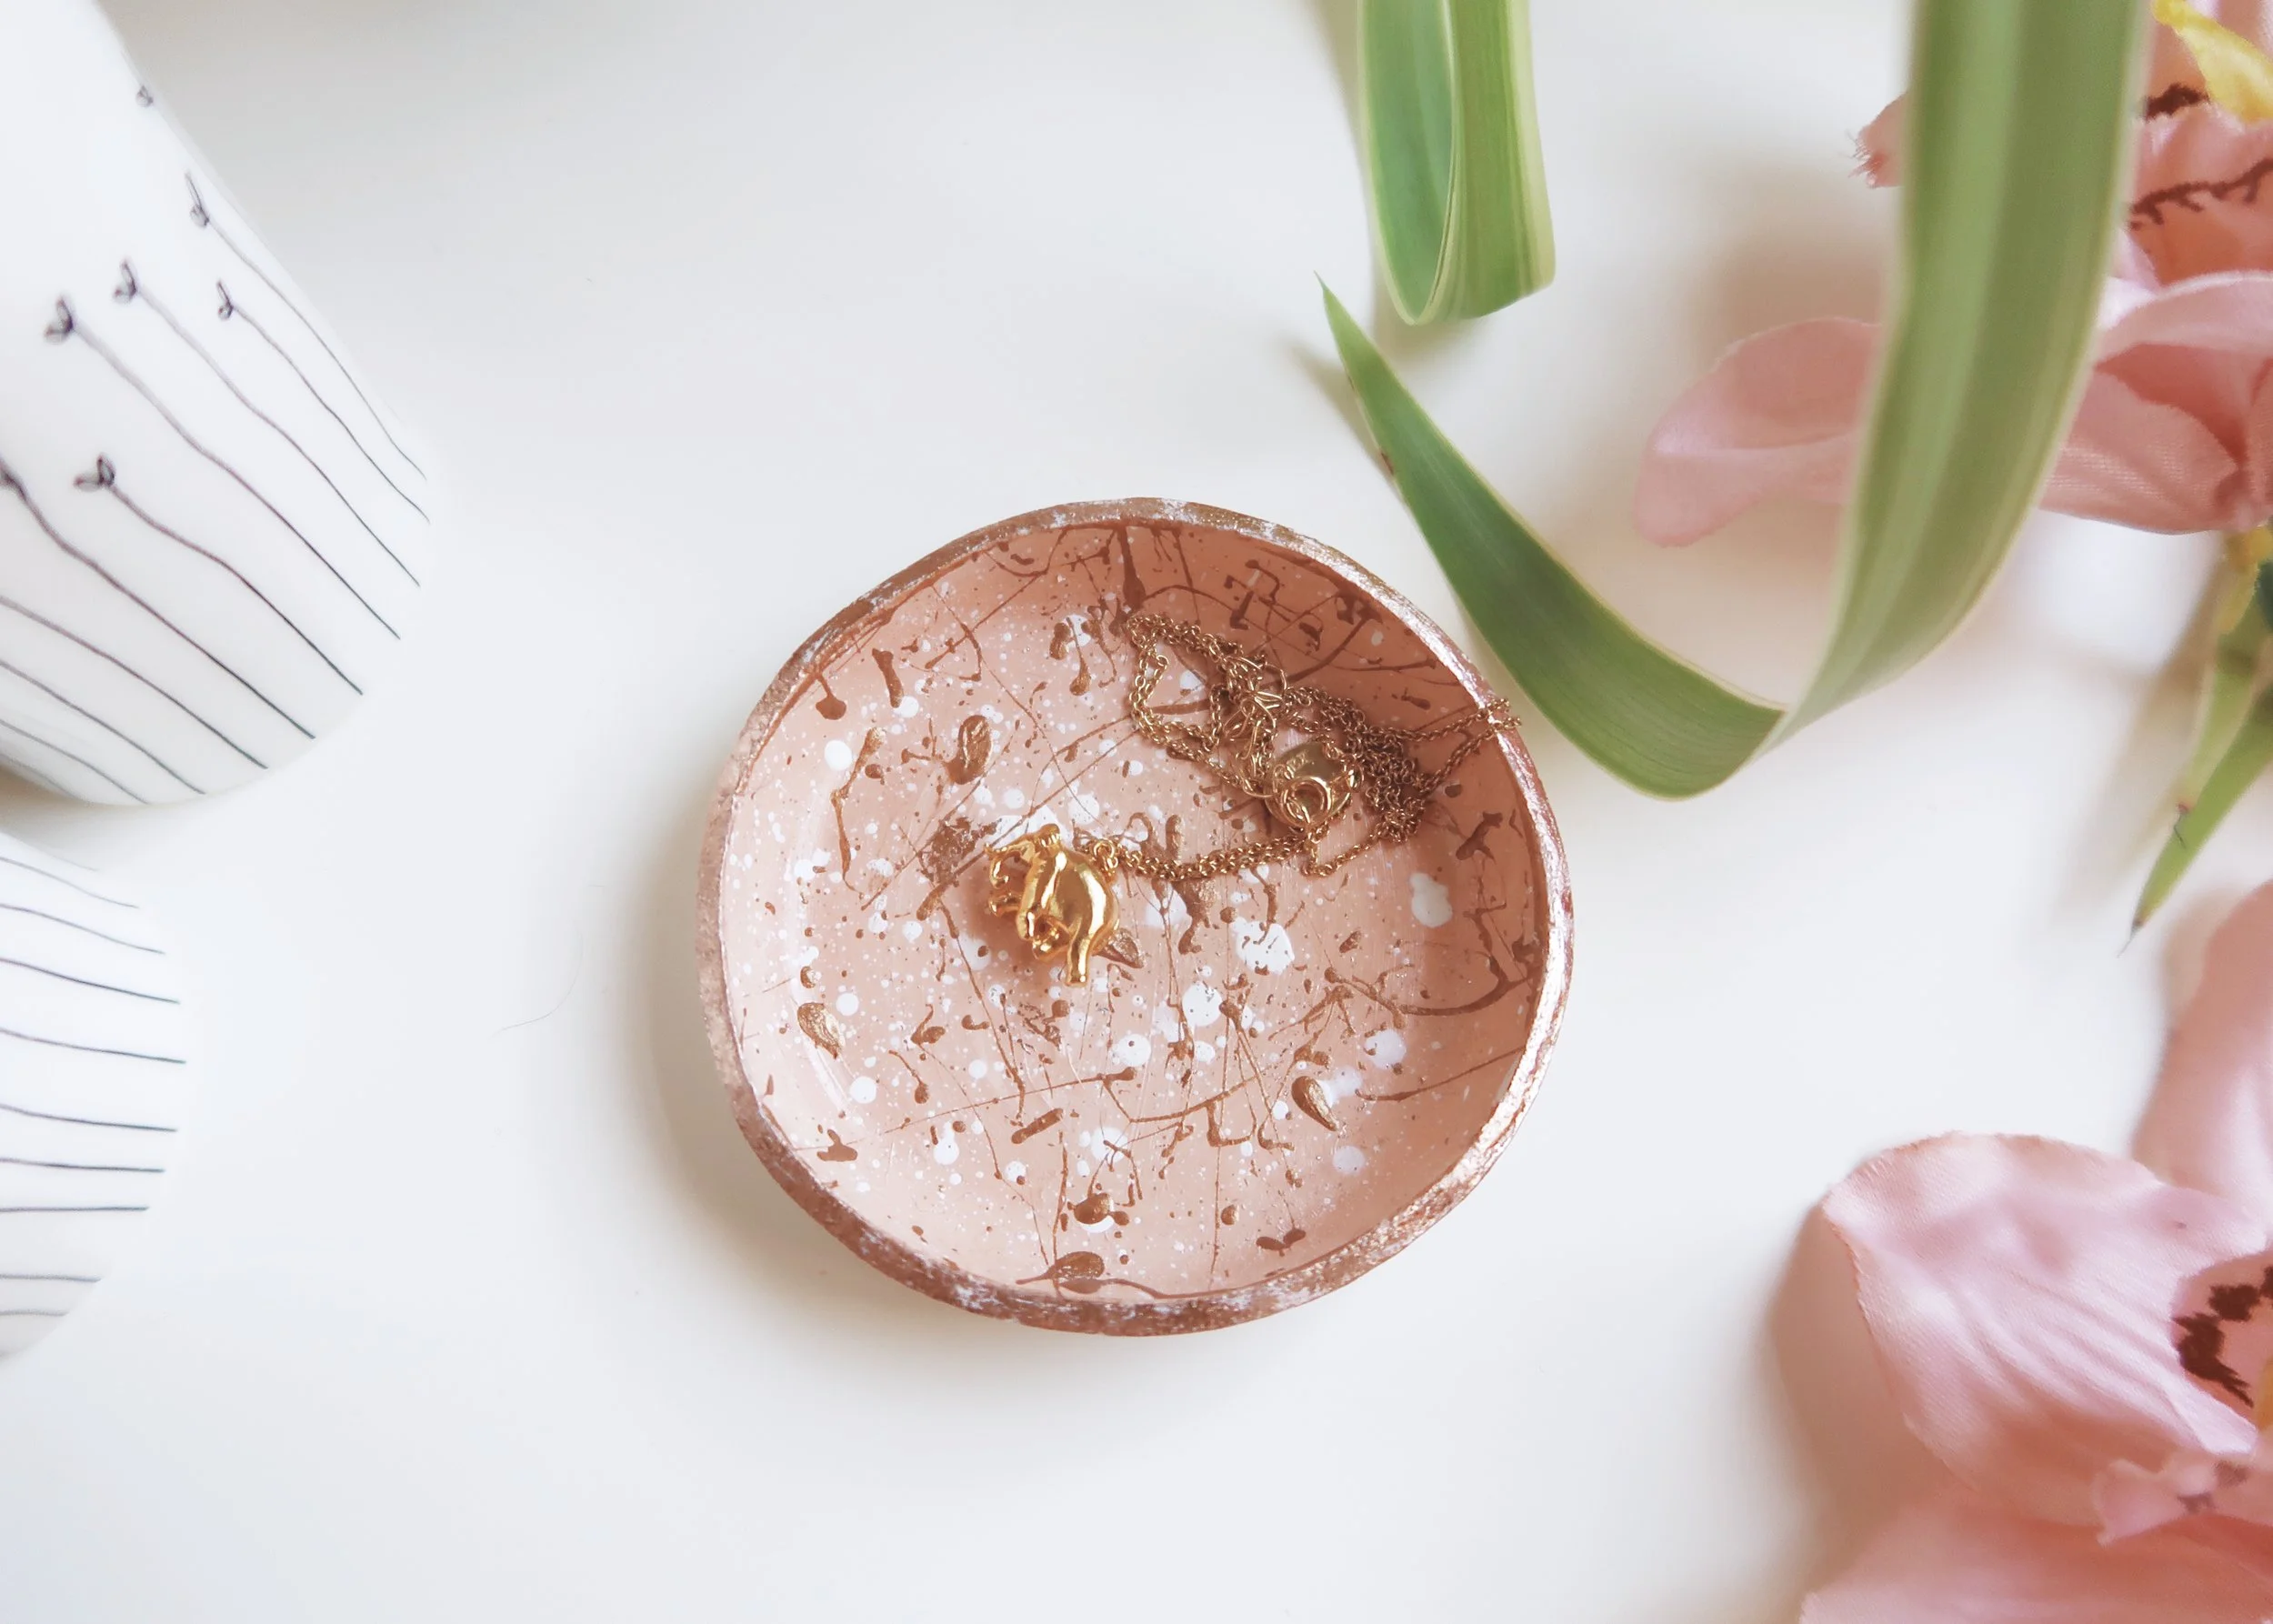
Wash off any dust from sanding and dry thoroughly before painting the middle of your dish with acrylic paint. I chose to mix up this lovely orange-peachy colour and only painted the inside of the dish. Leave this to dry completely.

5.
Grab your old toothbrush and dip it into some white paint. Splatter this all over the inside and leave to dry. Clean your toothbrush and dip it into a metallic paint (obvs I chose copper!) and splatter this all over the inside of the dish too.

6.
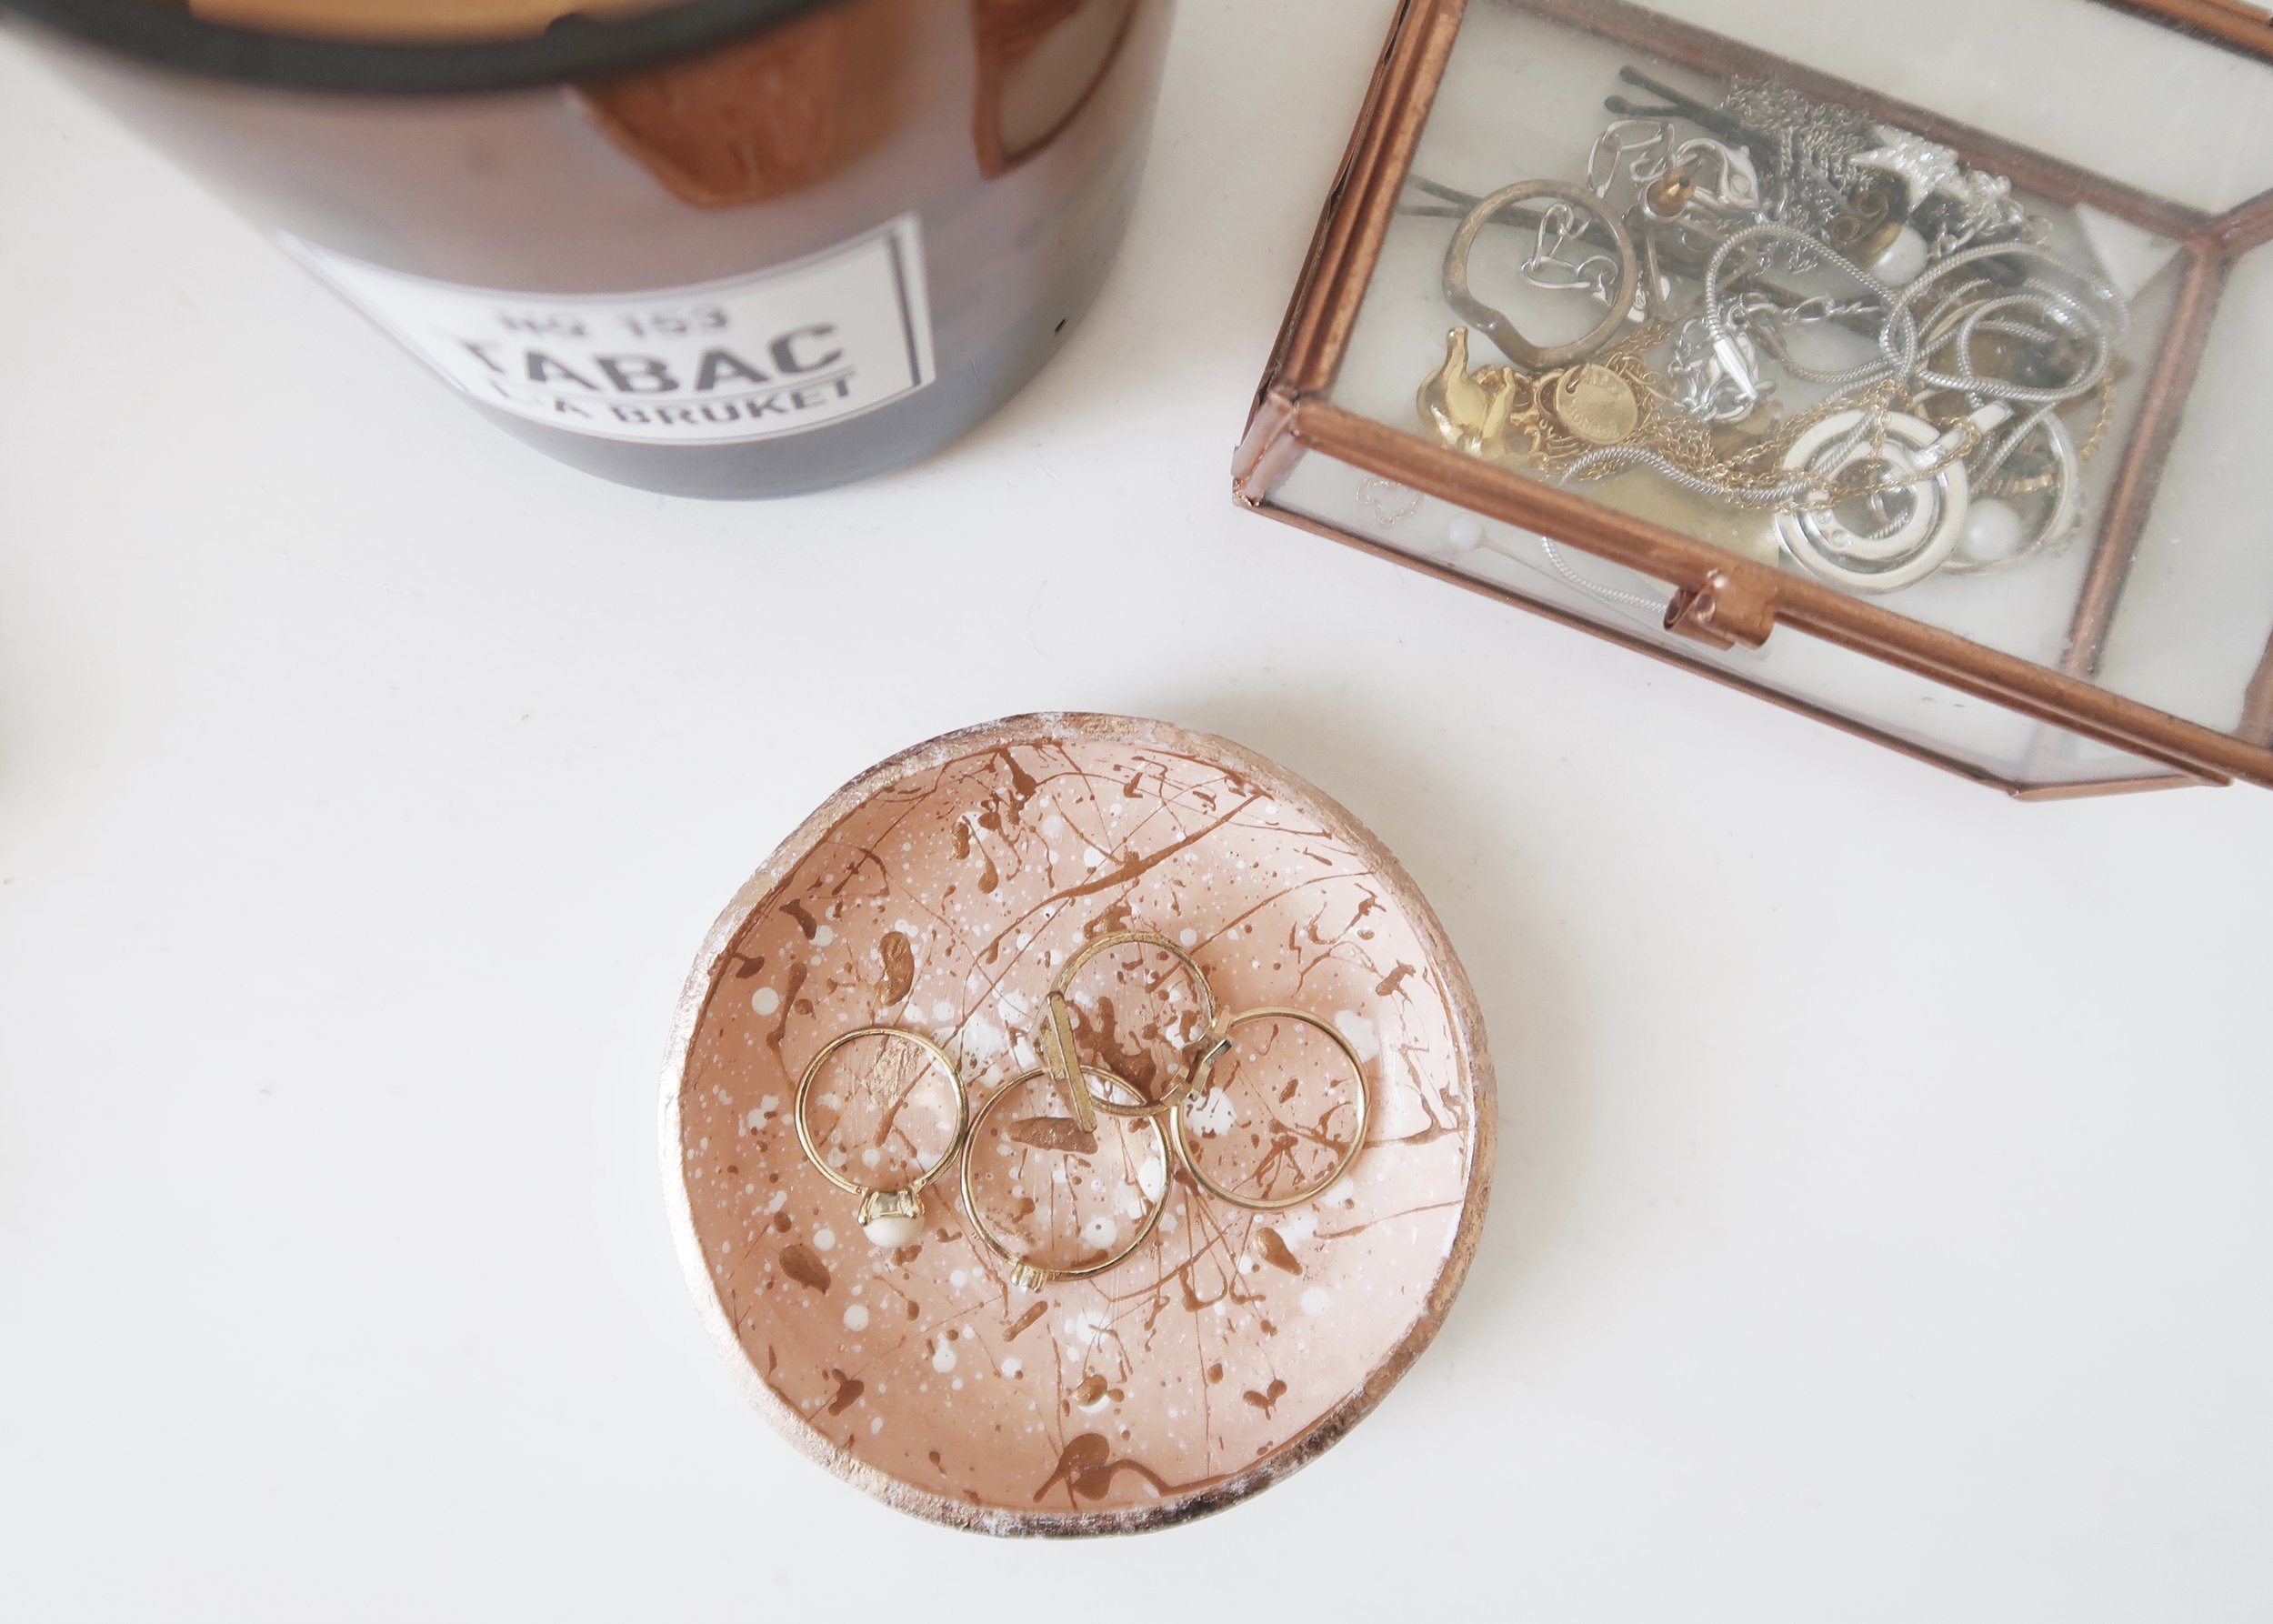
I wanted to keep the outside of the dish the colour of the clay (that sort of earthy white) and so once all my paint was dry, I sanded the outside of the dish again to remove any accidental splodges of paint.

7.
To make the edge of my ring dish really stand out, I decided to add some rose gold foil. The foil I used is actually meant for paper crafting (although I've had a hard time getting it to work!) and so I had to use super glue, do a small section at a time and apply a lot of pressure. For an easier life, I'd recommend using the metal leaf and adhesive linked above instead.