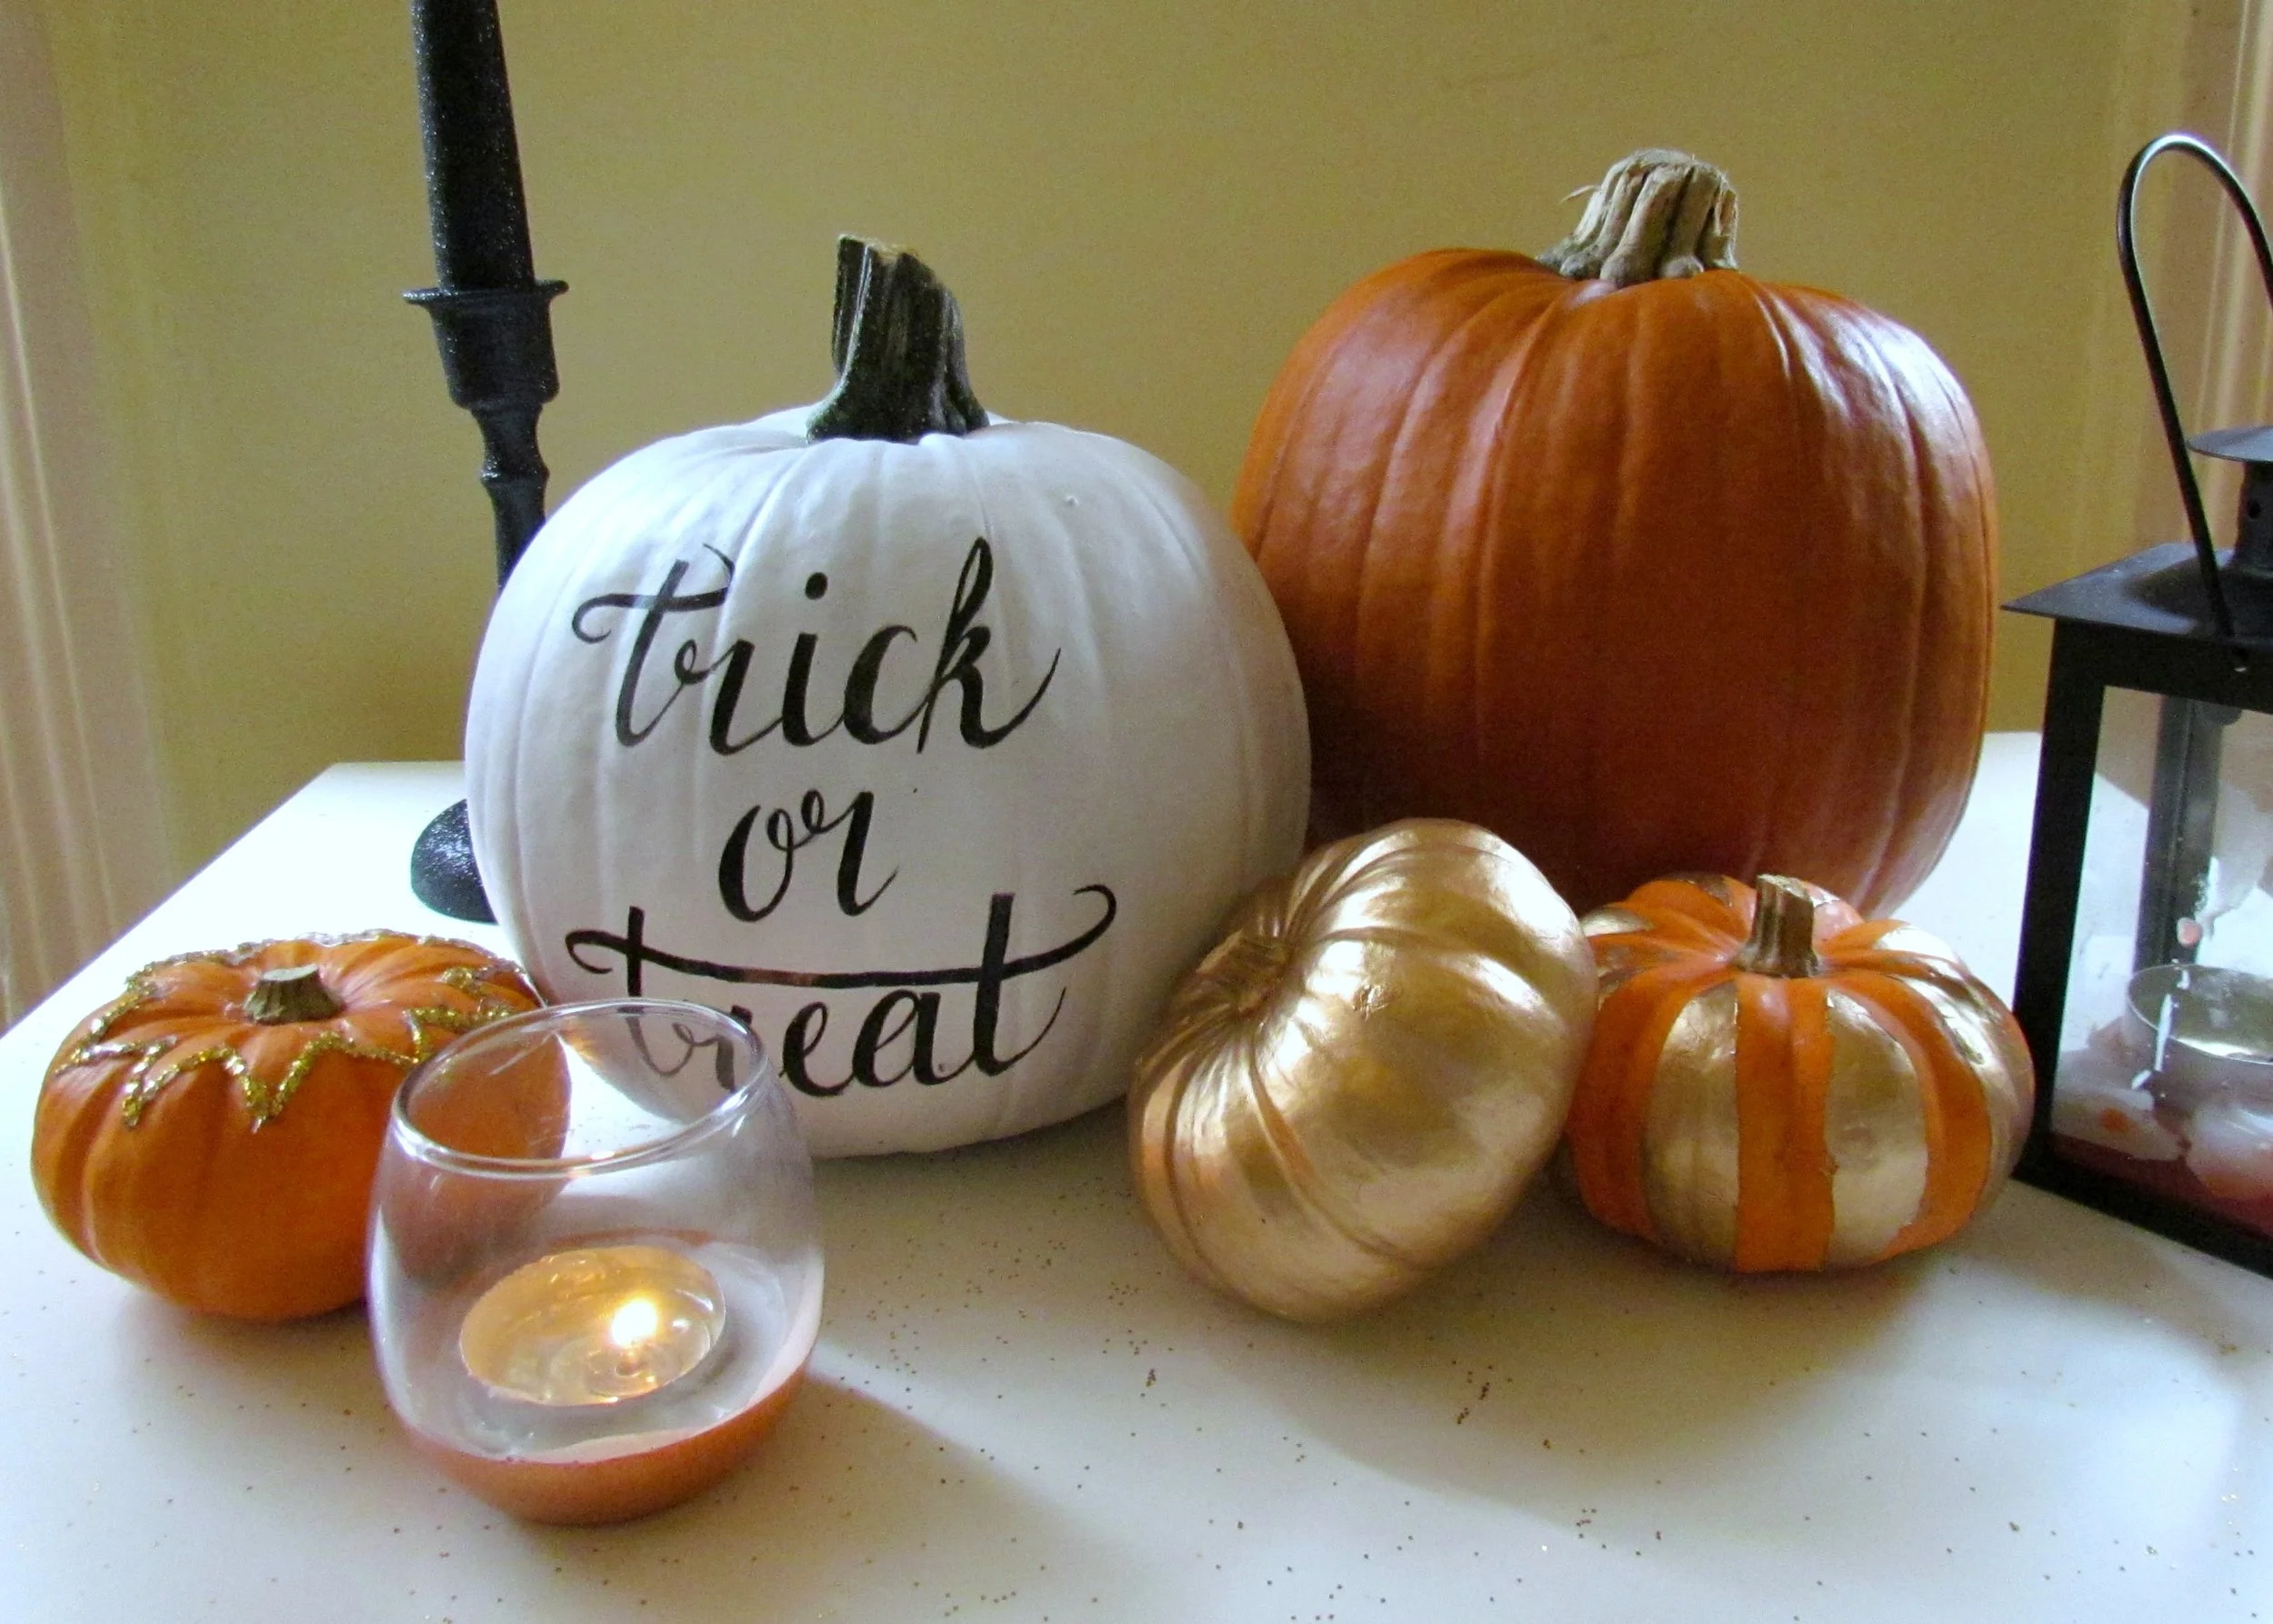
It's that time of year again and where I live, pumpkins are everywhere; every shop has them in stock and even the small green grocers around the corner has them in a variety of different shapes, sizes and colours. If you read my no-mess mumpkin post last year, you'll know I'm not really into carving pumpkins - mine never seem to turn out how I want them too and it's just so messy - so instead I prefer to paint and decorate my pumpkins. As I was having a few friends around to celebrate Halloween this year, I decided to get a few pumpkins and mumpkins in to use as part of my table decor. I'm obsessed with Plasti-Kote spray paint in gold leaf and so decided to spray one mumpkin entirely in gold and another with a striped pattern. They certainly didn't come out perfectly however I actually really like how they have a slightly worn look and they went really nicely with my zig-zag glitter pumpkin and hand-lettered 'trick-or-treat' pumpkin.
1. Stick tape in a cross shape around the mumpkin. For this I just used some decorative tape that I had to hand however something that peels off nice and easily would be ideal.
2. Stick tape in between this cross. Add stripes of tape in between the tape already on the pumpkin so that there are exposed stripes of pumpkin.
3. Cover the stalk with masking tape. I wanted to keep the stalk, well, stalk-coloured and so I covered it up however if you want yours gold, simply skip this step.
4. Turn the mumpkin upside down and spray all over with gold paint. With the stalk face down, spray approximately 3cm away from the surface in smooth strokes from the middle of the pumpkin outwards.
5. Once dry, turn the right way up and spray all over the top with gold paint. With the stalk facing upwards, spray approximately 3cm away from the surface in smooth strokes from the middle of the pumpkin outwards.
6. Leave it to dry before peeling off any tape. I did this once the paint was completely dry which took off the paint in places and gave it a shabby chic look.


