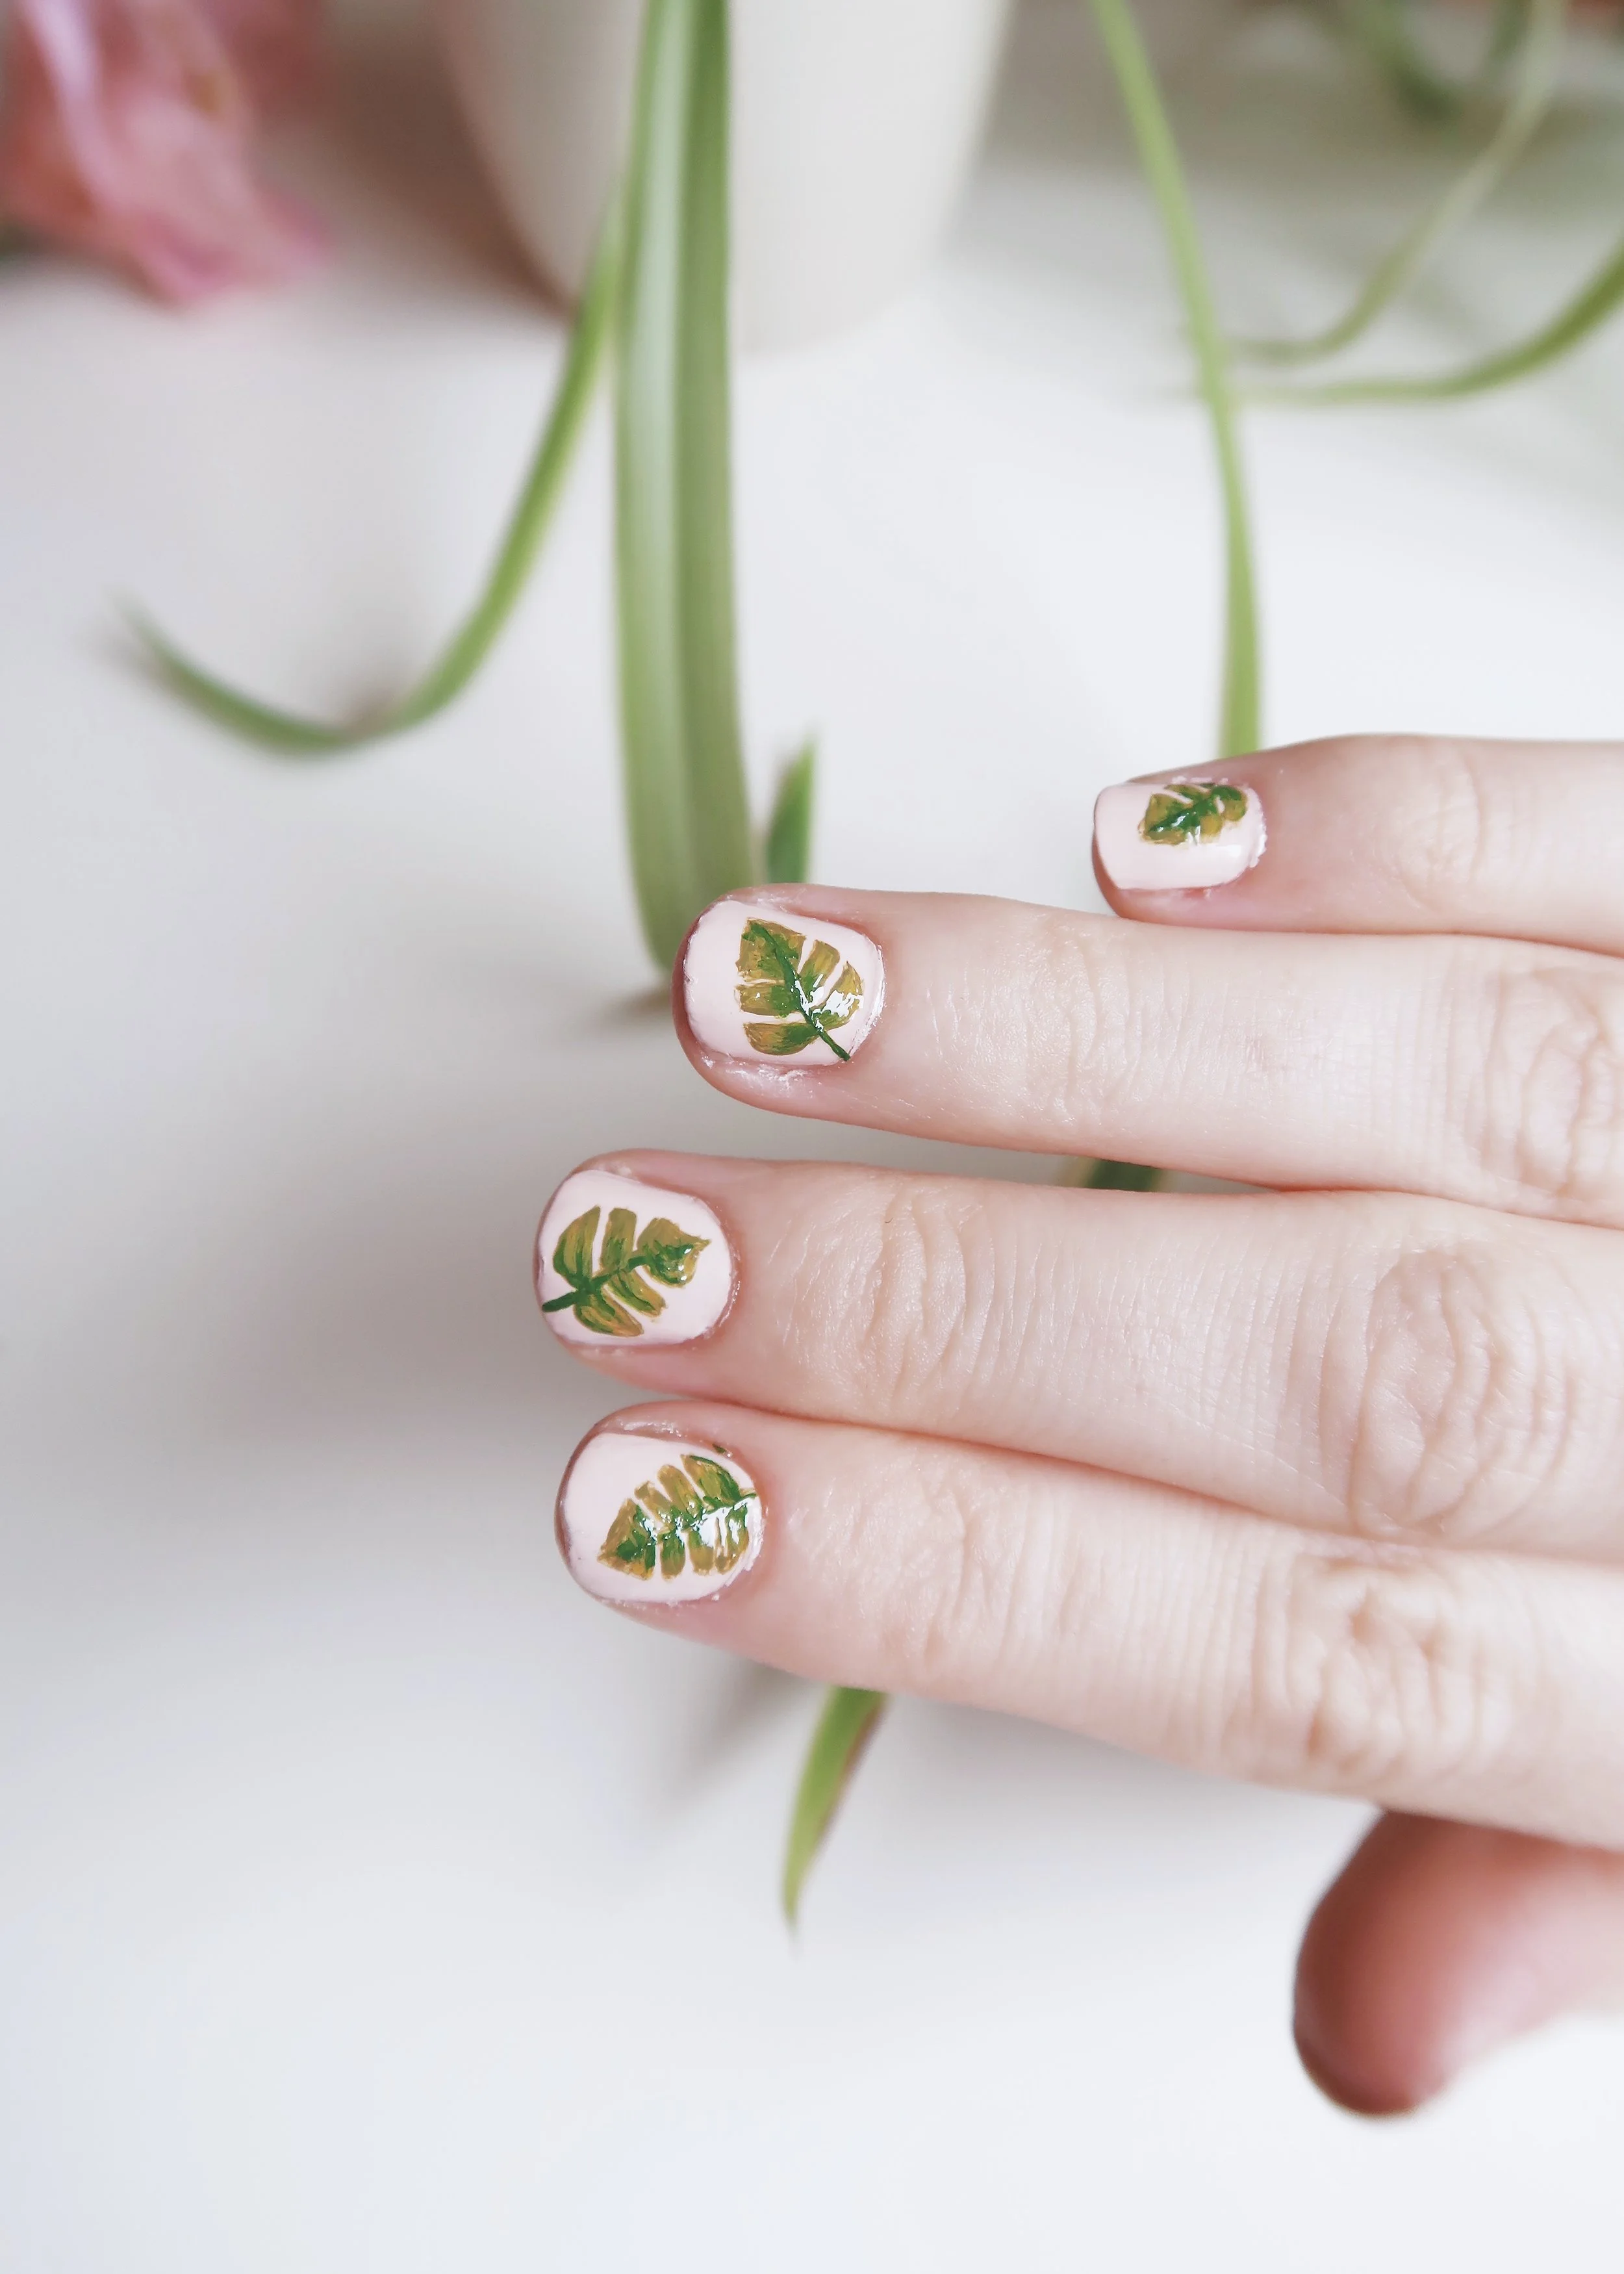


Monstera leaves are everywhere at the moment and what better place to have them than on your nails! Follow this tutorial to create this DIY monstera leaf nail art using acrylic paint!
It's taken my a little while to get on board with the monstera leaf trend - not that I've had anything against it - but recently, and despite it having been around for a while now, I've been loving monstera leaf patterns. So, when I decided to do some nail art a couple of weekends ago, monstera leaves against a pastel pink background immediately sprung to mind. I find it quite difficult to paint fine details on my nails using polish and a lot easier with acrylic paint, so that's what I did with this design. Despite this, the leaves are definitely not perfect (though what leaf is!) and I think I went a bit over board with the yellow, but I still really like how they turned out. Keep reading to find out what I used and how I did it...


1.
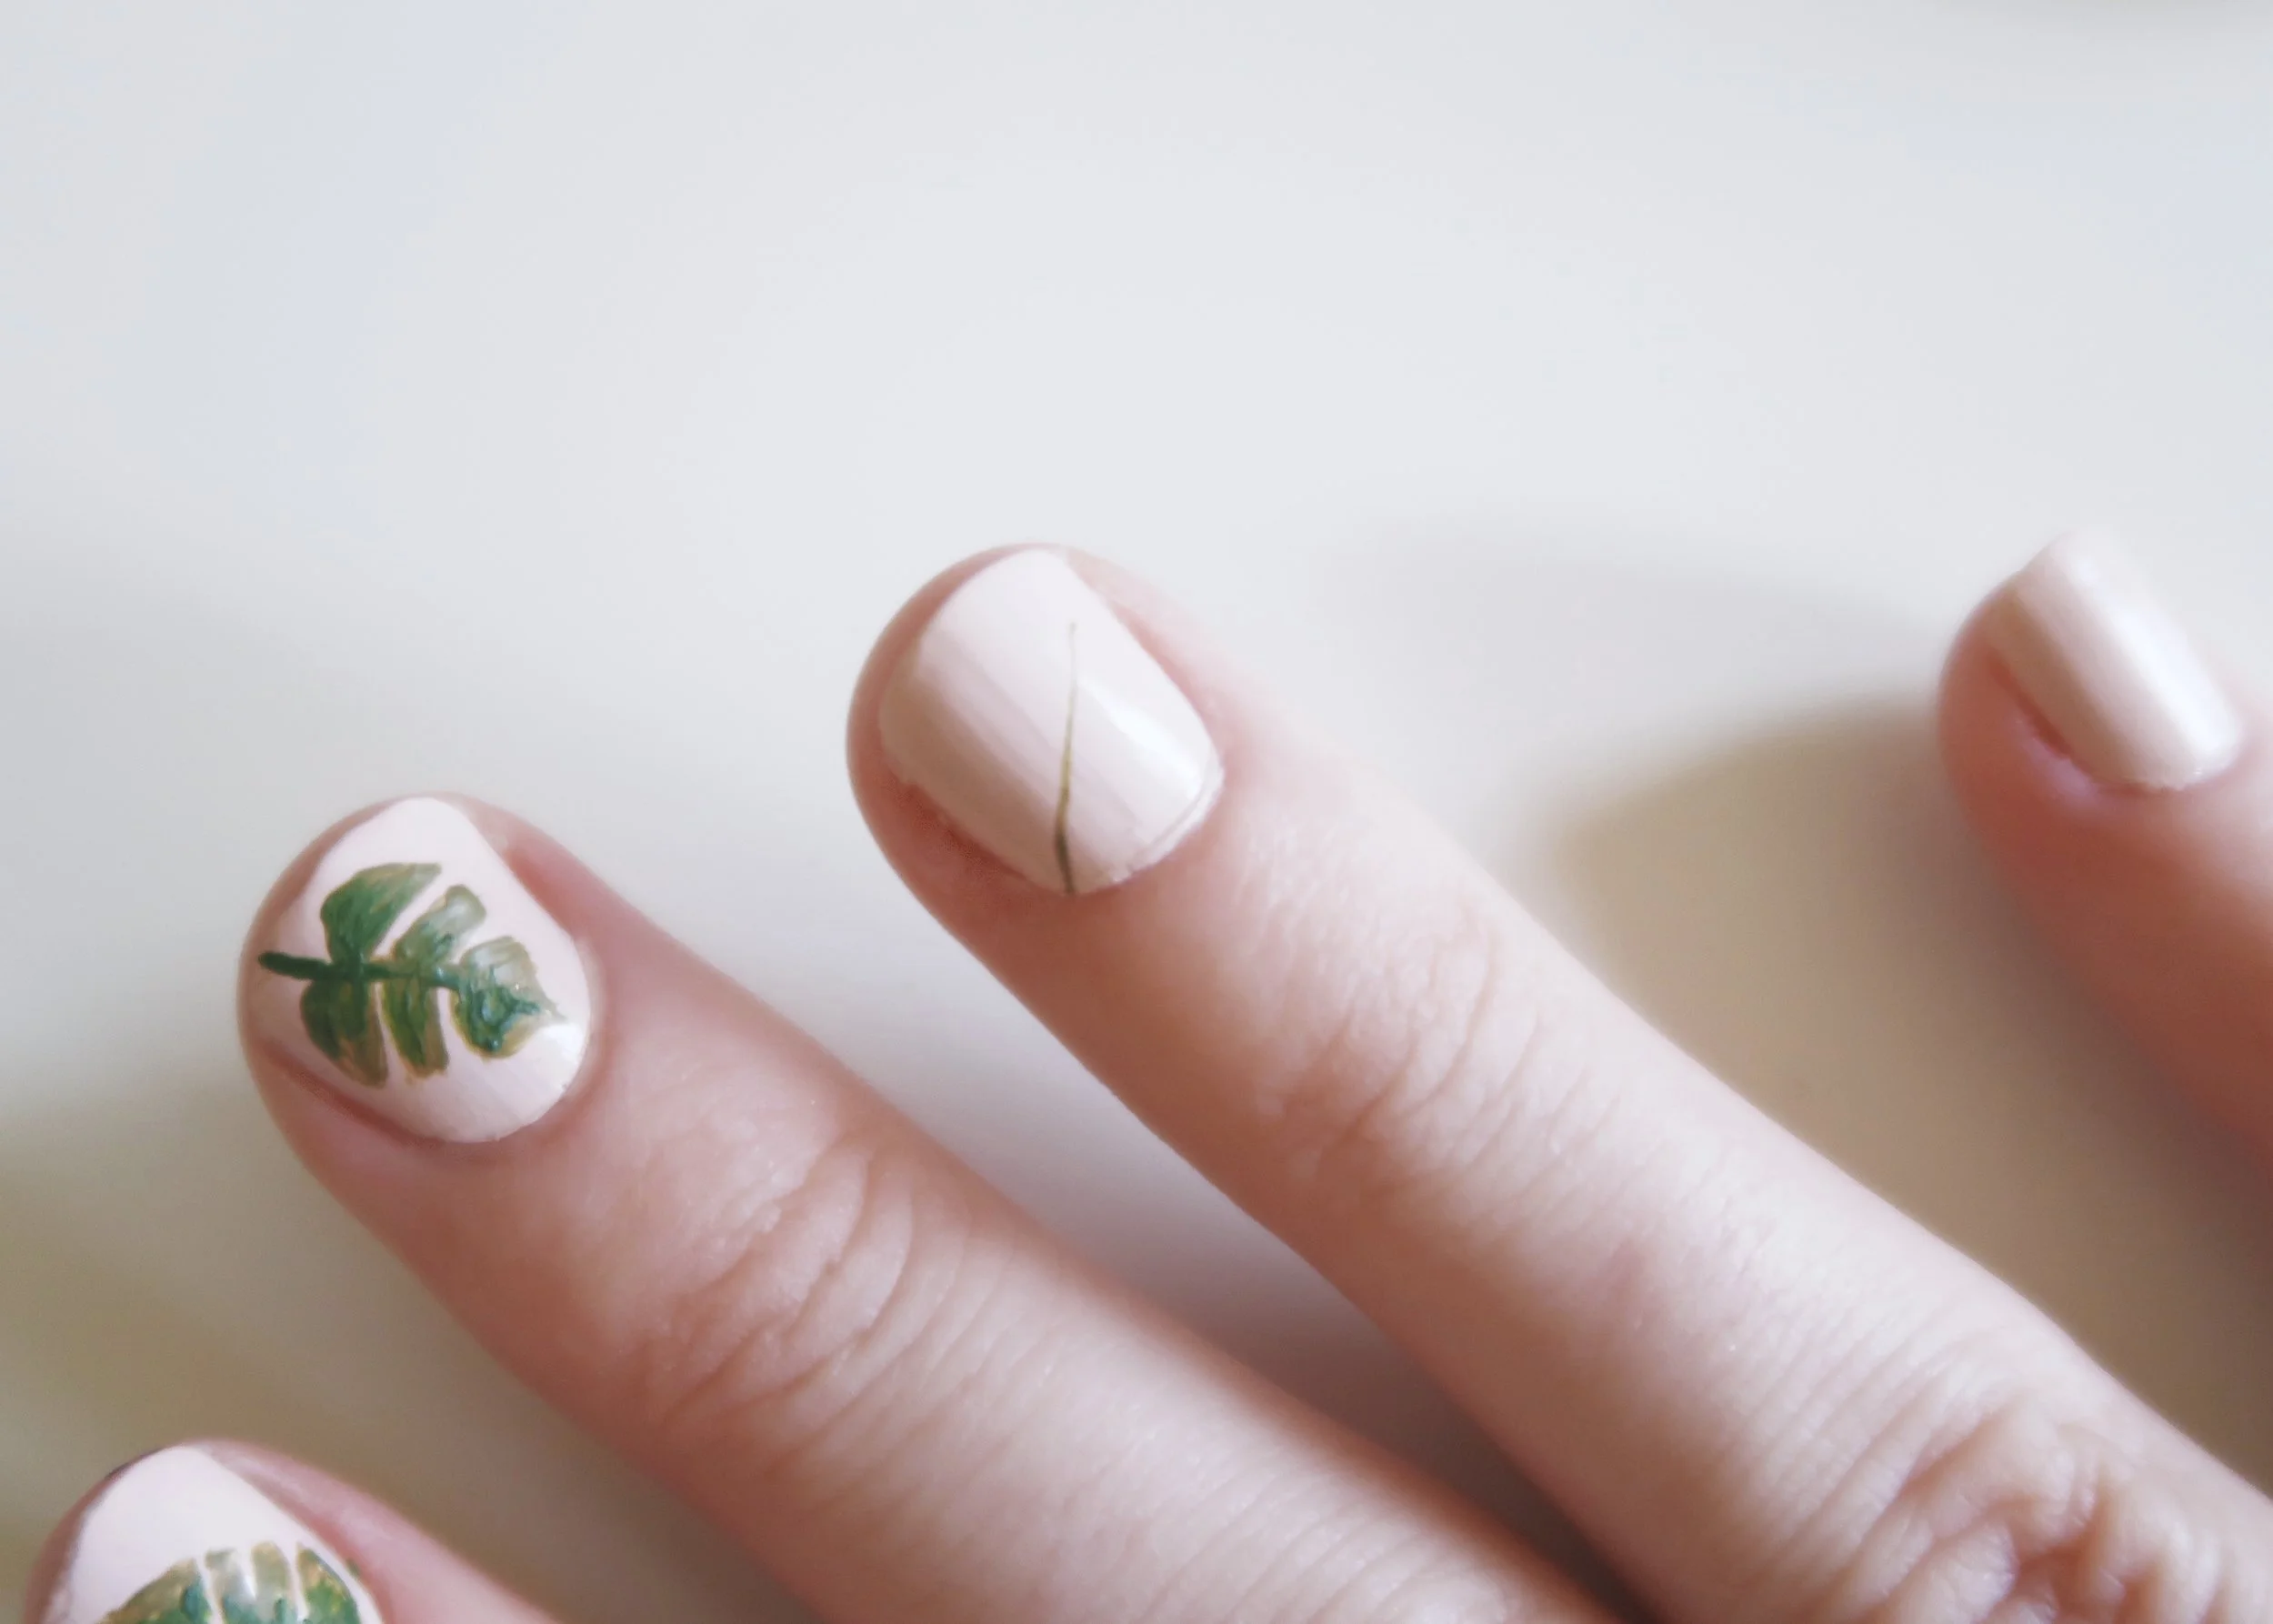
First, paint all over your nails with two coats of a pastel pink polish. Once completely dry, mix up an olive green with your acrylics and paint stem from one corner of your nail (I changed the corner on each nail).

2.
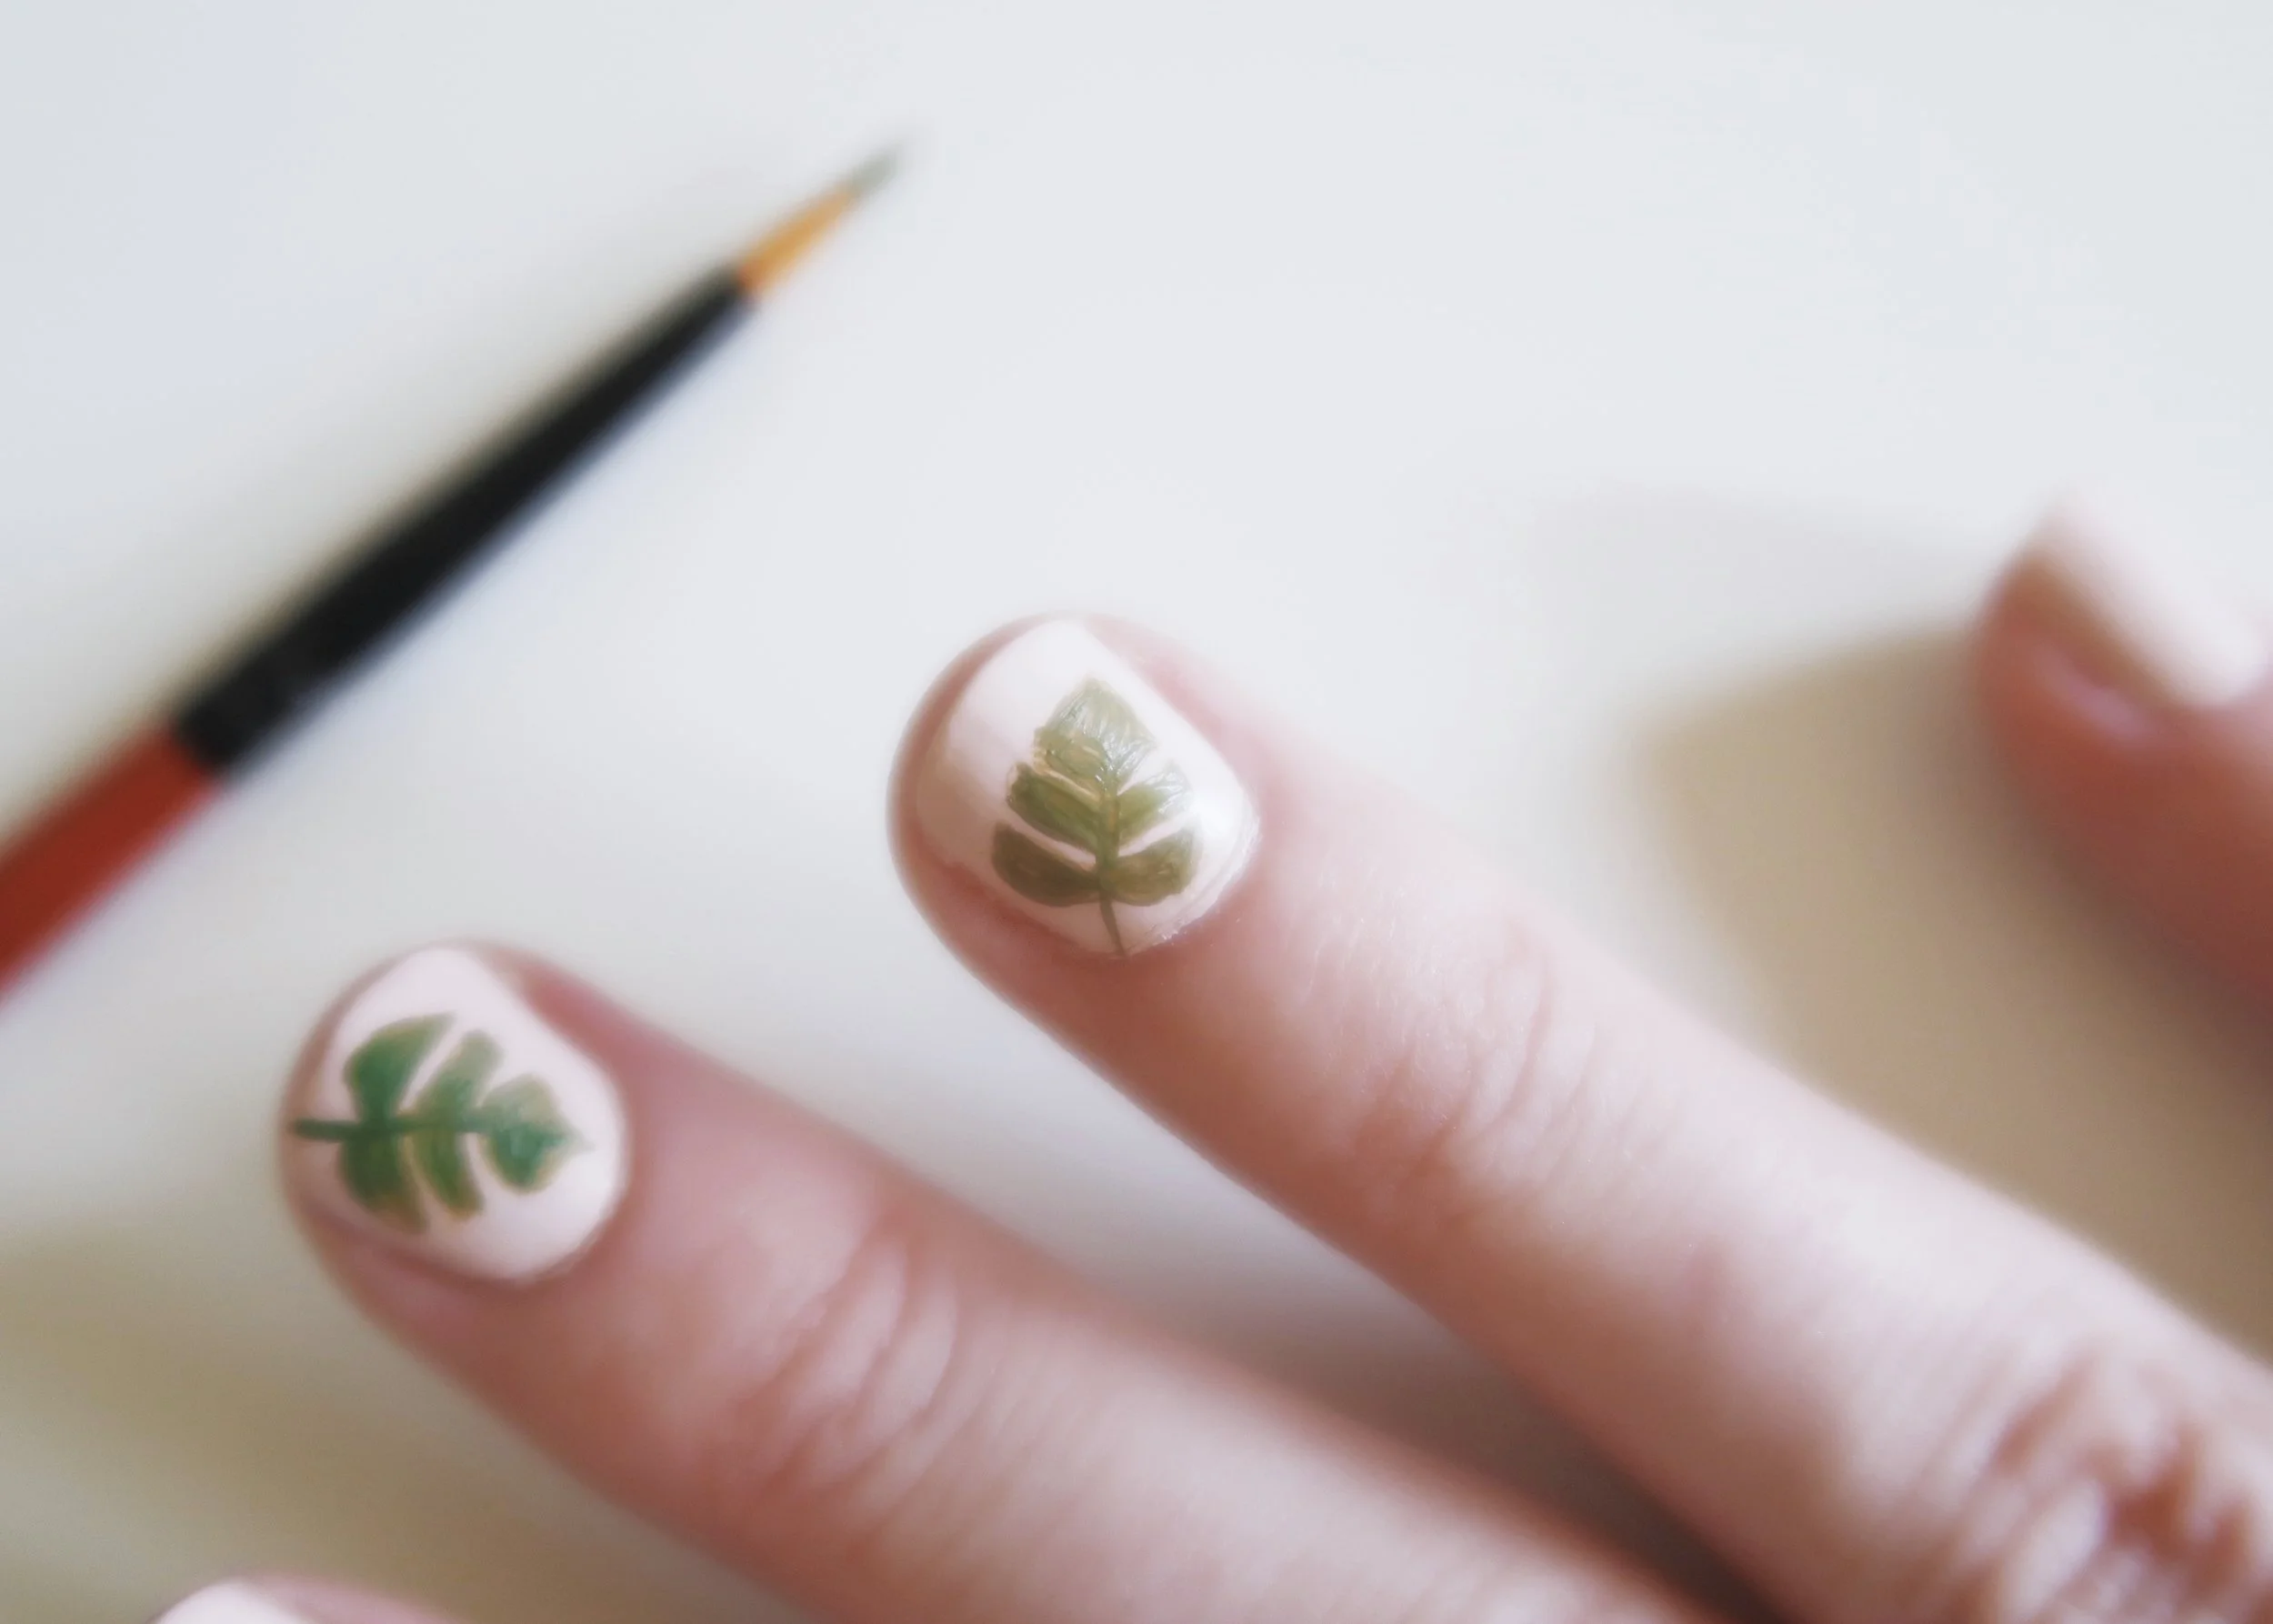
Next, paint a diamond-like shape at the top of the stem. Towards the bottom of the stem, paint a semi-circle either side of the stem with the curved side facing the bottom. Paint these wider then the diamond-like shape at the tip.
3.
Using the same green colour, paint a rectangle-like shape on each side of the stem in between the diamond and semi-circles. Join this to the stem but be sure to leave some pink in between the top and bottom.
4.
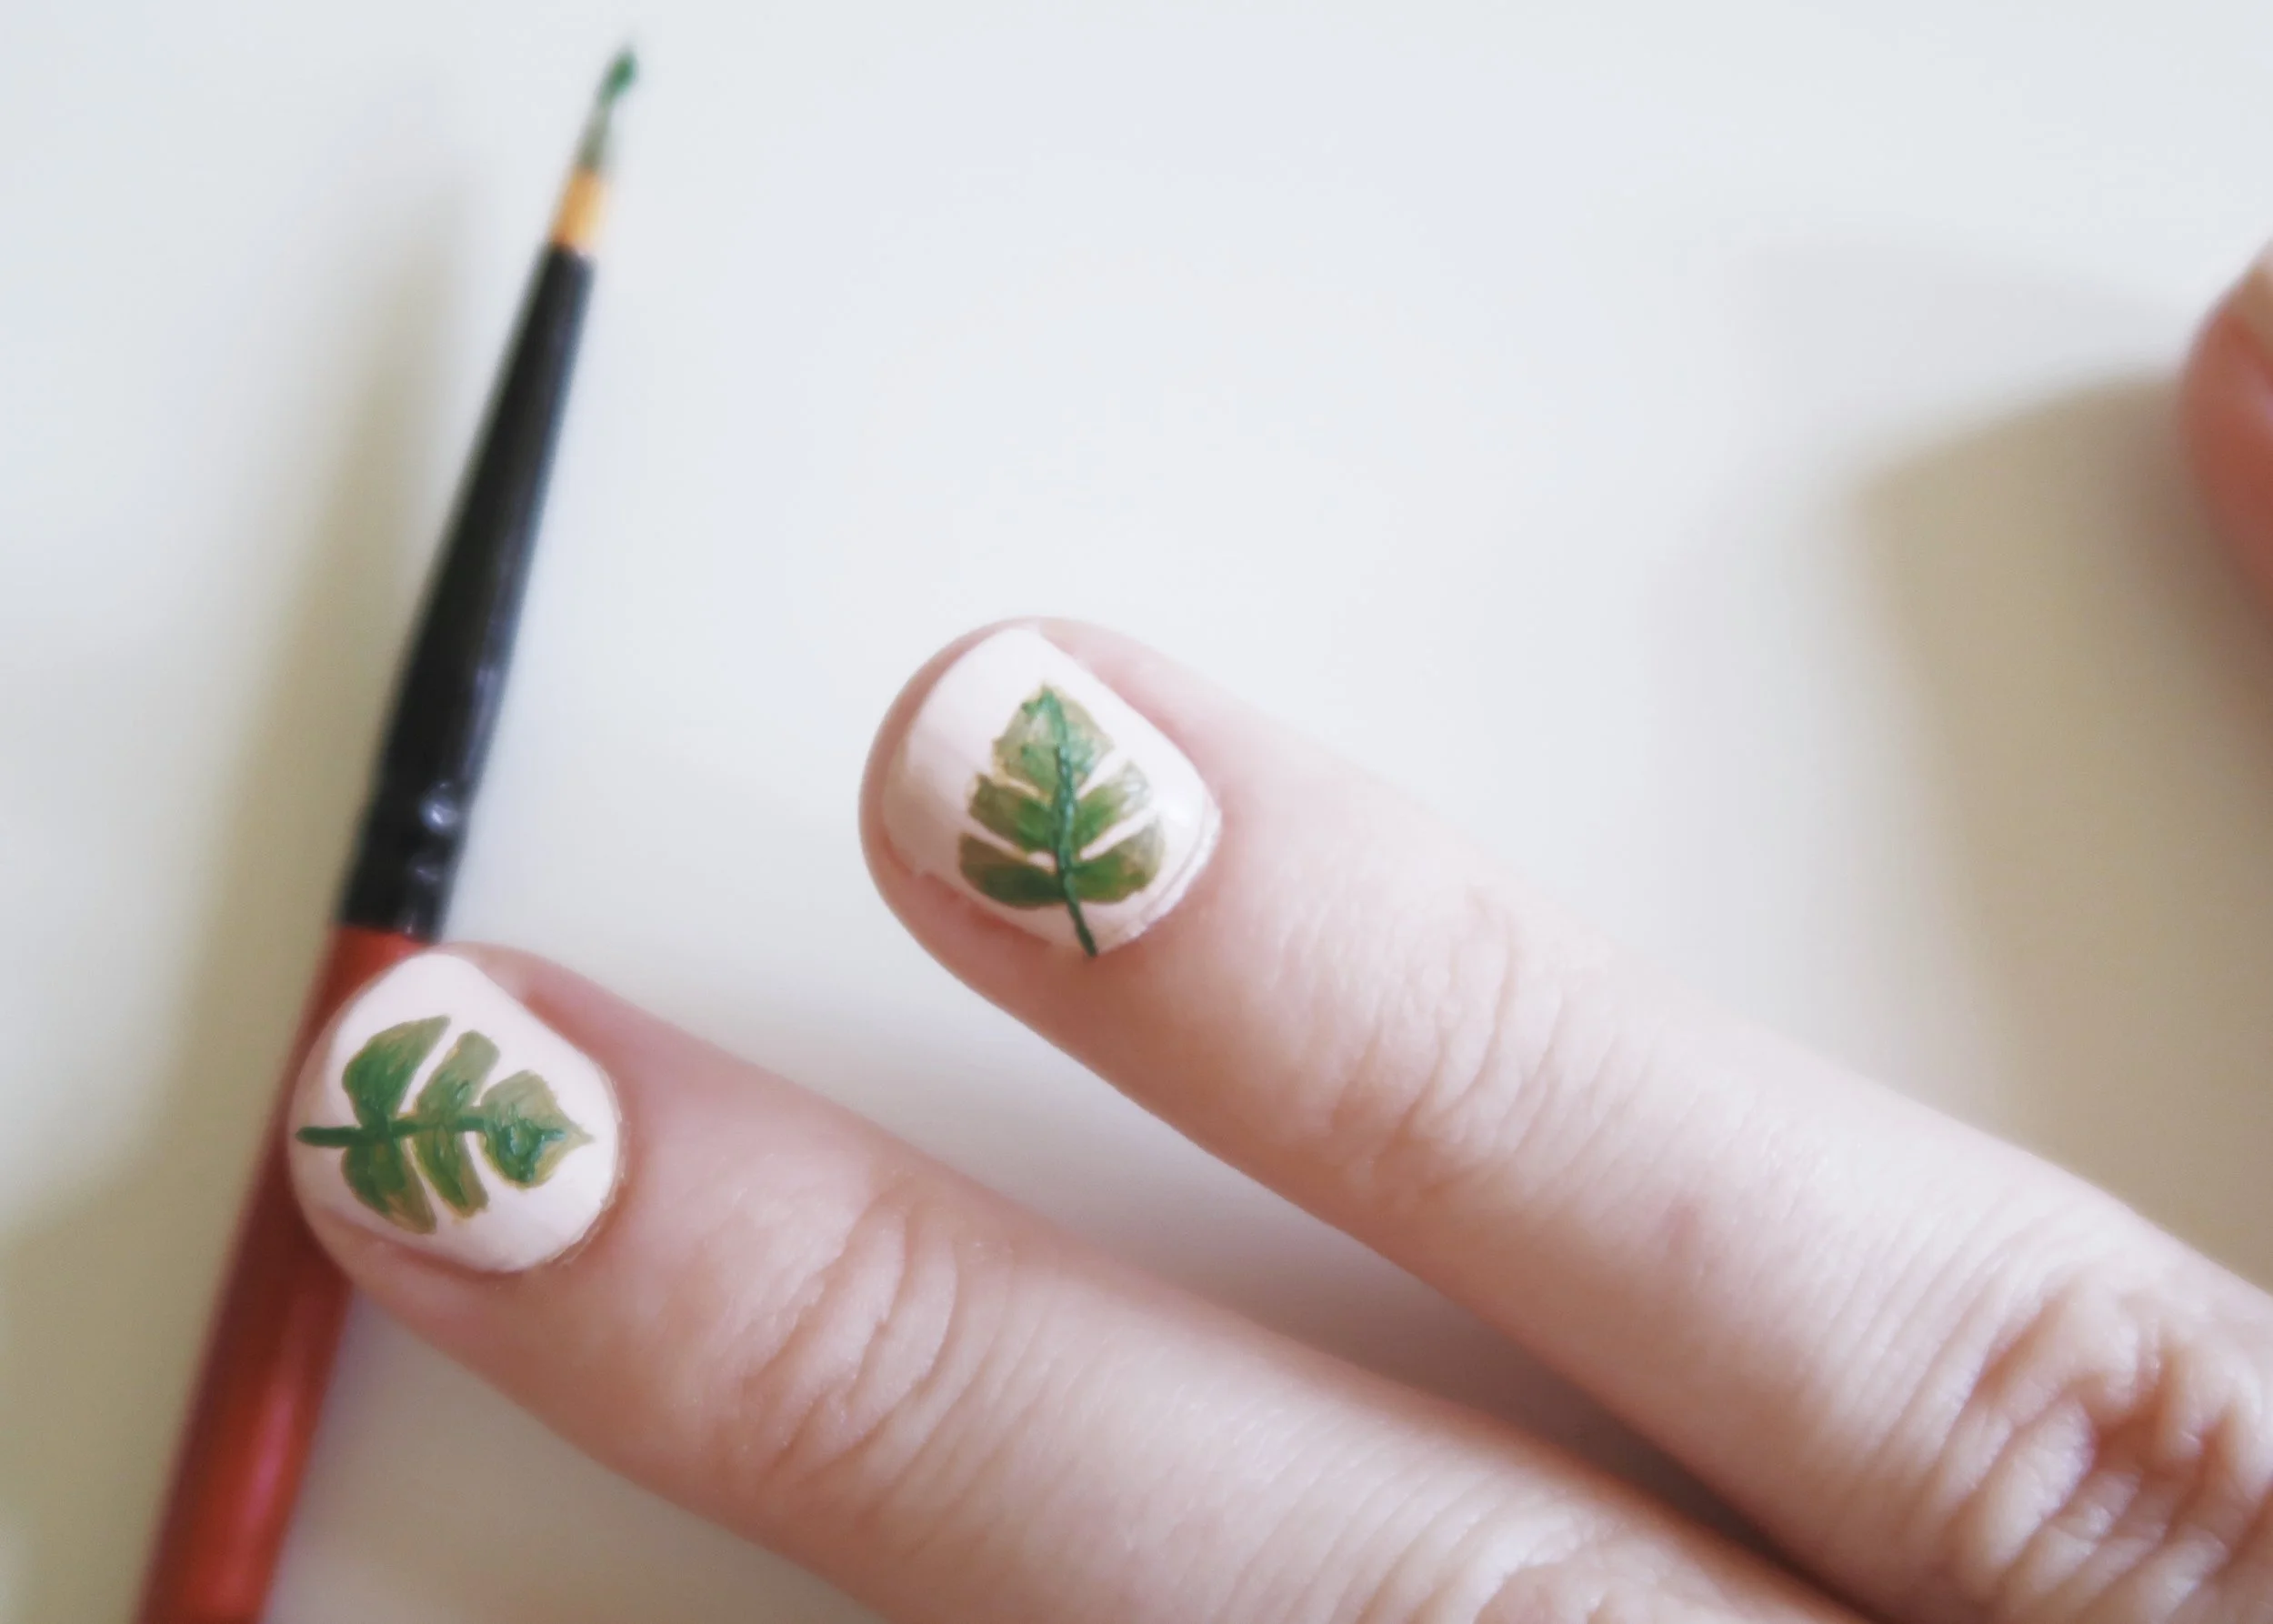
Next, use a darker and more emerald-like green to define the stem and blend this out along the olive green shapes to give them some shading. Use a white or yellow to add highlights.

5.
Once you're happy with your design, leave your nails to dry completely. Finally, paint over each of your nails with a clear glossy top coat to protect your design. Be sure to use plenty of polish and to not drag the brush over your design.