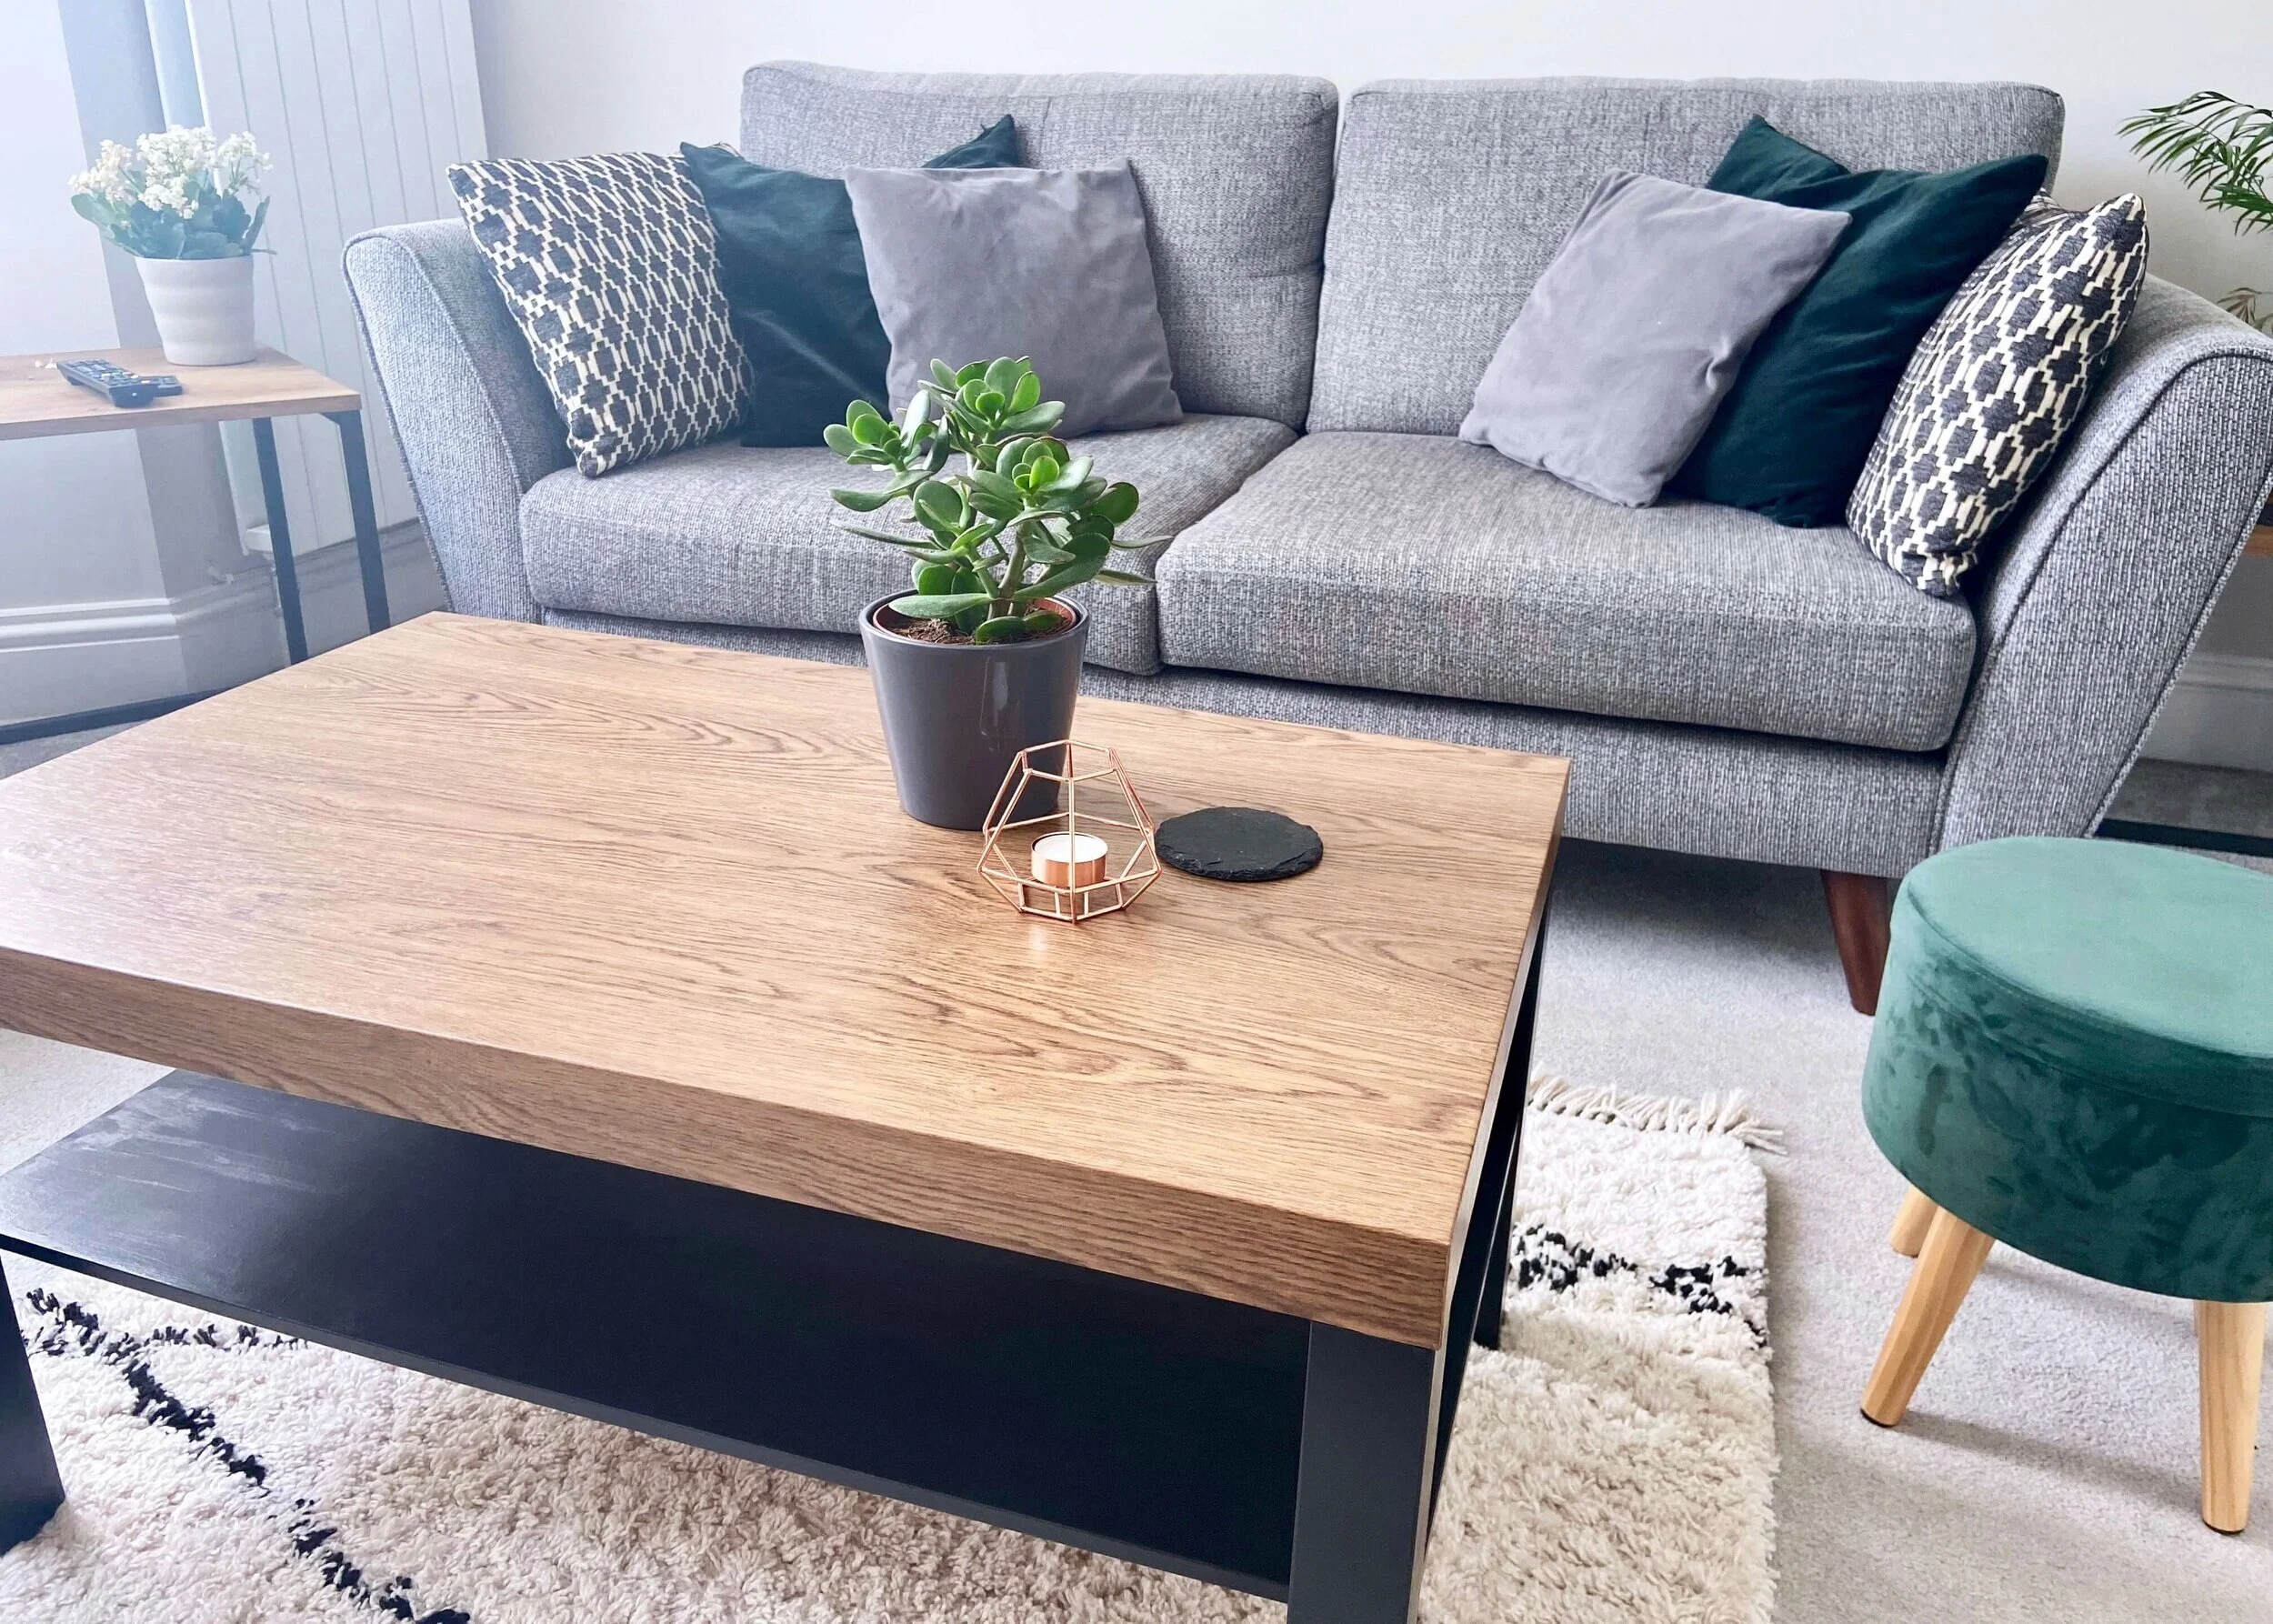
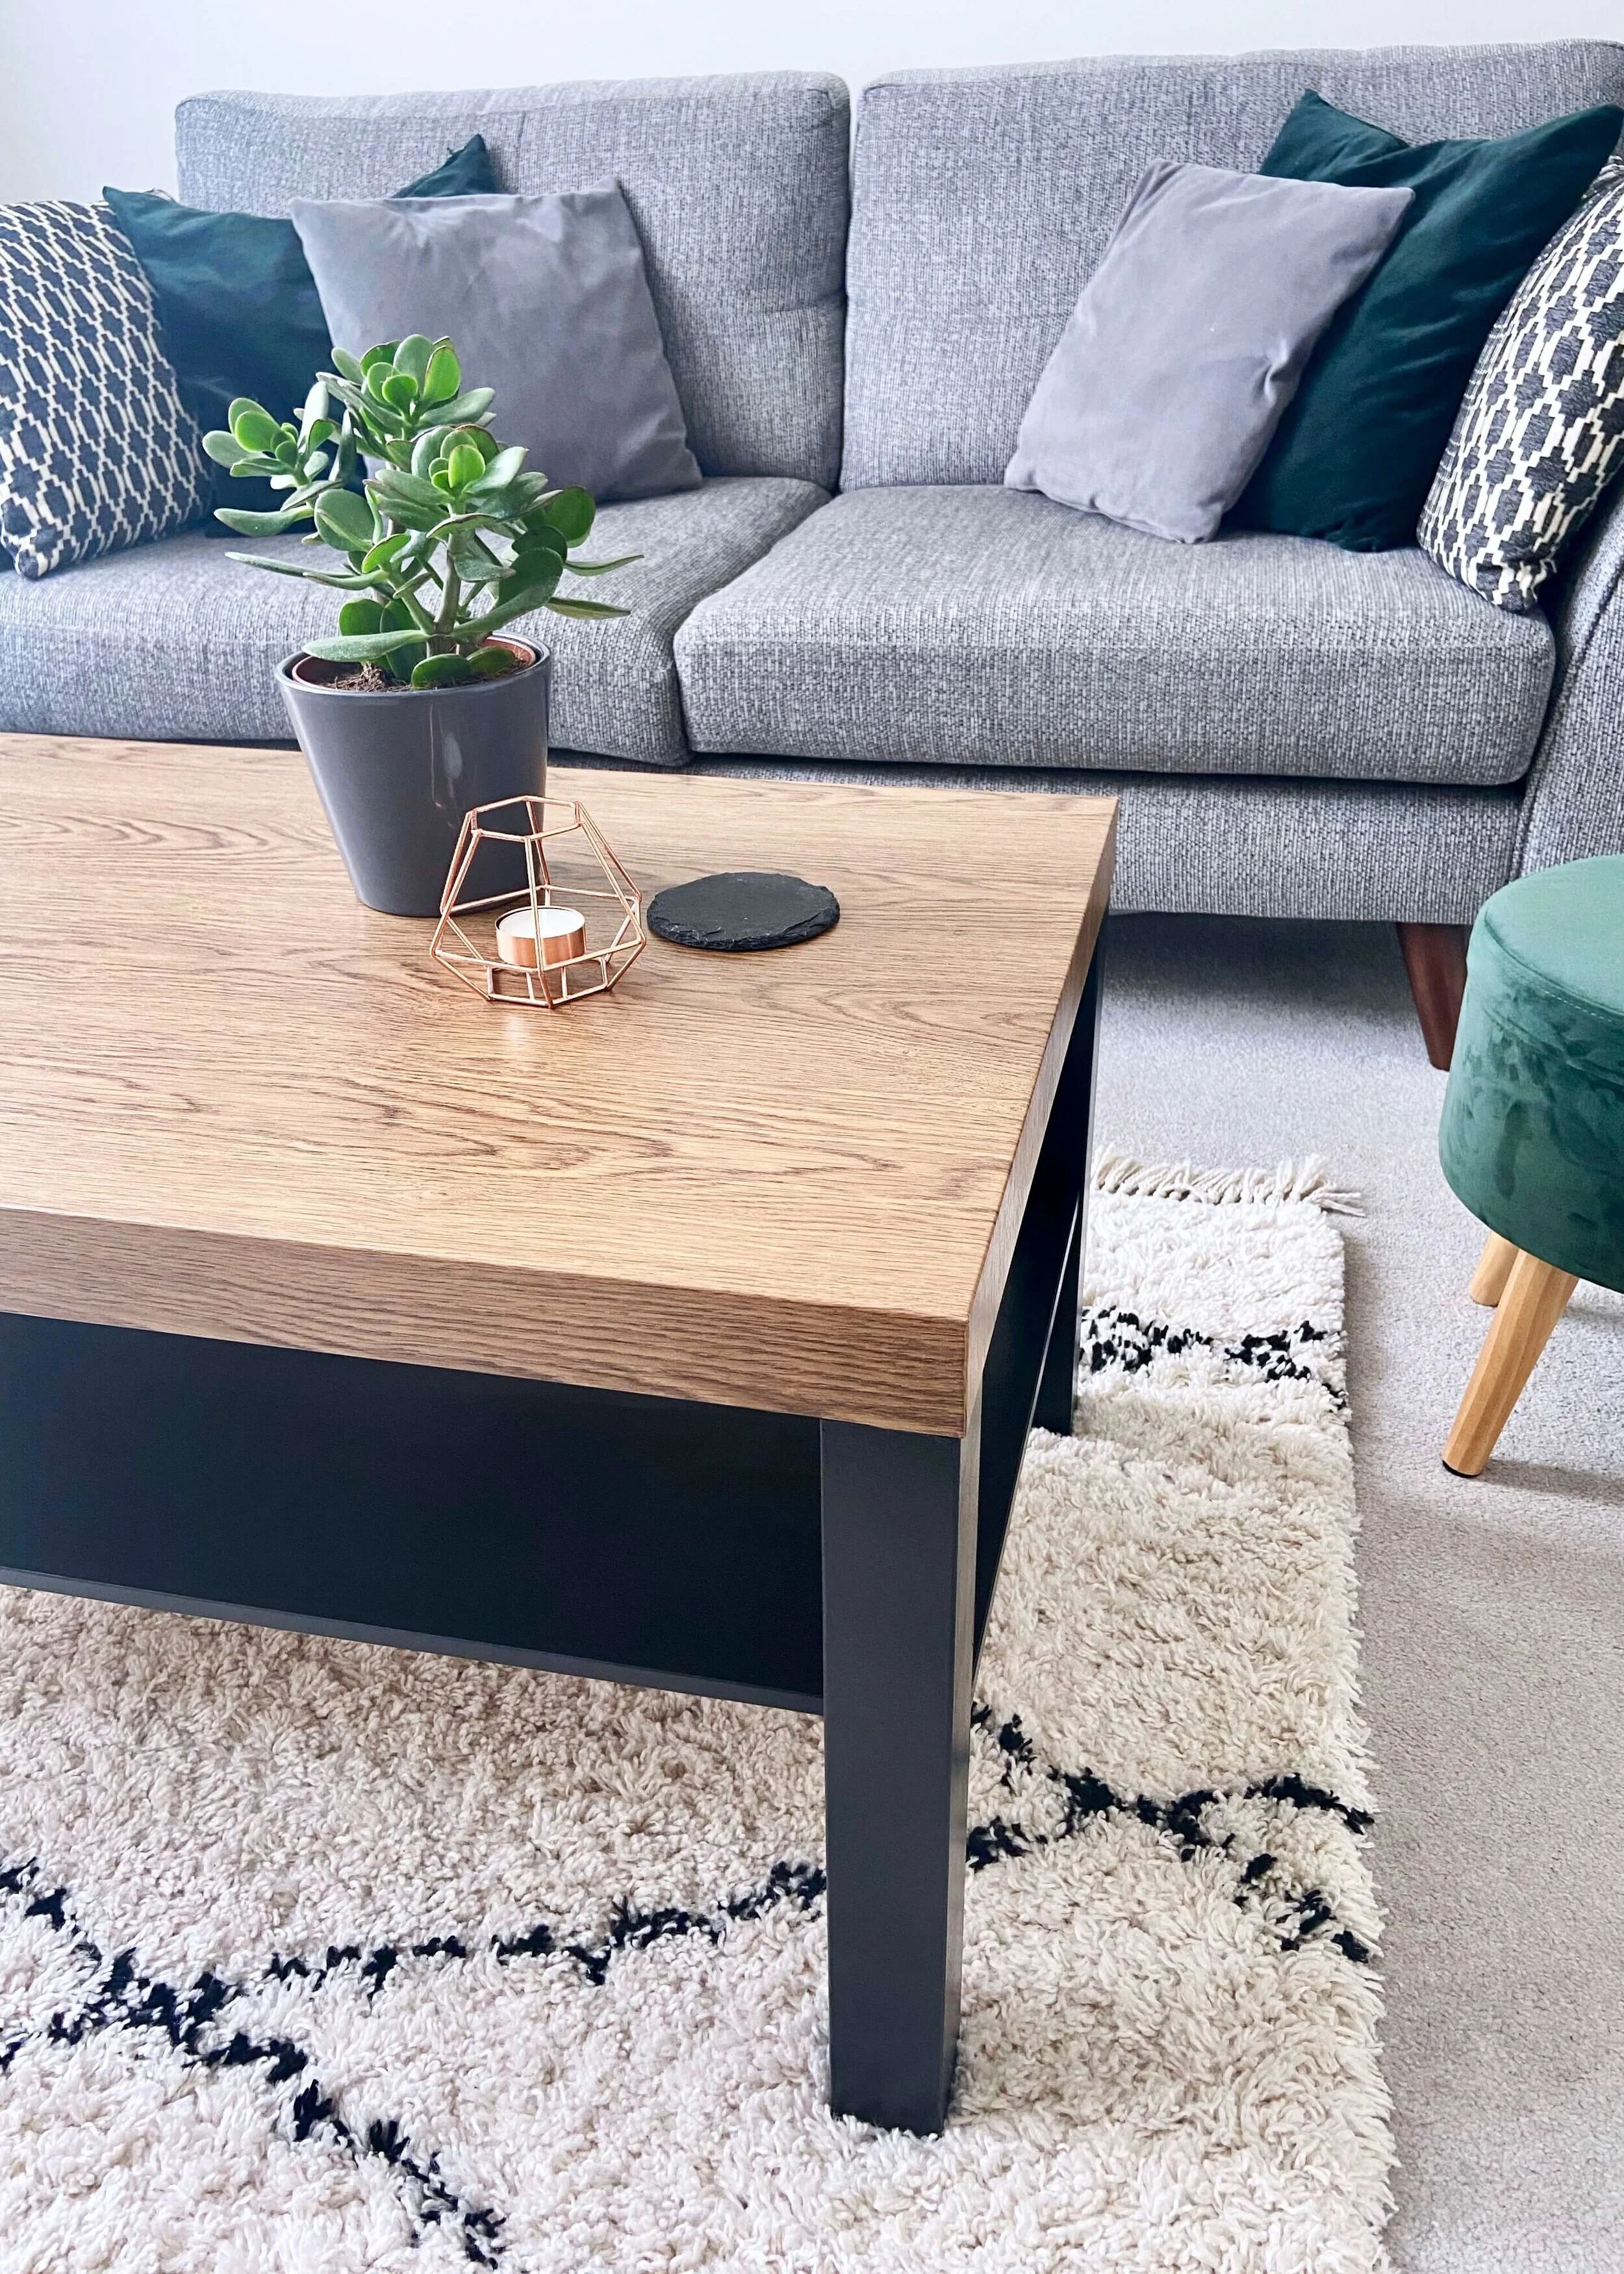
Transform an old Ikea Lack coffee table into a modern industrial one!
The Ikea Lack range has served me well over the years, and it is no surprise to me whatsoever that they still have the range today. We got our Lack coffee table and the matching TV stand back in 2014 when my partner and I first moved in together. Over the 6 years that we’ve had it, this table has been through a fair amount; spillages, parties, craft projects, feet… and it had reached the point that it was really starting to show it. It had several chips, dents, and scratches, and so it felt high time I gave it the makeover it deserved. We have a bit of an industrial boho theme in our living room so my aim was for it to fit in with that and co-ordinate with our other oak effect and metal furniture. I was not at all sure how this would turn out, but I’m so happy with the final result. What do you think? Keep reading for the step by step guide…


1.
First of all, remove the middle shelf and clean your table. Thoroughly sand it all over until the laminate is no longer shiny. Use a clean damp cloth to remove any dust, and once dry paint all over with a primer. I used this primer which I’ve used on Ikea furniture before and which seems to hold up well.

2.
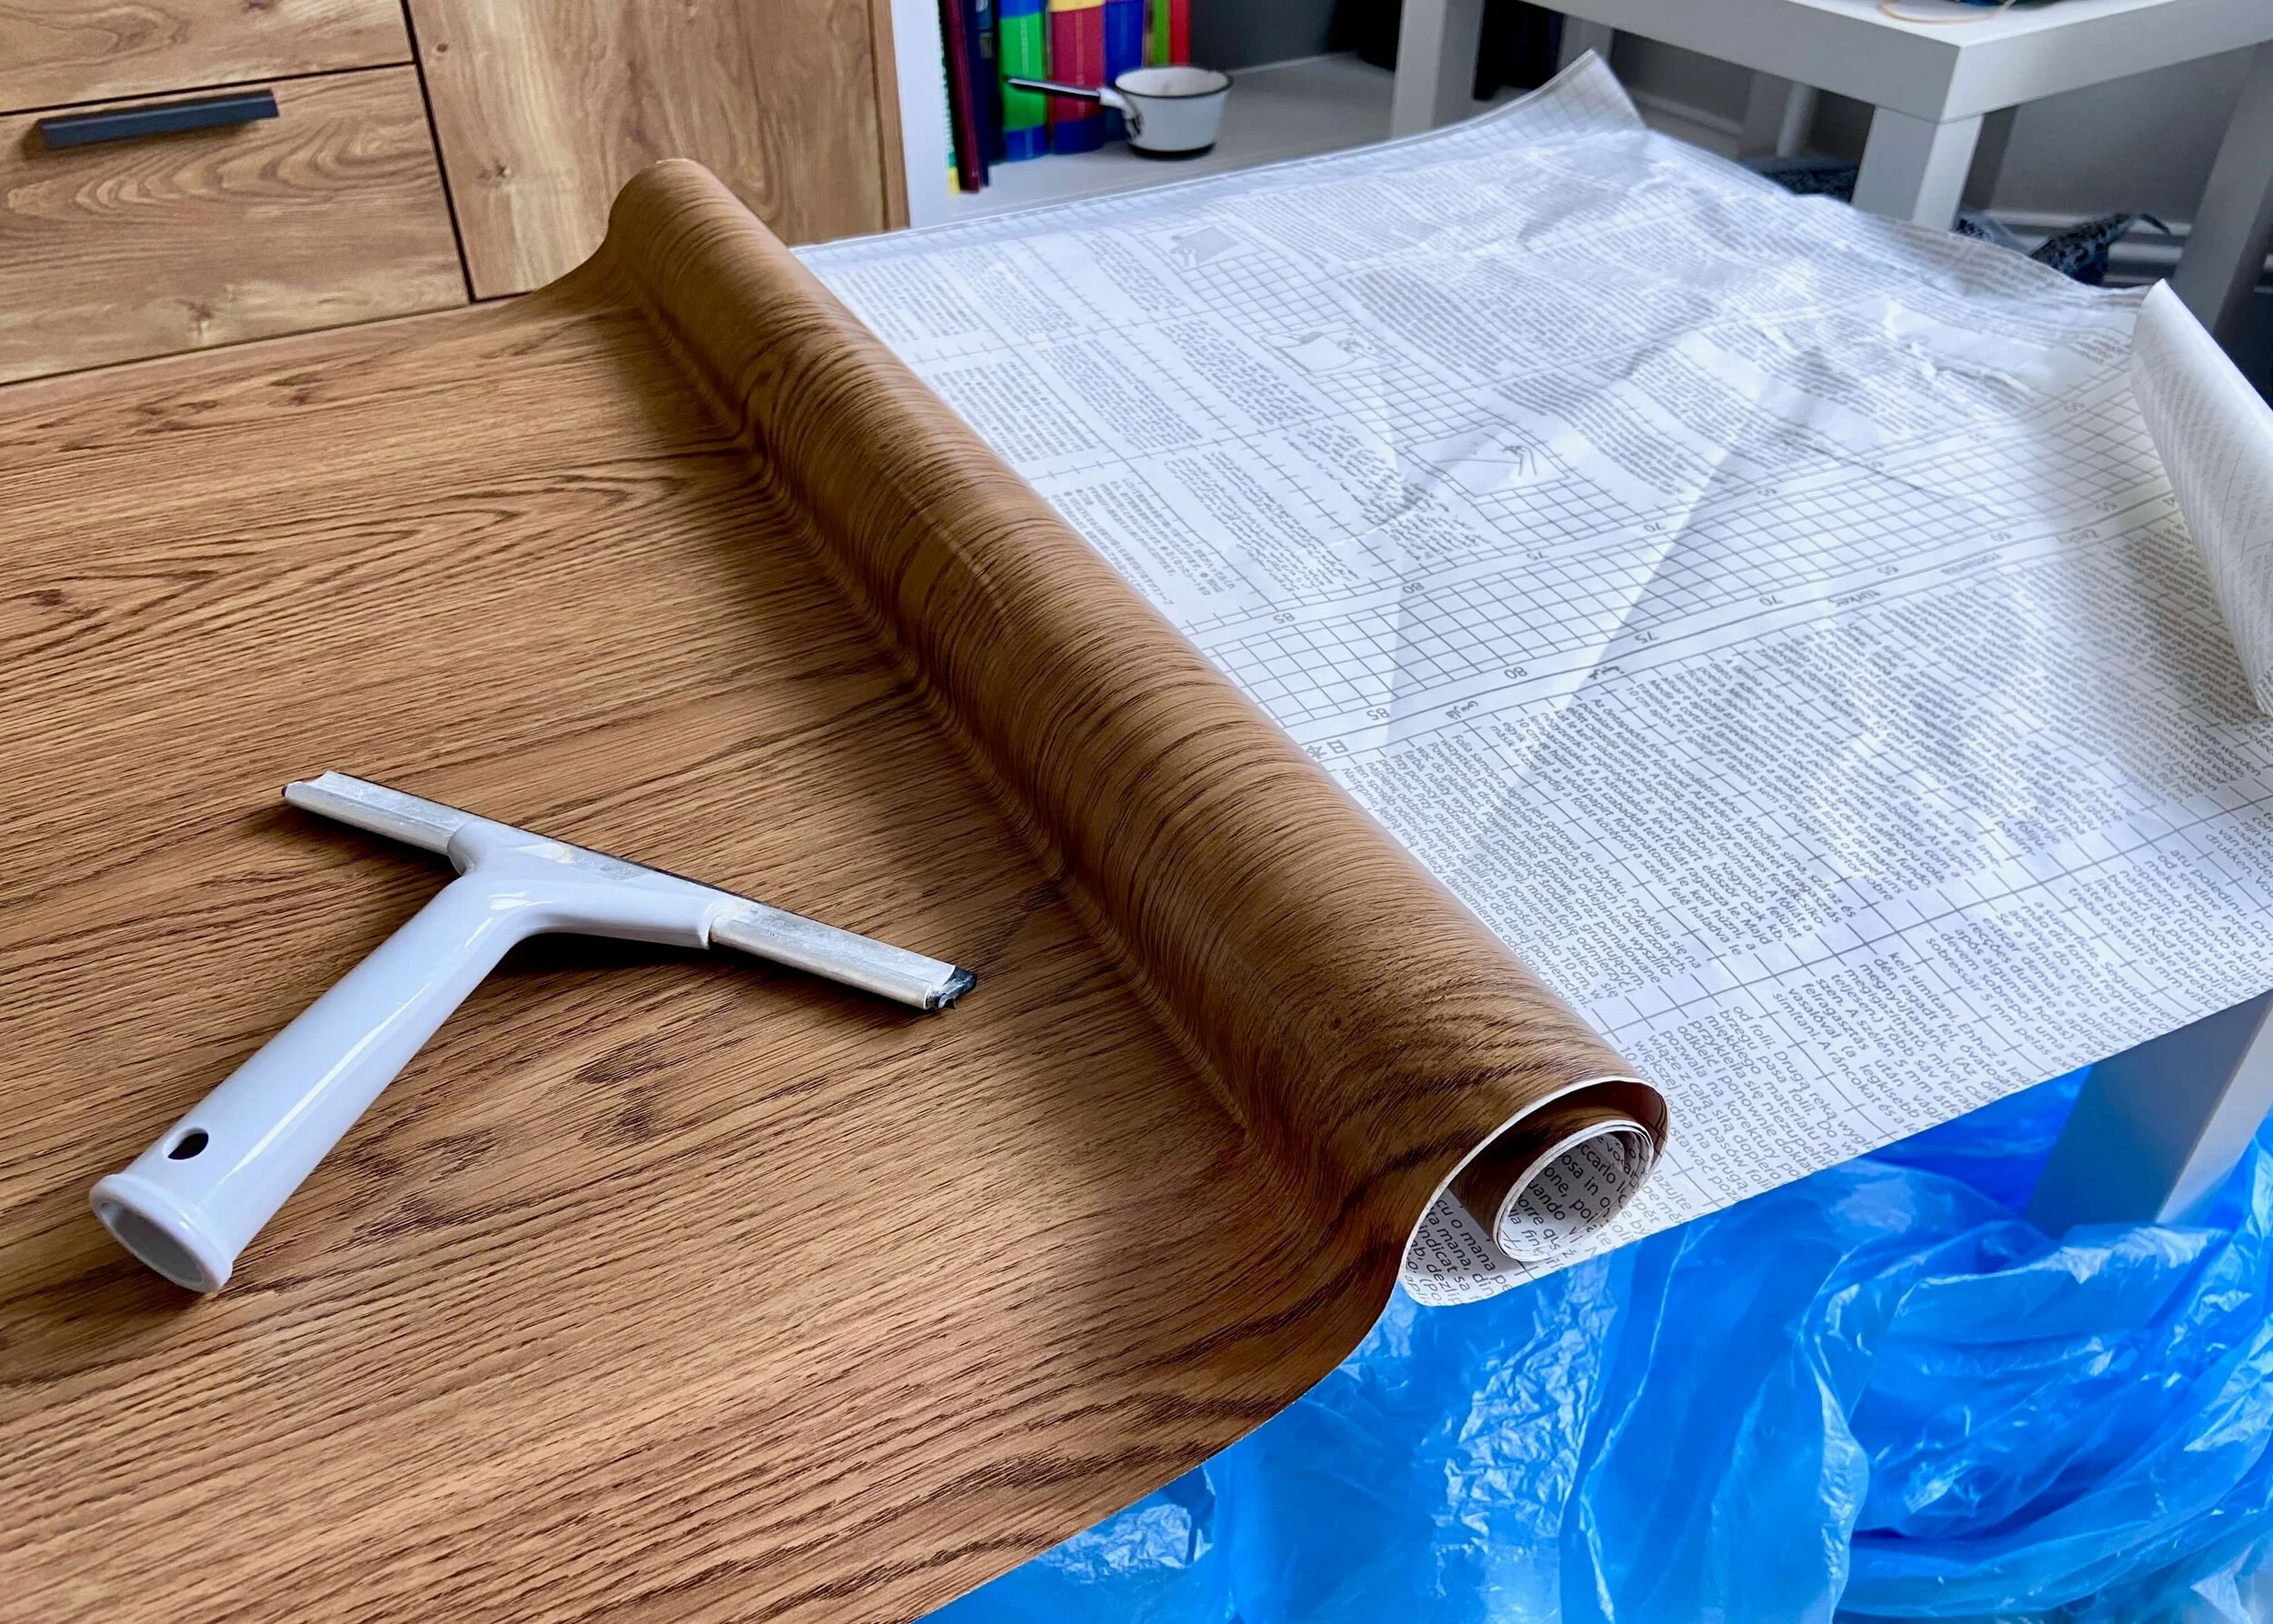
Once the primer is dry, unwrap some of the stick back plastic and lay it across of your table. You want it to positioned so you have roughly equal amounts of overhang on each side, and you want the overhang to be long enough to cover the top, edges and go under slightly.

3.
Lay the cut off of sticky back plastic over the top of the table with the wood effect facing up. Position it in the middle, and then unpeel one corner of the backing paper and stick the plastic to the table corner (leaving some overhang). Use a squeegee, credit card or your hands to press the plastic firmly to the table, moving the air bubbles out to the edges.
4.
Peel off the the backing and stick the plastic to the top of the table bit by bit. Be sure to remove any air bubbles as you go. If you miss any, Fablon is quite forgiving, I found that I could unstick it and re-stick it in places as a I went. Once you have covered the whole top, you should have some of the sticky back plastic hanging over the edges.

5.
Flip the table upside down, careful not to get the edges of the sticky back plastic stuck to anything. Then remove the legs by unscrewing them. Cut out a square shape on each corner of the stick back plastic, and press the sticky back plastic overhang to the side and underside of the table top, being sure to push any air bubbles out.

6.
Screw the table legs in part of the way, and paint them, as well as the middle shelf in a black or dark grey paint. I used a small paintbrush and did 3 thin coats allowing each coat to dry in between. Once you’re happy with the coverage, screw the legs in all the wall and reattach the middle shelf. Finally, flip the table back over.