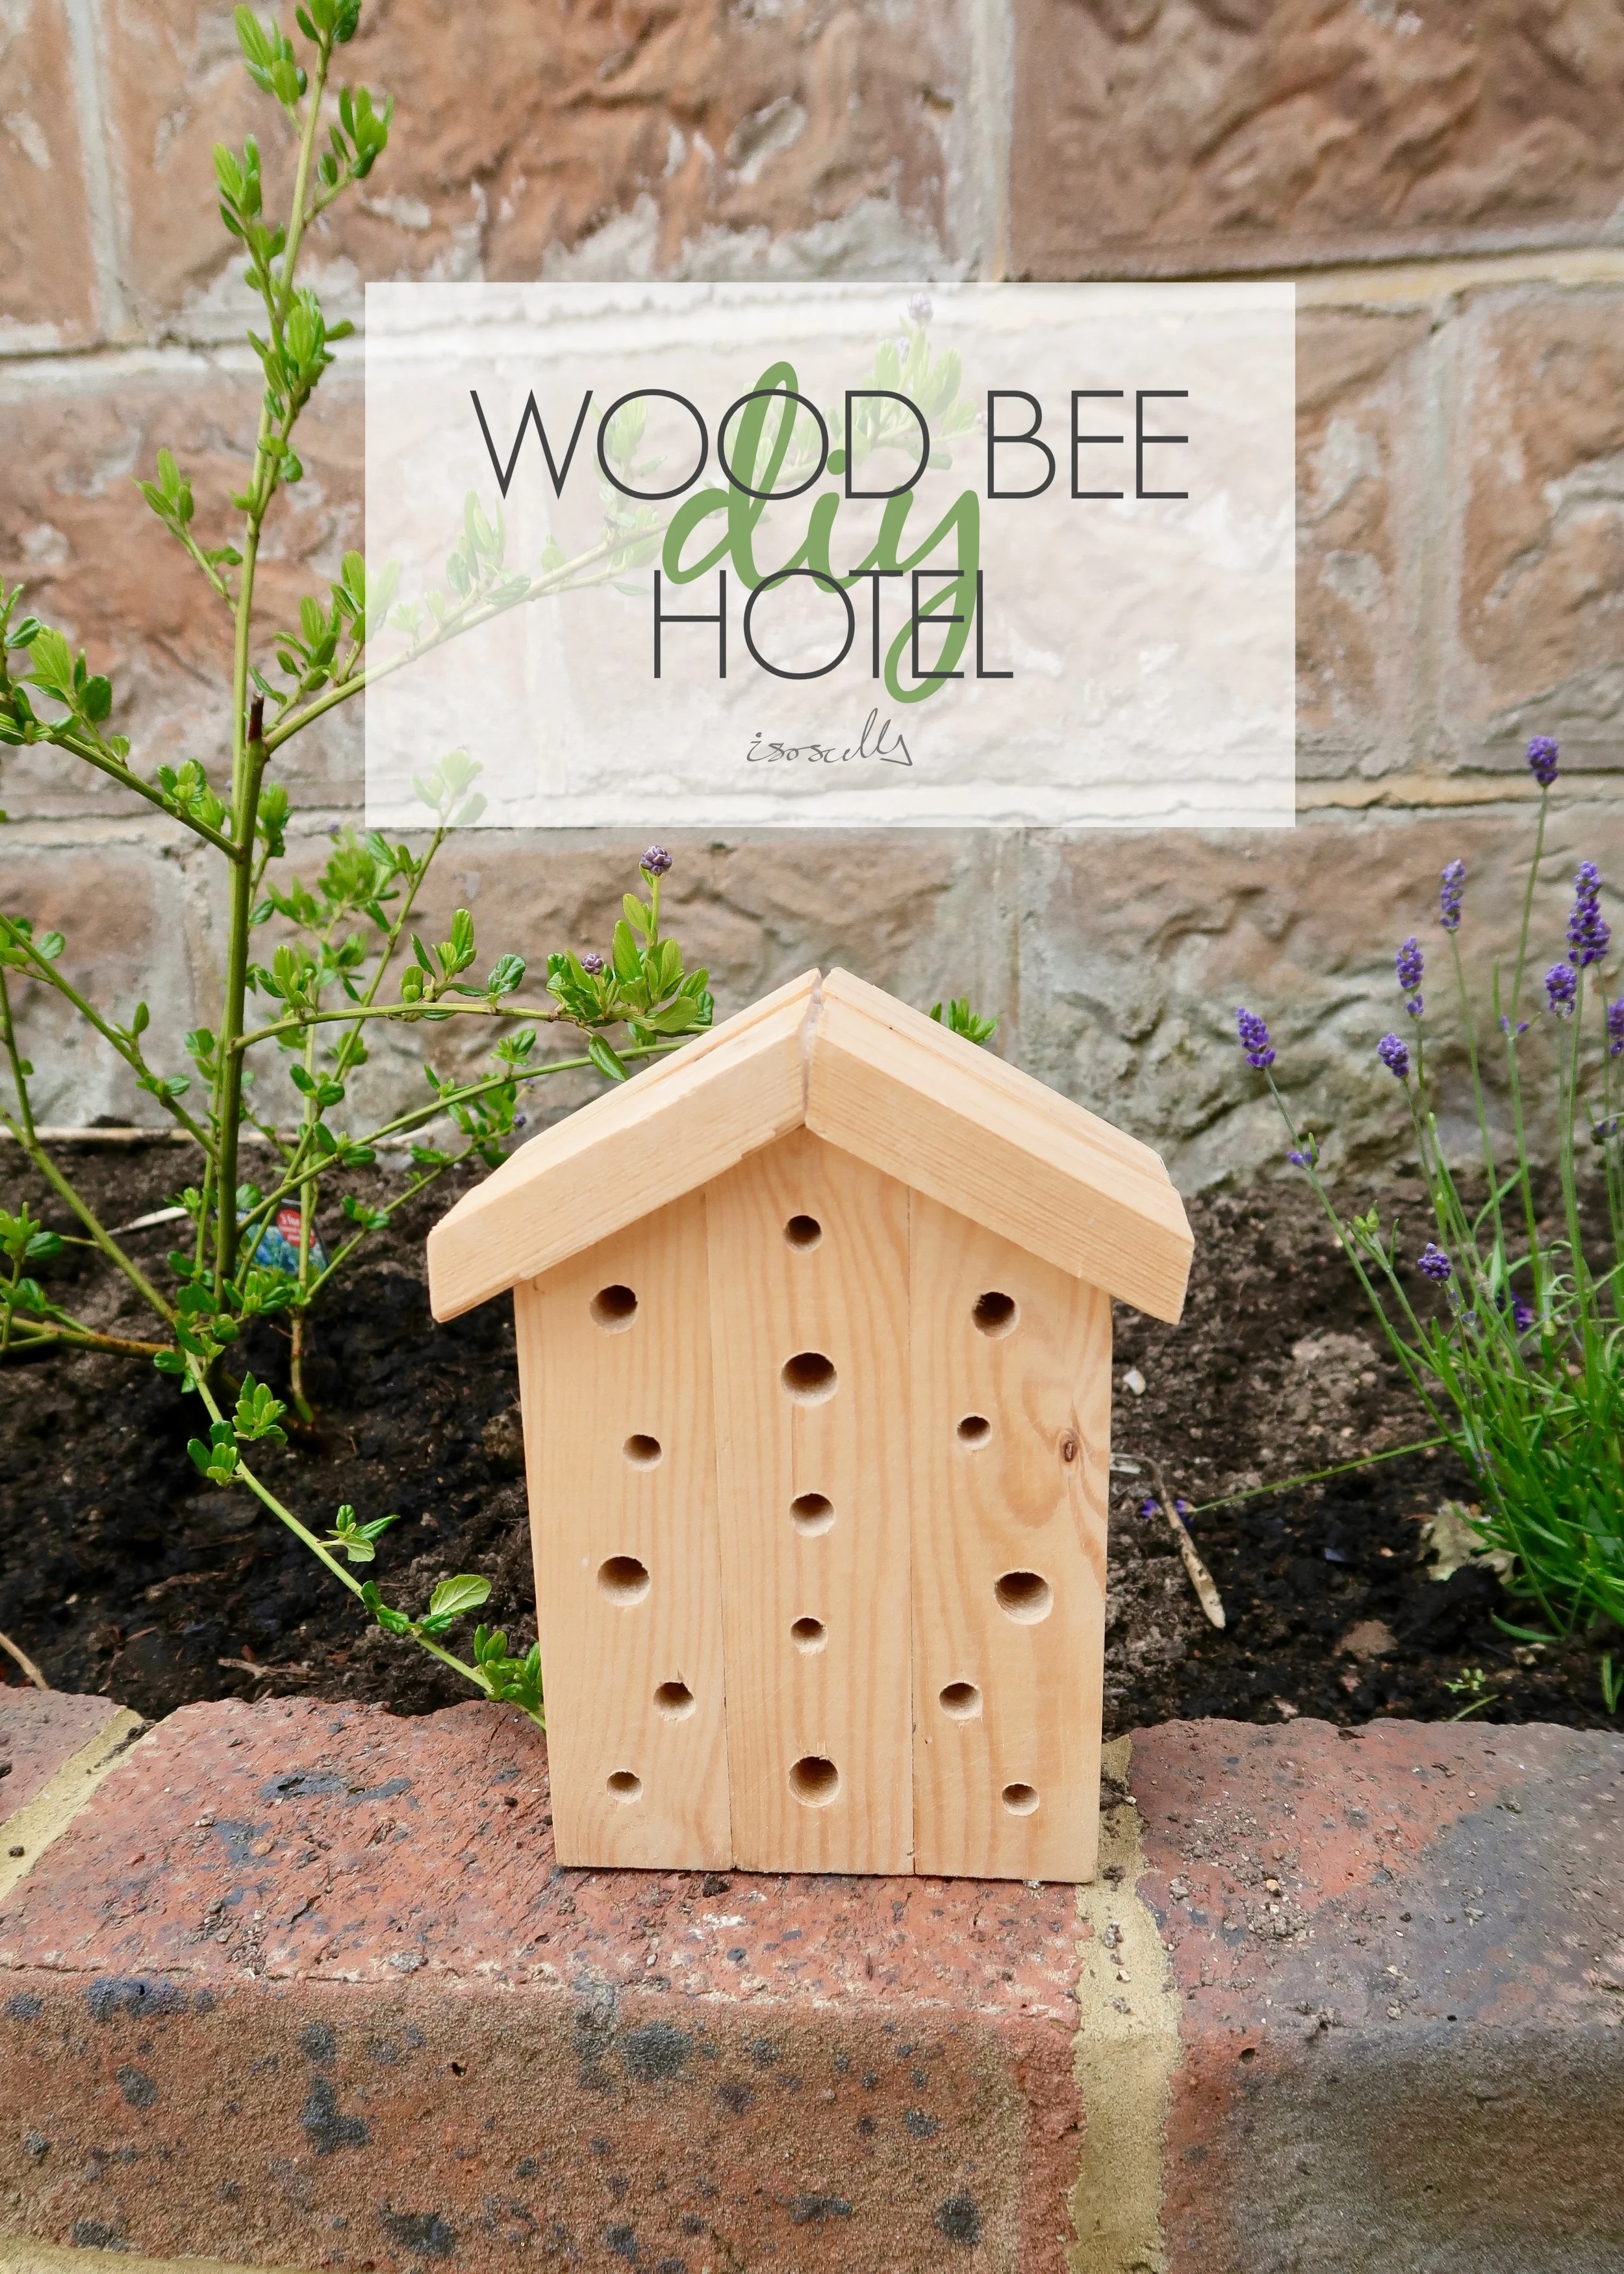
Use up those spare bits of wood with this super simple wooden bee hotel project!
I may be wrong, but this might only be my second EVER garden DIY. The first was a little hedgehog sign I made for my mum for mother’s day, but since that, I haven’t made anything for outside, which considering we’ve lived in our garden flat for a year now, is just plain rude. Finally I’m rectifying that, and here I’m sharing with you the tutorial for how I made this simple but adorable wooden bee or insect hotel.
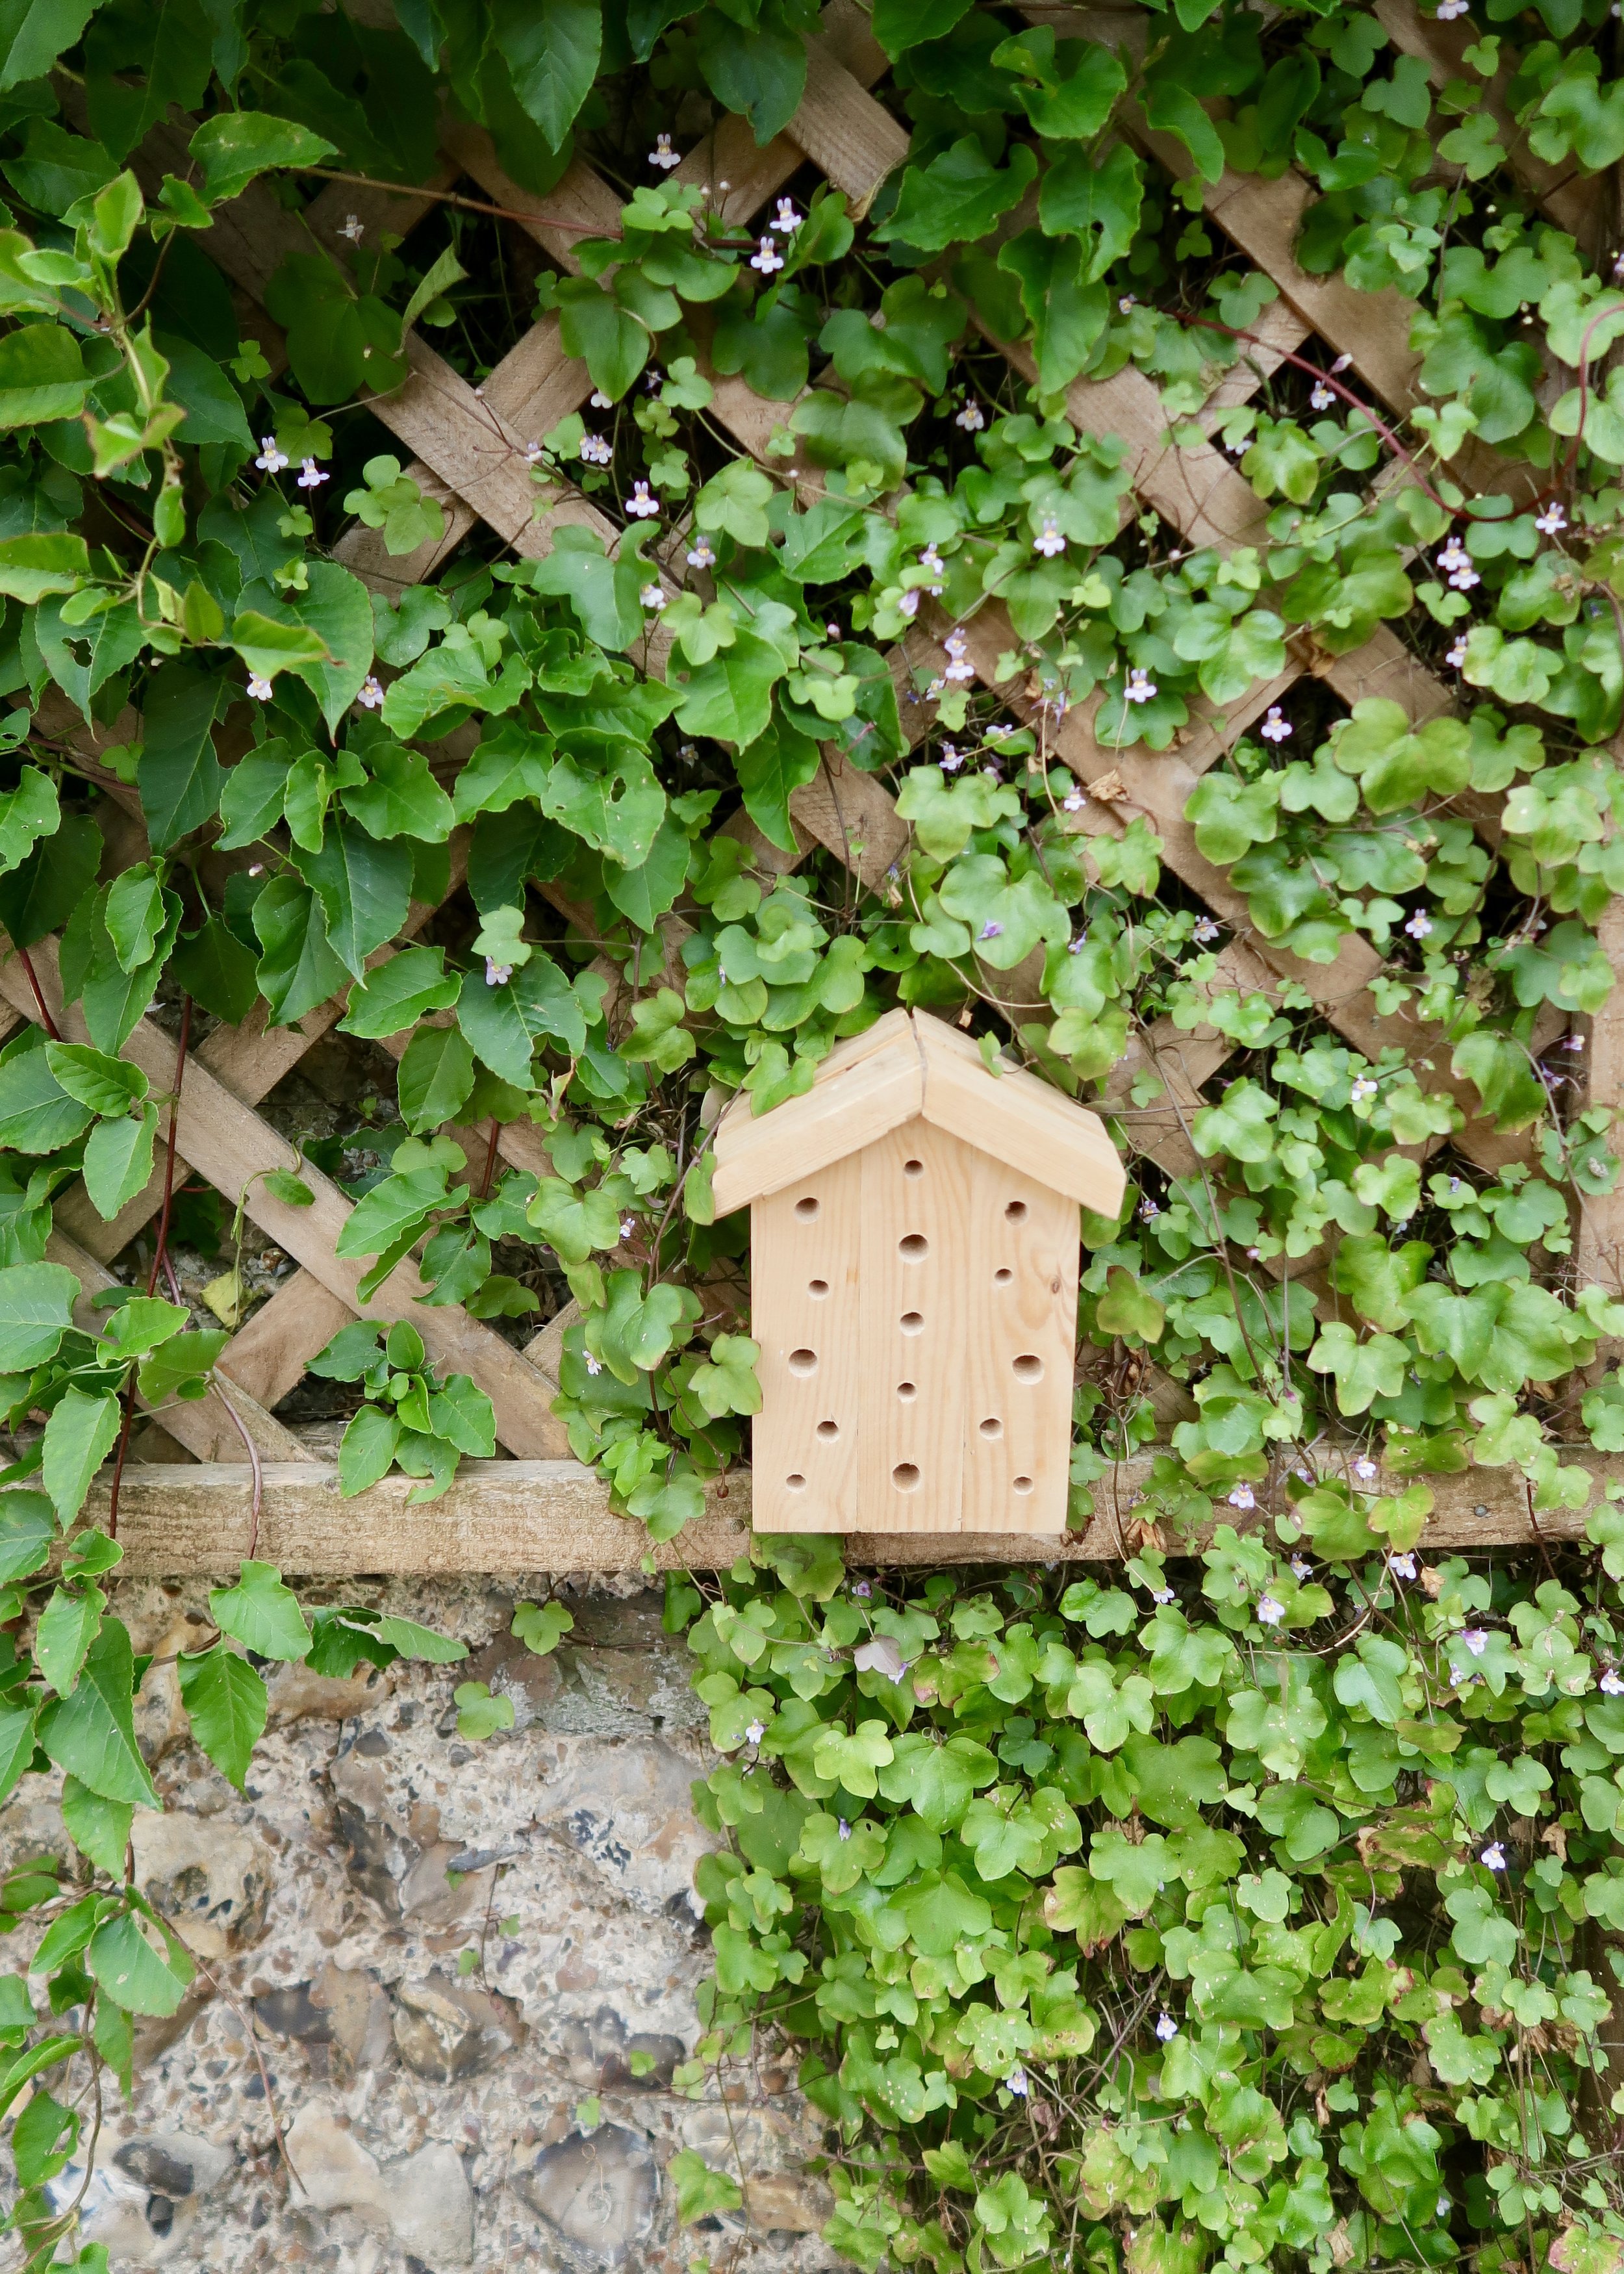
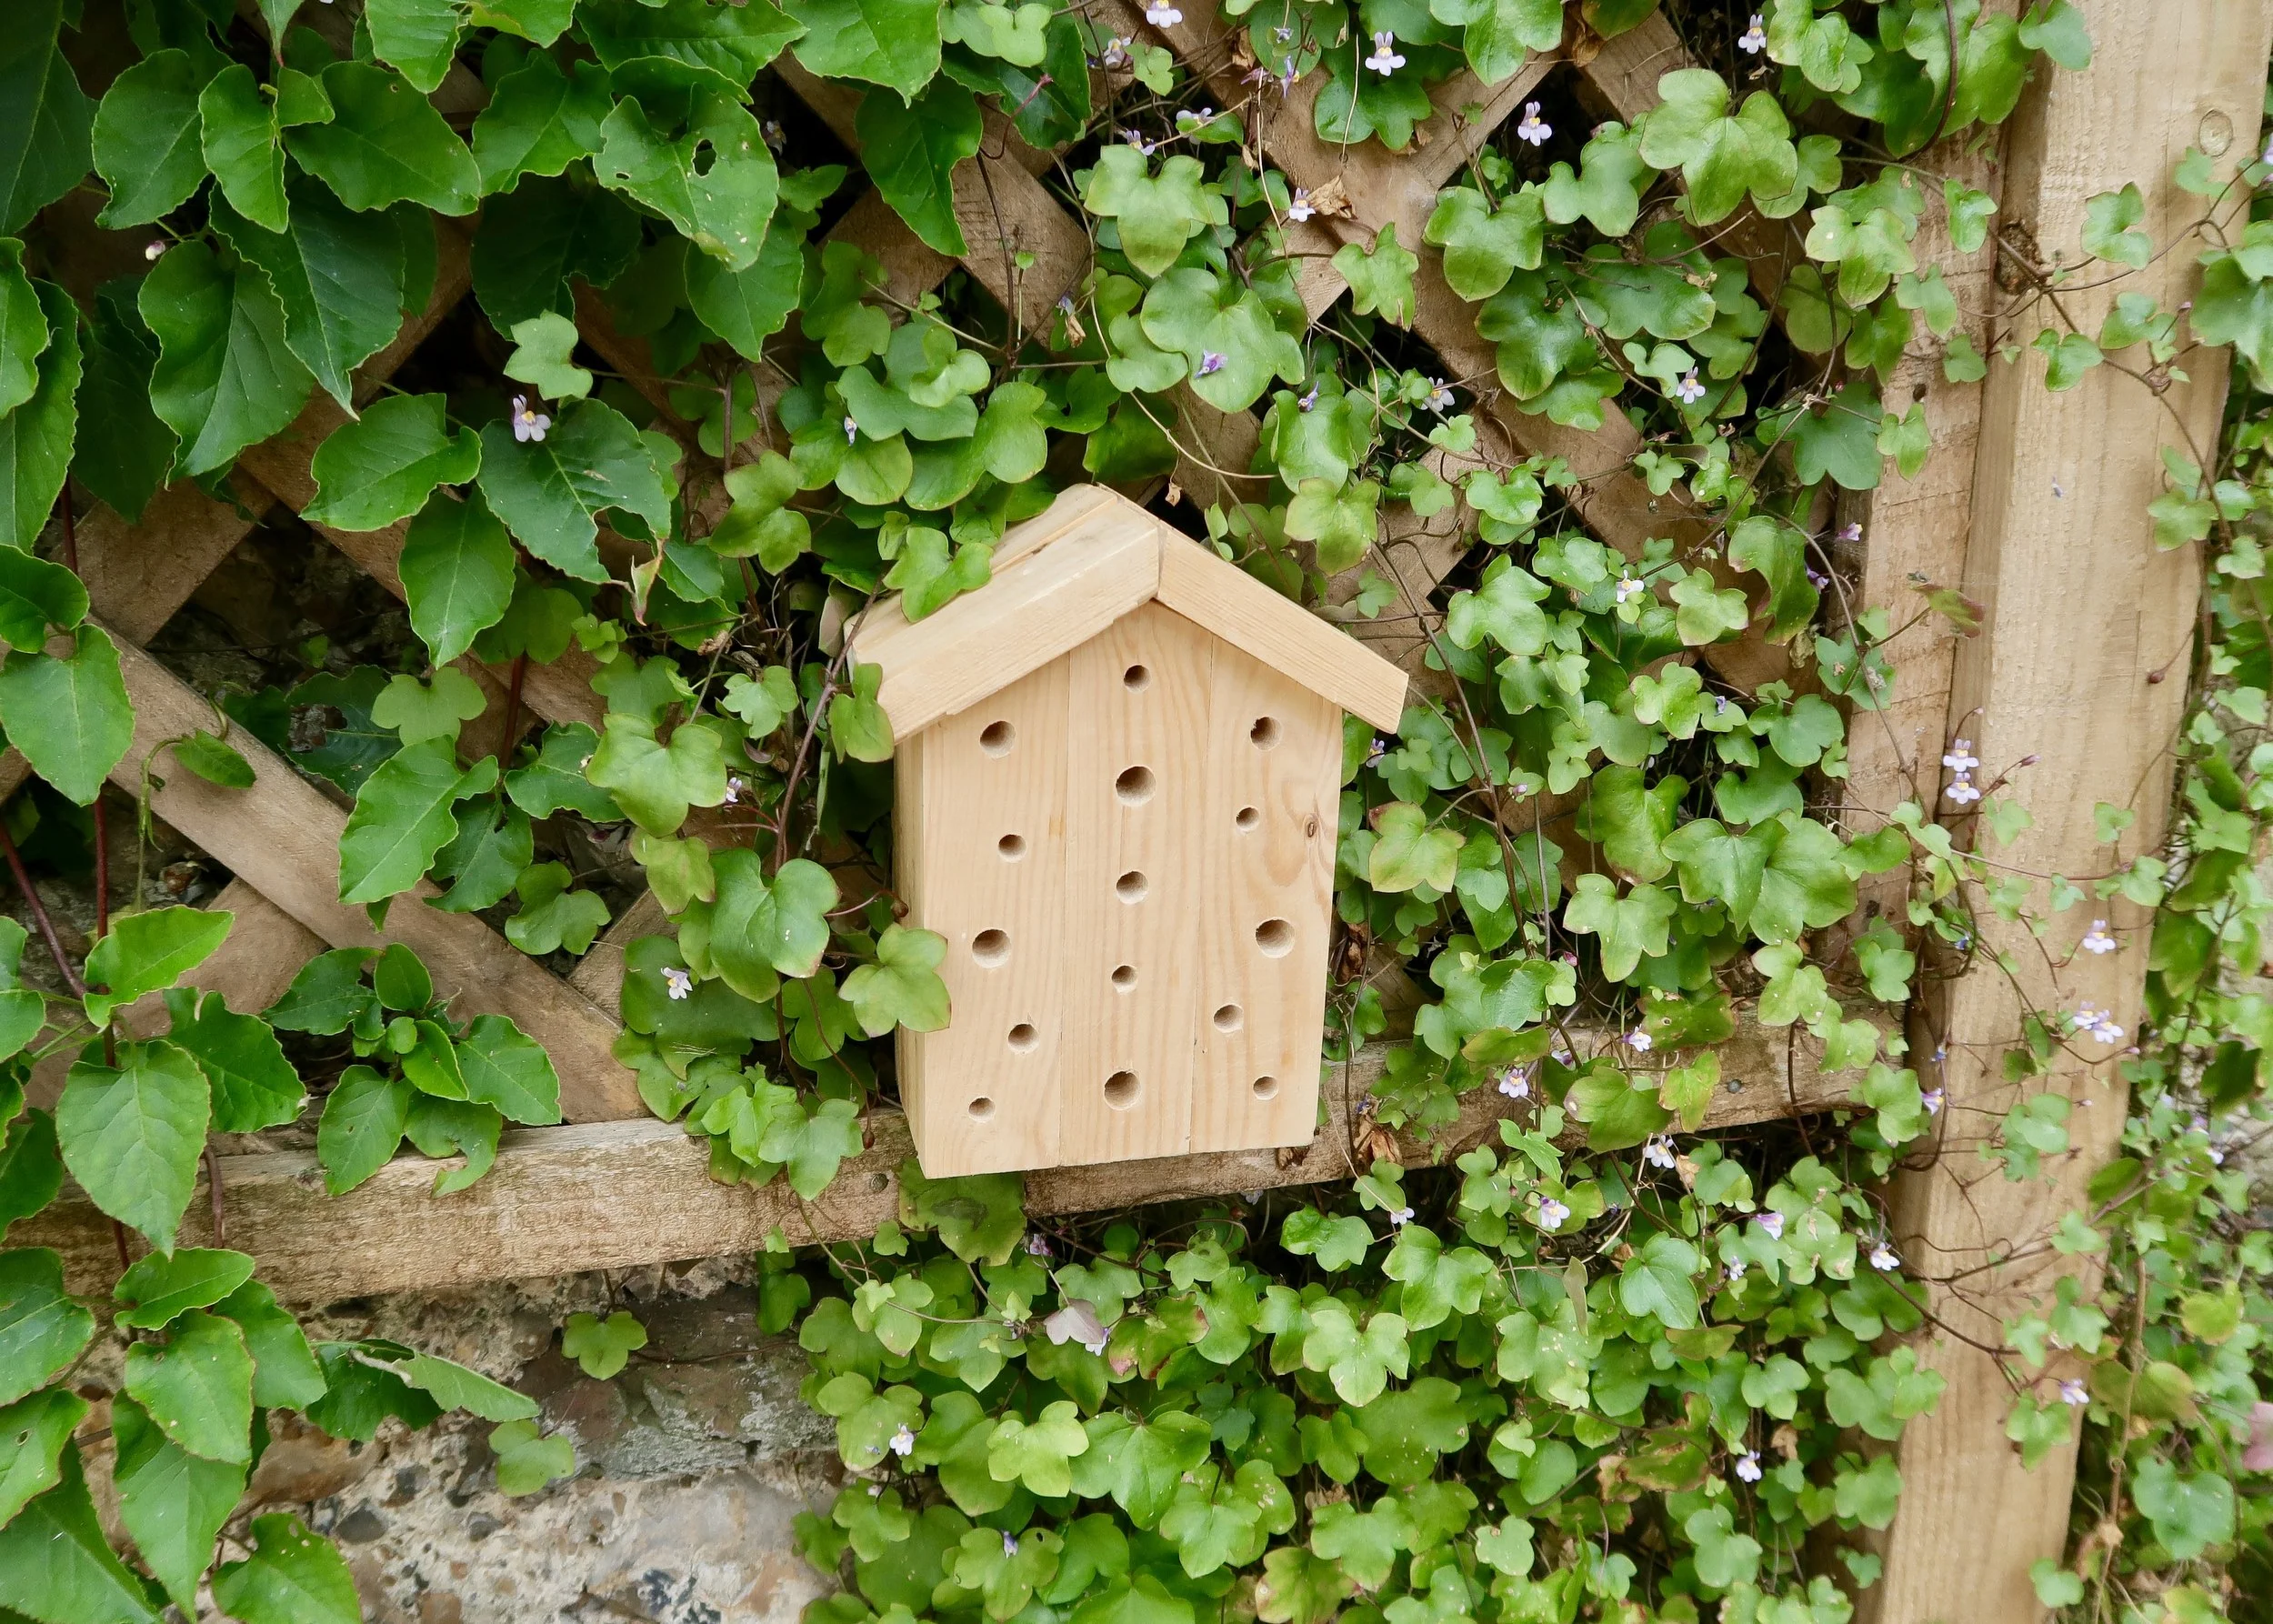
As we’ve been adding plants to our flower beds this summer, we’ve been really aware of trying to make it an urban retreat for bees and butterflies. We started out by getting some ‘bee bombs’, which are a great way to add pretty wildflowers to your garden whilst being a tasty treat for bees, and so it felt only natural to add a bee hotel. Bees are incredibly important pollinators, but worryingly they’re on the decline, and so having plants and a place for them to nest, can be really helpful. Bee hotels are pretty much everywhere at this time of year, so if you don’t fancy making one yourself, it should be easy to find one at a reasonable price.
When I was planning my bee hotel, I read around to find out what our black and yellow furry friends like, and I was suprised to find out that a lot of the bee hotels you can buy aren’t actually suitable for them (despite being called bee hotels!). So if it’s the bees you really want to support, then be sure to check that what your buying is suitable. I couldn’t find out much about how bees feel about wood glue (any ideas?), so I used just enough to secure the hotel, without overdoing it. I really enjoyed using a saw and drill for this, which I probably haven’t used since school, and it’s definitely given me the confidence to have a go at projects in the future, which I might have otherwise avoided. Keep reading to find out exactly what I used and how I made it…


Wood
Wood saw
Wood glue
Power drill


1.
I used an old strip of wood I found in my parents’ garage for this, which was approximately 3cm in width. I cut it up into lengths of wood that were 15cm long, and used 16 of these for this project.

2.
Once cut, I positioned the lengths into threes, and marked 12cm up the outer side of the outer lengths. I then found the mid-point of the centre length, and marked15cm at the top of this. I then drew lines between these points to create a house-like shape. I repeated this on another 3 sets of lengths, but you can add as many as you like at this point as this will determine the depth of your hotel.

3.
Using a saw, I then cut along all of these lines. and glued them together with wood glue to create four 2D house-like shapes (you may have more!). Be sure to match up the bottom of the lengths and leave these to dry for as long as directed on your glue.

4.
Once the glue is dry, glue these 2D shapes on top of each other to create a 3D house shape. Again, be sure to line up the bottom as best as you can and leave it to dry completely. Using a sanding block and sand paper, I then evened out the top, bottom and sides.
5.
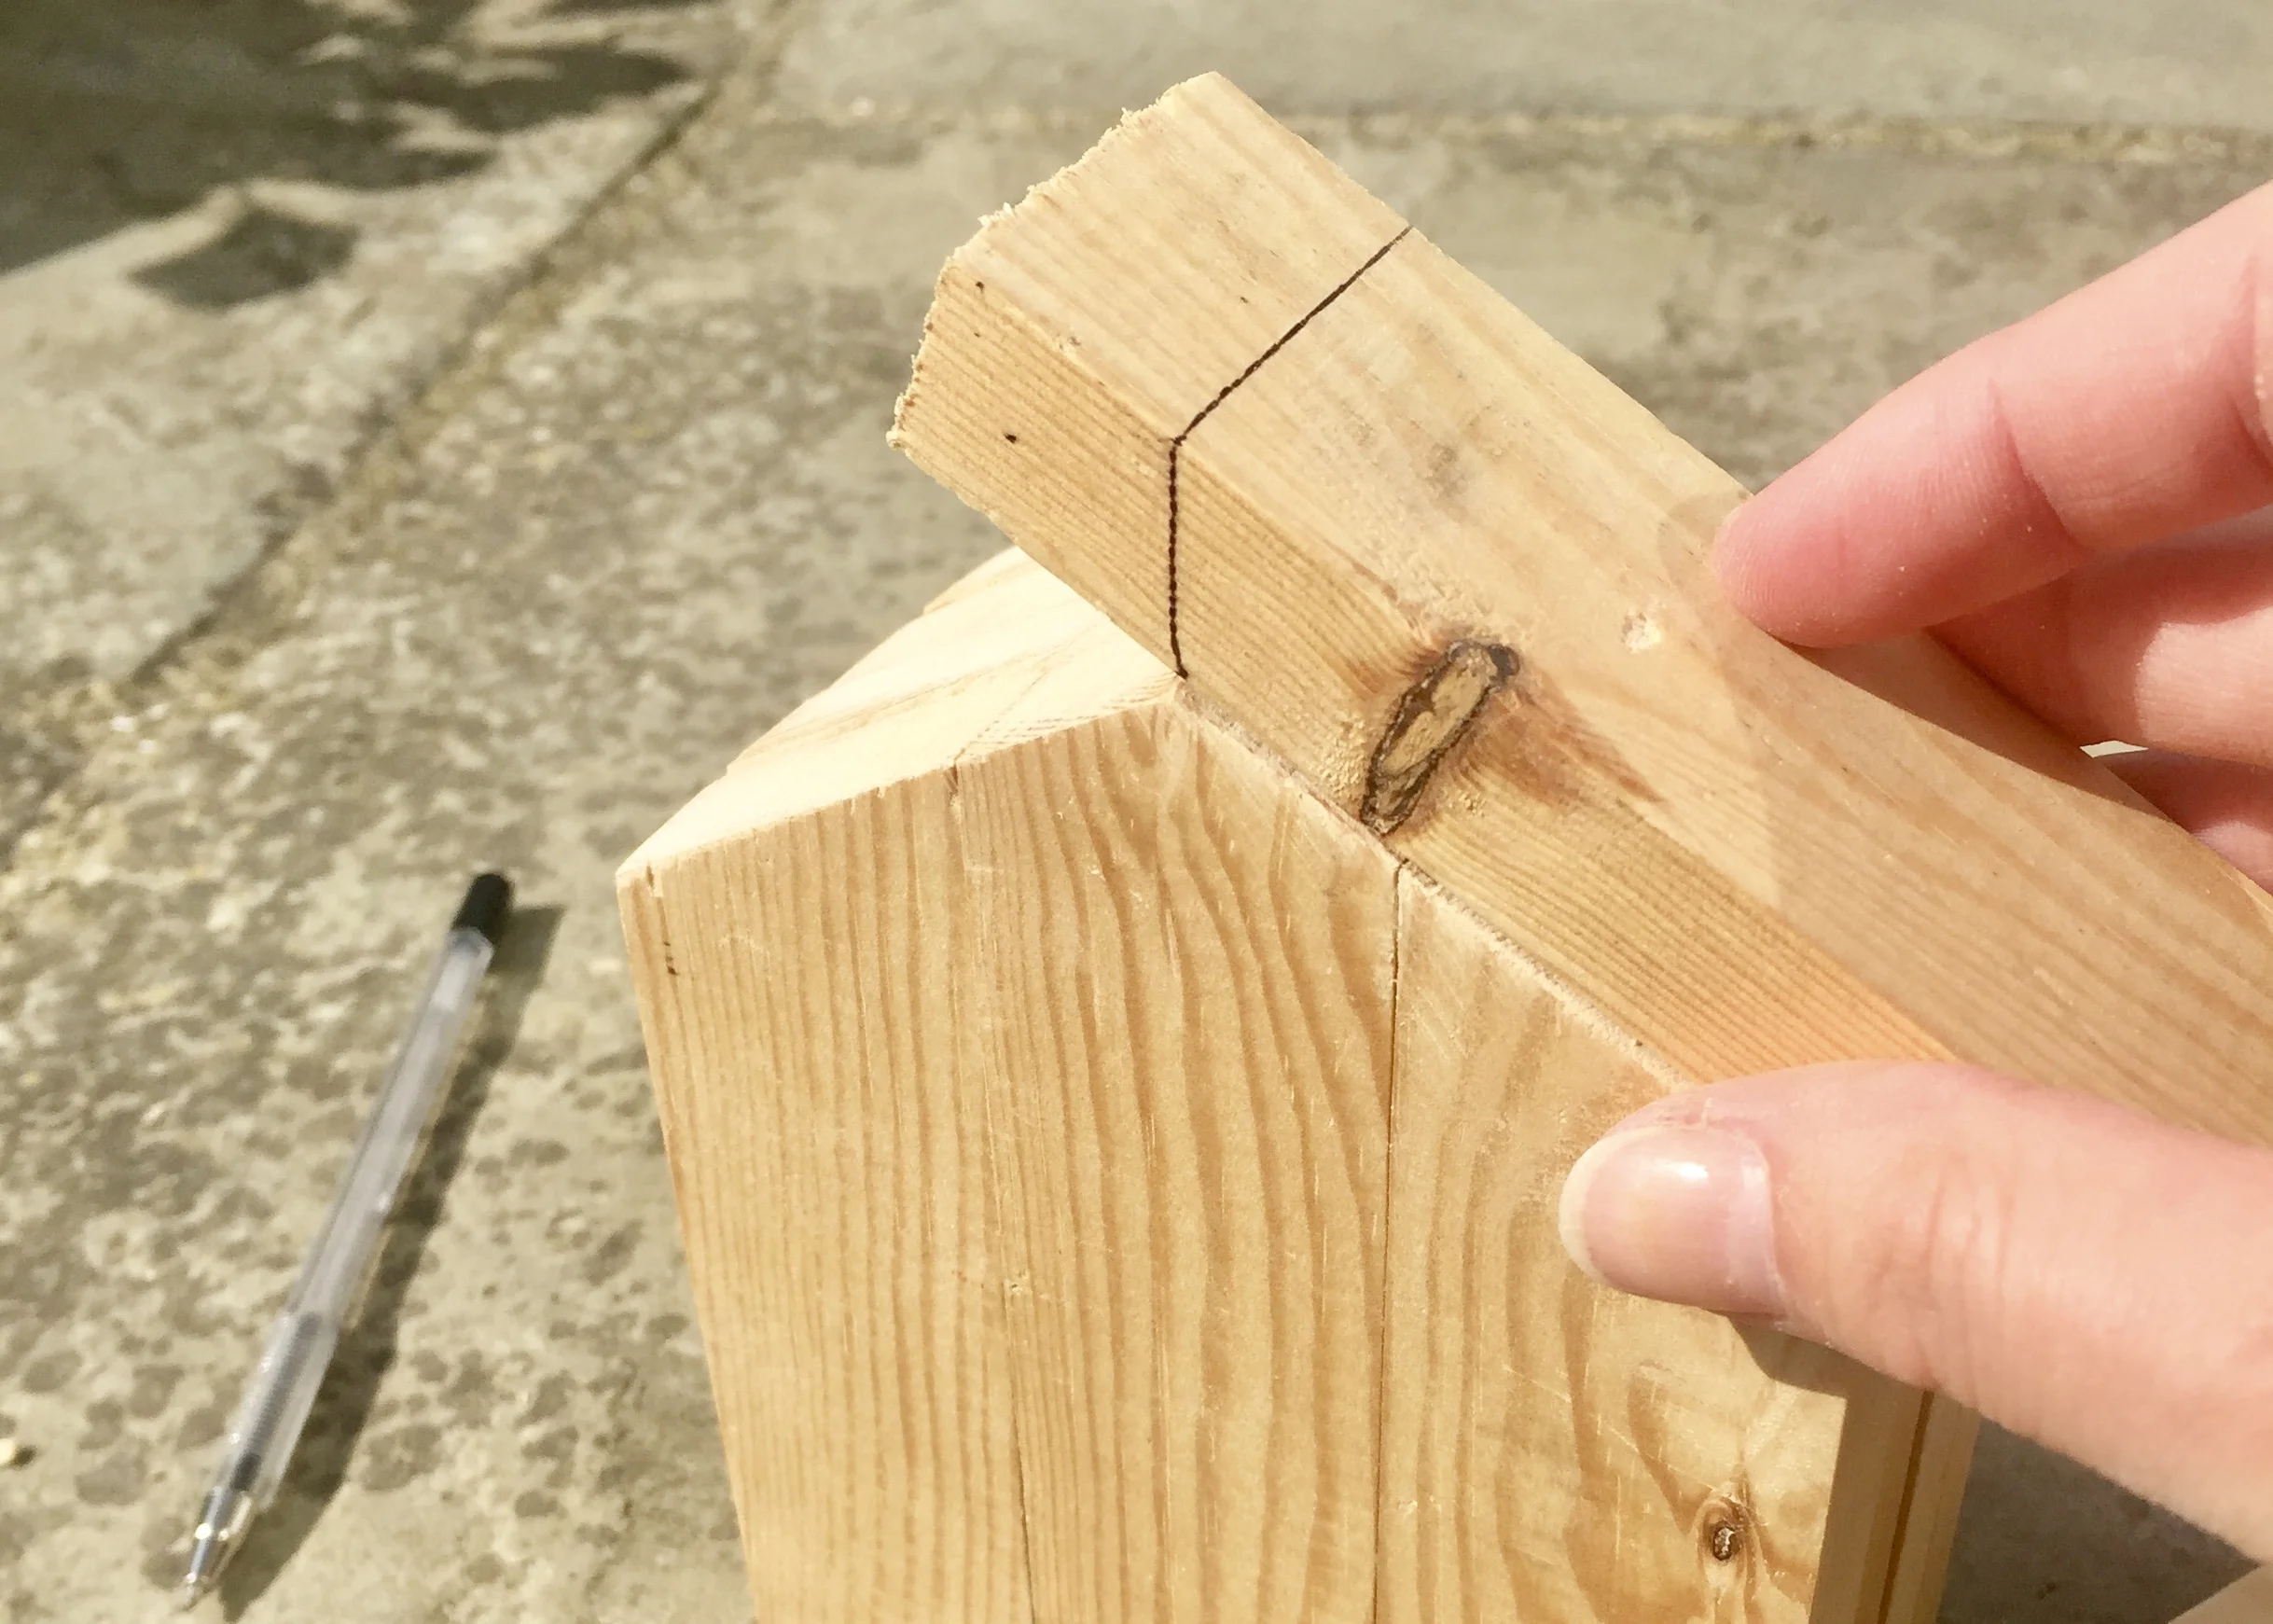
With the remaining 4 lengths of wood, I used these to create a roof for my bee hotel by positioning them on the house and marking where I would need to cut. I wanted the roof to overhang a little bit and so on the outer edge I cut approximately 1.5cm more than I needed.

6.
Before sticking the roof on, you’ll want to drill the ‘rooms’ into your hotel. For this I used a power drill and three different sizes drill bits; 6cm, 7cm and 9cm. I marked out where I would drill my holes and made sure to leave sufficient space between them (no one likes to sleep too close to their neighbours!). Next, roll up some sanding paper and use these to tidy up the holes.

7.
Finally, use wood glue to stick the roof of your bee hotel on. I made sure to stick the back pieces of the roof on first, so that I had an overhang at the front as well, and then left this to dry completely.