
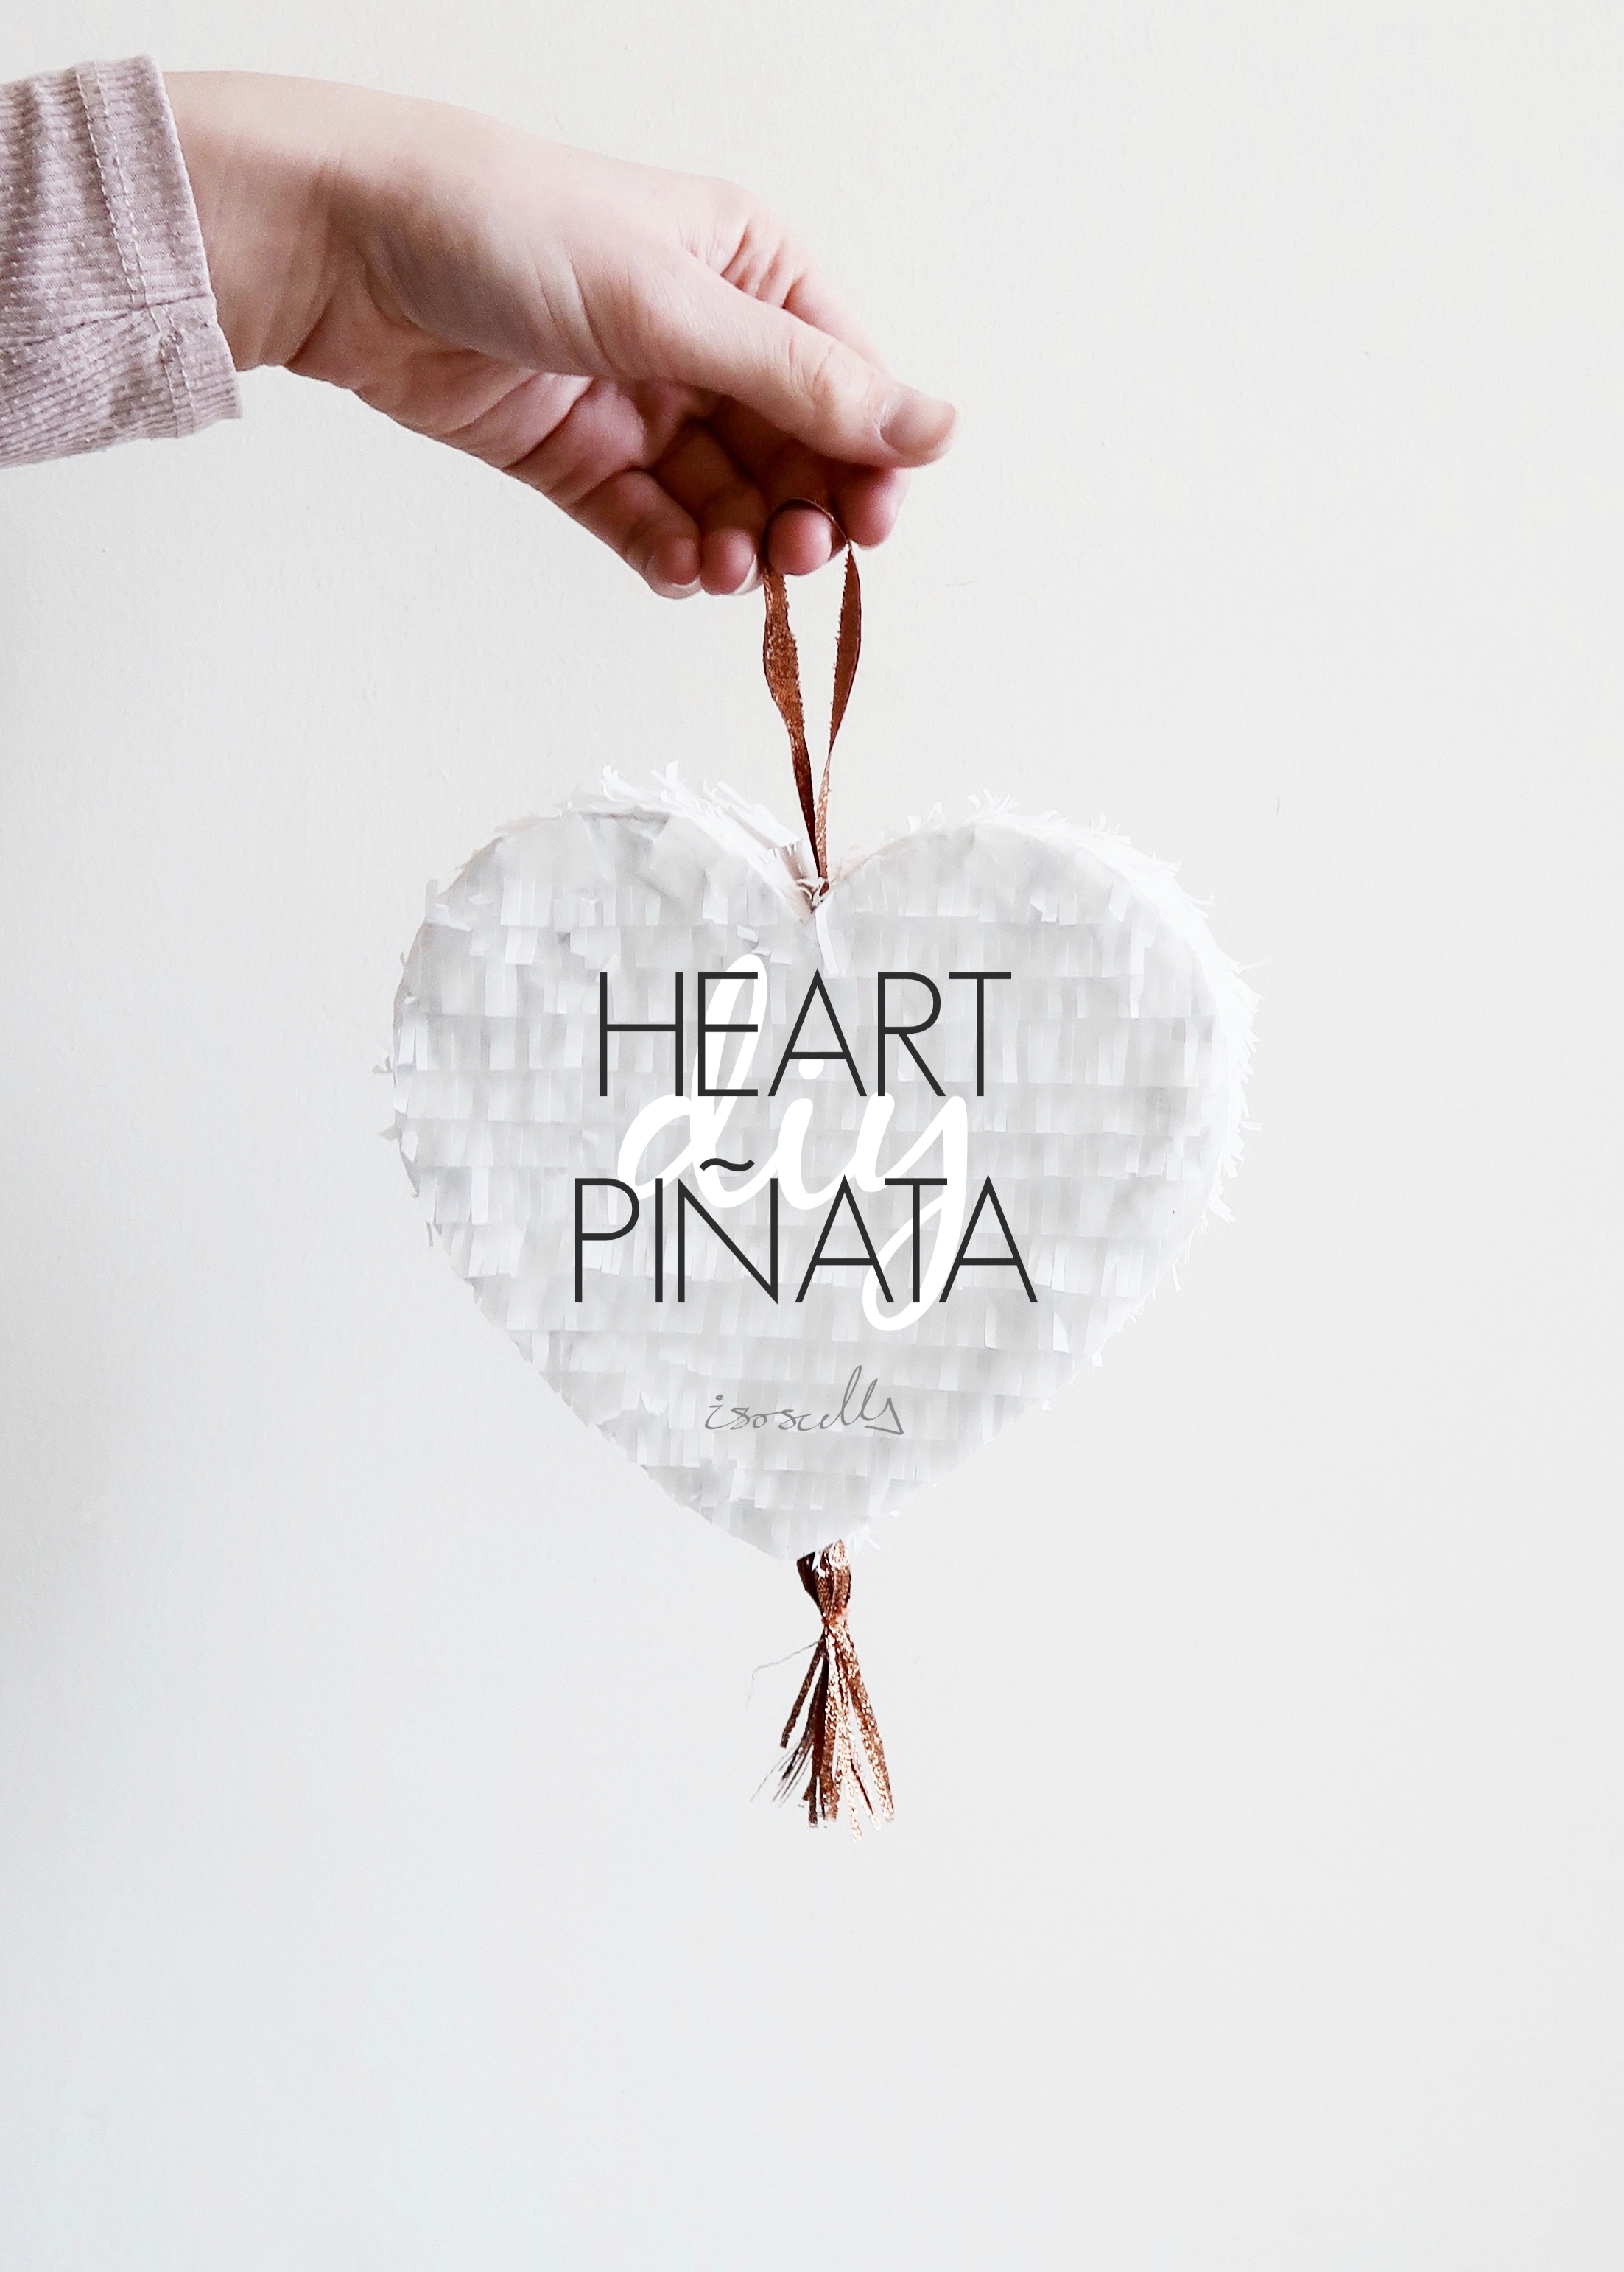


Is it really a celebration without a piñata? If you agree, you're going to love this easy and chic DIY white and copper heart piñata - the perfect party accessory or fun gift wrap idea for mother's day, valentines, and pretty much any other occasion!
So I thought of and started this DIY last year, intending to share it at some point in 2017, but with one thing and another I never got around to finishing it and sharing it on here. I'm really glad that I finally picked it up again and finished it off because I love how it turned out. I particularly love the white and copper together and just adore this rose gold / copper ribbon, which I picked up last Christmas at a craft fair in Brighton. I read a few months ago that copper as a trend 'was over', but as you can see it's still going strong in my world and I really don't see me getting over it anytime soon! Keep reading to find out how I made it and what I used...


1.
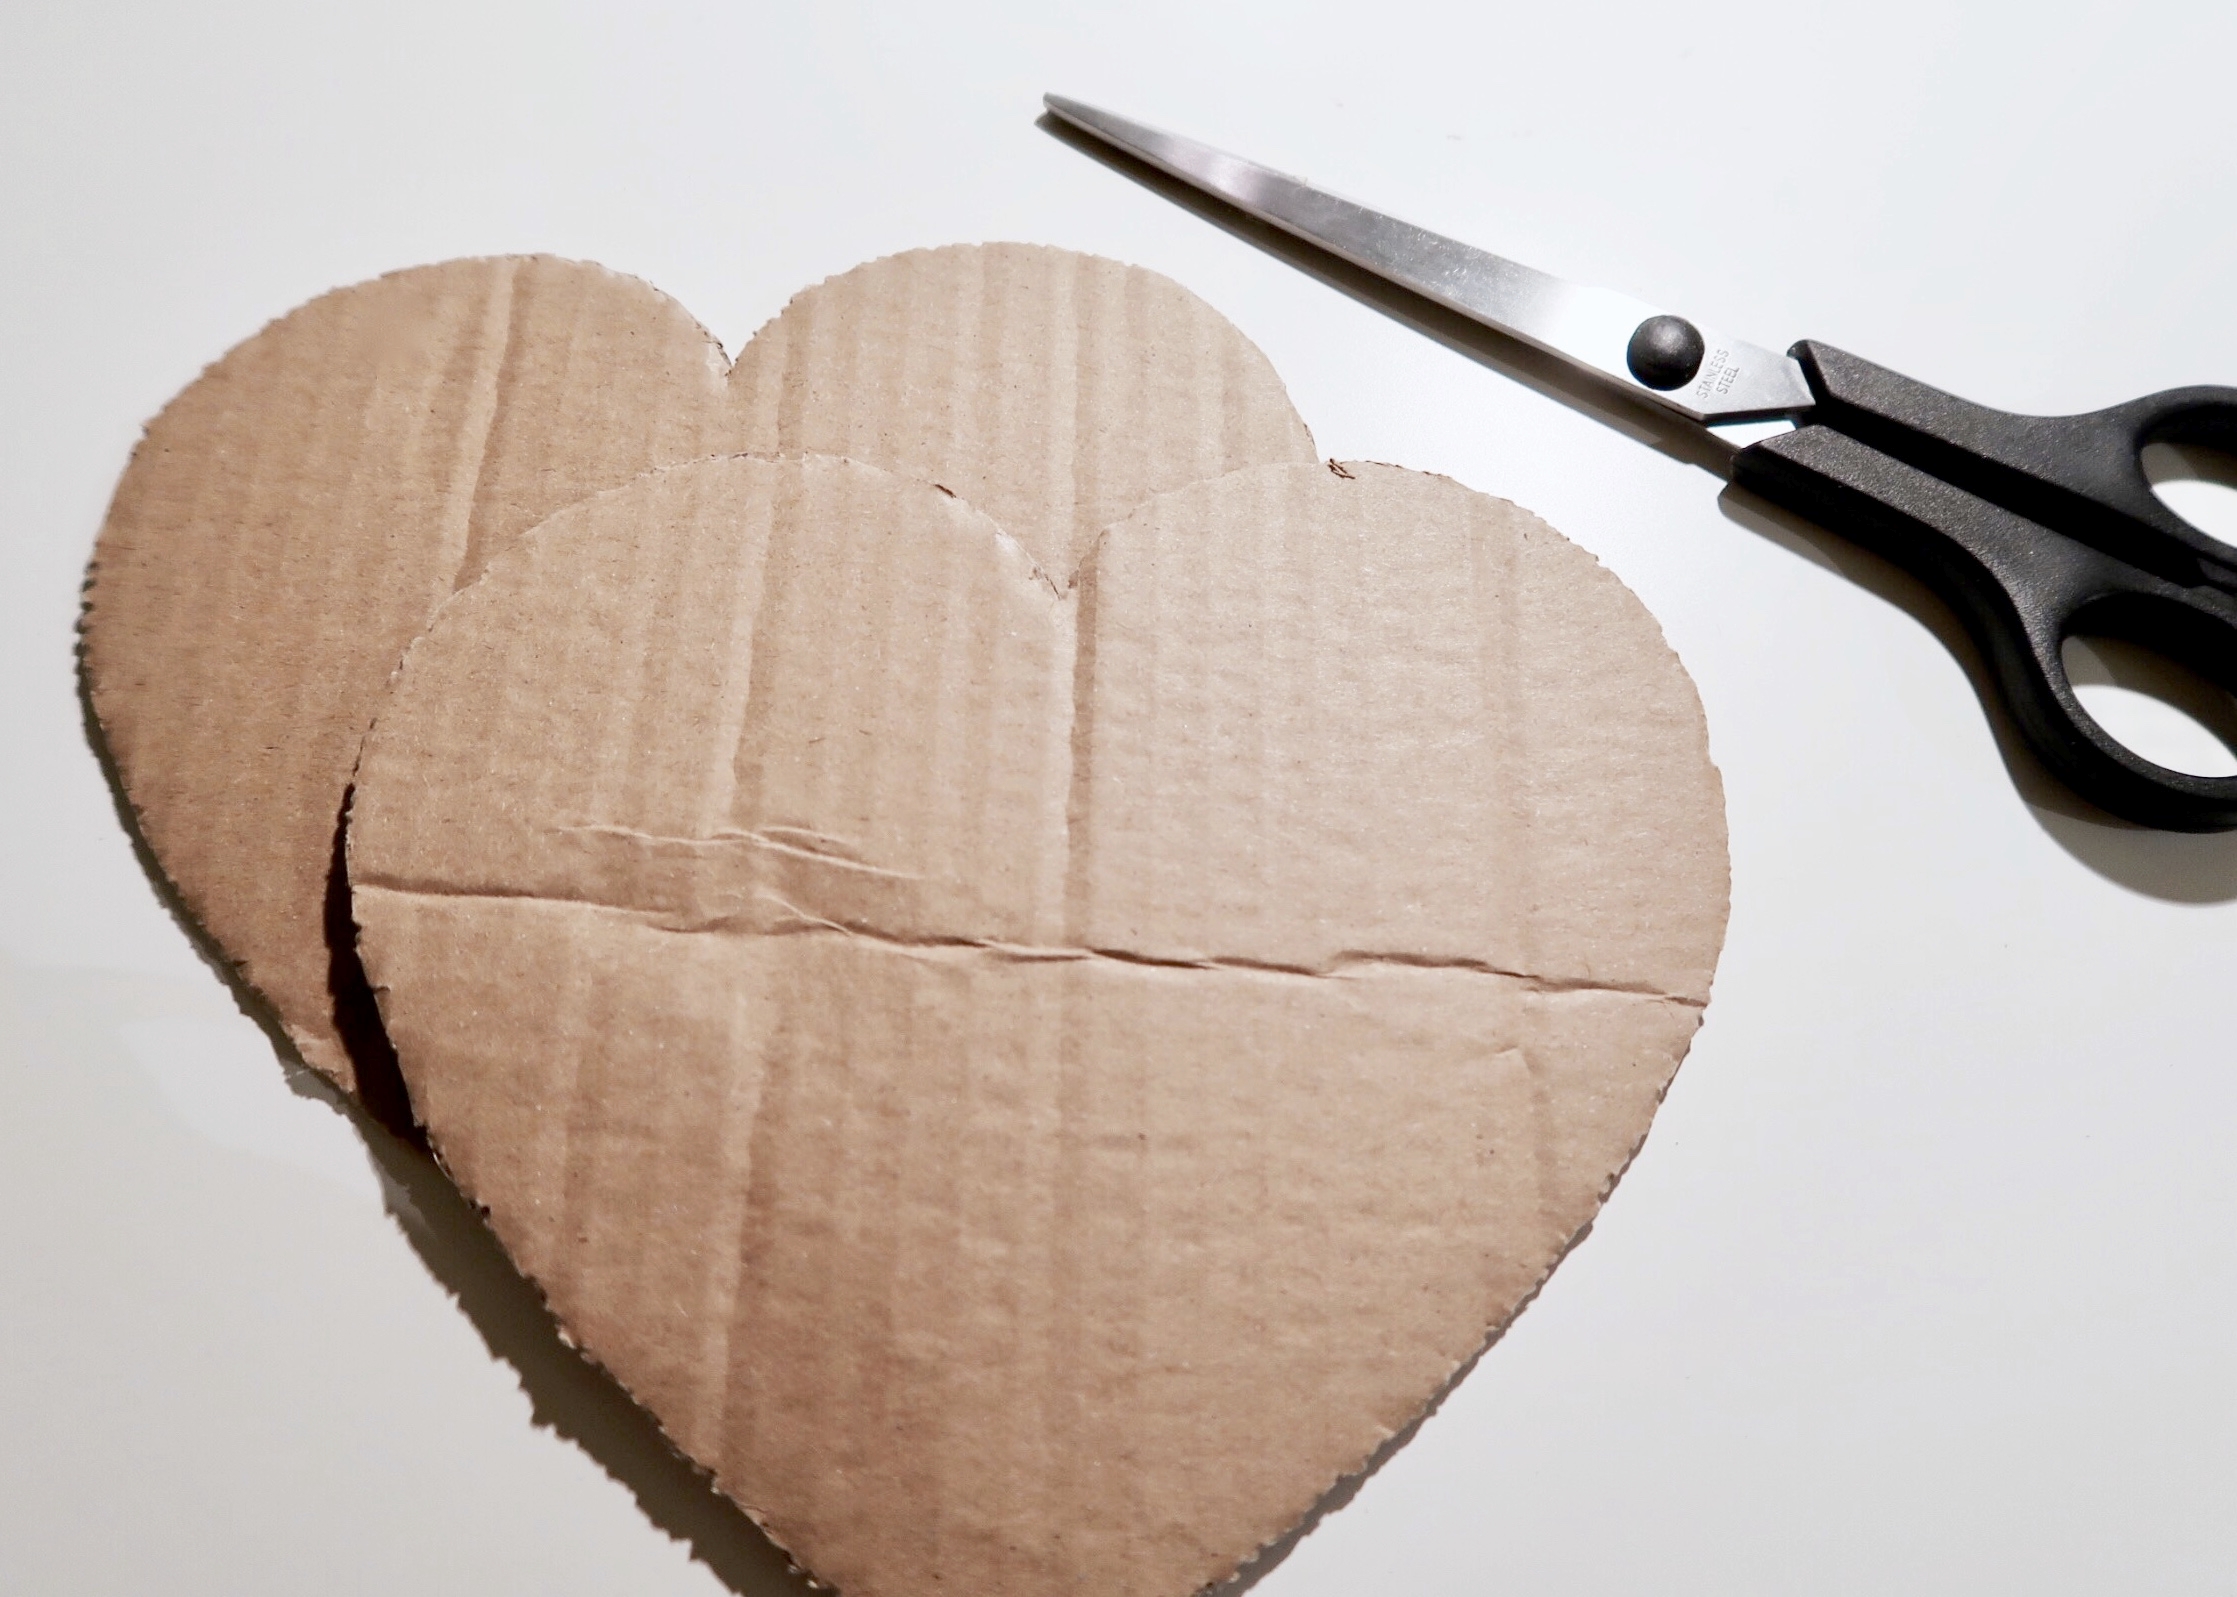
First of all, cut out two heart shapes from cardboard. I used a template to make sure my shapes were identical. These will form the top and bottom of your pinata.

2.
Next, cut out two strips out from thinner and bendier card. The length of these strips should be the same as the perimeter of one half of your heart, and the width can be however tall you'd like your pinata to be.

3.
Secure the sides of your pinata to one of the cardboard heart shapes using glue and reinforce with tape if necessary. Ensure that the two strips are also secured to each other at the top and apex of the pinata.
4.
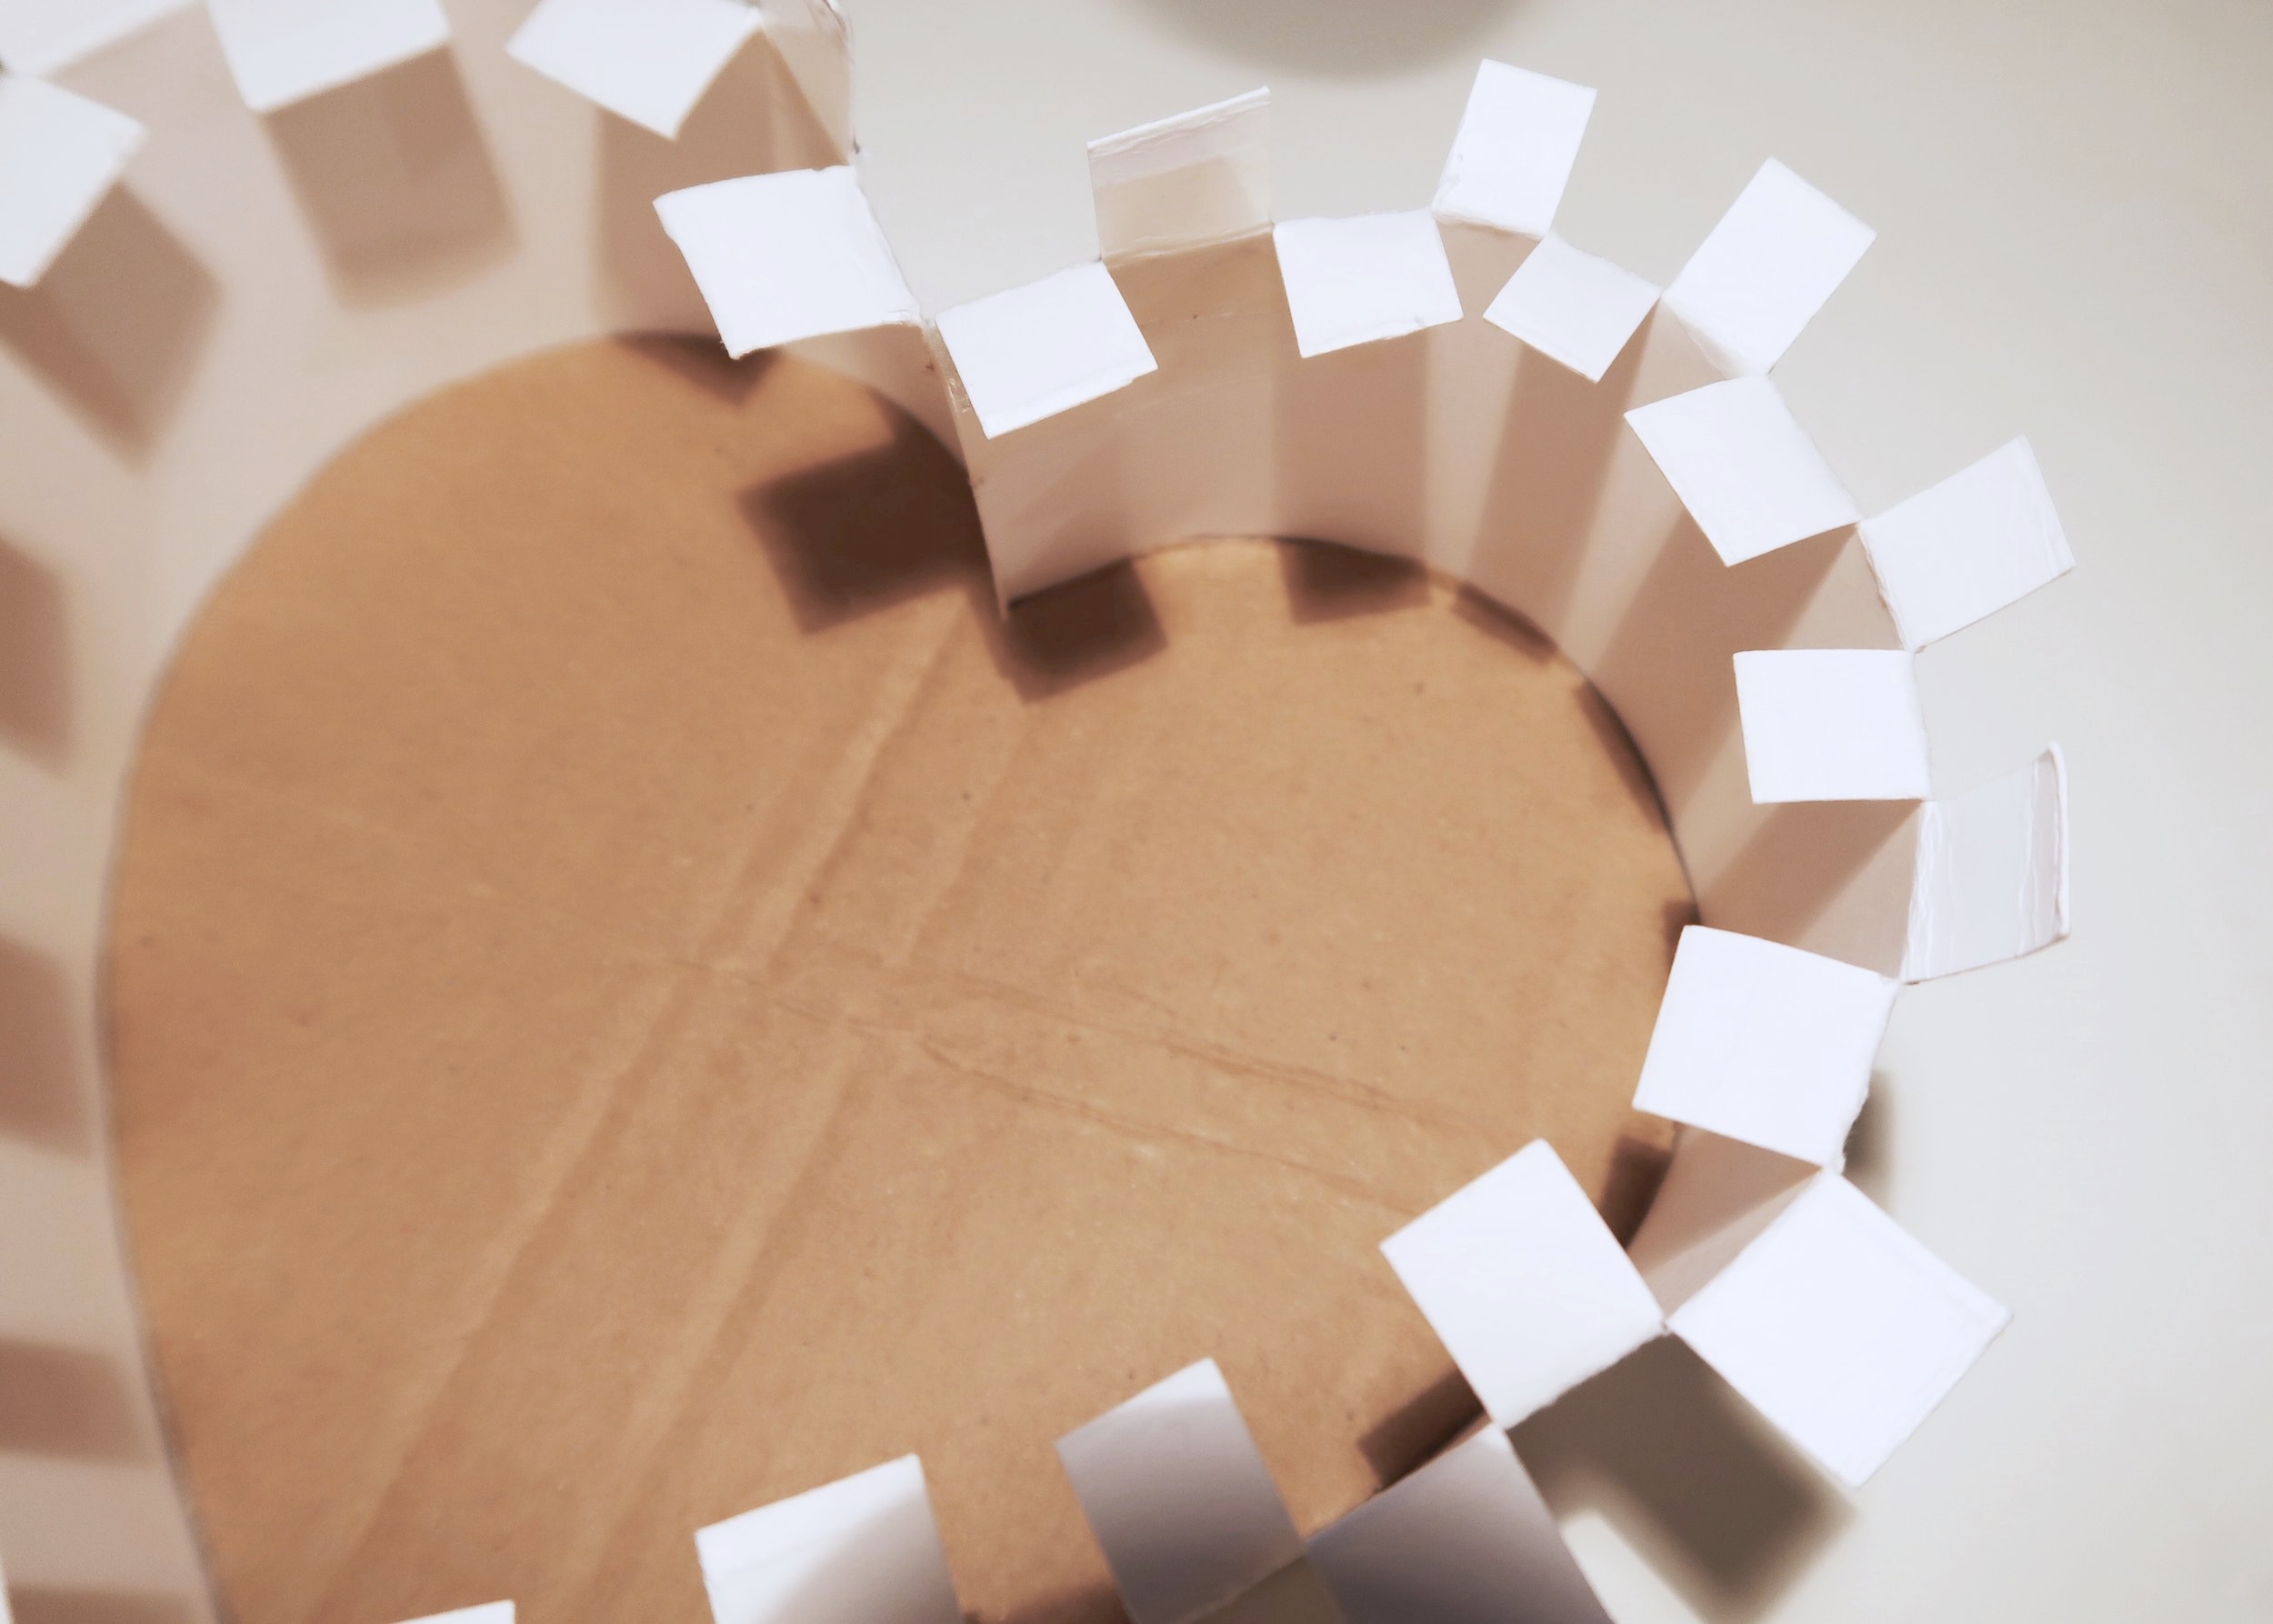
Next, turn your pinata over so that the thinner cardboard sides are facing up. Using a pair of scissors, carefully cut into the sides by about 1cm and at 1cm intervals to form tabs. Fold every other tab towards the centre of the pinata.
5.
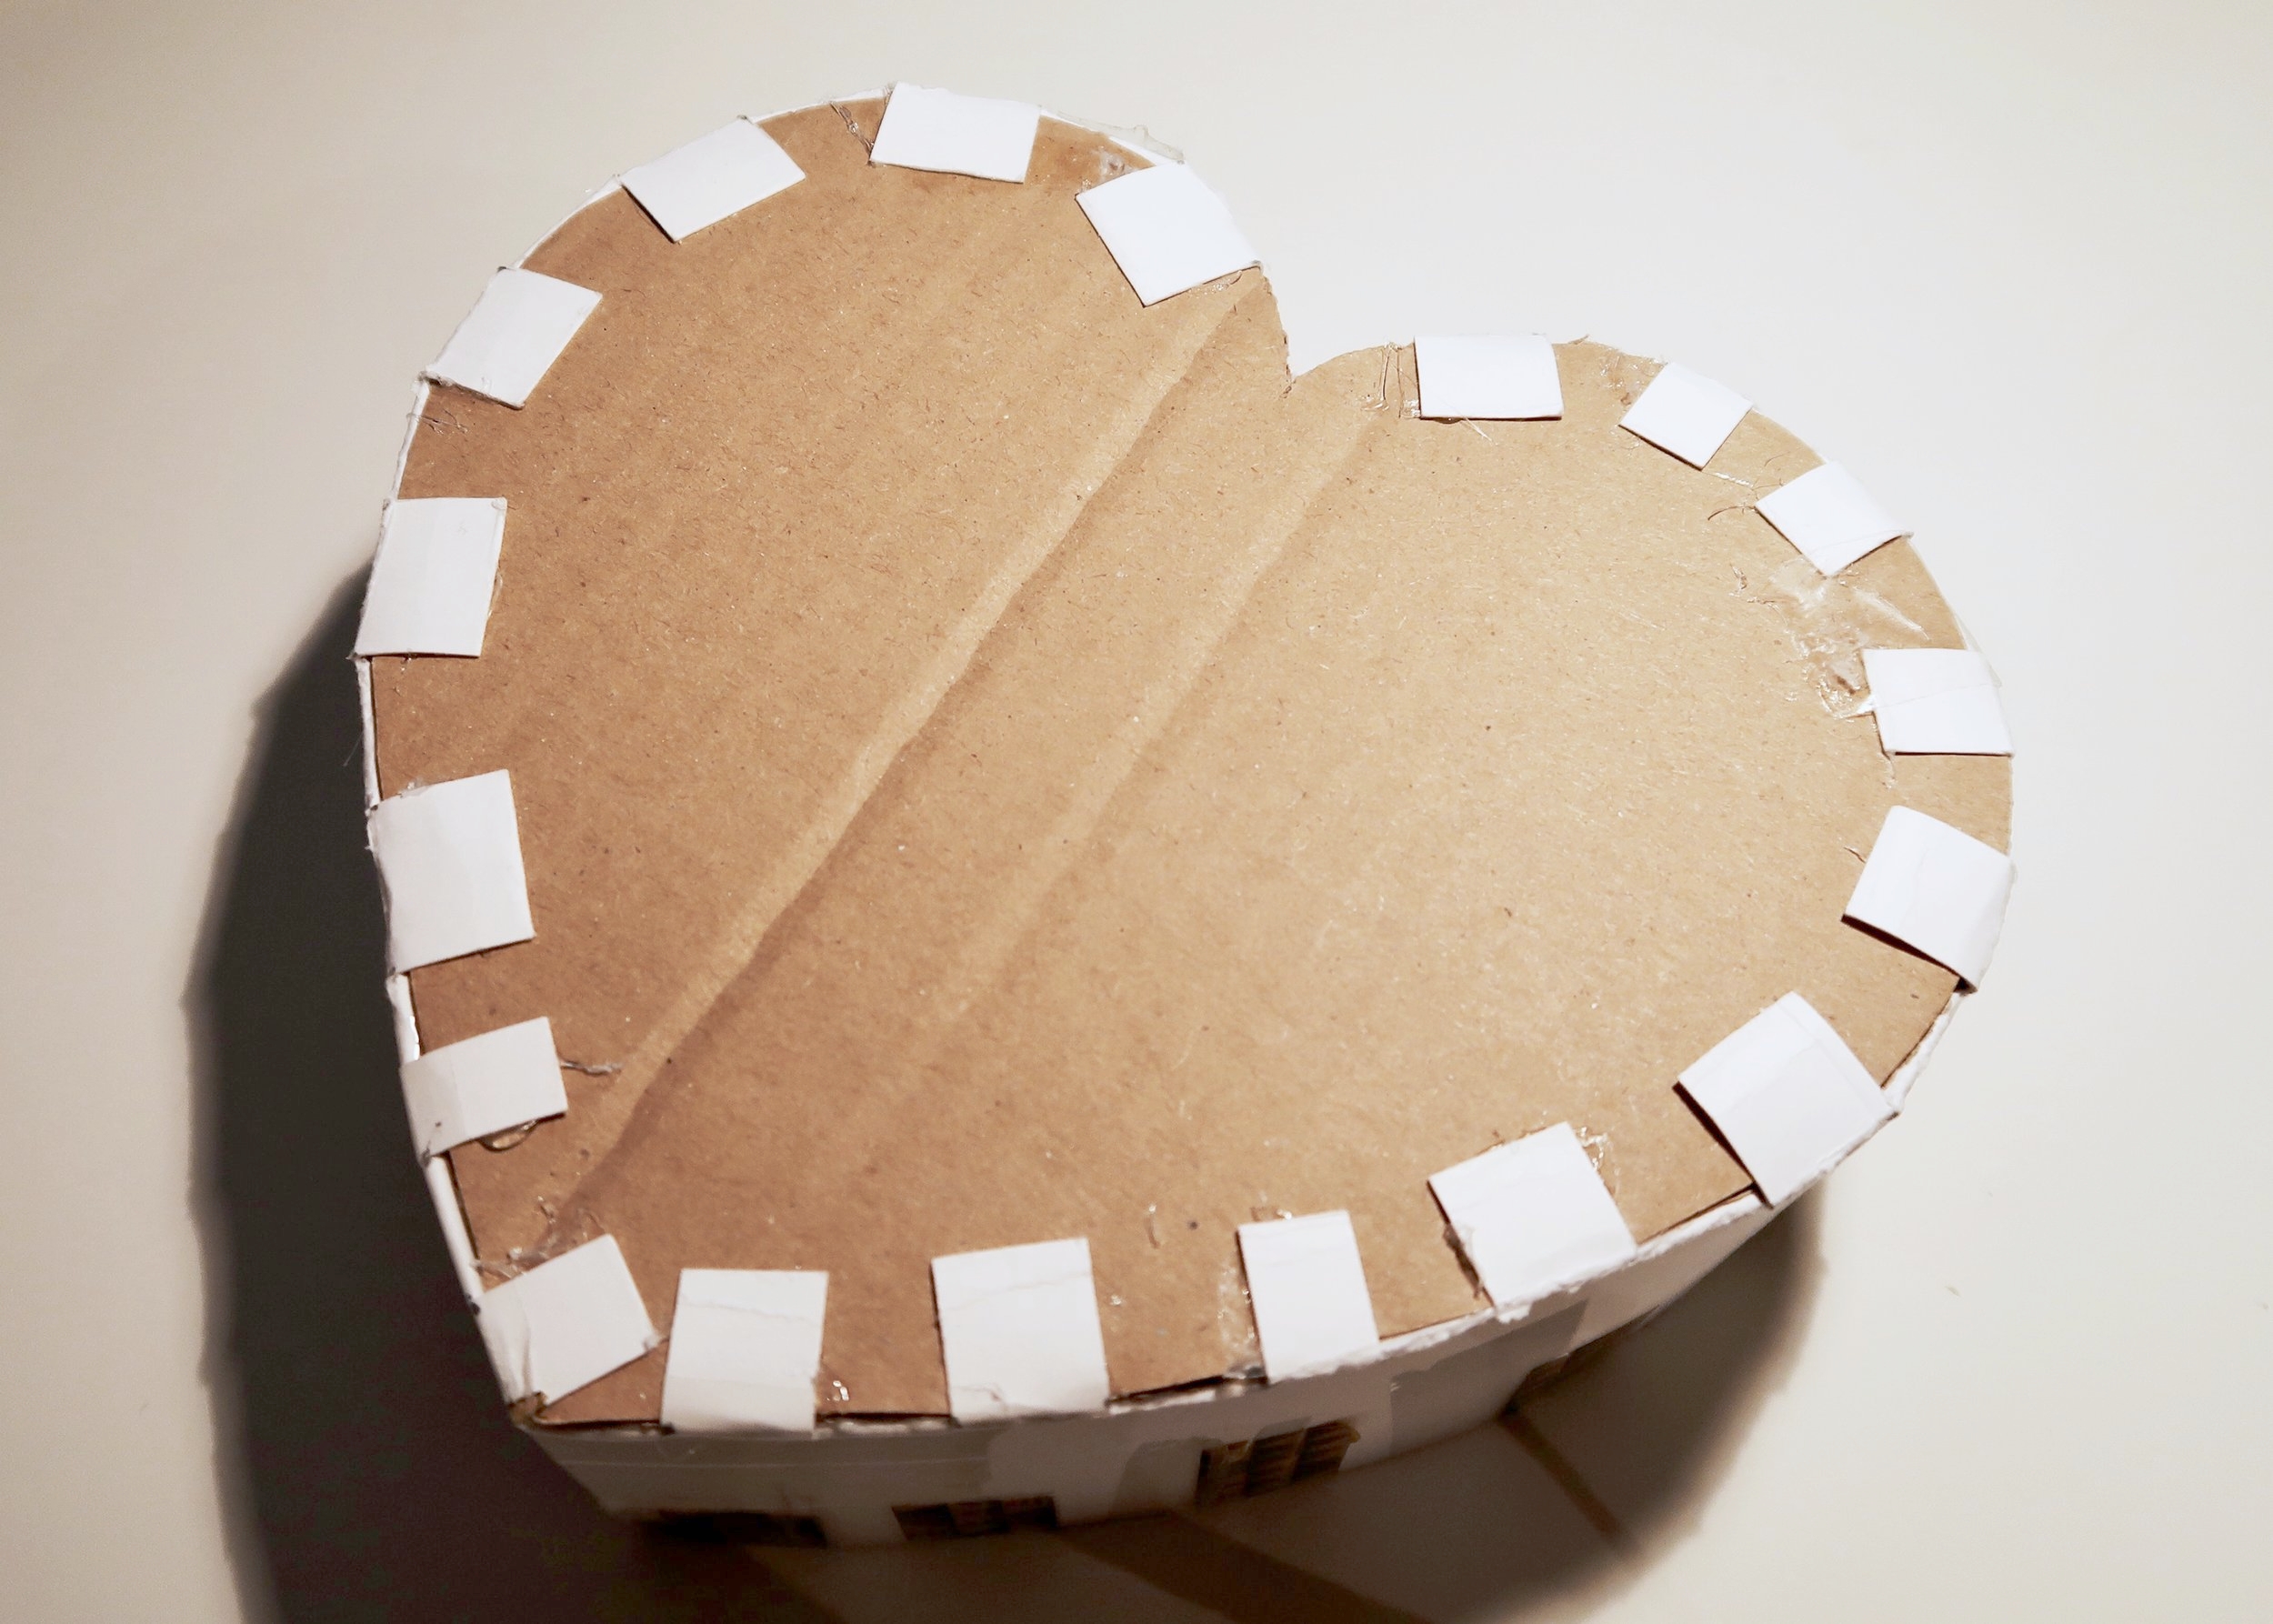
Add hot glue to the tabs facing inwards, and glue the second cardboard heart on top of these. Now fold the remaining tabs towards the centre of the heart and using glue secure these to the top of the cardboard heart.

6.
Next, take a crafting knife and carefully cut a door into the base of your pinata. To do this, cut out a rectangle leaving one side uncut and attached to the box. Fold this side and add in your presents or sweets. Temporarily secure the door closed with a small bit of tape.

7.
Cut strips out of tissue paper or crepe paper and carefully create fringing by cutting approximately half way into the strips all the way along. Glue these strips to the box, starting at the bottom of each side. Glue the strips so that they overlap and that just the fringing of each row can be seen. When one side is completely covered, let it dry before trimming around its edges.
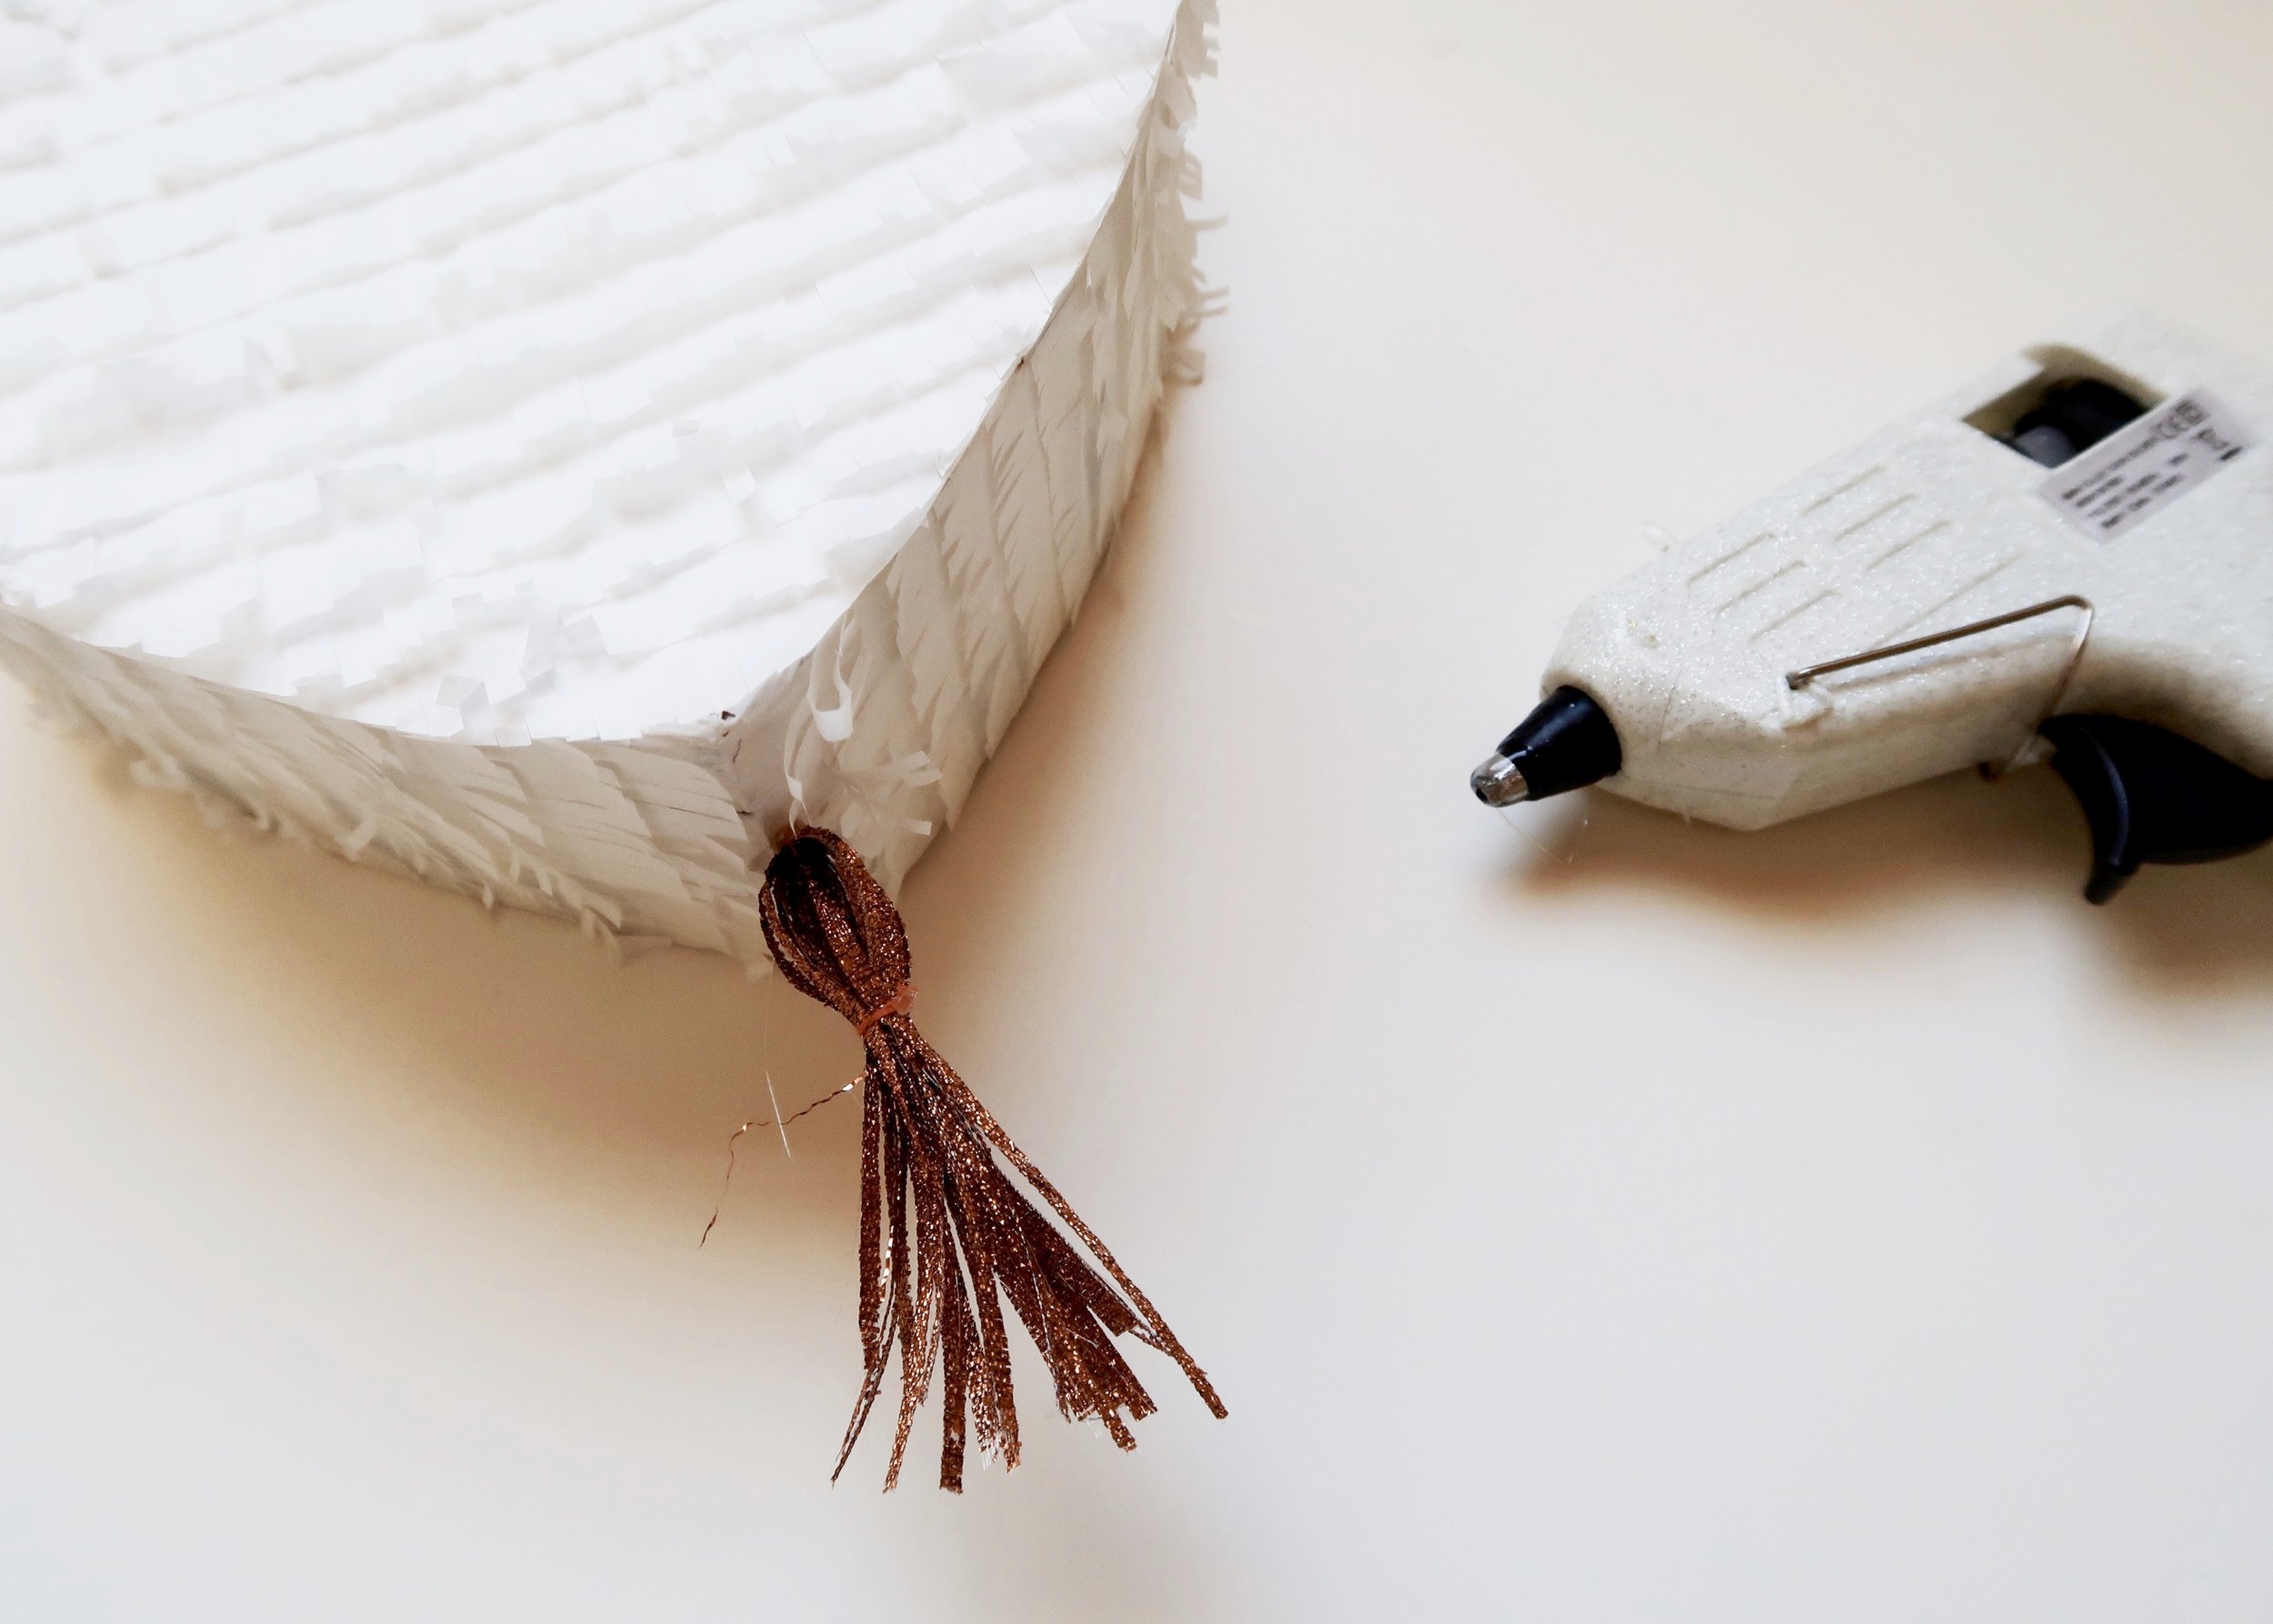
8.
Finally, add a tassel to pull and open the pinata. You can find tassels pre-made in craft shops, or you can easily make one yourself - I made this one from strips of copper-coloured ribbon! Secure this to the 'door' of your pinata with hot glue, before glueing a loop of matching ribbon to the top of the pinata so that it can be hung.


