

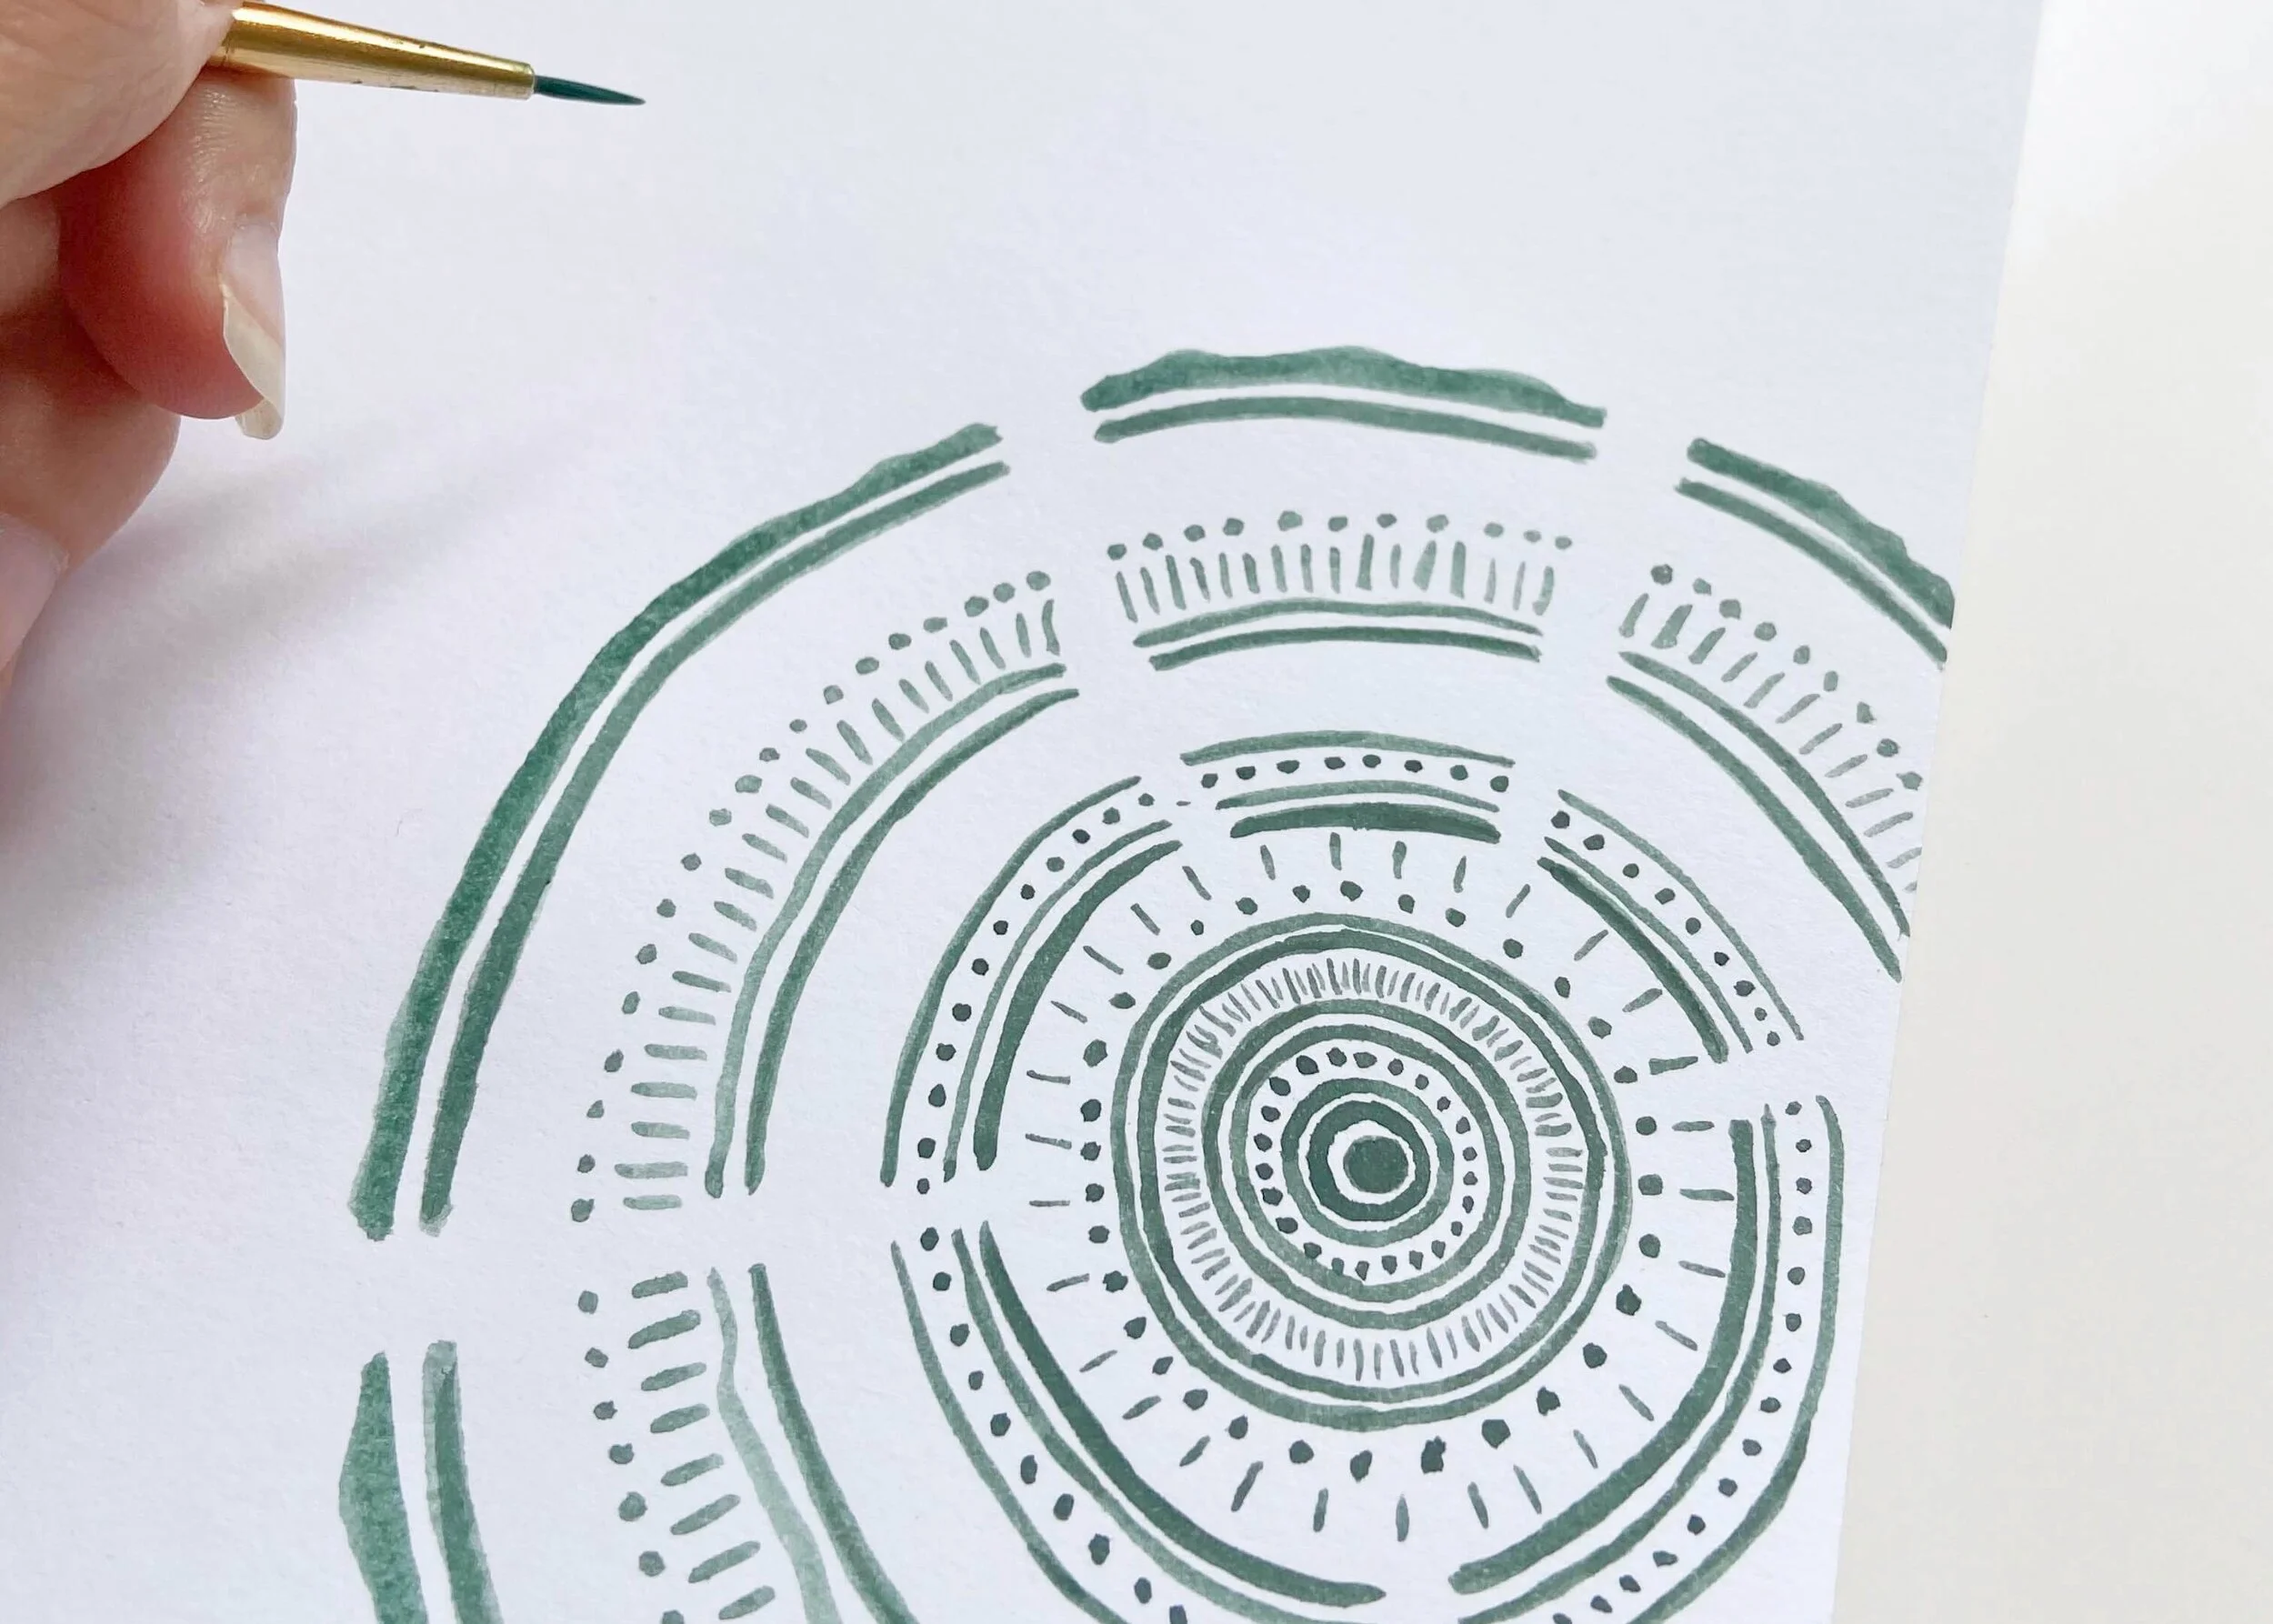
Use this quick and easy guide to make your own boho tree ring art!
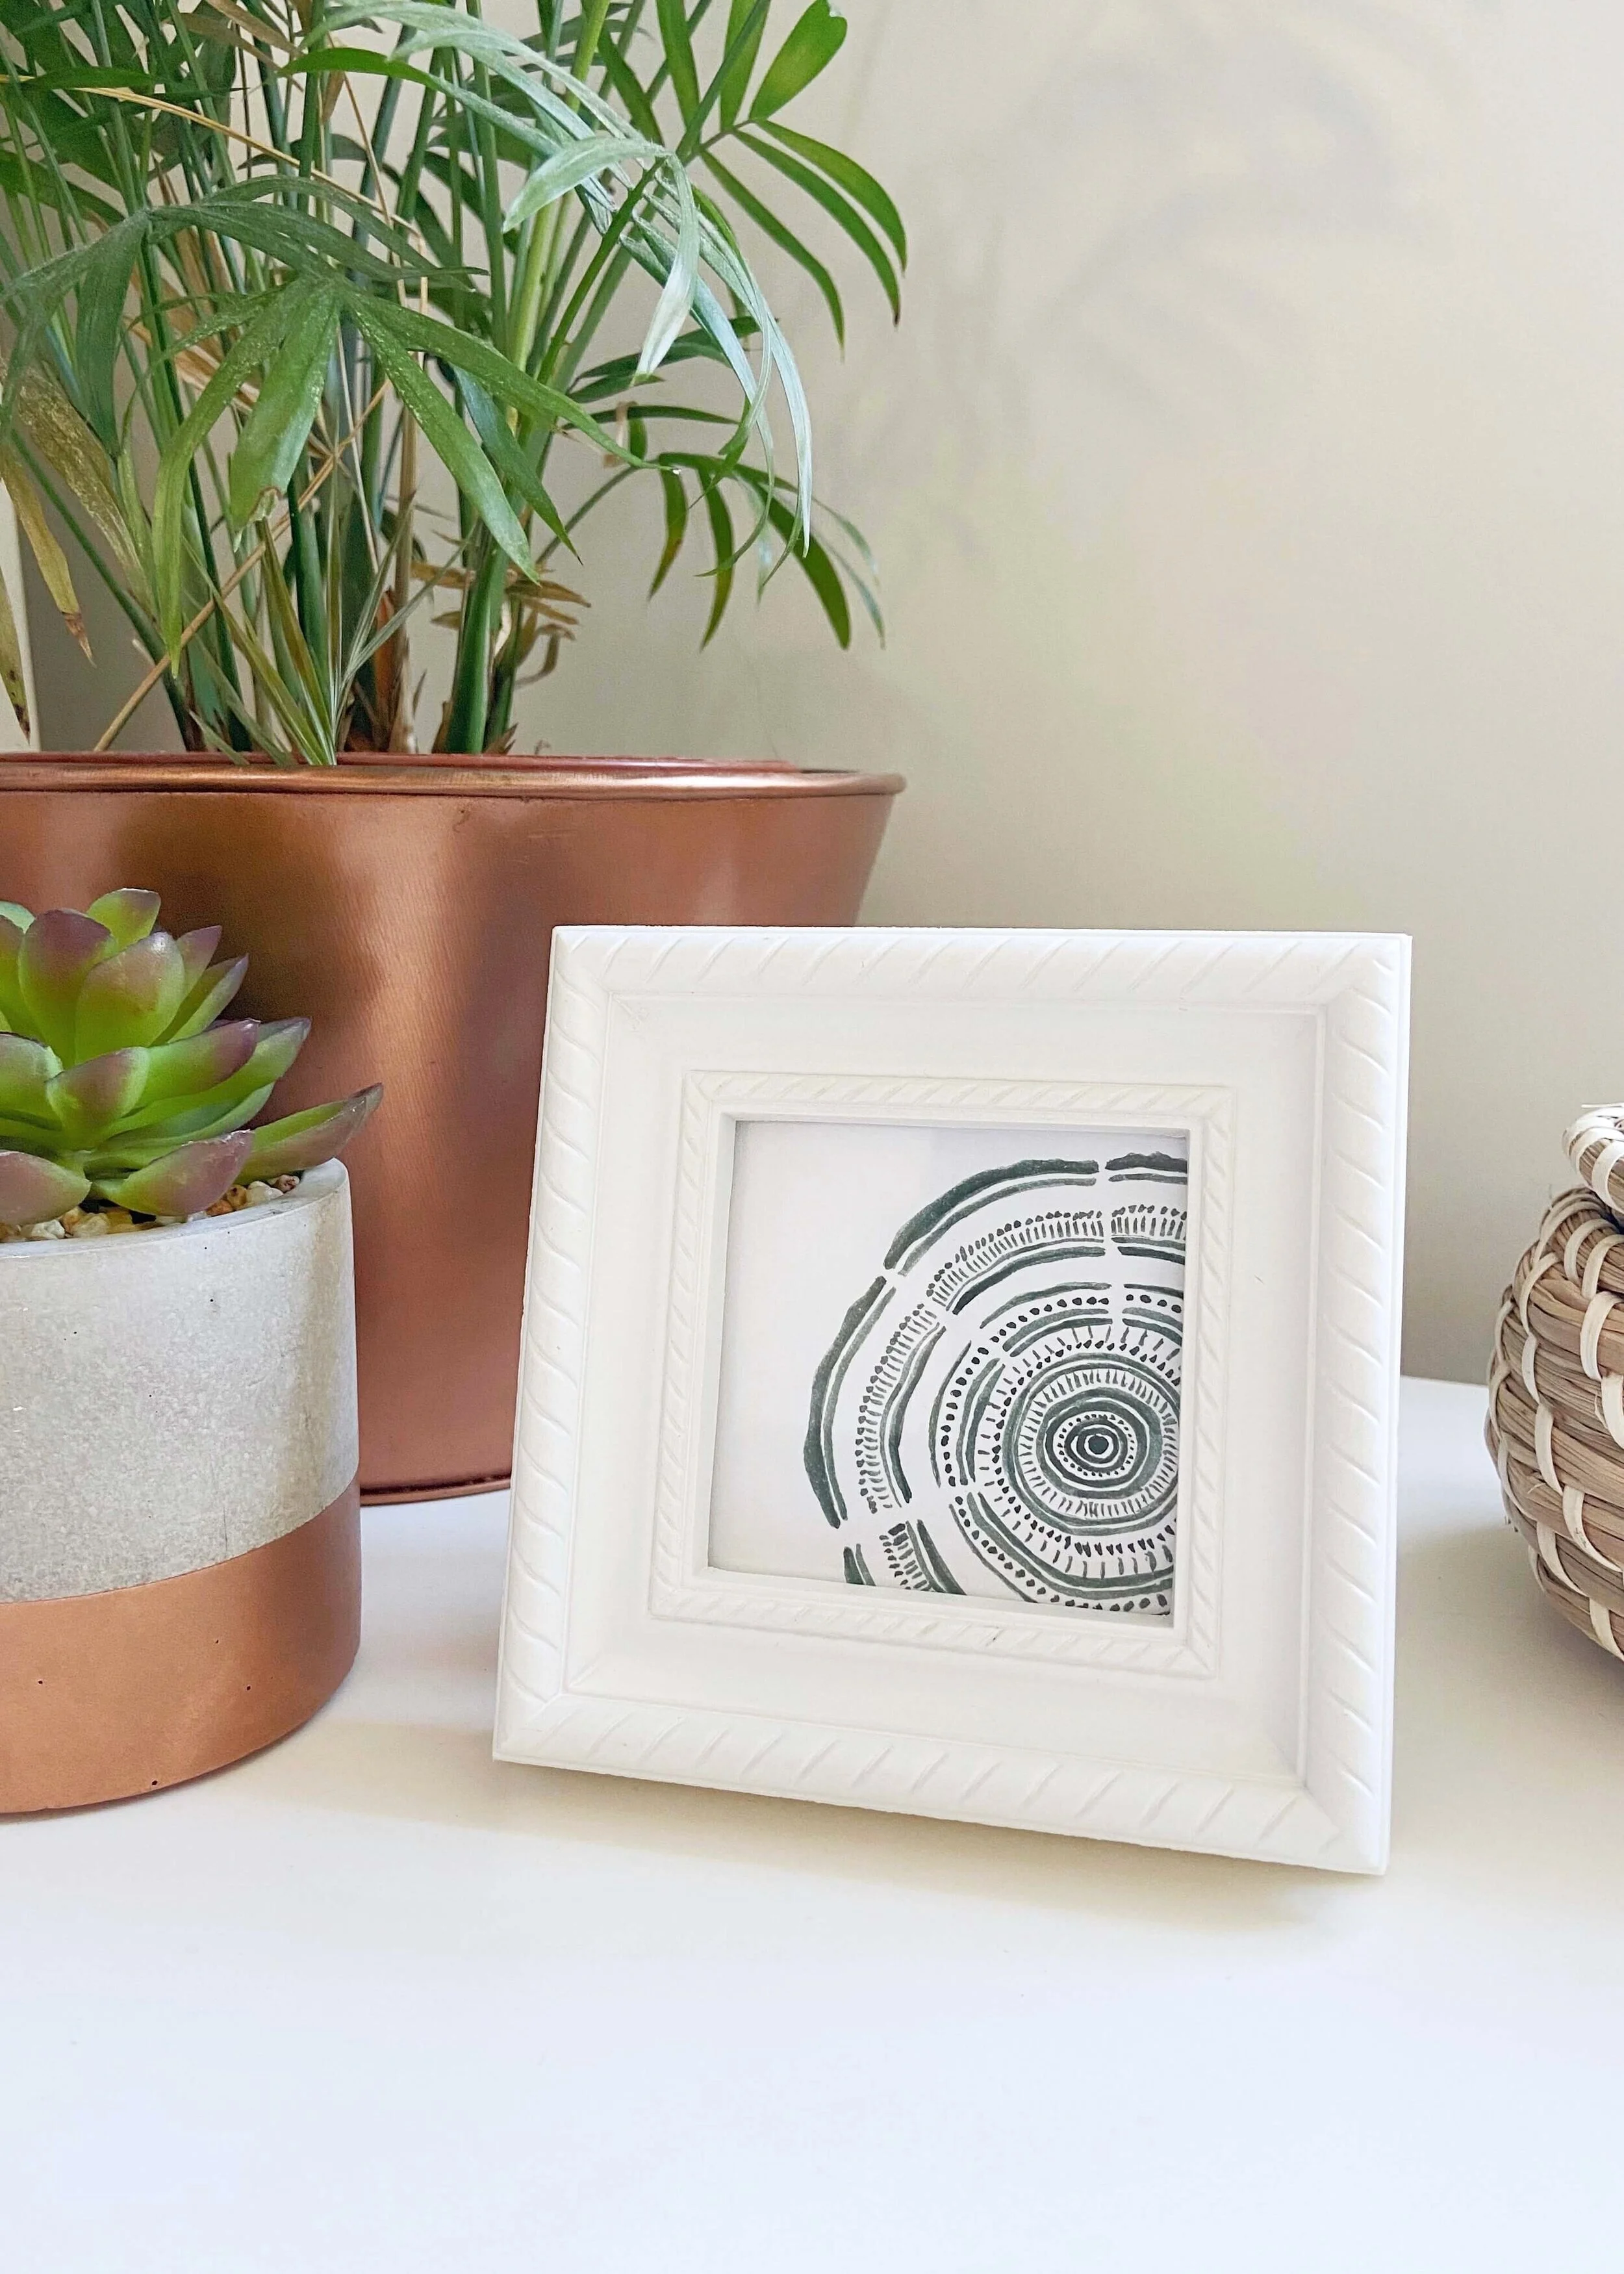
There’s something kind of humbling about tree rings. Nature often has a way of grounding me, and so when I was putting together the prints for a gallery wall in our lounge, I knew that I wanted to incorporate this into it. I love the look of tree rings, and came across several tutorials of how to make a reliefs prints, but my partner and I also really like quite modern art and line art, so I wanted to put a modern boho spin on it myself. This took me barely any time at all, and I love that imperfections just add to it. There’s also so much scope for really making it your own. I used watercolour paint, but I also had a go with a gold metallic marker, which really nicely but just didn’t quite go with the rest of my gallery wall in the end. You could do this on coloured paper or black paper with a white pen, or, and I really love this idea, do it on the glass of your photoframe with a permanent marker. Keep reading for the step by step guide…


Paintbrush
Paper
Watercolours


1.
First of all, decide how big you want your art print to be and draw this out on your page. If you’re using watercolour paints mix up the colours you want to use. I wanted mine to be all dark green (of course!) to coordinate with my living room decor, but you could use any number of colours. Alternatively, if you’re using markers, you can just skip this step.

2.
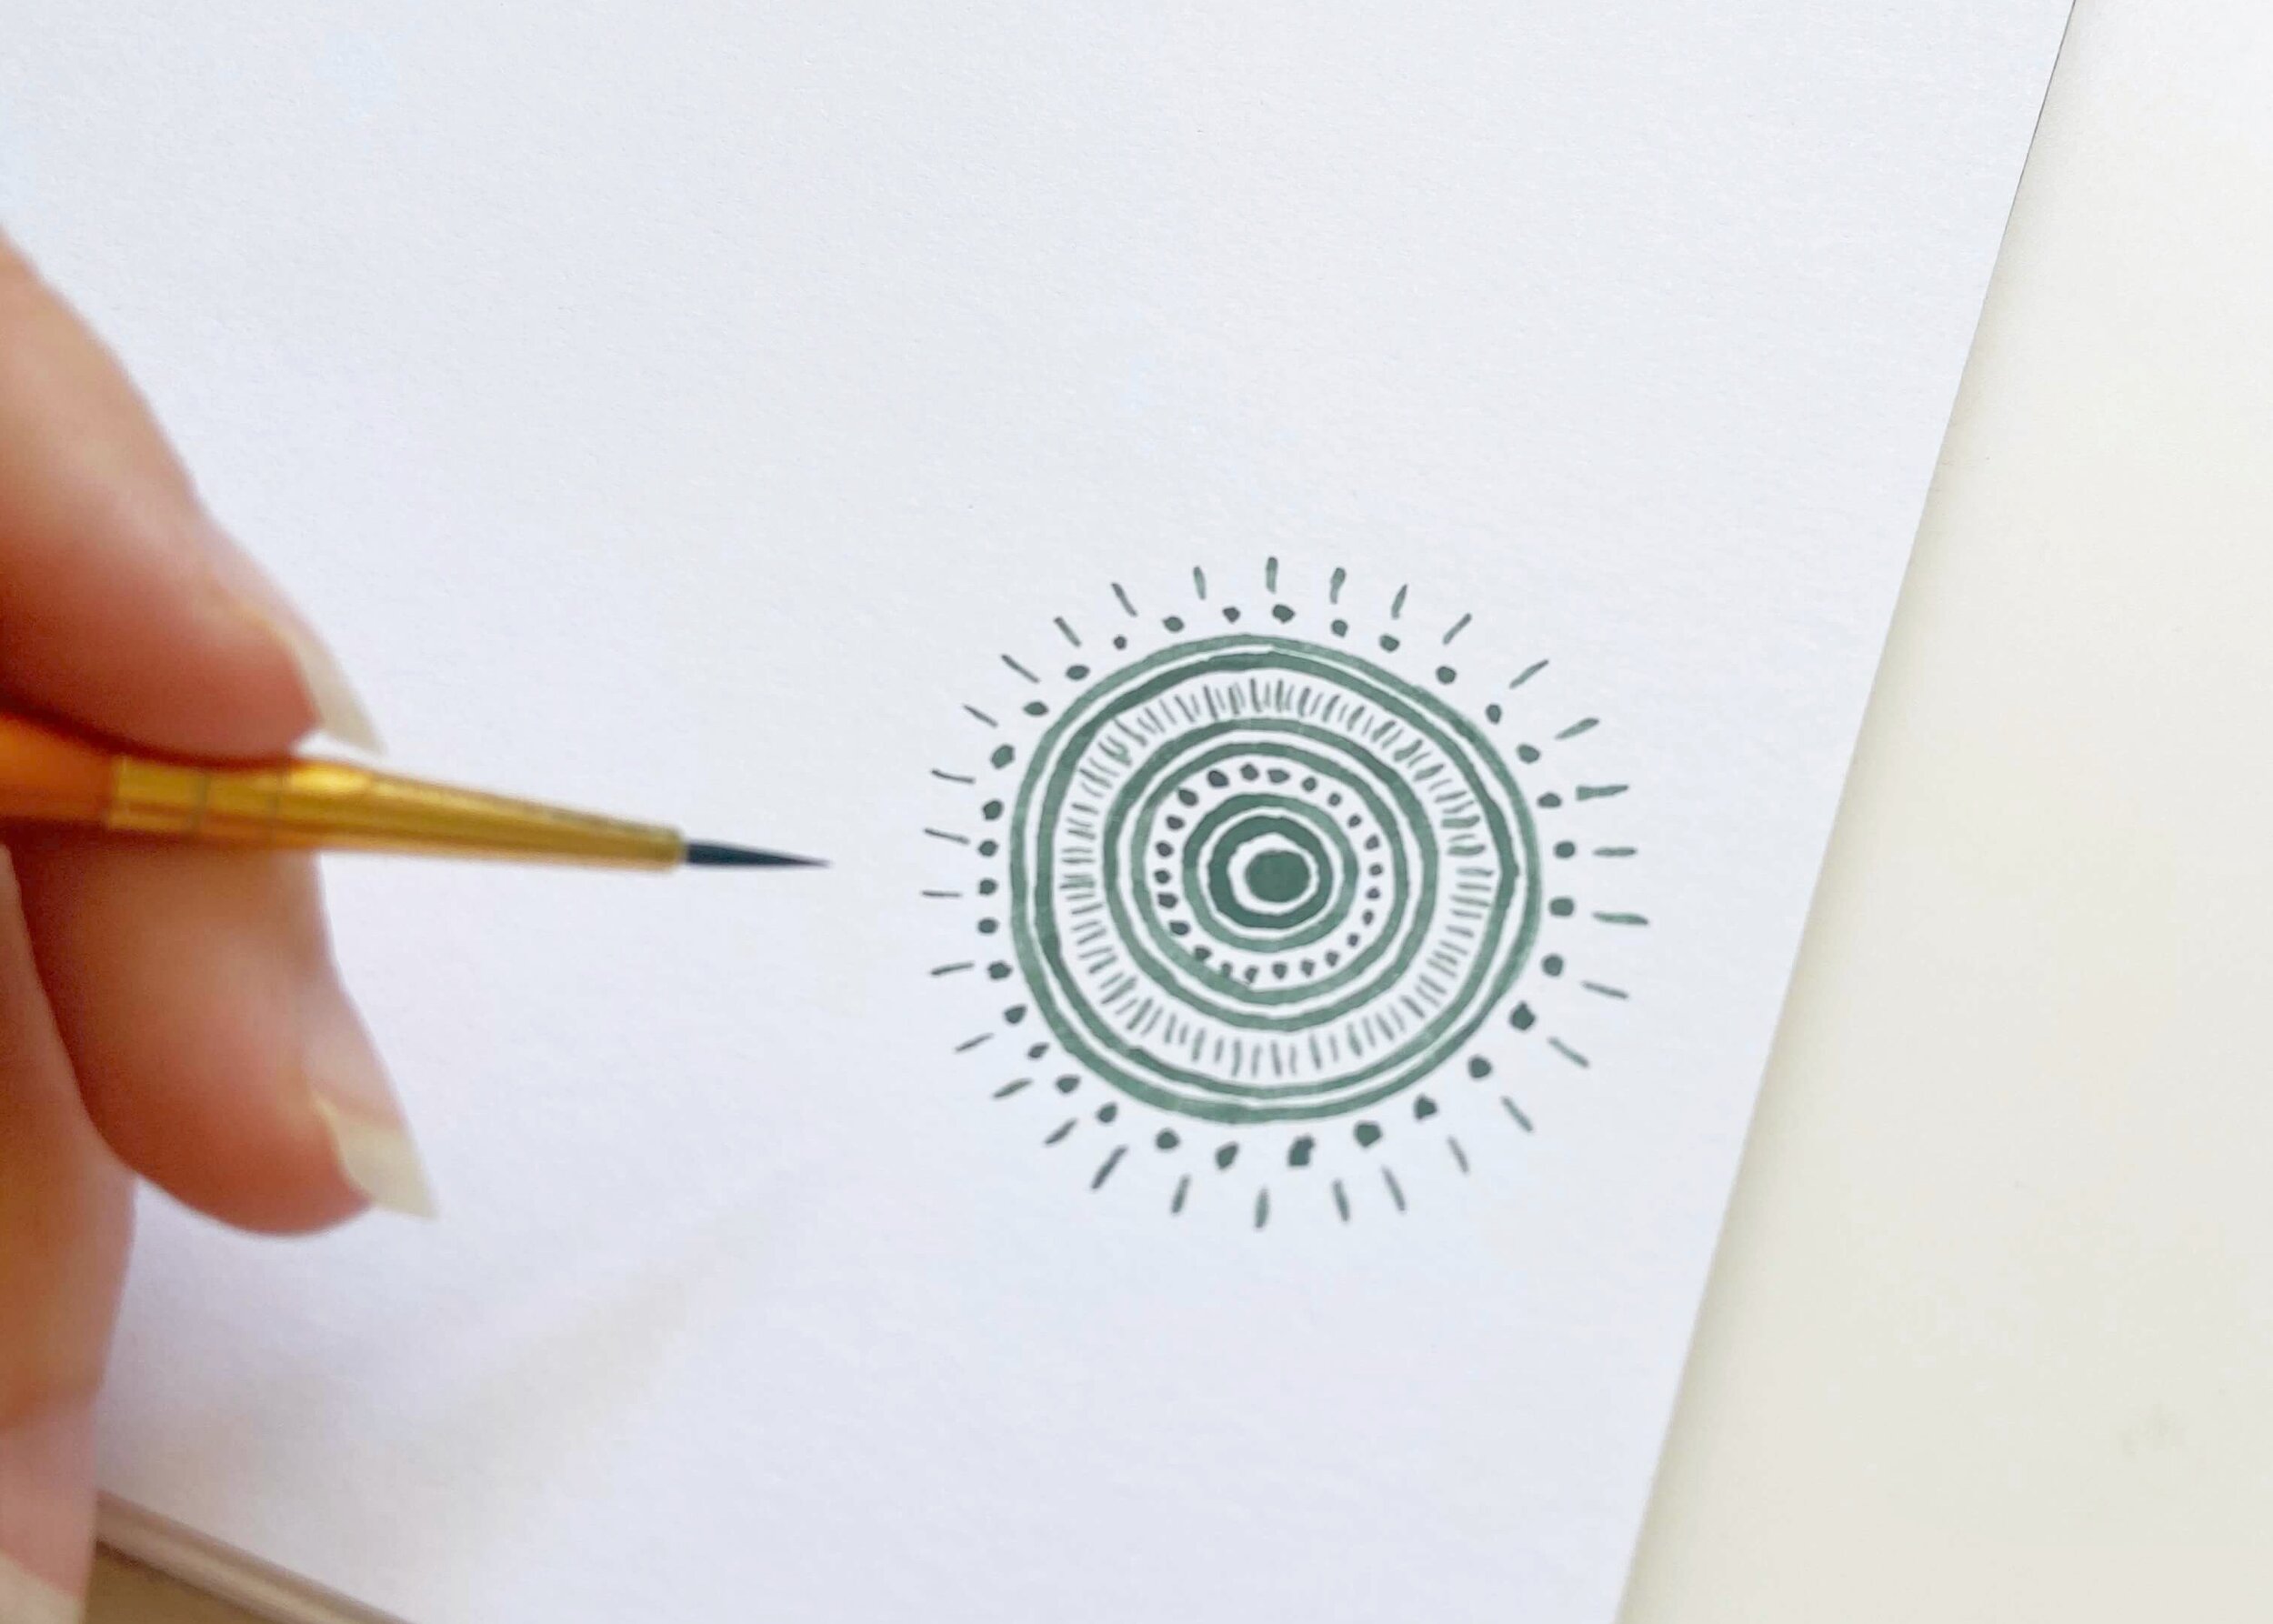
Decide where you want the centre of your tree rings to be, and paint/draw a filled in circle. I like having only a part of the tree rings showing, and so I put if just a little bit above the bottom right hand corner of the page.

3.
Surround this with a couple of solid rings. Keep them relatively close to each other at this point and don’t worry about their width. Next, do a ring of dots. Follow this with two solid lines.

4.
Follow this with a ring of vertical dashes. Then do two more solid rings around this.
5.
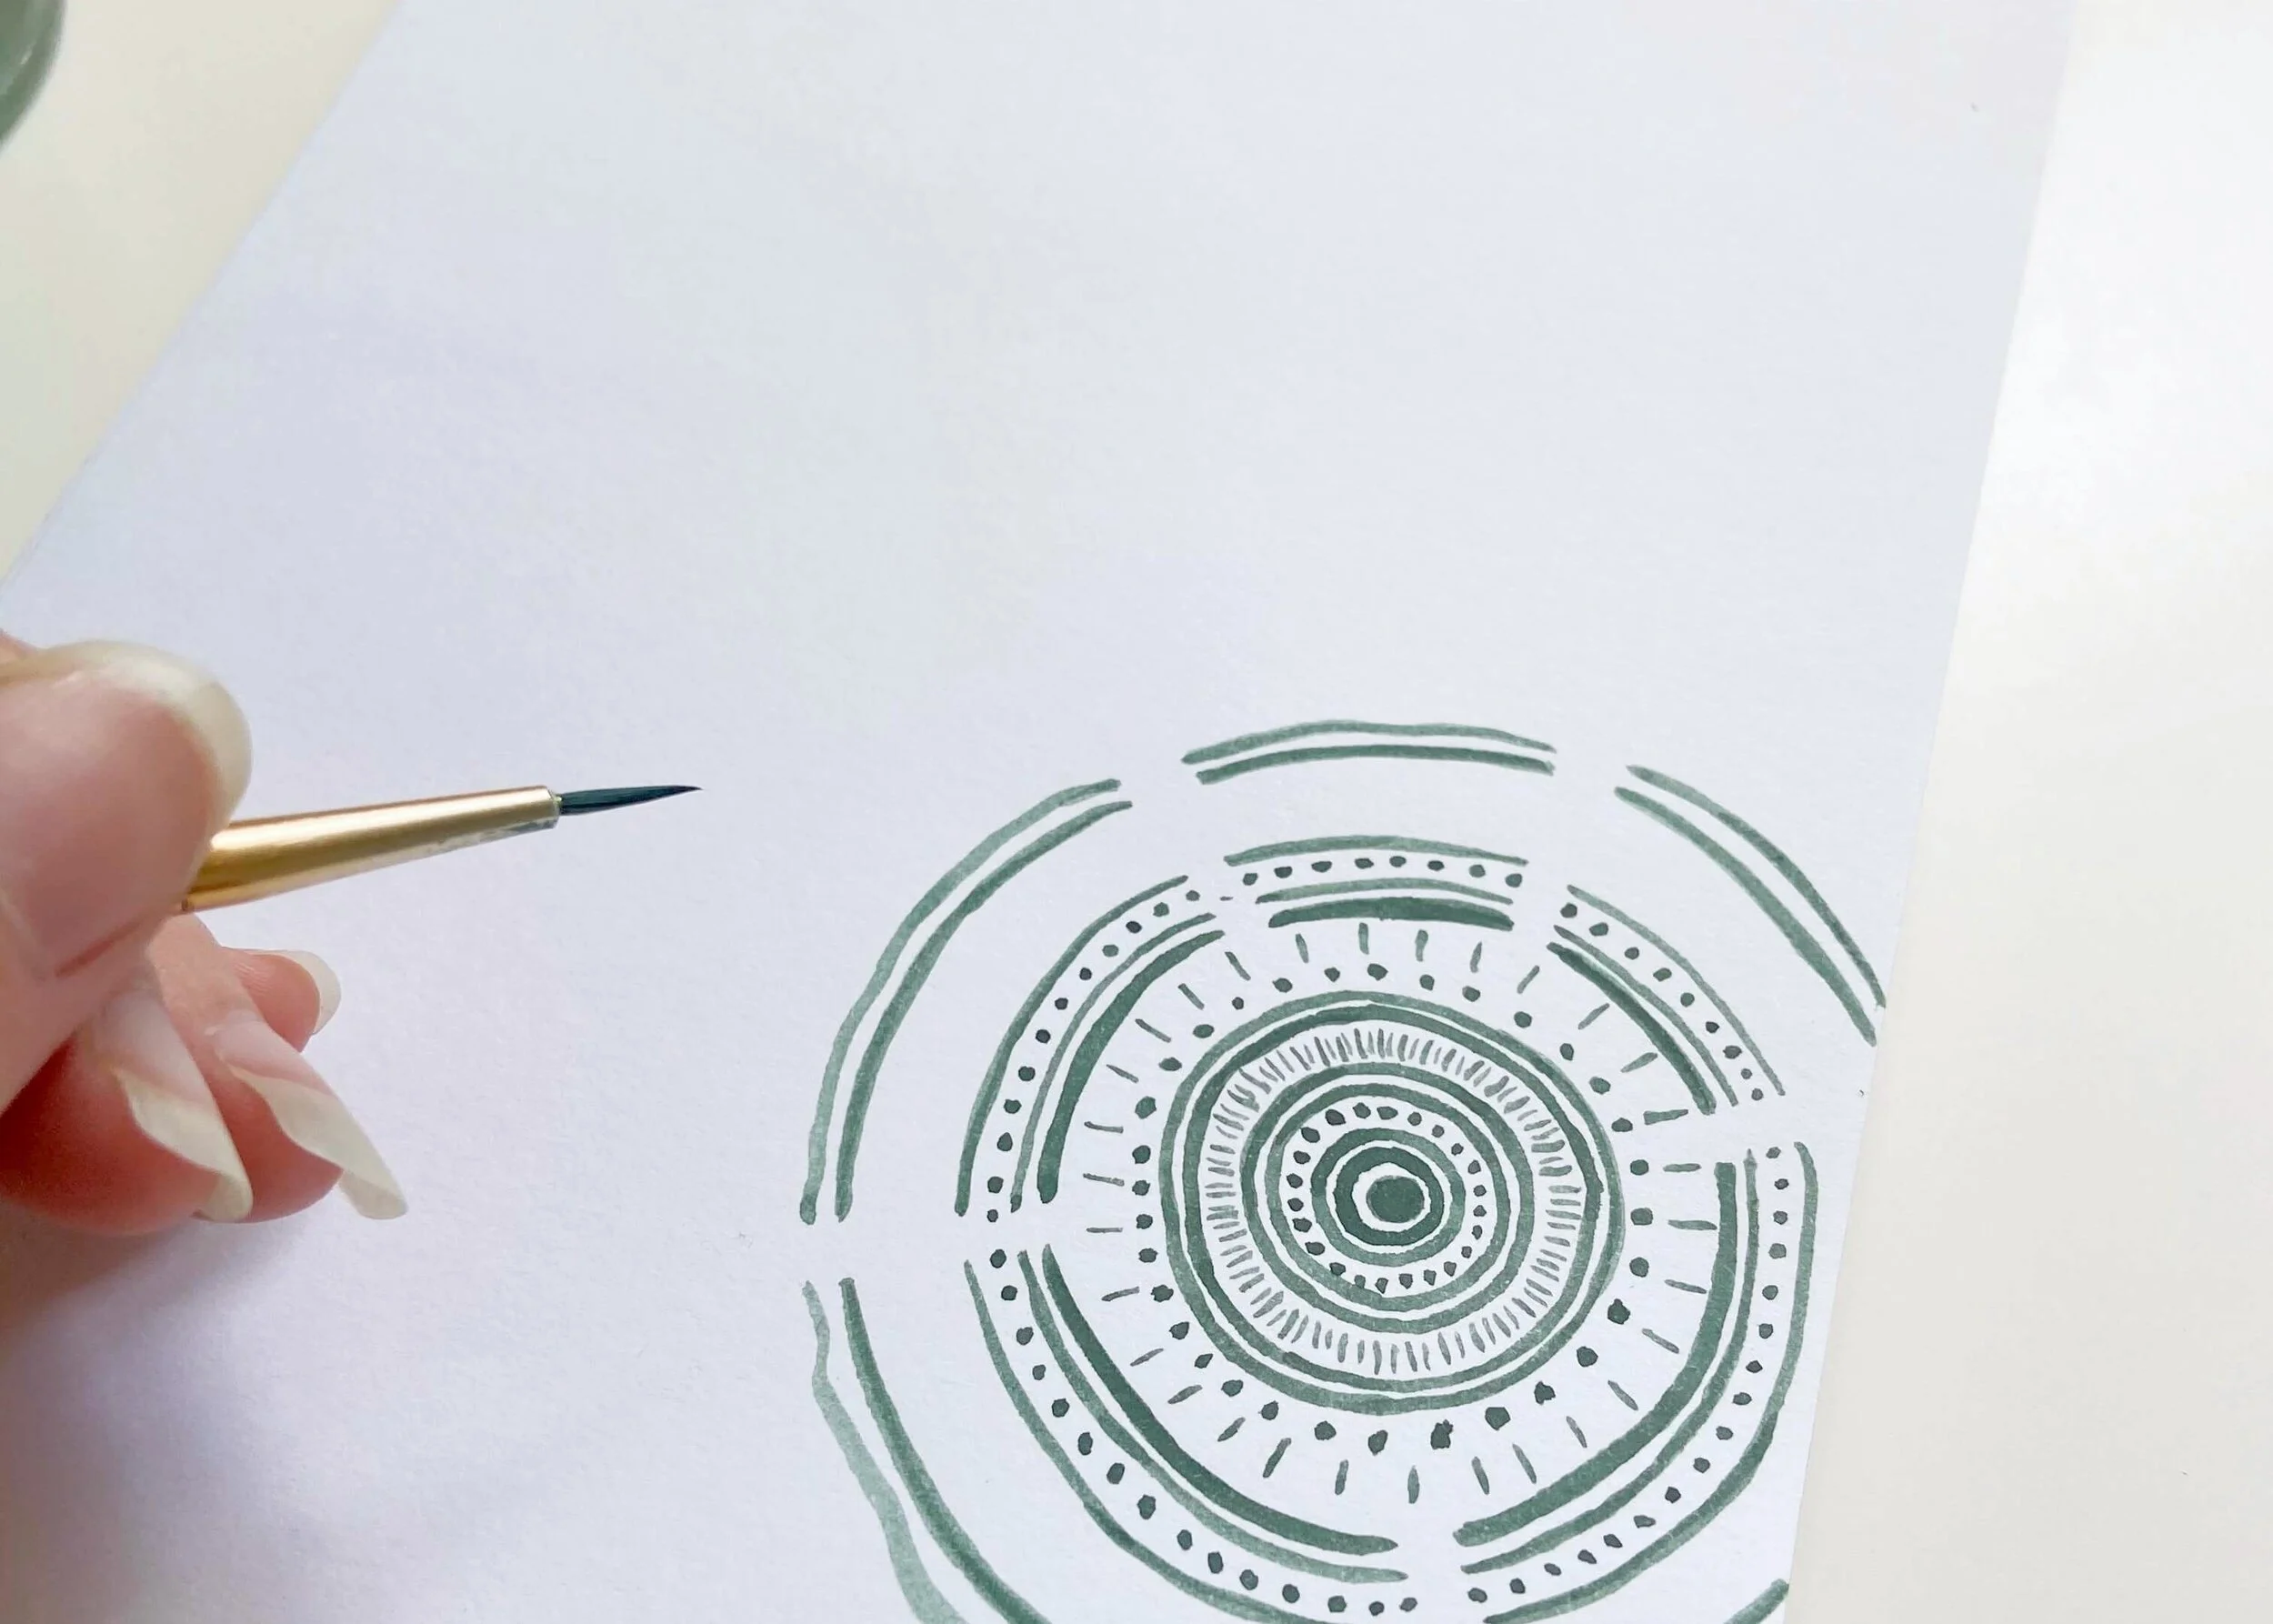
Add a ring of dots, and then another ring of larger vertical dashes. I also spread these dashes out a bit more.

6.
Around these dashes, add two slightly thicker rings that are broken up in places. Make sure the breaks in your rings are in the same places.

7.
Add a ring of dots around this with breaks in the ring in the same place as the lines you made in step 6. Then add another broken ring around this with breaks again in the same place.
8.
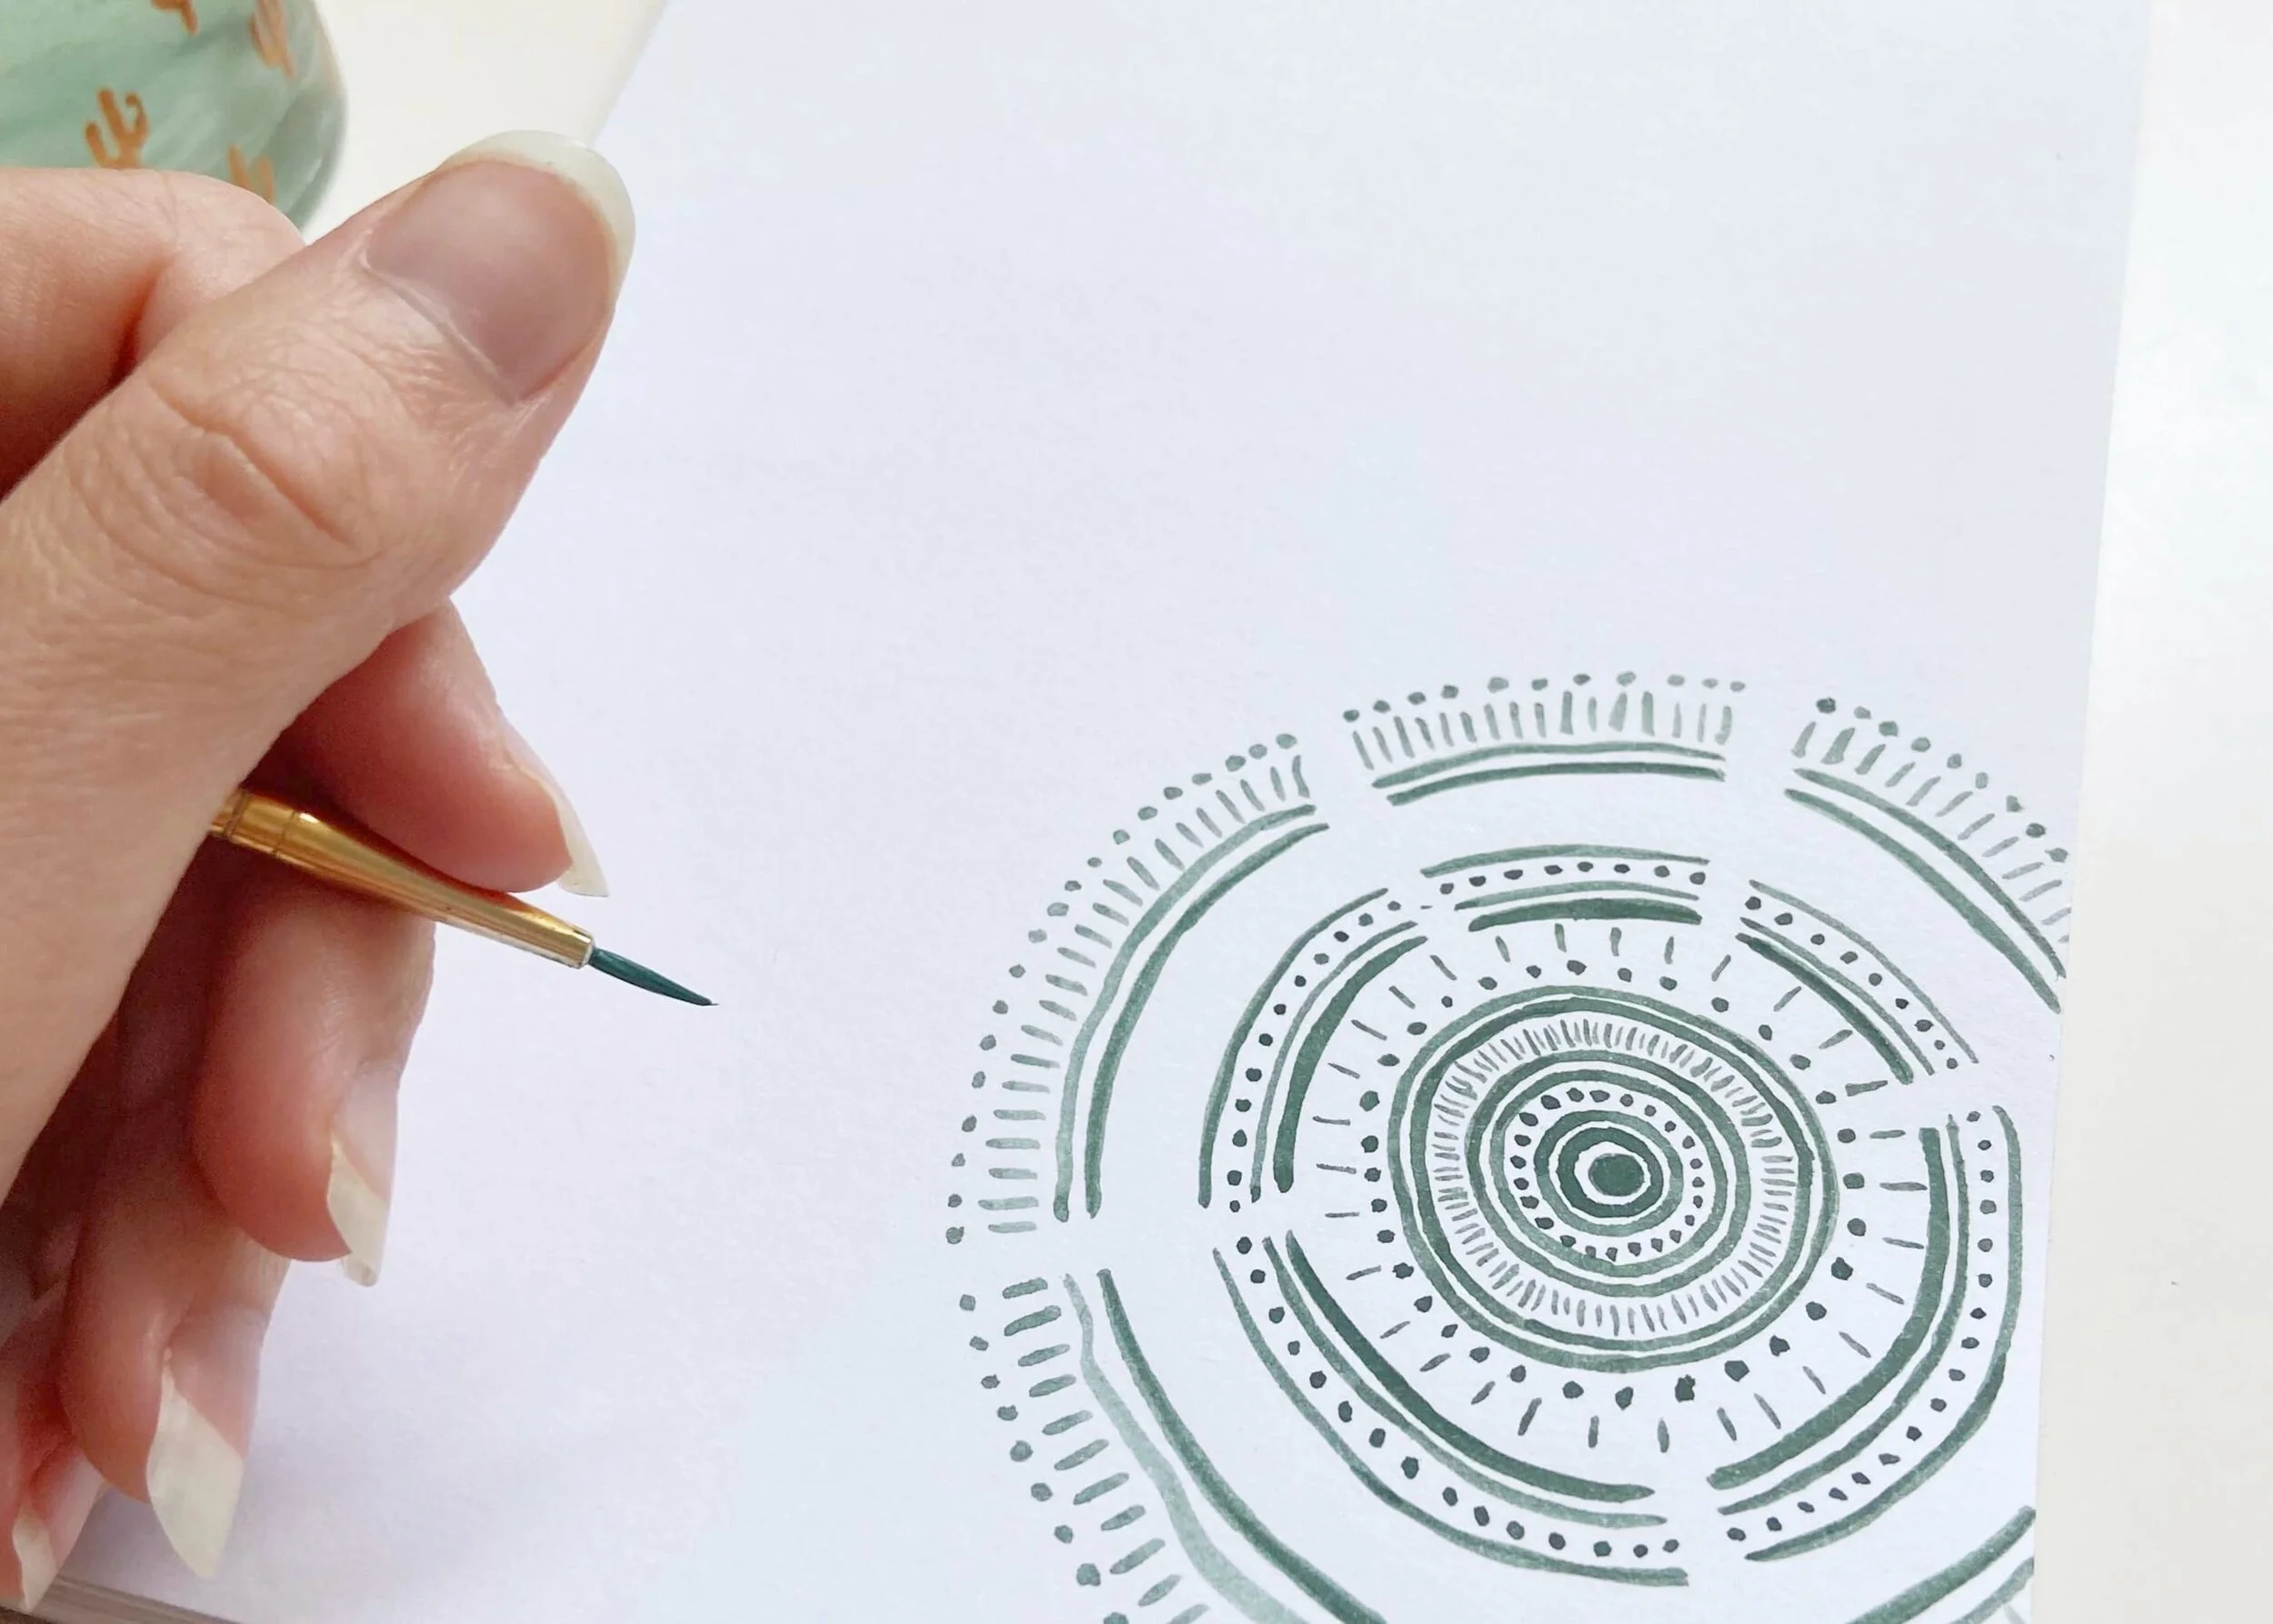
Now add two more broken rings around this, but leaving a large gap in between these rings and the rings you did in step 7. Make sure the breaks in these rings are in the same place as those below.
9.
Add a ring of dashes and then a ring of dots with breaks in the ring in the same place as the rings below.
10.
Leaving another large gap from the ring of dots below, paint another thicker broken ring. On the outside of this, add another slightly thicker broken ring, and give it a slightly bumpy outer edge to mimic the outside of a tree.


