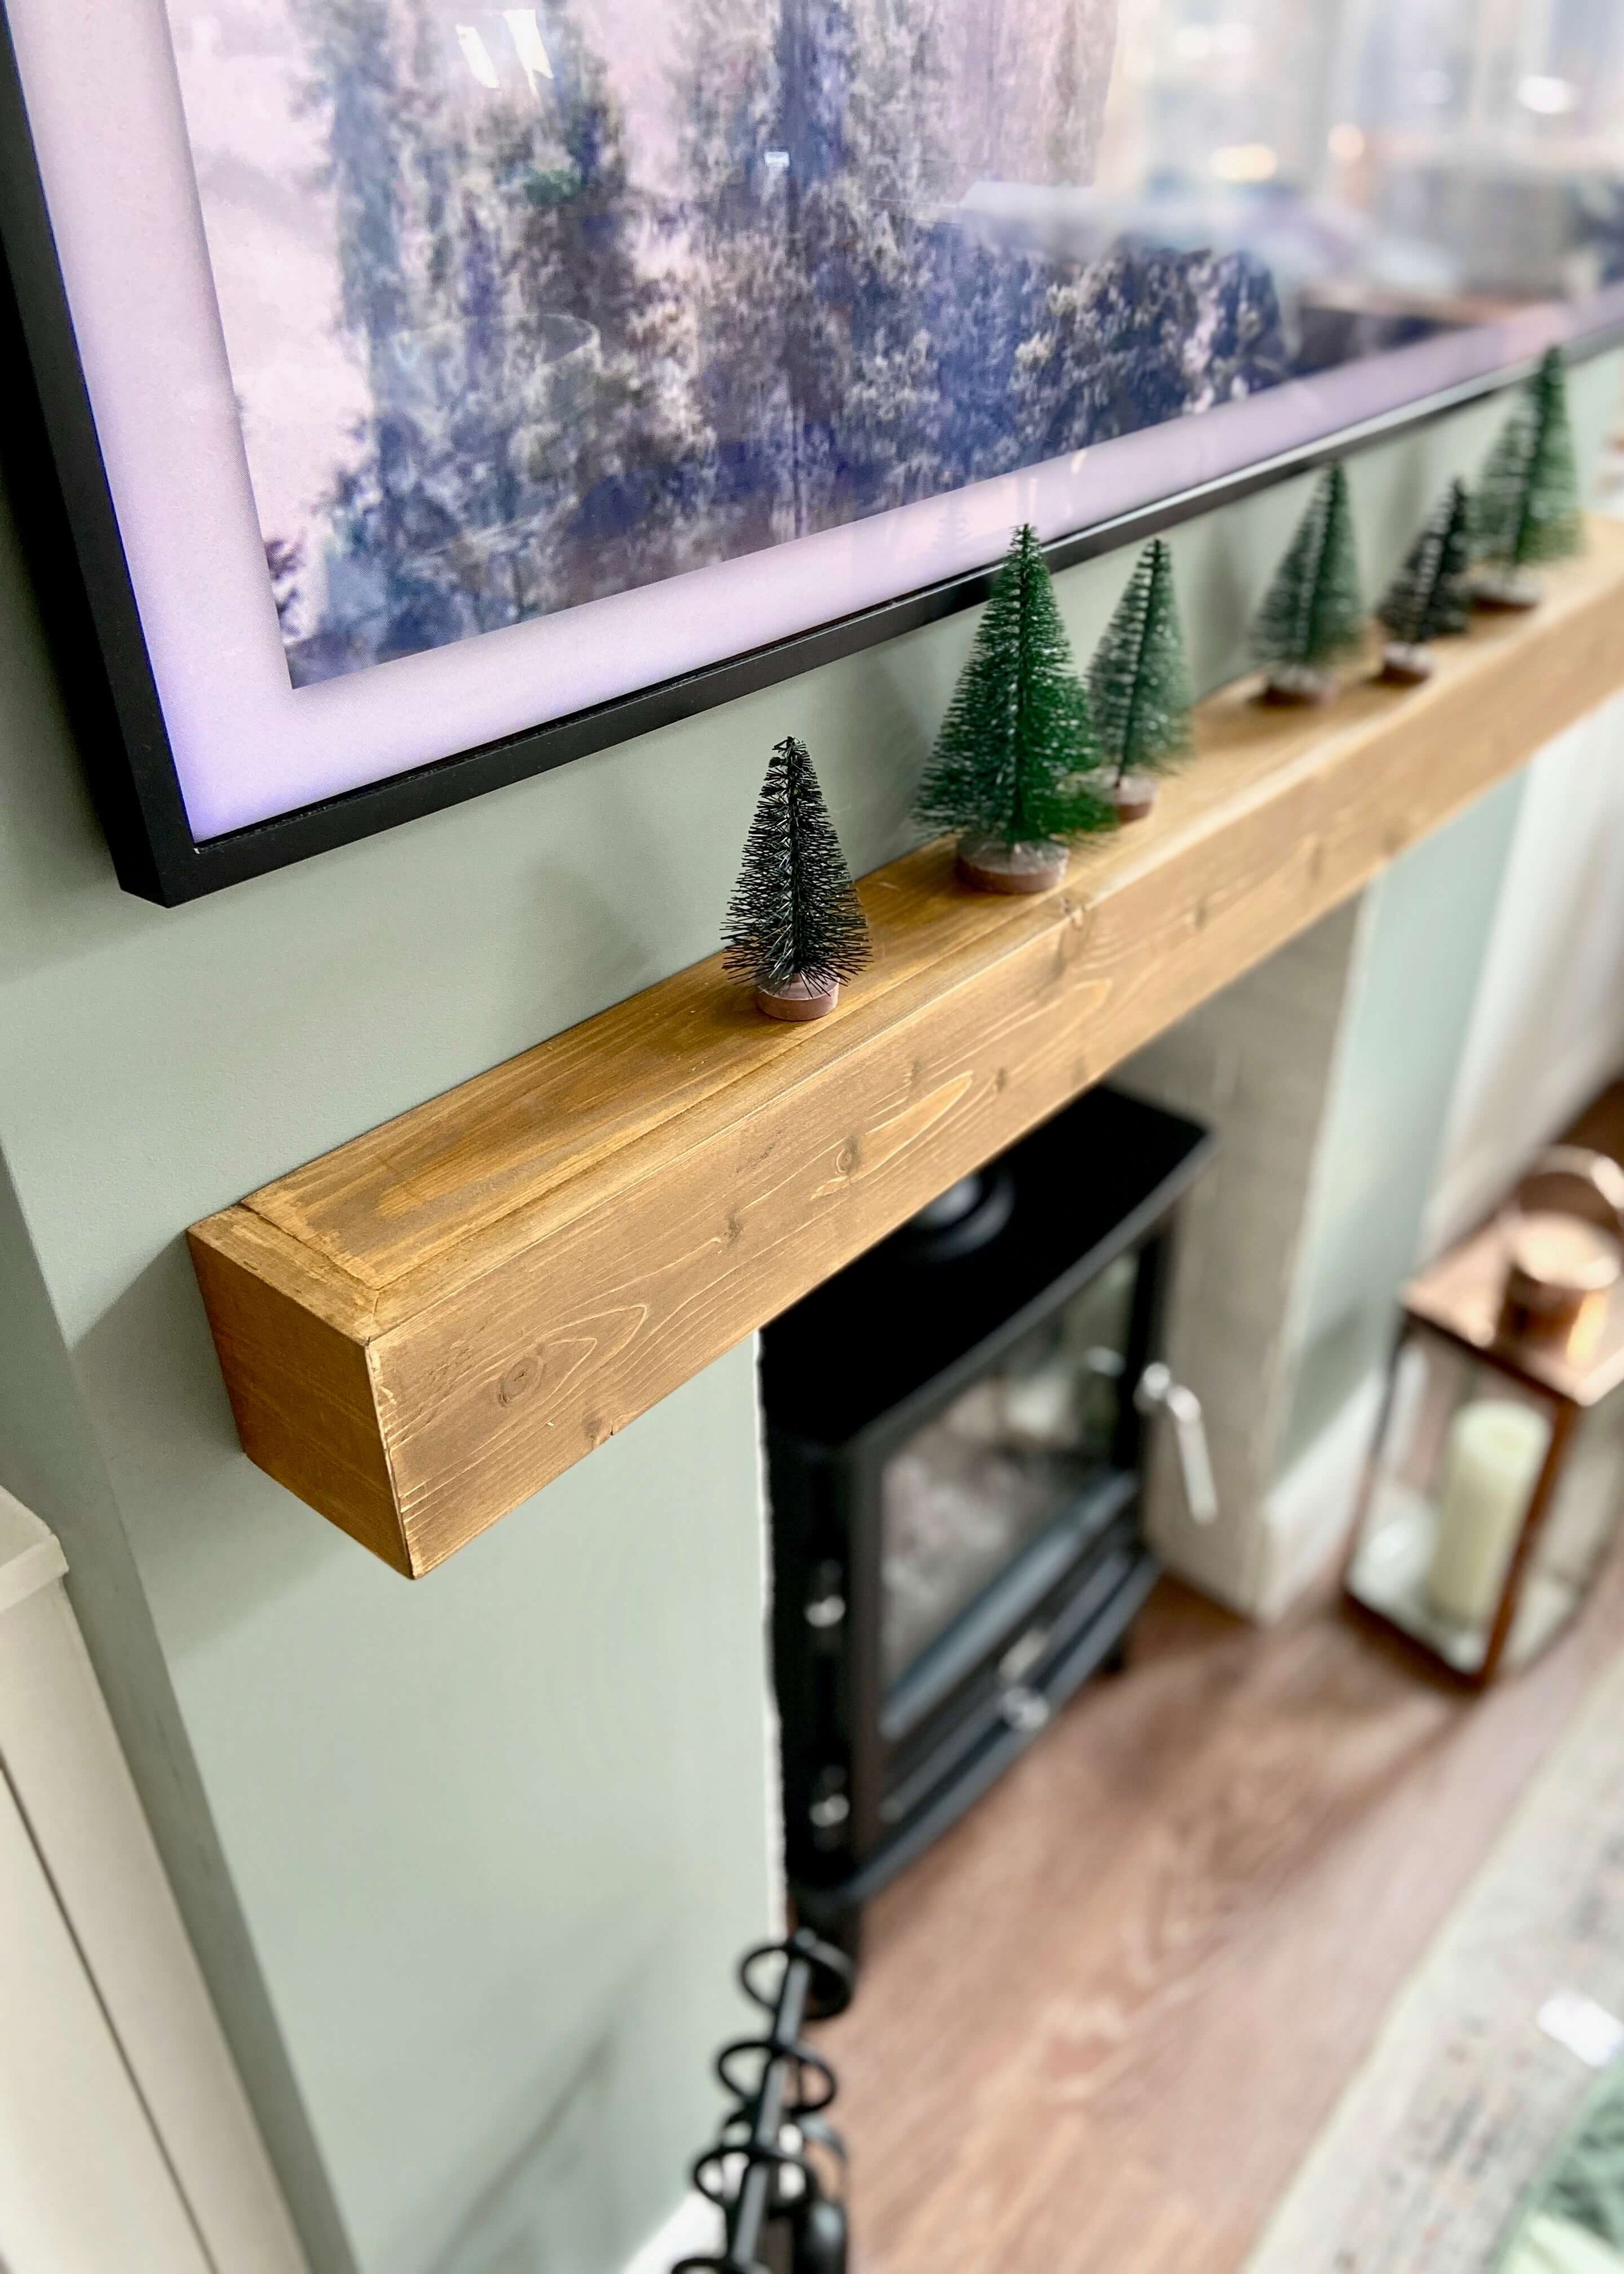
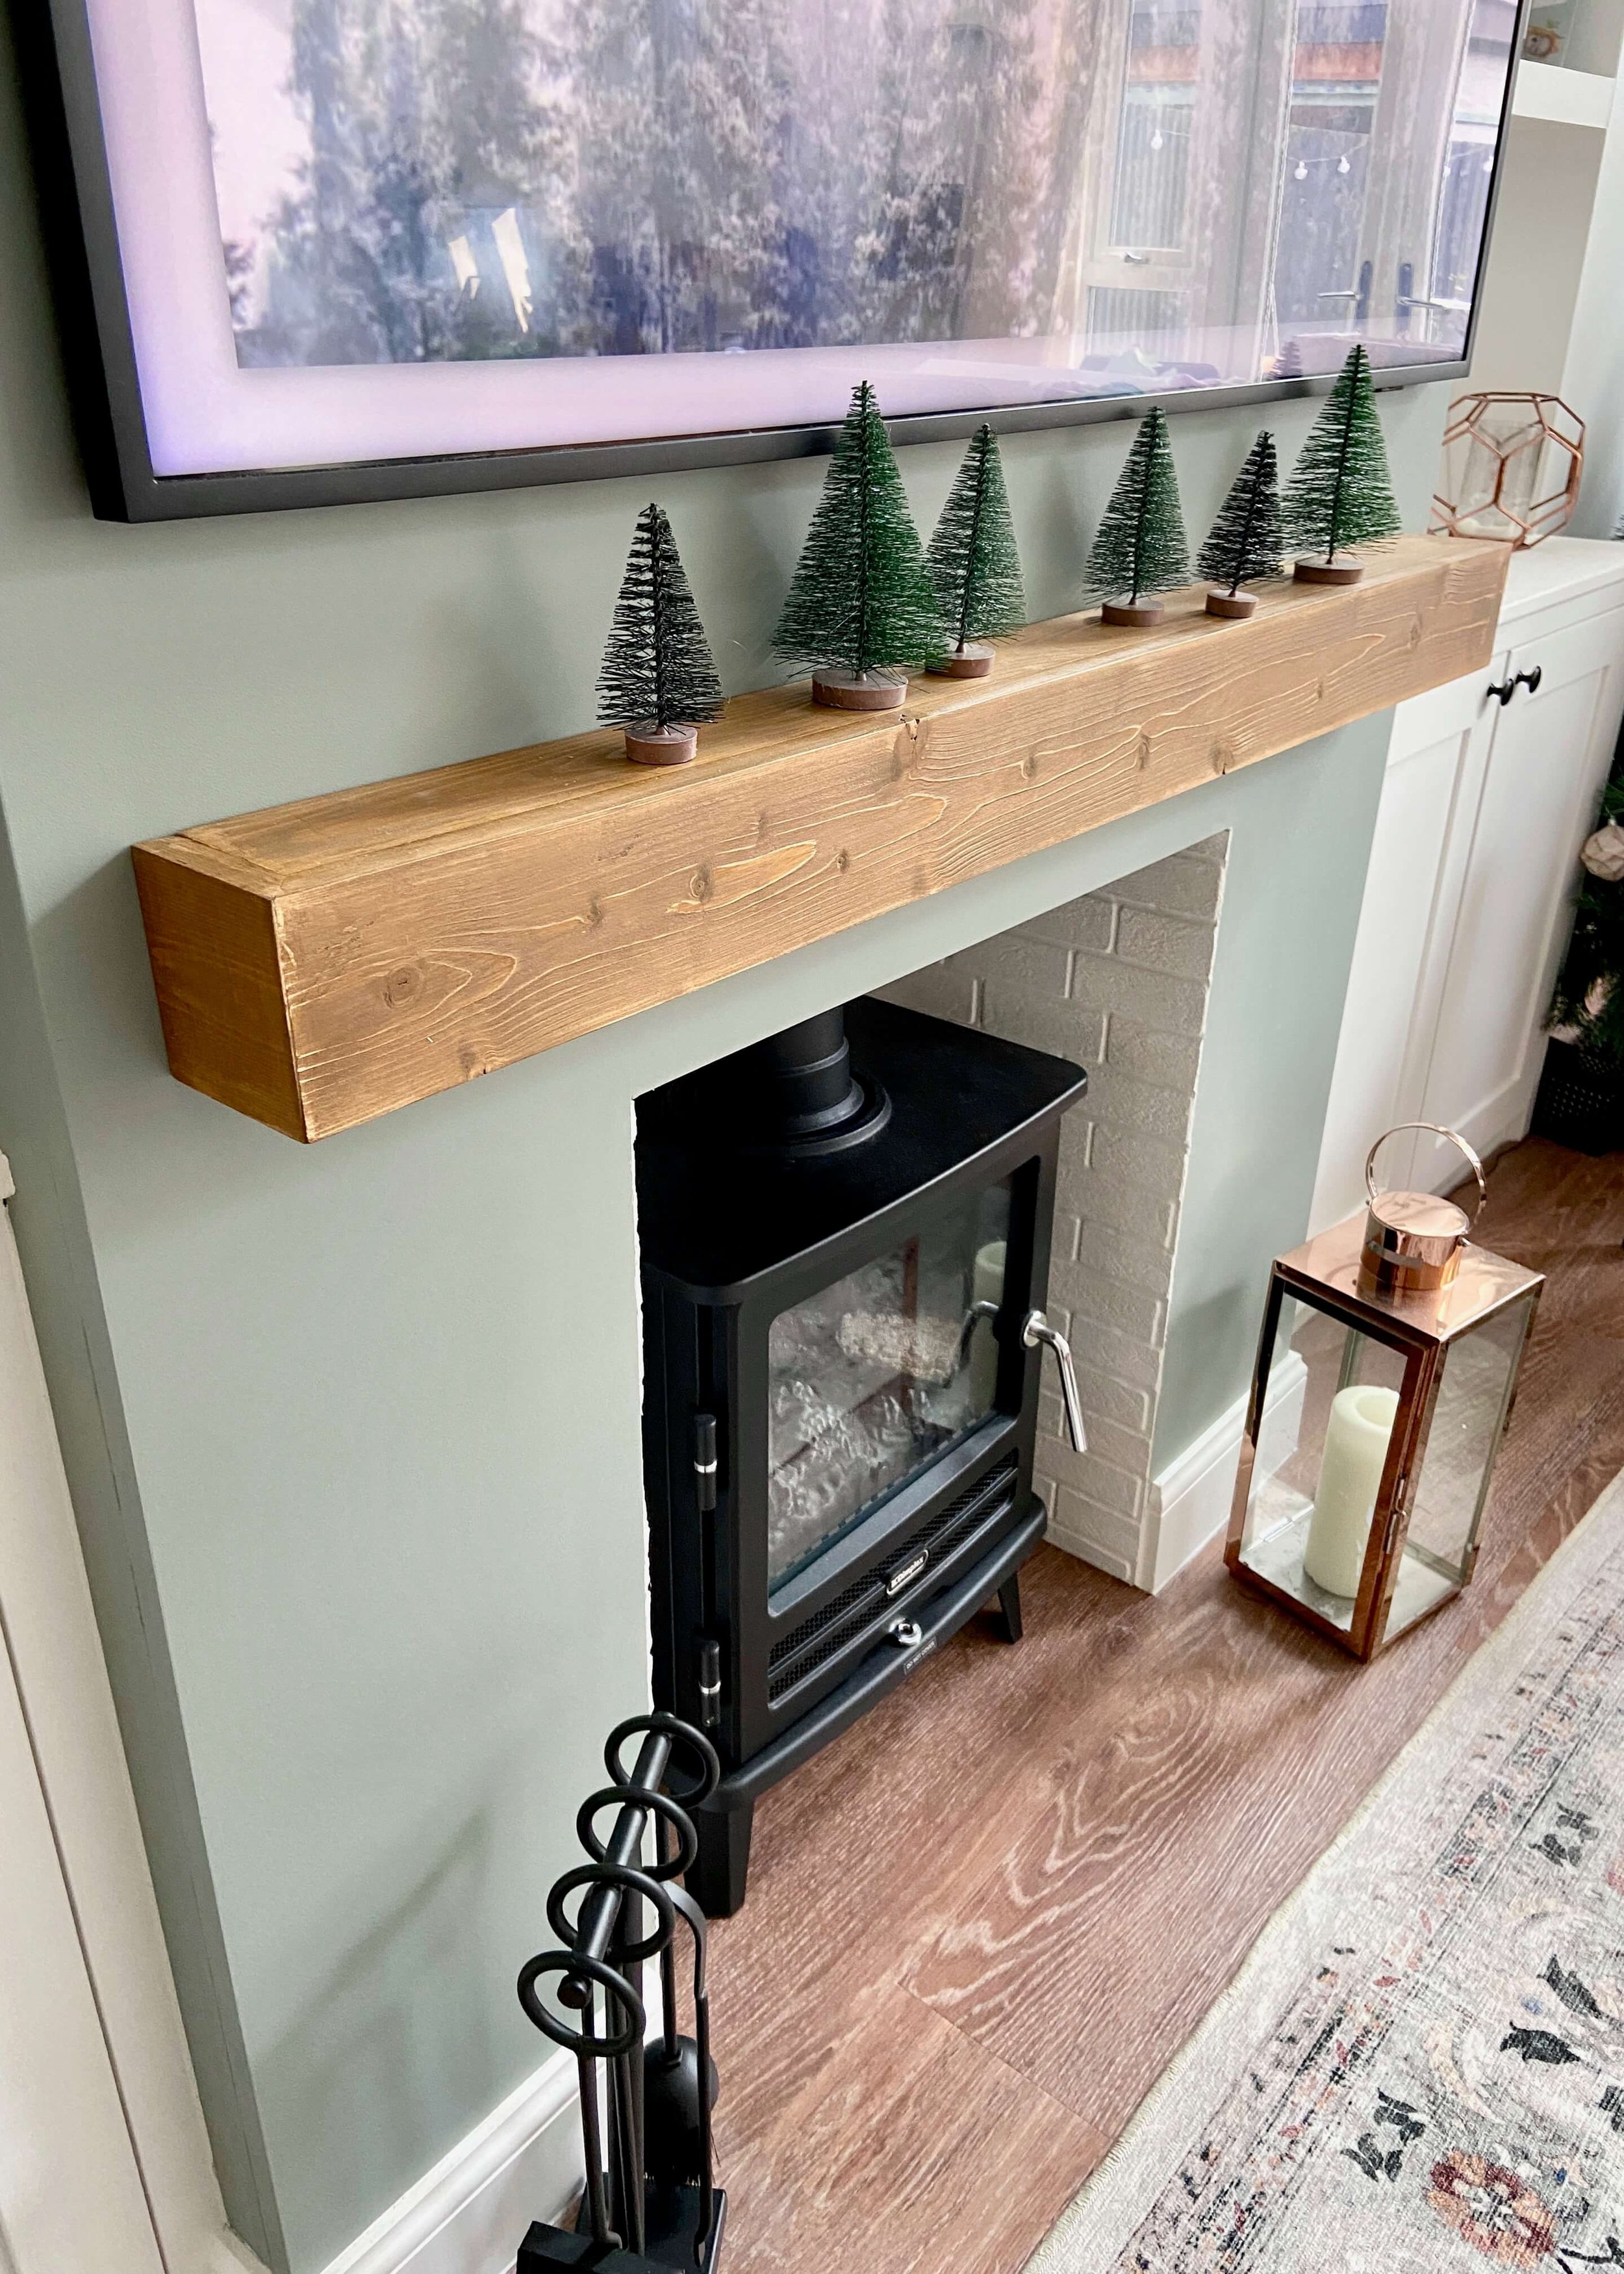
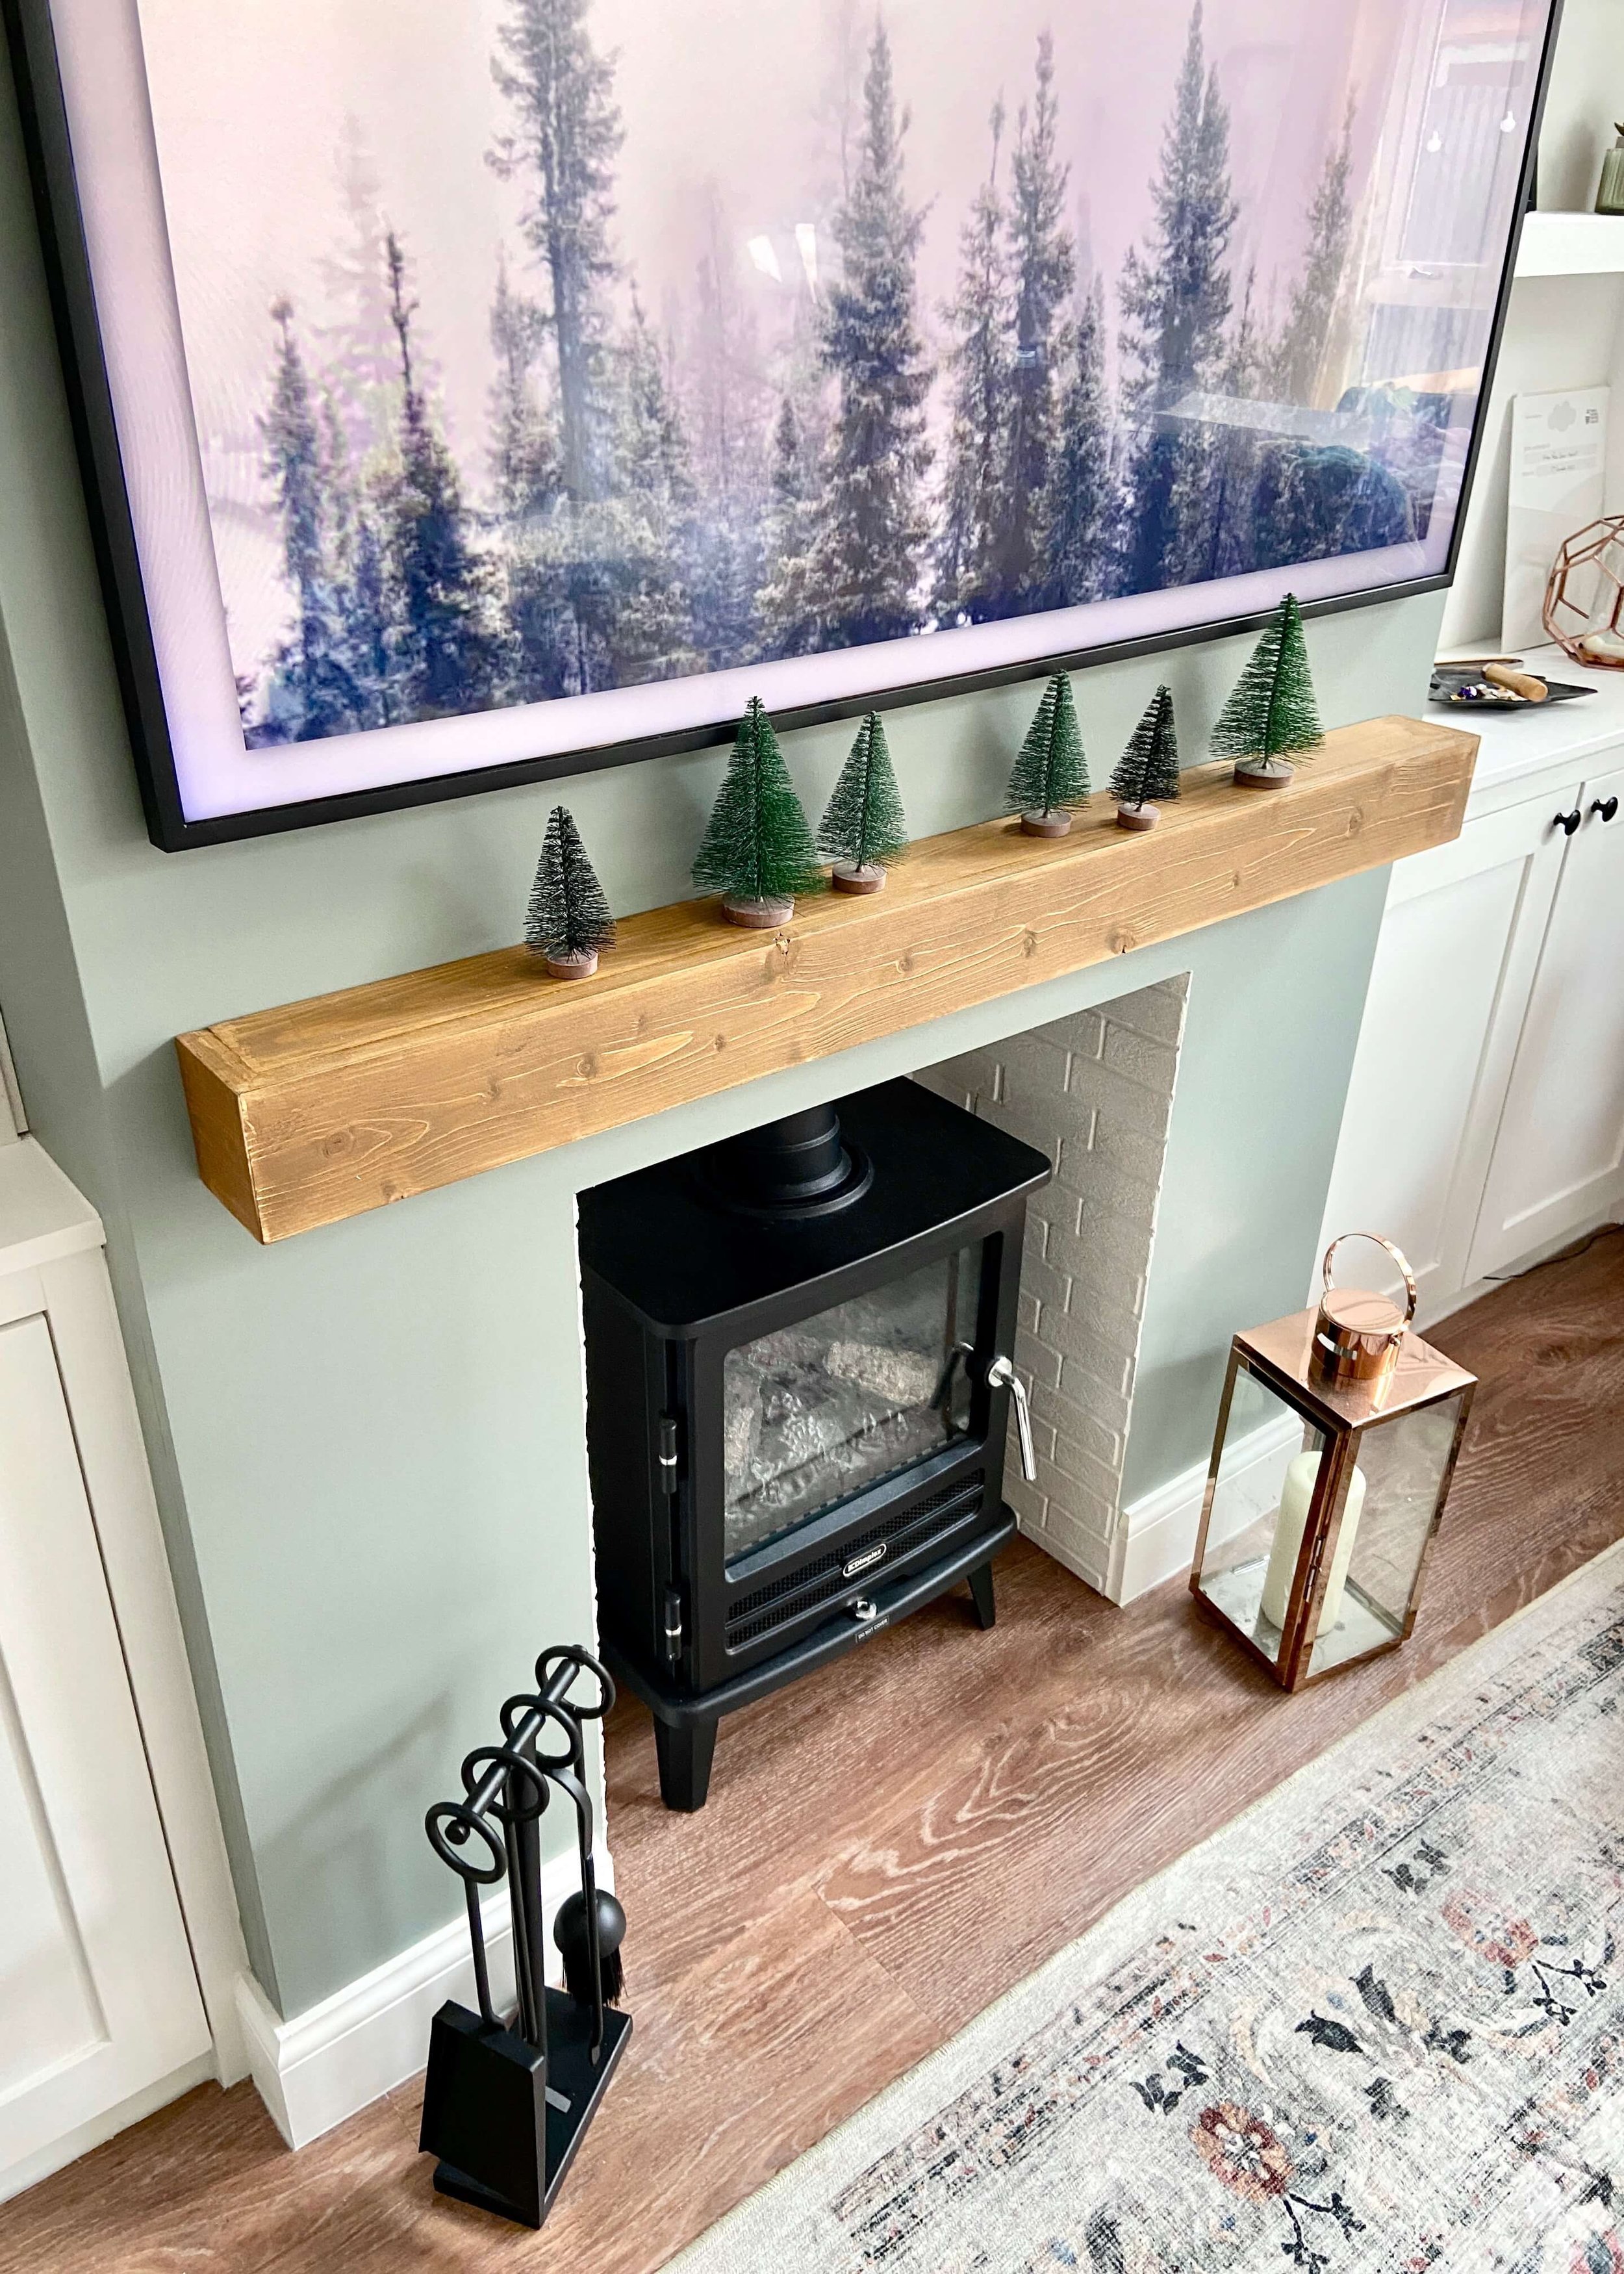
How to create your own hollow and lightweight wooden mantel!
If you follow me on instagram, you may have seen a few months ago that we had a faux fireplace with cabinetry either side built in our living room. I already had the electric stove, and after some thought, added a faux brick effect behind it, but I didn’t have a mantel and given the chimney breast isn’t made from bricks and mortar, didn’t want anything too heavy.
lightweight mantel
As a result, I spent ages looking for hollow or light weight wooden mantels online, and suprisingly I couldn’t find any readily available to buy. I did however come across a few videos on Youtube of how to DIY them, and so I convinced my husband to help me make one. The star of the show really was the pocket hole jig, this enabled us to attach the sides of the mantel together without any screws showing, and using mitred edges on the wood gives the illusion that it is one solid piece of wood.
We stained in a medium oak colour similar to our dining table, however it’s looking a little more orange here than I would like and I’m thinking I might seal it with a brown wax or varnish that helps tone this down a bit. As always, please do share this if you enjoyed it, and keep reading to find out what materials I used and the step-by-step tutorial!


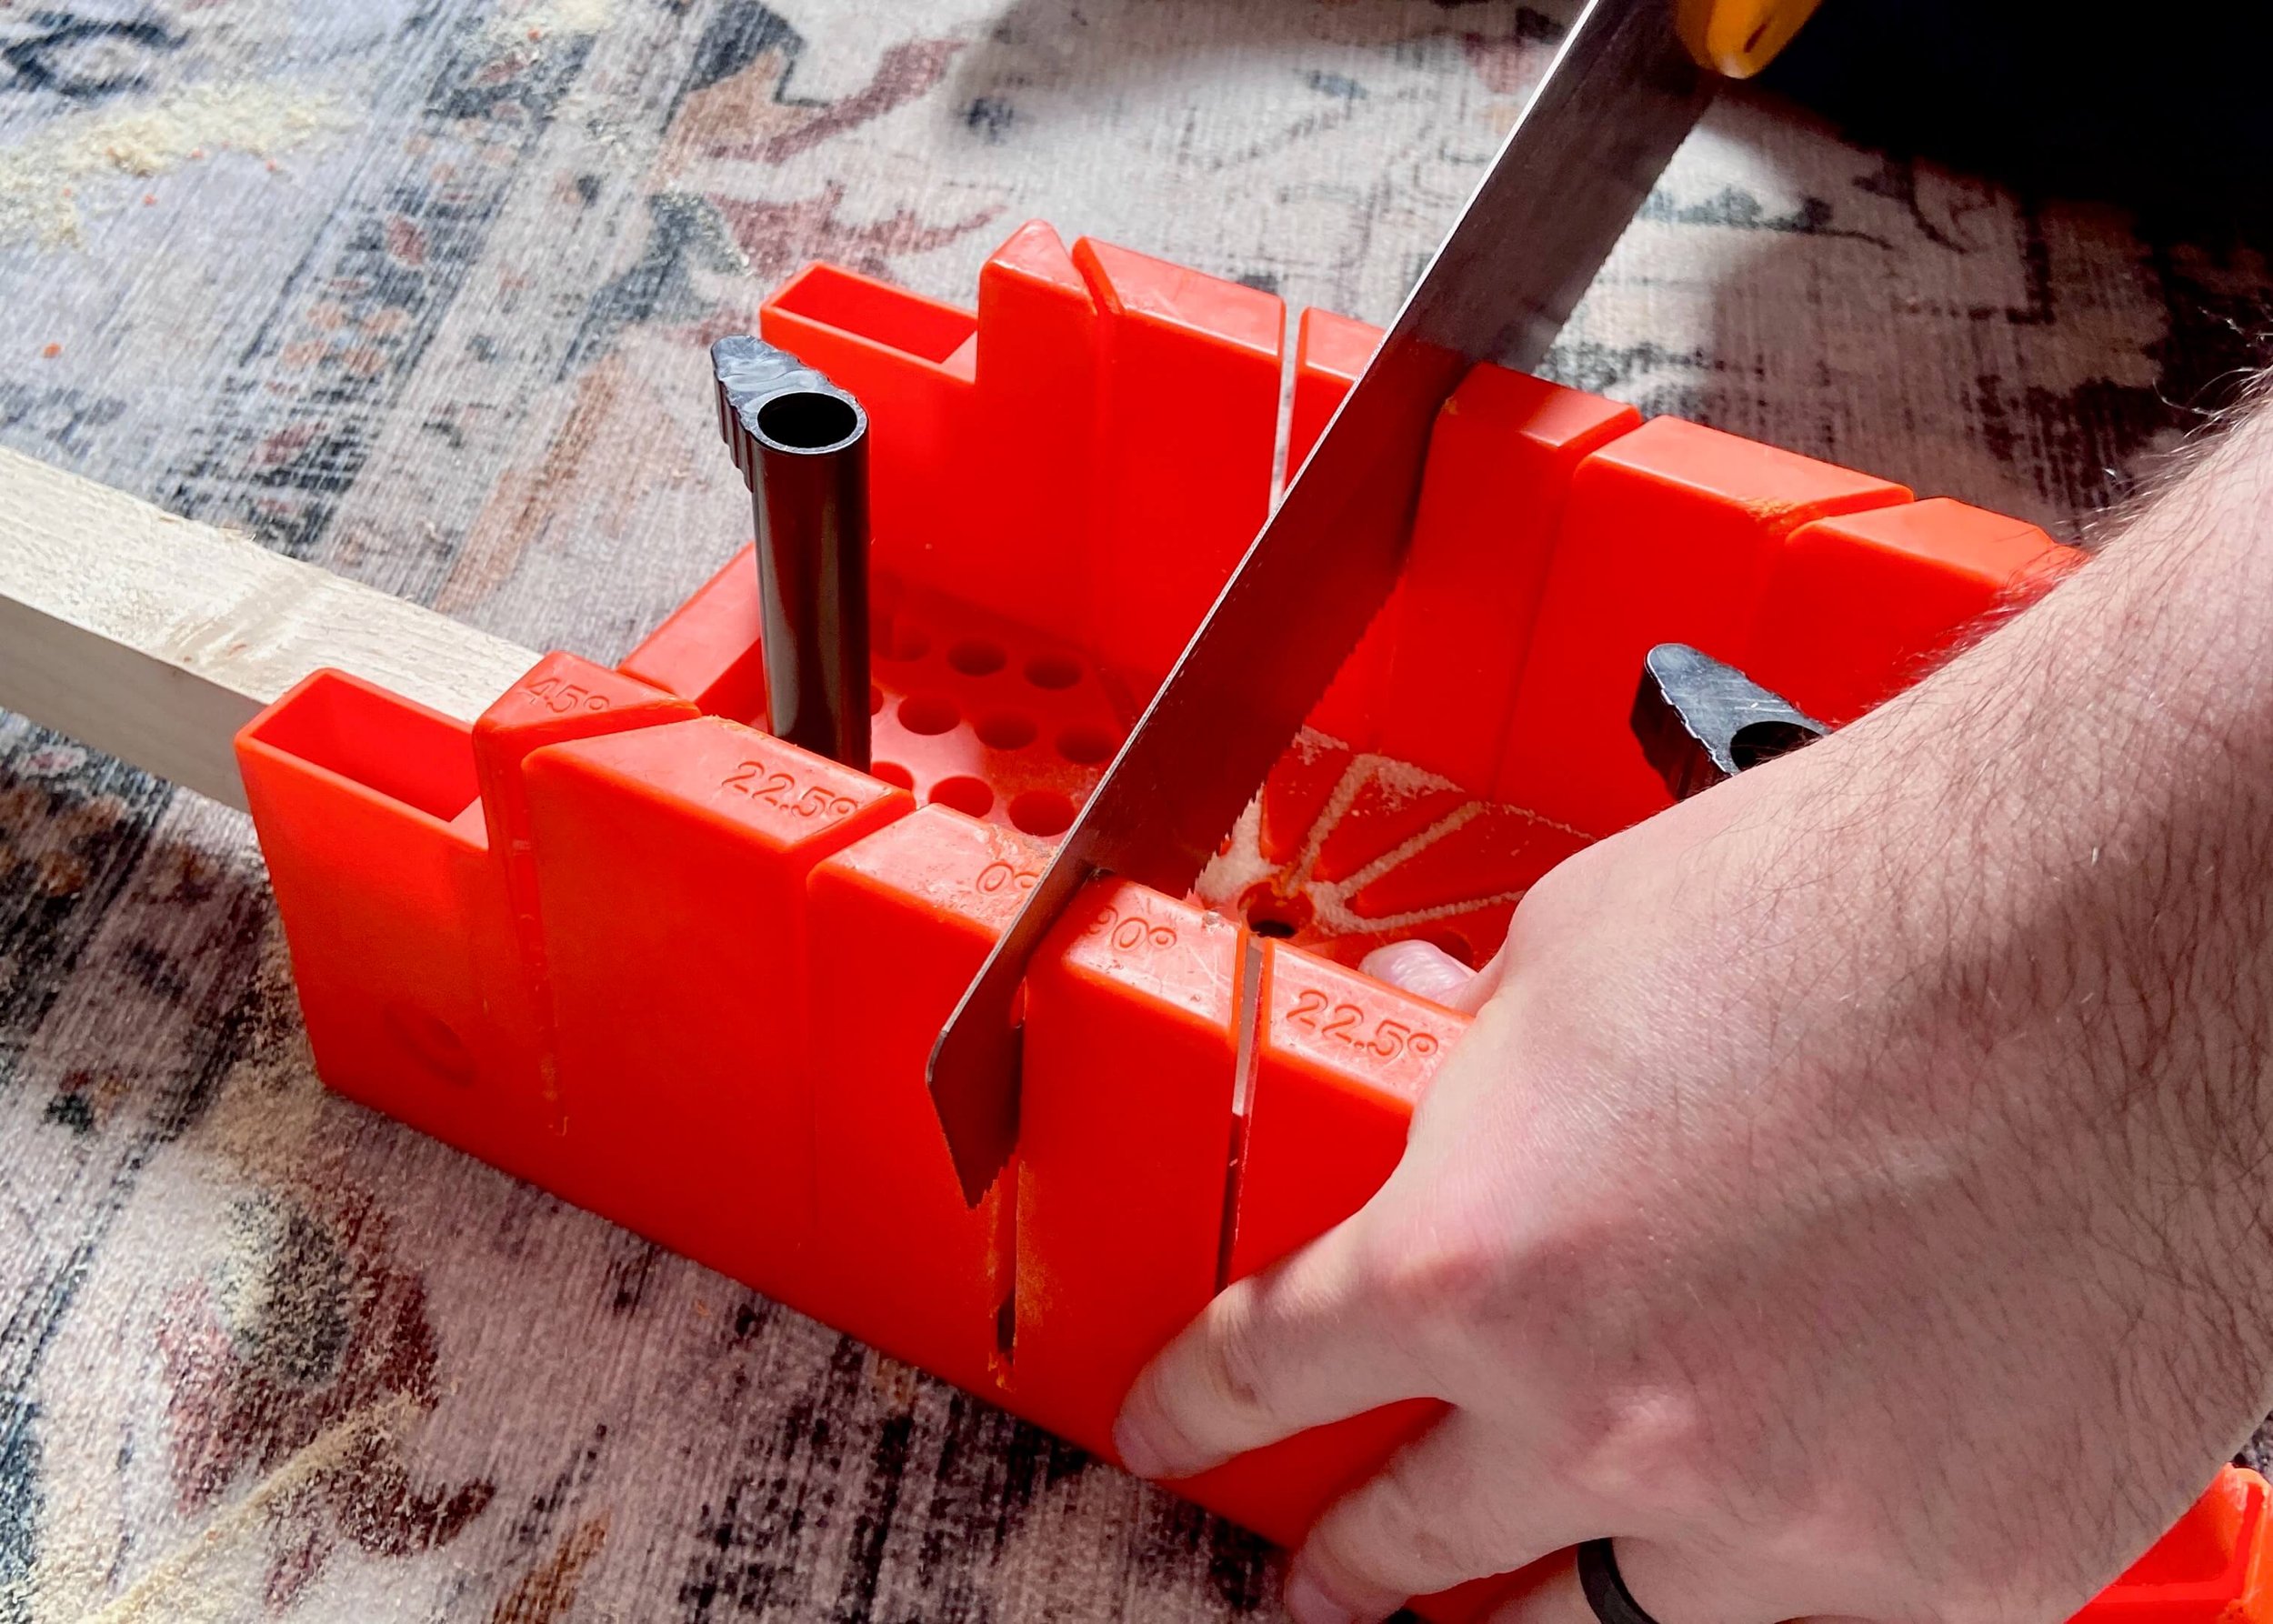
1.
First of all, decide how deep, tall and wide you want your mantel box to be. Grab some timber that is the right width and which is relatively thin in depth. Cut your timber to length. You will need 3 lengths to create the box (A, B & C). I cut the front of the box with 45 degree angles at each end but the sides straight (A).
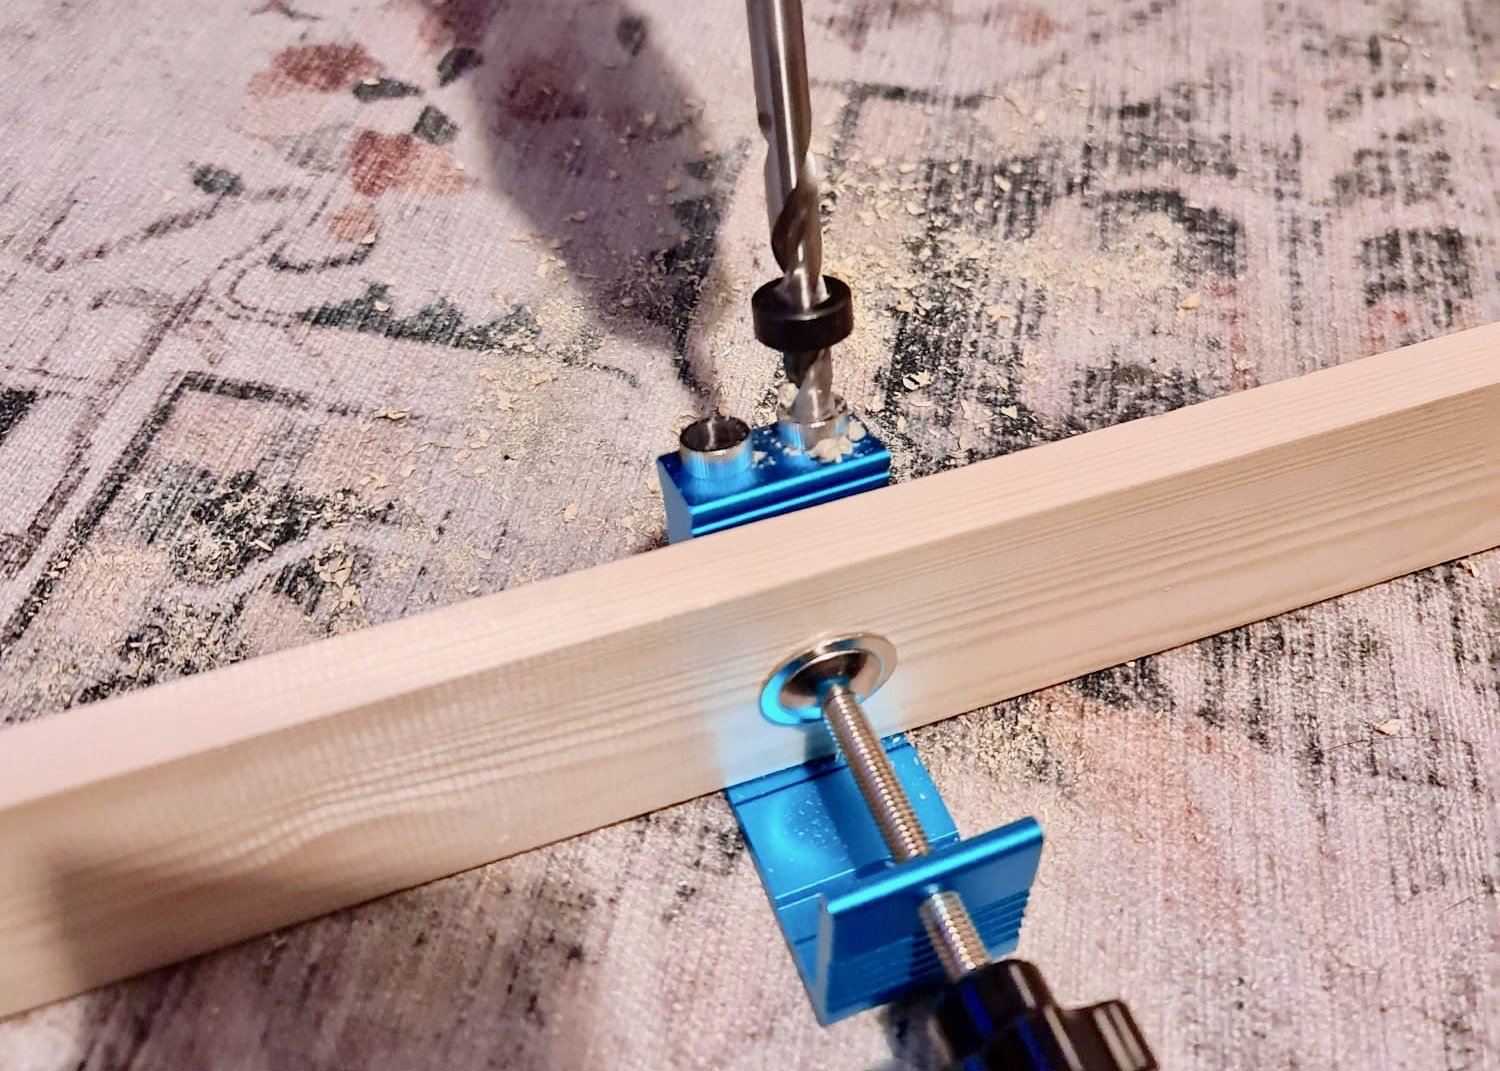
2.
Next, use a pocket hole jig to add holes along the lengths of wood that will be the top (B) and bottom (C) of the ‘box’. Make the holes on what will be the inside of the box.

3.
Use the pocket hole jig to also add pocket holes at each end of the top (B) and bottom (C) pieces of the mantel. Do this so that you can secure two shorter end pieces later.

4.
Next, place the front piece of the box flat (A), with what will be the front facing downwards. Then place what will be the top (B) of the mantel piece at a 90 degree angle on this, flush to the top and with the pocket holes on the inside.

5.
Use screws and a screwdriver to secure the two pieces of wood together (A & B). Be sure to use screws that aren’t long enough to go through the front piece. Repeat this process with what will be the bottom of the mantel (A & C).

6.
Measure and cut two smaller lengths of wood to fit the ends (D & E). If you used a 45 degree angle on the front timber of the mantel, be sure to do a 45 degree angle cut where this smaller piece will meet it. Use wood glue and screws in your predrilled pocket holes to secure.
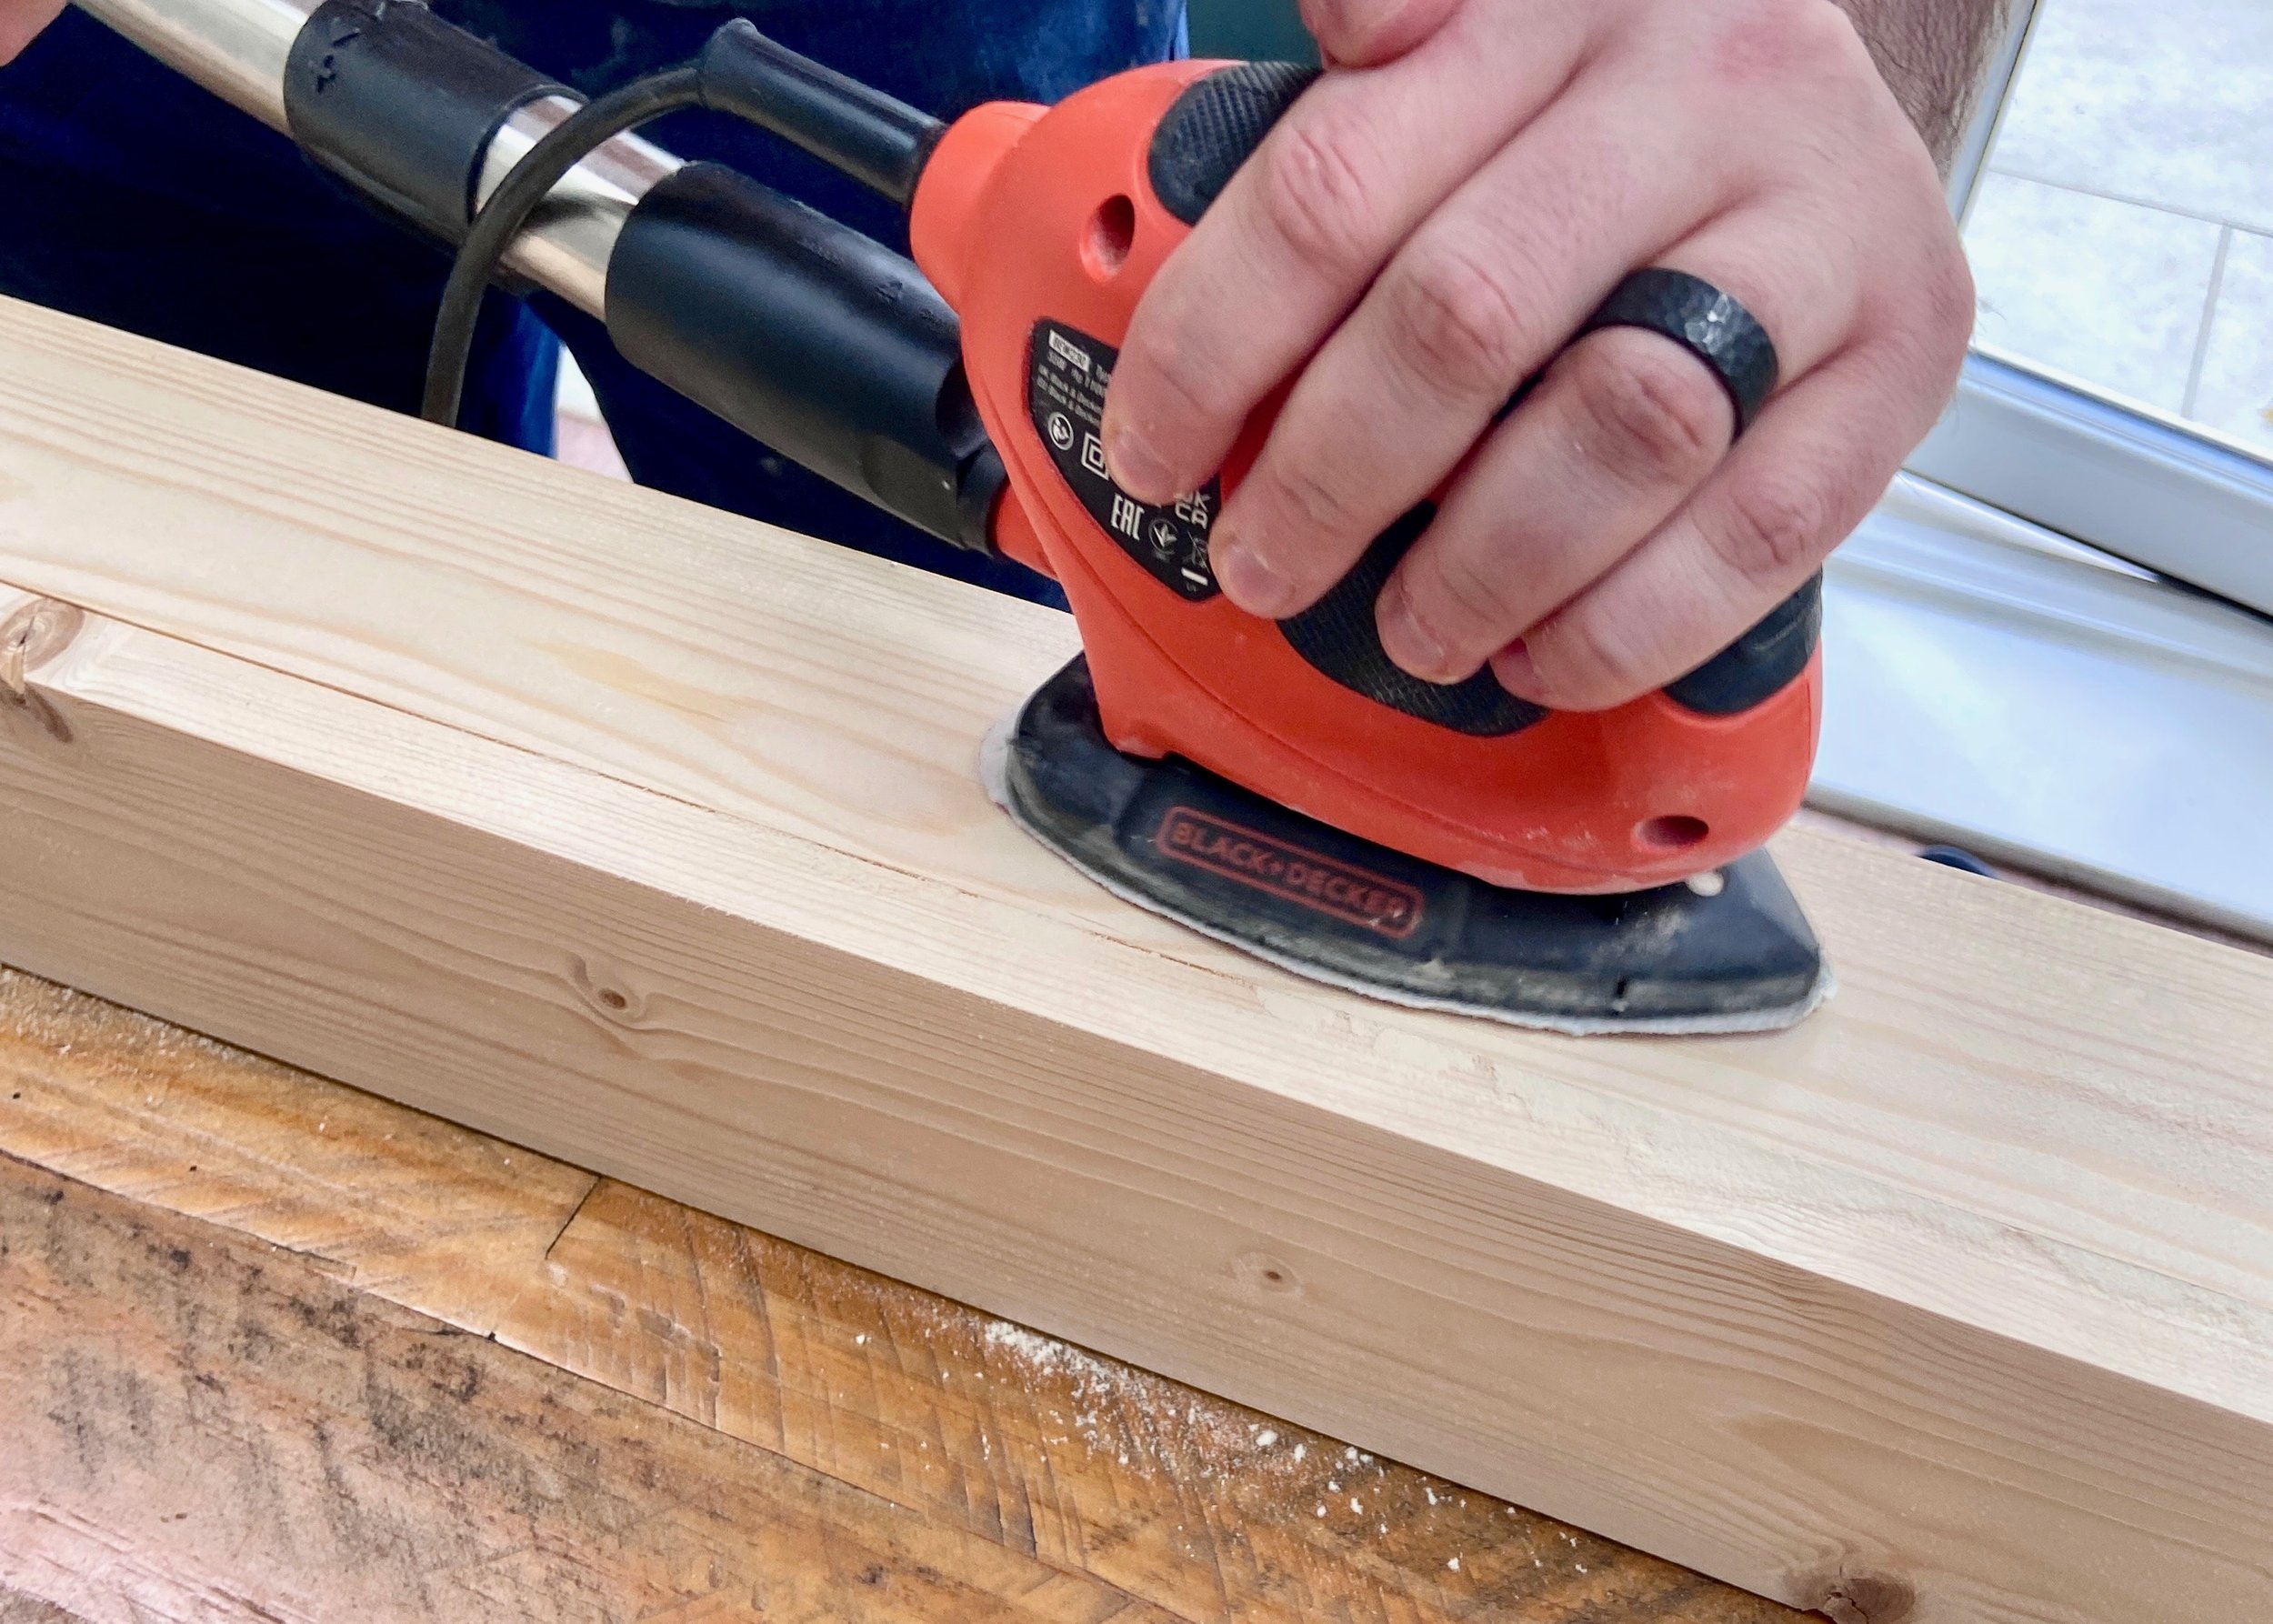
7.
You should now have something that resembles a trough - a box with one side open. Use a sander or sanding paper to smooth all the seams and collect the sawdust.

8.
Mix the sawdust with some wood glue and use a small spatula to fill any seams or gaps on the outside of the box. Leave to dry and then sand smooth.
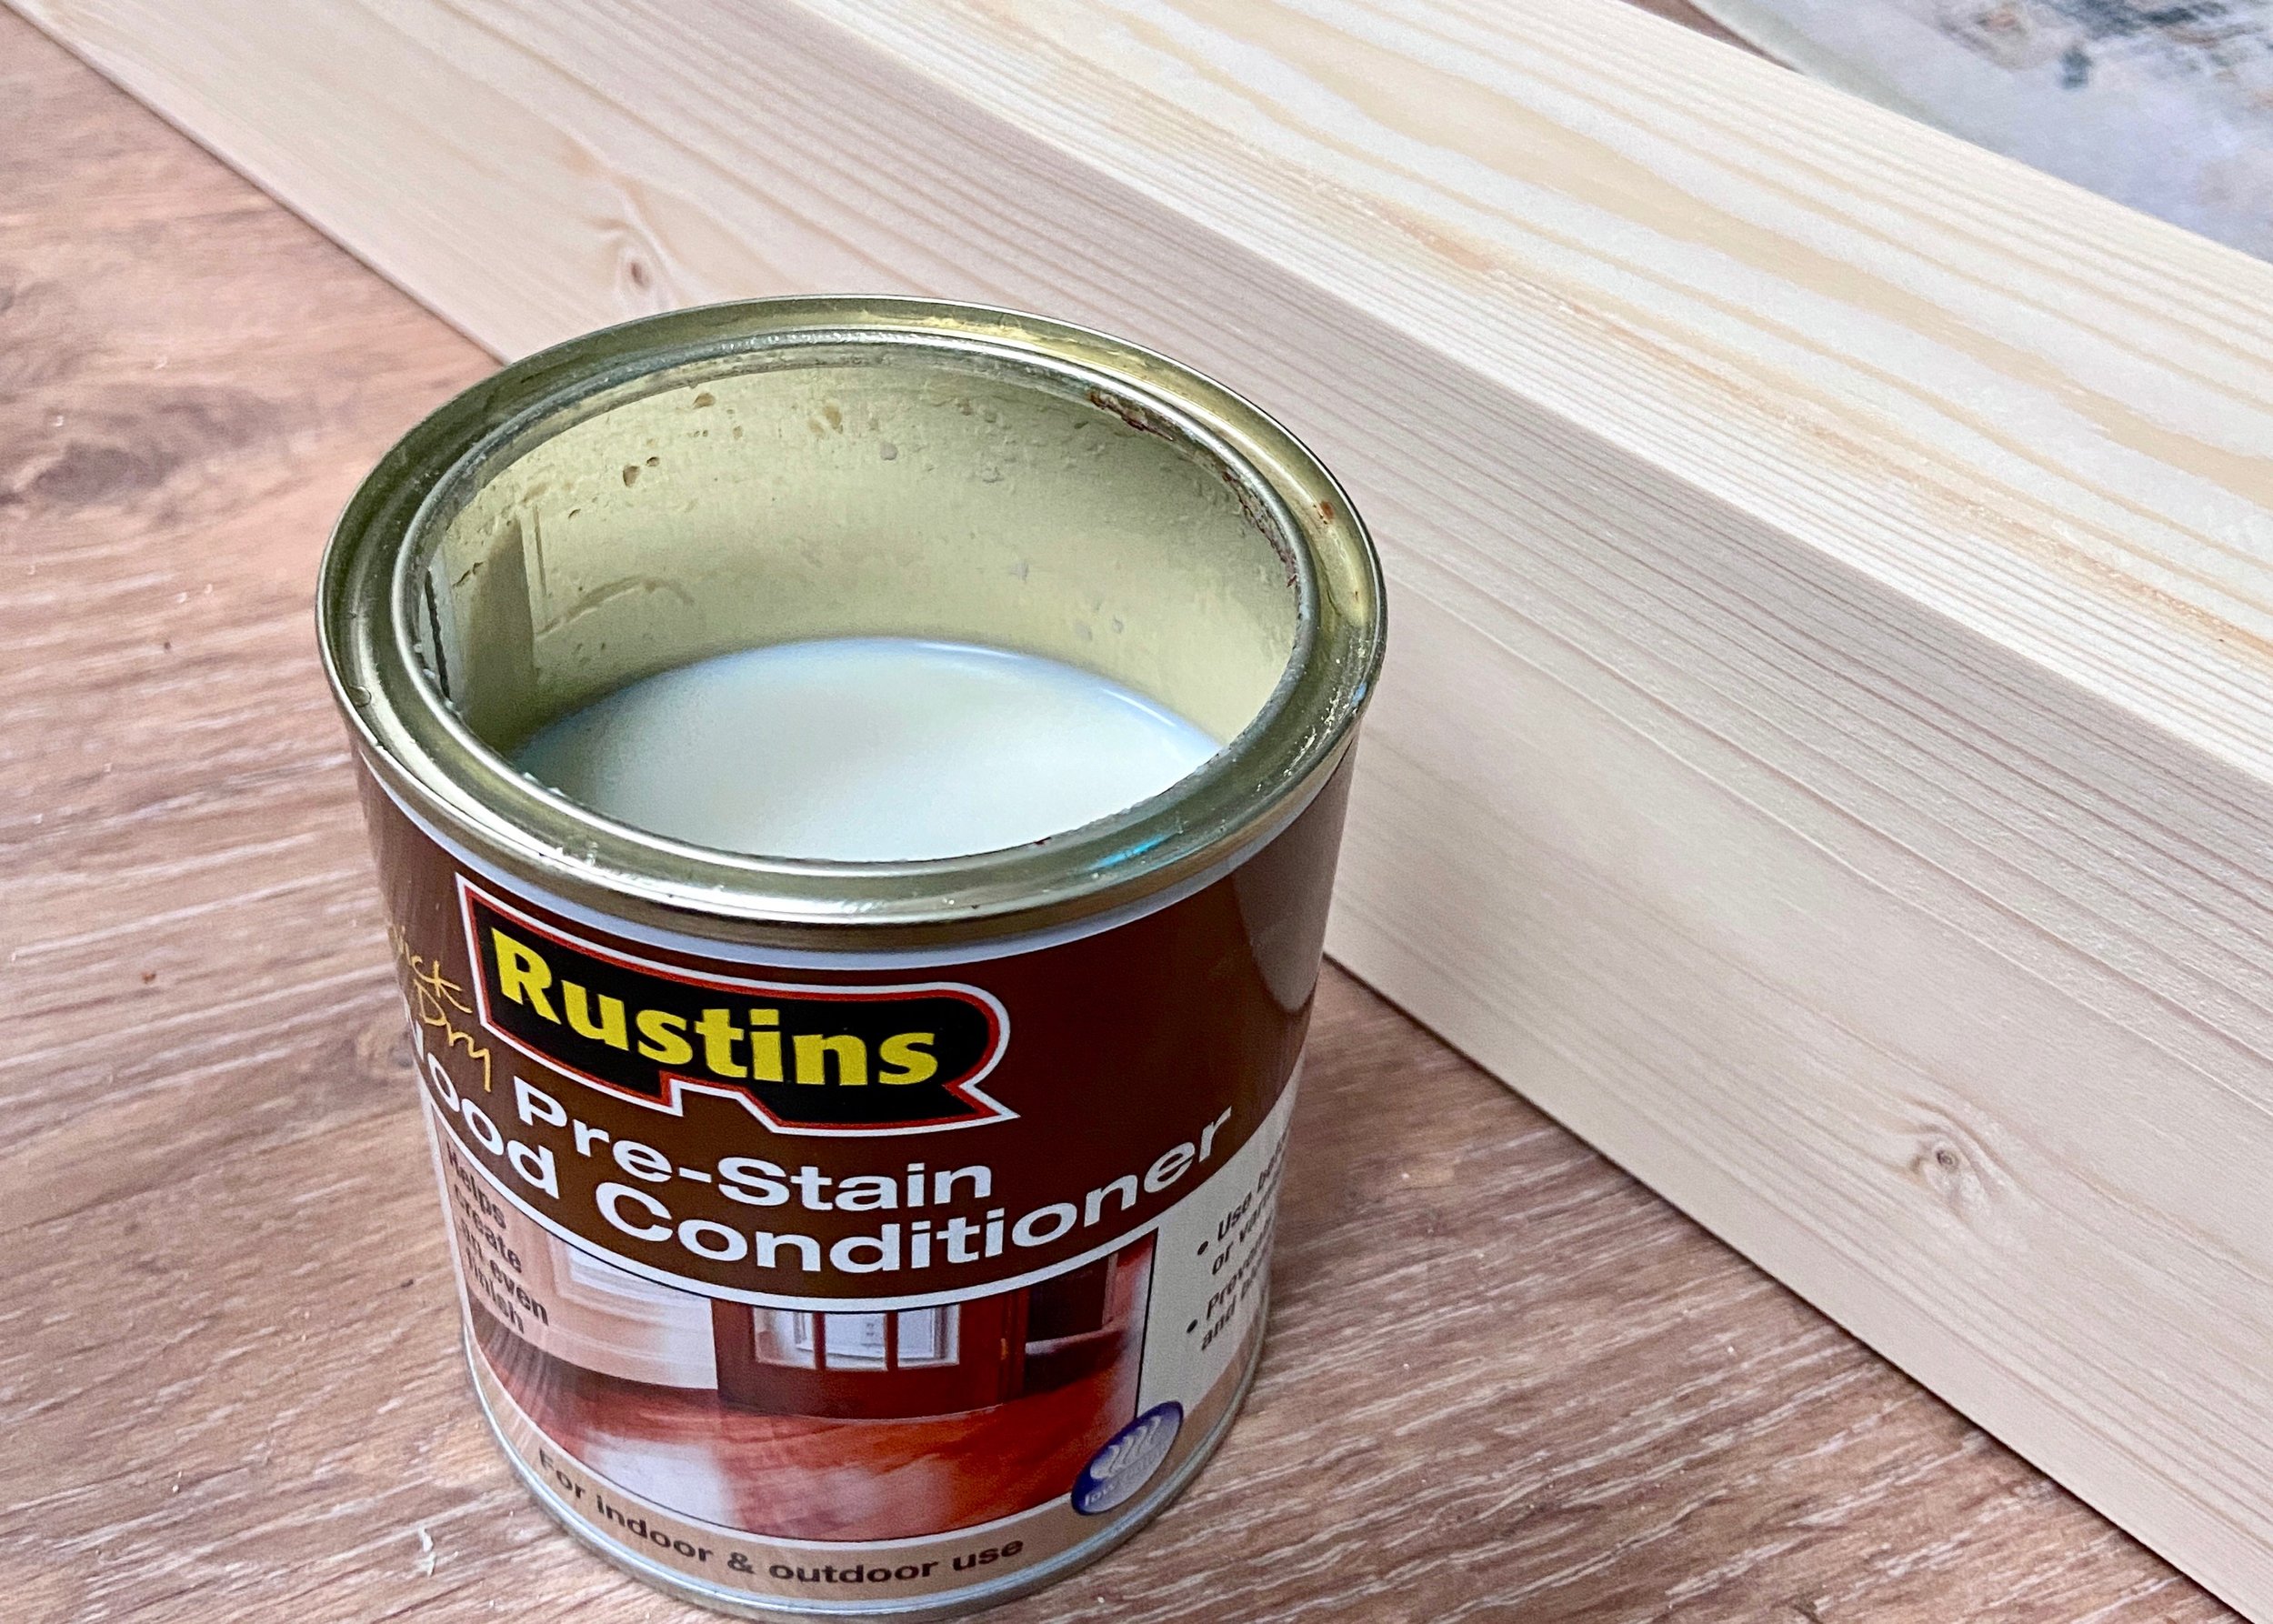
9.
If you are using pine like we did, use a pre-stain wood conditioner all over to give an even finish to the stain.
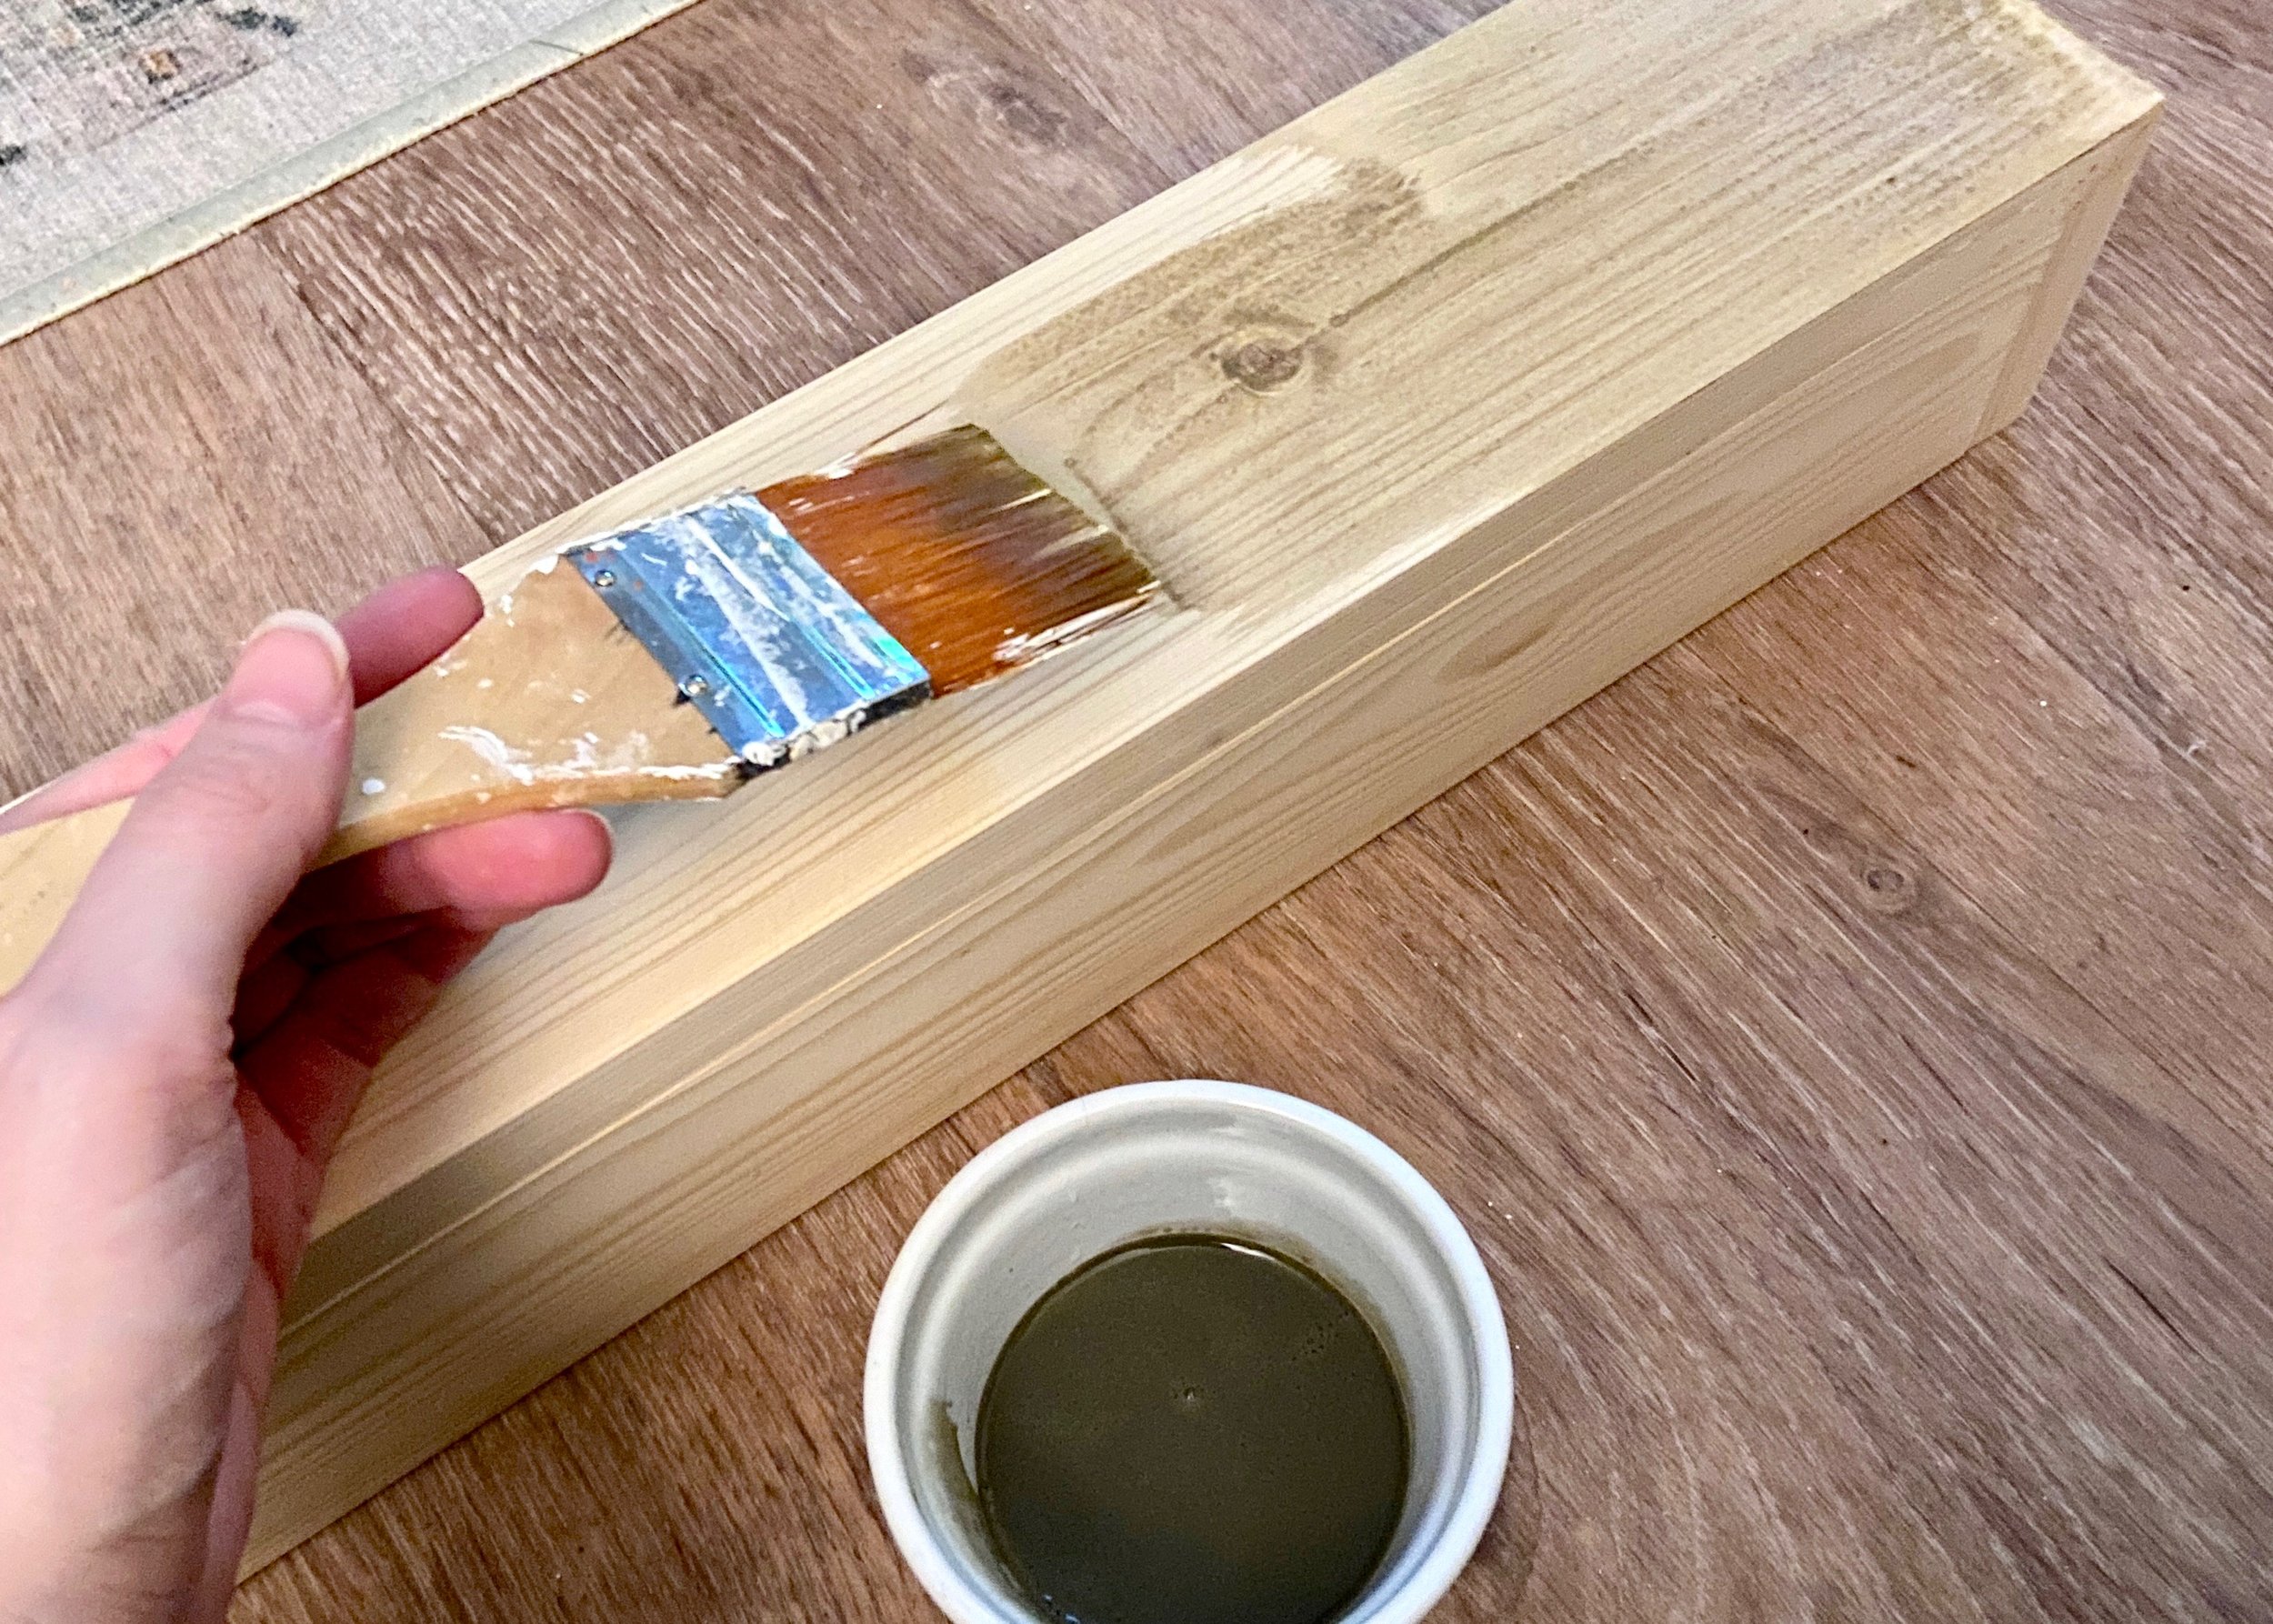
10.
Choose your stain and then apply several coats of this on the outside of the mantel box until you are happy with the depth of colour.

11.
Measure the height and width of the space on the inside of the box, and get or cut some timber that will fit snuggly inside of this (F). Again, you don’t want your timber to be too thick but you want this piece thick enough to hold the mantel up.

12.
Use a level and decide where abouts you want your mantel to be on the chimney breast. Once decided, mark this on the bottom and then measure up from this the thickness of the bottom of the mantel (C).

13.
Use pilot holes and screws to then attach F to your chimney breast at the measurements in step 12. Use a level to make sure this is straight.
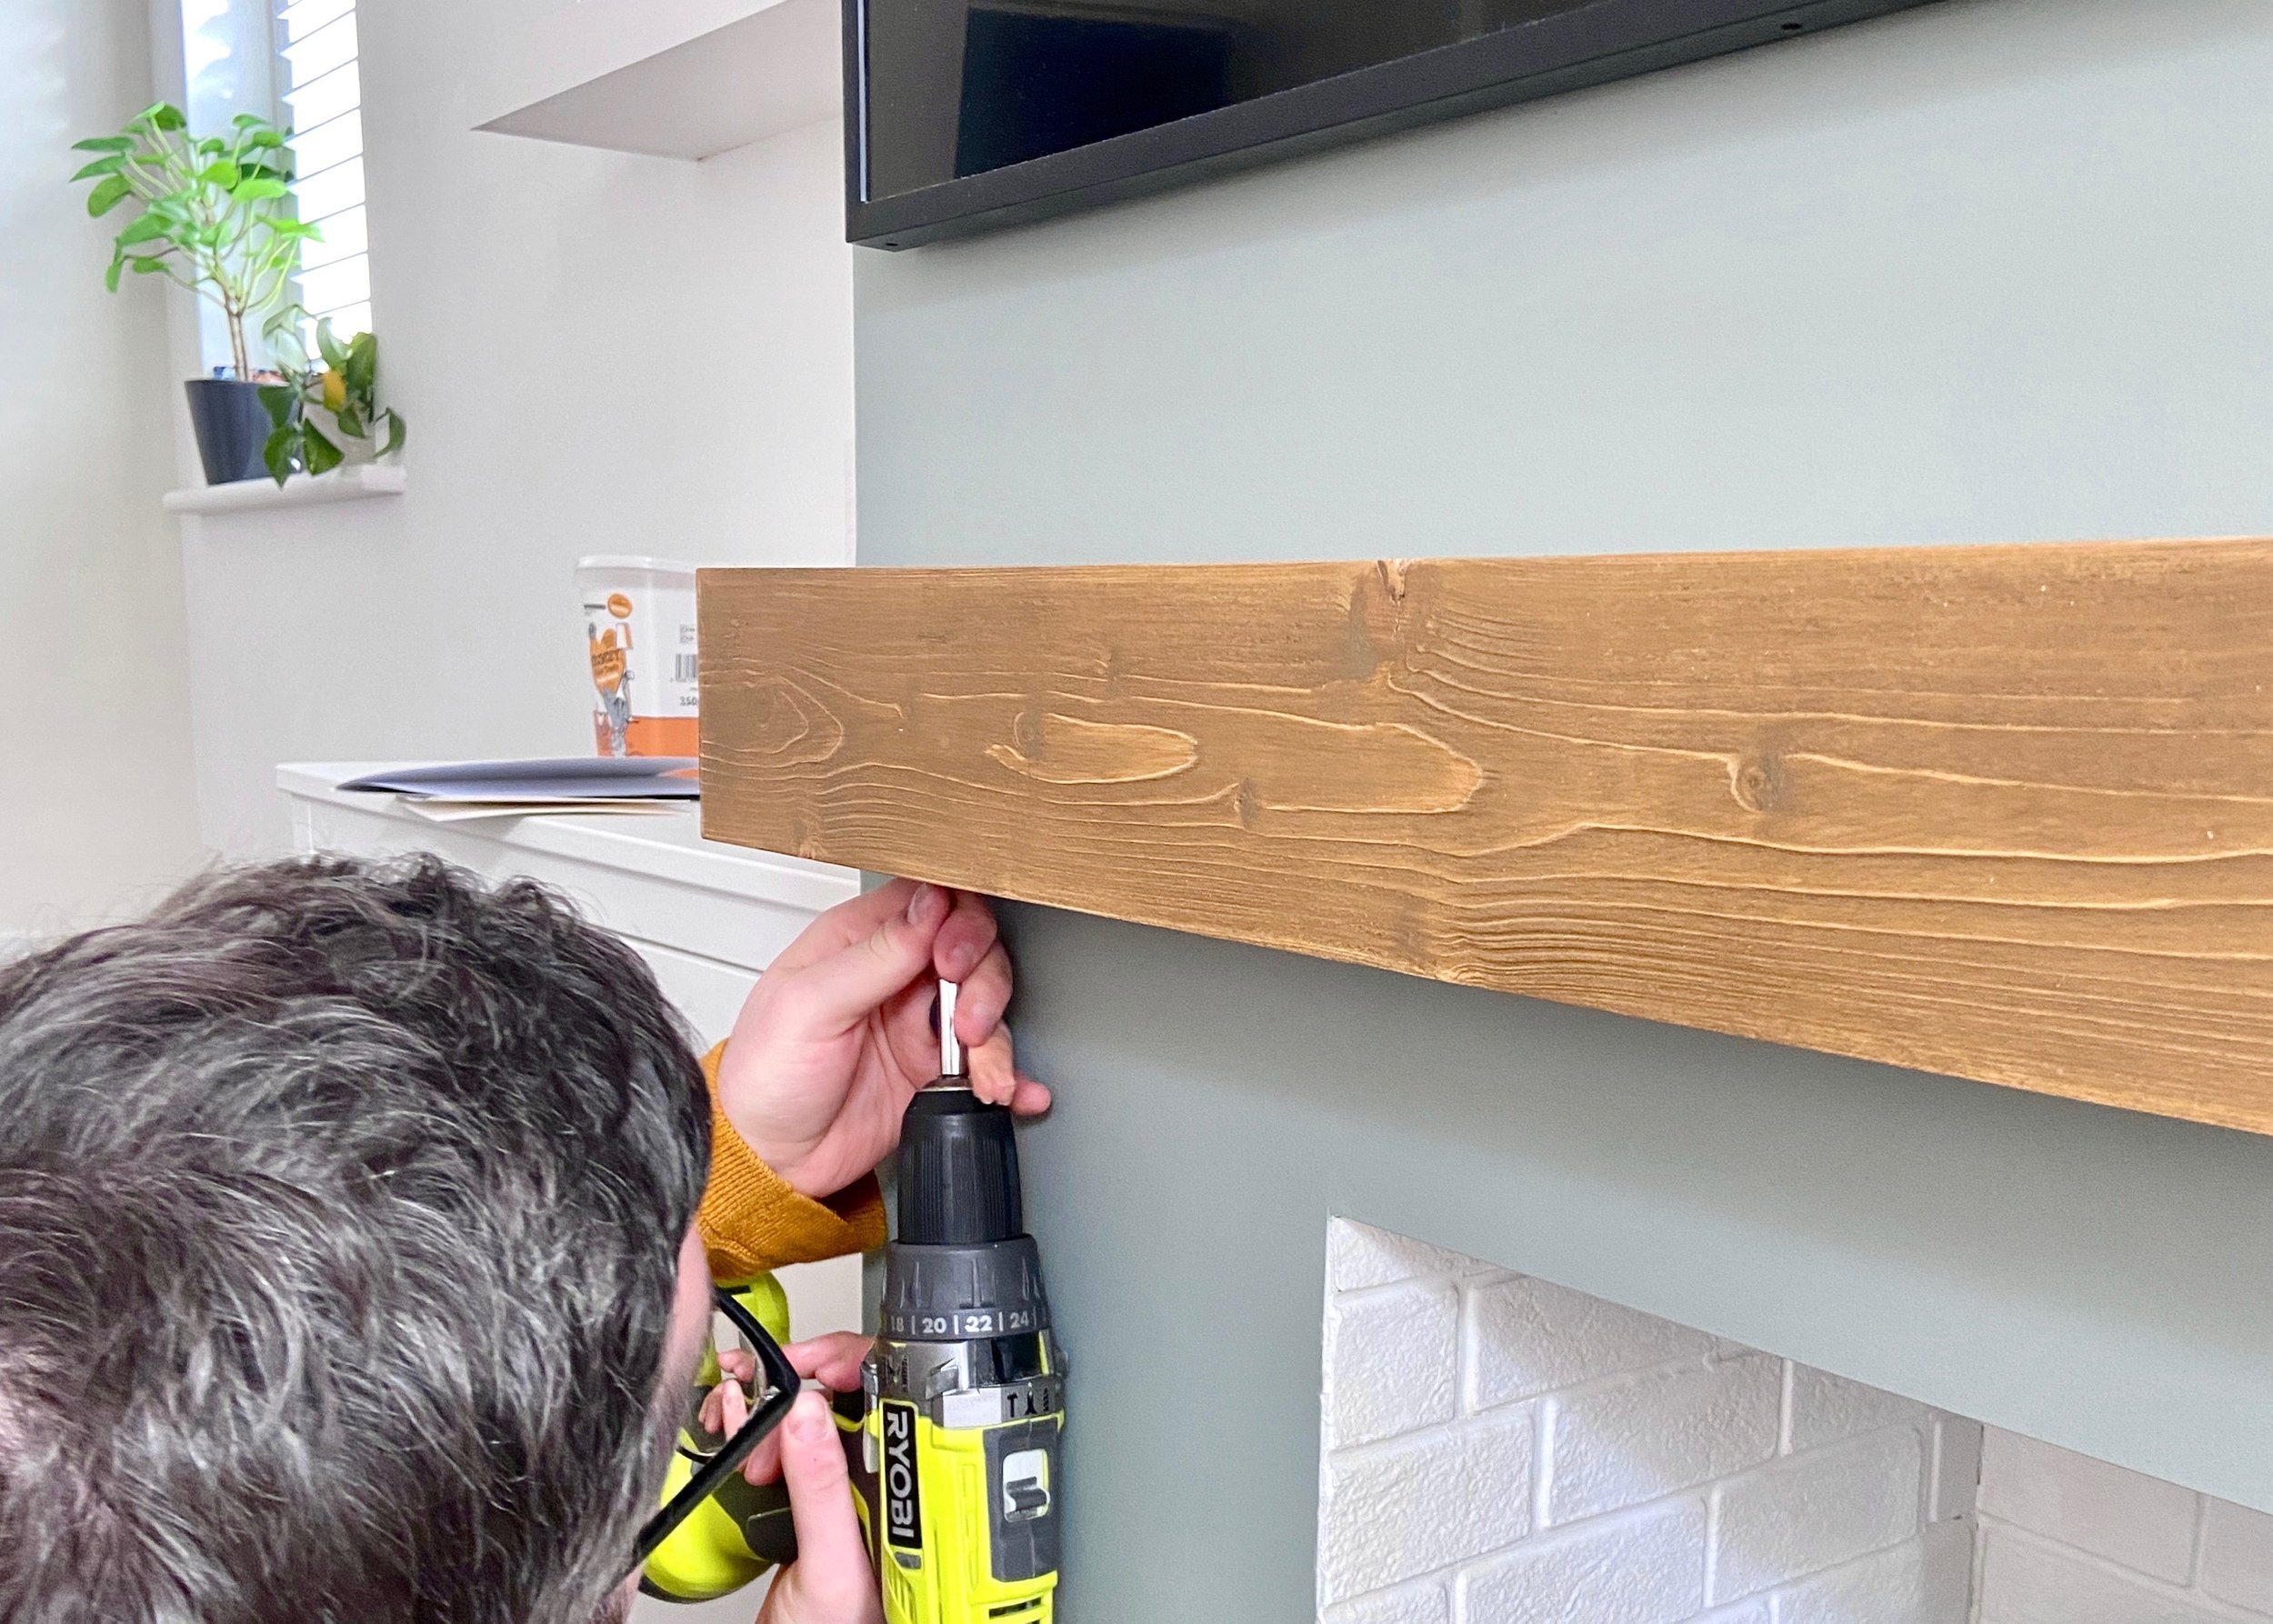
14.
Finally, push the mantel box onto F, so that F sits inside of it. If it’s very snug, you might need to use some force. Secure the mantel to the wood (F) with some screws underneath where noone will see. If you need more support, you can also add some screws on top.