In a cat’s world there really is nothing quite like a cardboard box… so why not jazz them up to make them less of an eye sore for you!
I can’t believe it’s been one whole year since my other half brought our kittens home. It all happened so quickly. We were in lockdown at that point, the vaccinations had only really just started rolling out, and most people (except BoJo of course) were working from home and no longer socialising. It led to lots of people wanting pets, and having just moved to a quieter area, it coincided with our own pursuit of pets, so when we saw some available online, we literally dropped everything and picked them up that day.
I was so excited to get them that I started planning to make them a side table that doubled as a cat bed even before we got them. I was really pleased with how it turned out and the kittens loved it too. They enjoyed playing in it and sometimes slept in it, but like most cat parents will know, as soon as they discovered cardboard boxes, that was it. Apparently nothing can compare to a cardboard box.
But, they’re so ugly. So, instead of trying to make something from scratch again, I decided to work with the cardboard box and not against it, and spruced it up. They get to sleep in their favourite box, and I have something pretty to look at, which co-ordinates with the room. Perfect! Keep reading to find out what I used and for the step by step tutorial…
1.
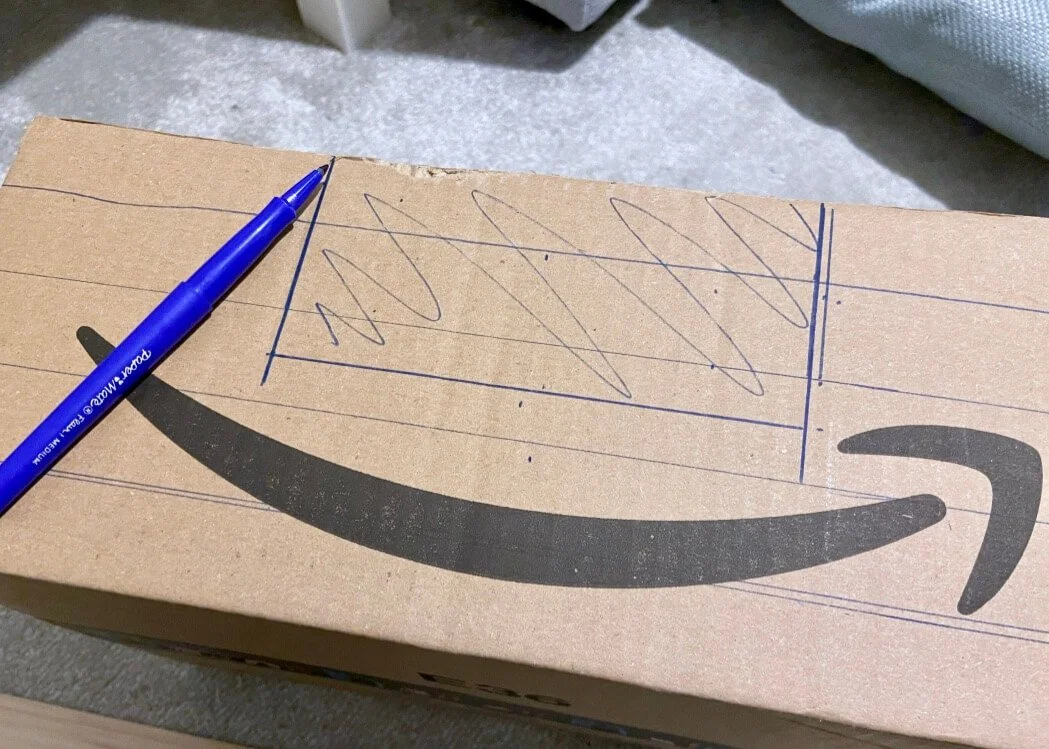
First of all, grab your pets favourite box and draw a rectangle in the top centre. Use scissors or craft knife to cut this out.
2.
Next, measure the width of your box and cut your moulding to this length ensuring that you cut the ends at 45 degree angles using a mitre box. Use No More Nails to stick this to the box.
3.
Repeat this process, cutting shorter lengths for either side of the entrance to the box. Where the wood meets this entrance, cut 90 degree angles.
4.
Repeat the measuring and cutting process until the fronts and sides are covered. Be sure to cut 45 degree angles where the moulding ends meet at corners so that they fit nicely together.
5.
Once the box is covered (though I decided to leave the back bare to give the back some flexibility for my cats to curl up against) use a blade to trim off any exposed cardboard box at the top.
6.
Finally, either paint the wood, stain it or mix some brown acrylic paints with water to create your own stain. Wipe off any excess, leave to dry and pop the box back where your cat likes it.


