
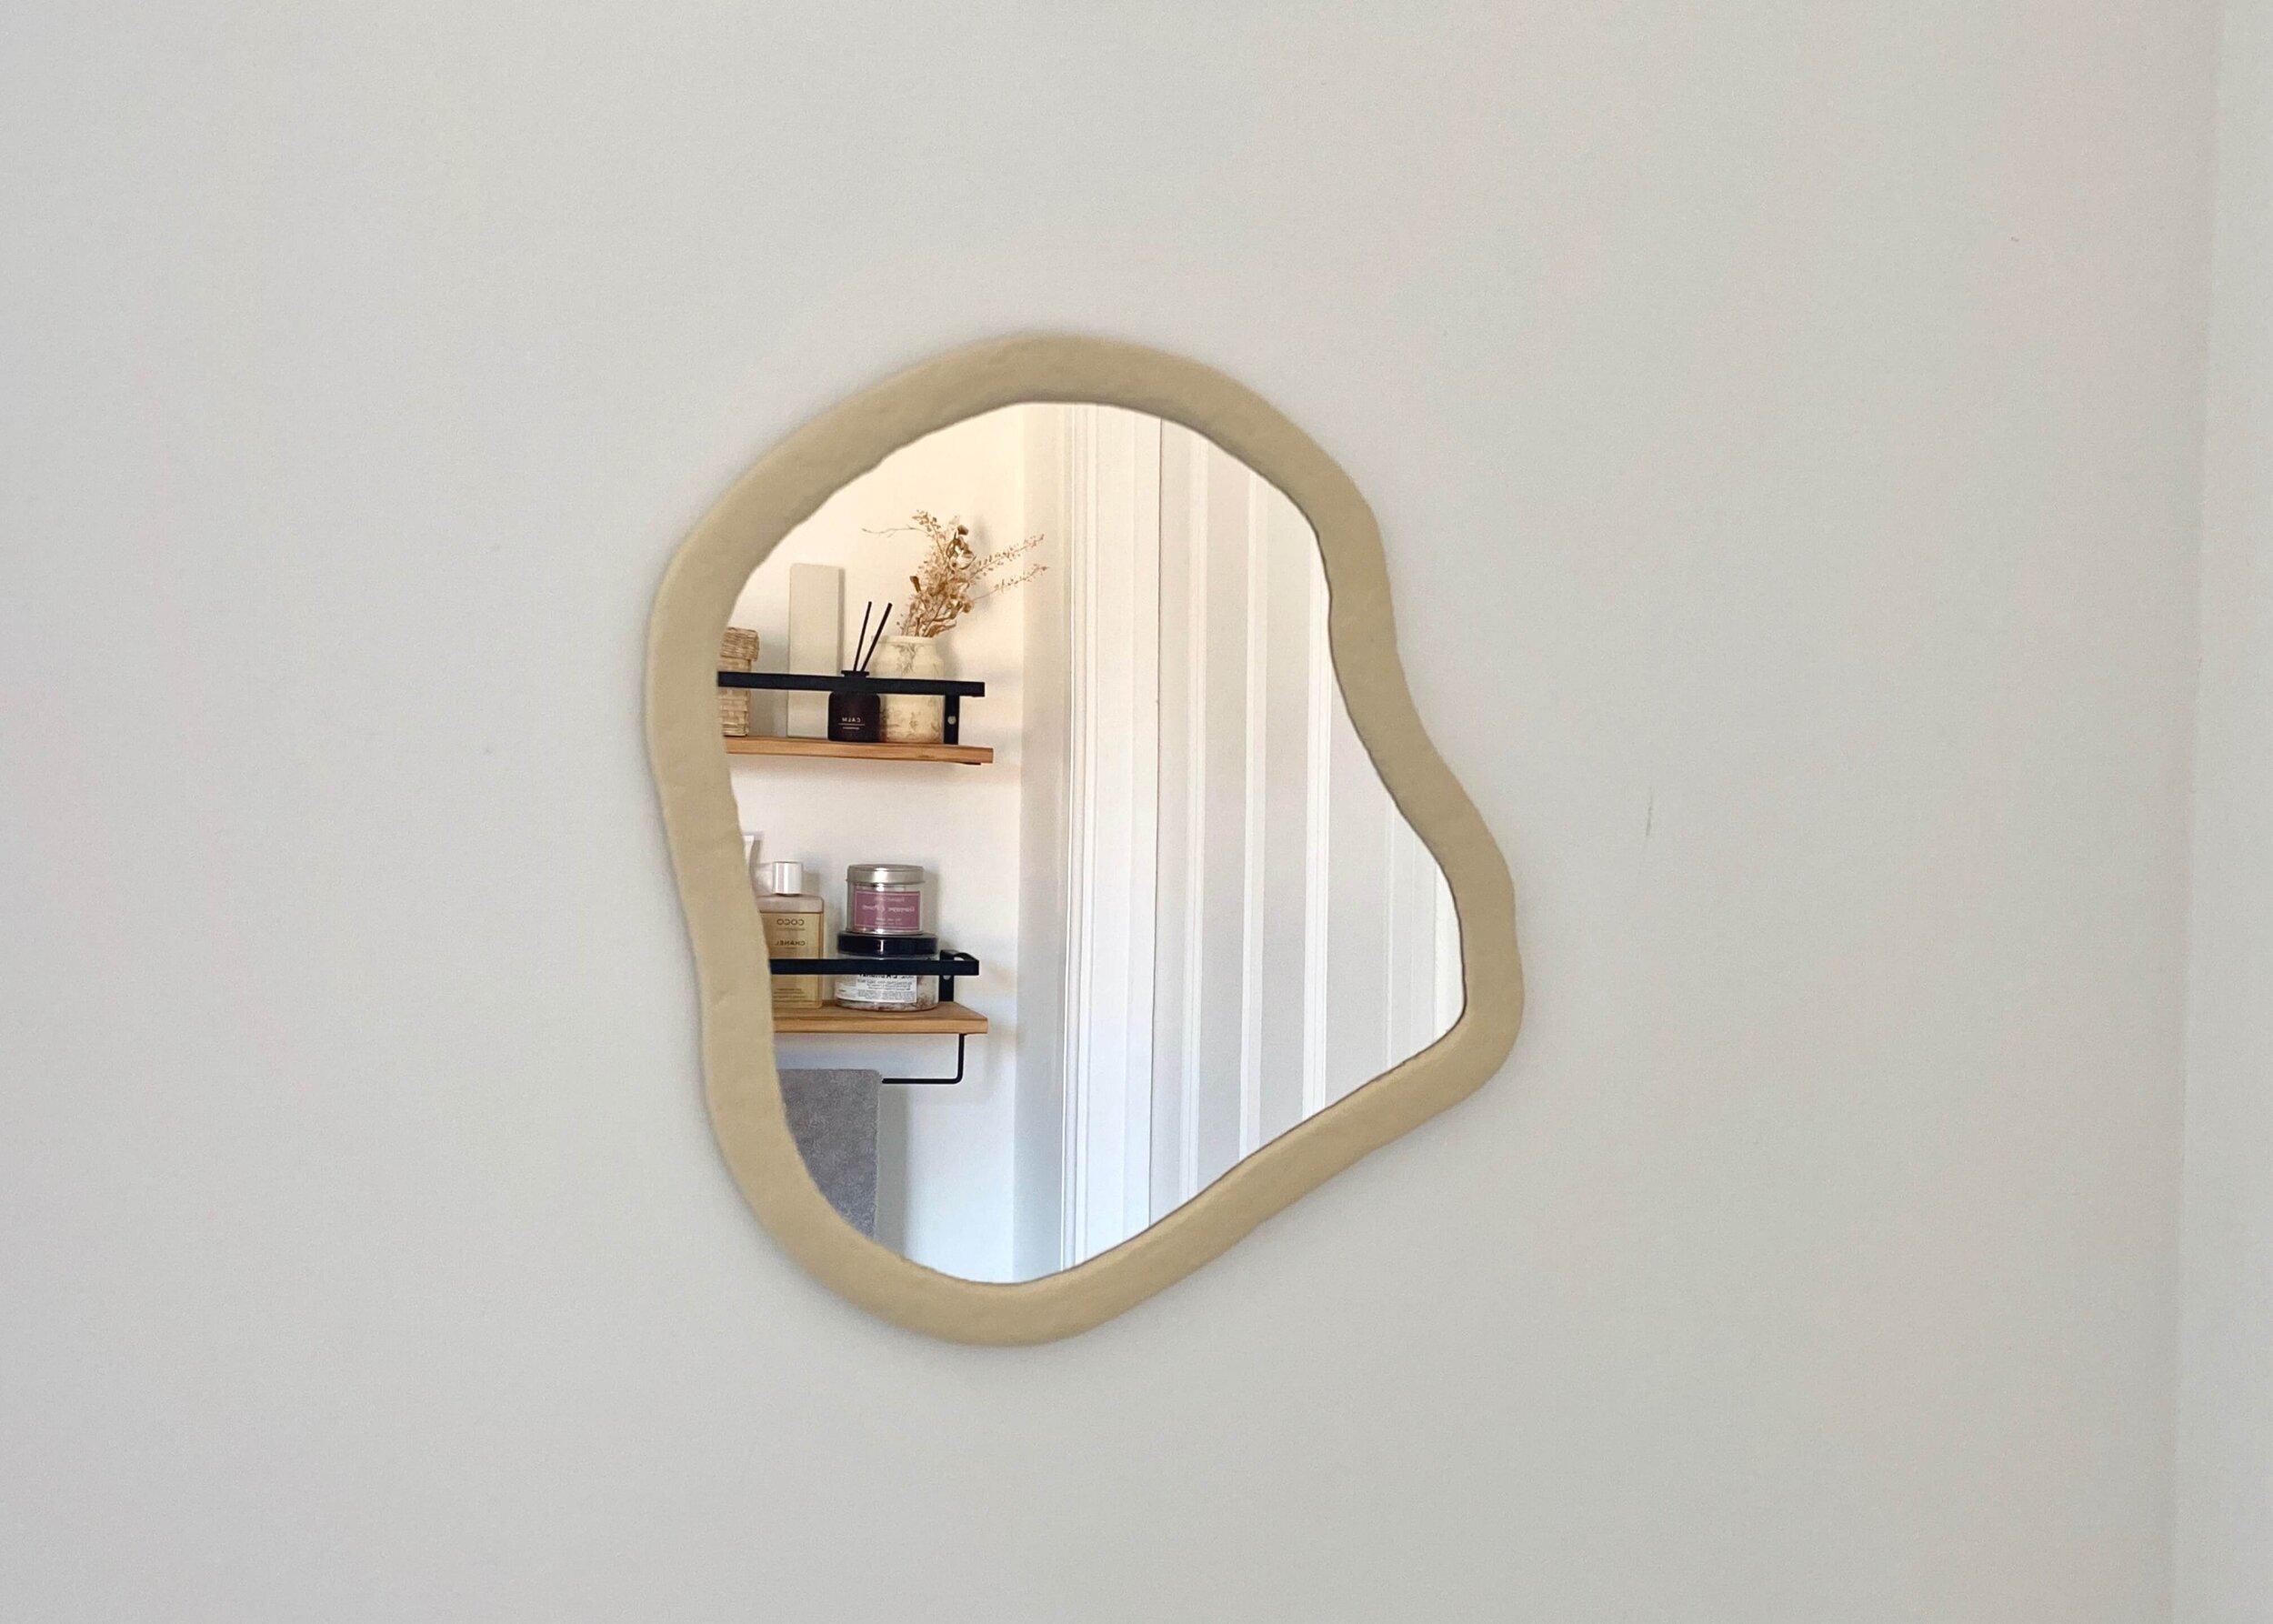
Hack your own organic-shaped mirror with IKEA mirror tiles and clay
Organic shaped mirrors, whether they’re called ‘Pebble’, ‘Pond’ or ‘Blob’ mirrors, are everywhere at the moment. At first I wasn’t too sure about them, I’ve always been a fan of symmetry and geometric shapes, but then I followed a DIY project by Geneva Vanderzeil (of Collective Gen) on instagram and I fell in love! After my last mirror project (DIY Industrial Window Mirror) I had several IKEA LOTS mirror tiles left over and having watched Geneva’s instagram stories I decided to give this a go myself. This project is heavily inspired by that project so please do head over there first to check out the OG inspiration. I did do a few things differently, I built up my air-dry clay very slowly, several layers at a time to prevent cracking, and I decided to paint my frame in a lovely neutral colour. I love how this turned out and it’s the perfect addition to our family bathroom which otherwise doesn’t have a mirror. Keep reading to find out how I made my own version of the organic-shaped mirror…


1.
Using a permanent marker, draw an organic ‘blob’ like shape onto your mirror tile.

2.
Next, follow the instructions on your glass cutter to score and cut this shape out. I found it helpful to hold my cutter at a 45 degree angle, and to do sections at a time. Be sure to wear eye protection and gloves!

3.
Next place your mirror onto a piece of cardboard and draw around this. Draw a line on the outside and the inside of this. I used something to guide this so that the outer lines were approximately 1.5cm either side of the mirror line. This is your frame.

4.
Use a stanley or craft knife to cut along this outer line and the inner line.

5.
Now you should have your organic shaped frame. To create the backing, trace the outer edge of your frame onto another piece of cardboard and cut this out.

6.
Using No More Nails or a strong adhesive, stick the mirror to the cardboard backing and stick the cardboard frame on top of this. Be sure to line up the edges.

7.
Once dry, use fresh clay to slowly fill in the edges of the cardboard both inner and outer, and to cover the top of cardboard with a thin layer. I did this with small pinches of clay which I squished into the cardboard.

8.
Leave this to dry overnight. Repeat steps 8 and 9 until you’re happy with the shape and depth of your frame.

9.
Next, sand your frame and wipe off any excess dust with a damp cloth.

10.
Finally, paint with your choice of paint (I mixed up this lovely neutral beige colour in acrylic paint) and once it’s completely dry, add command strips to the back and hang.


