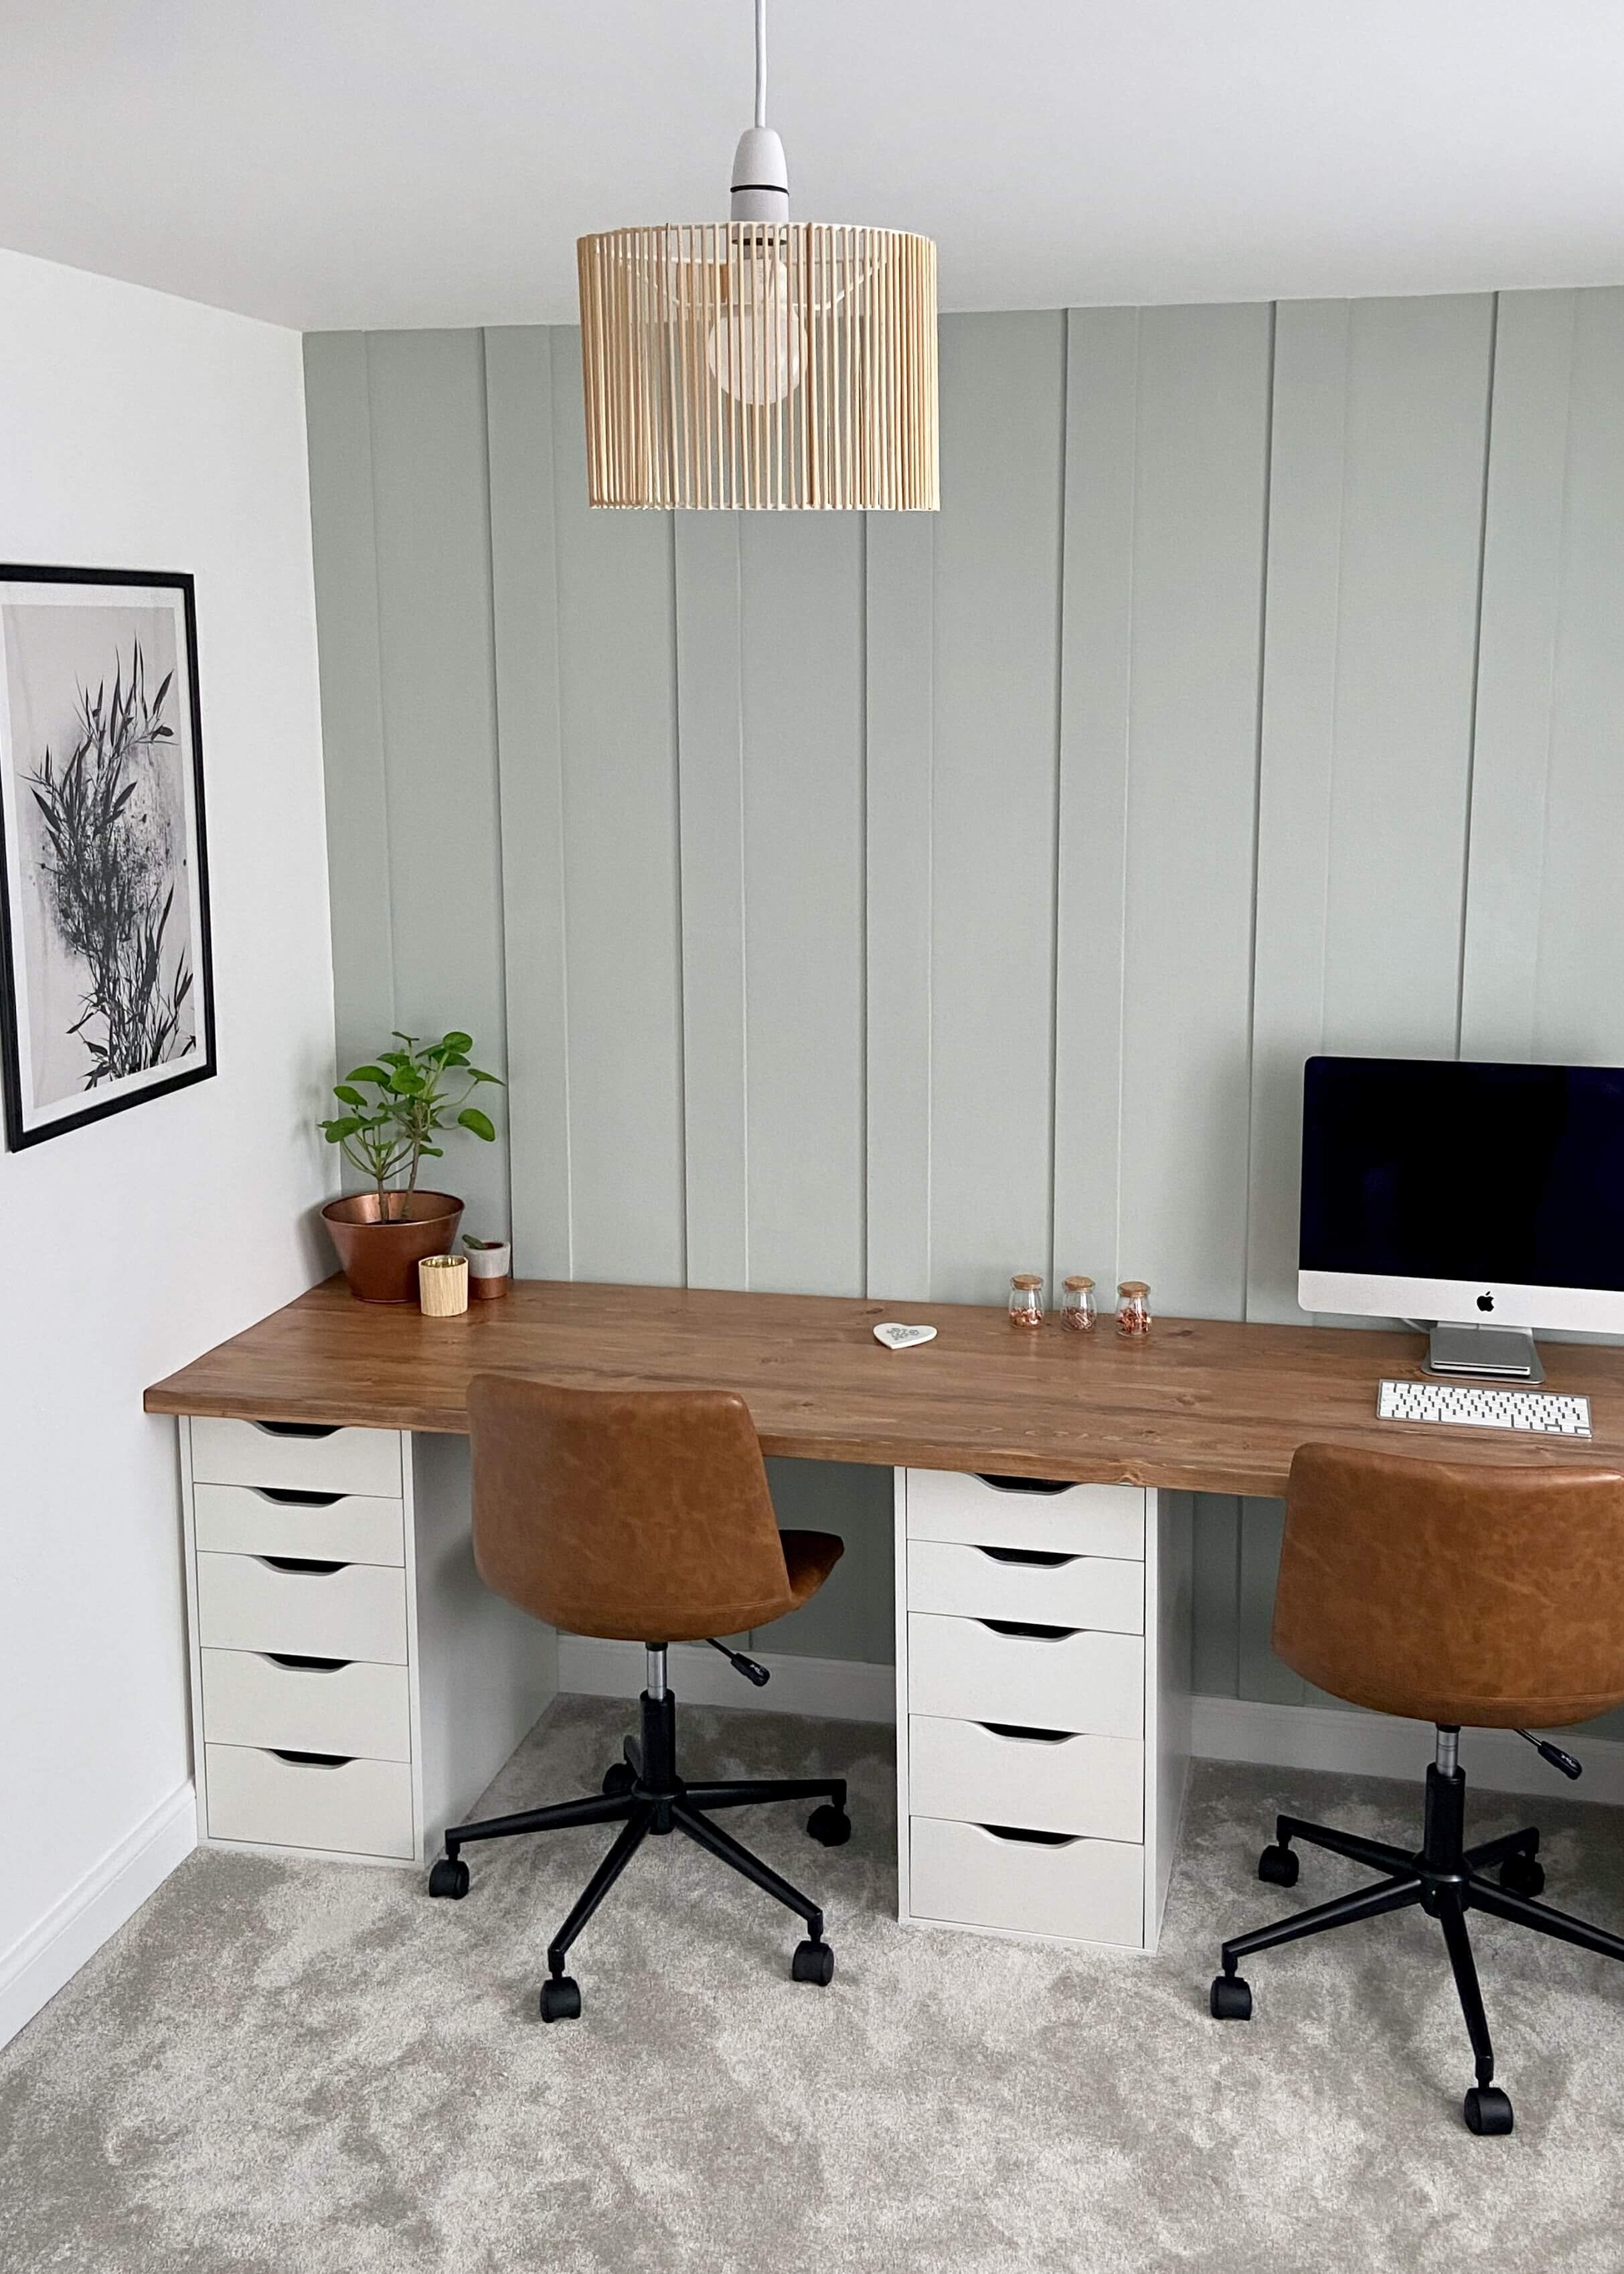
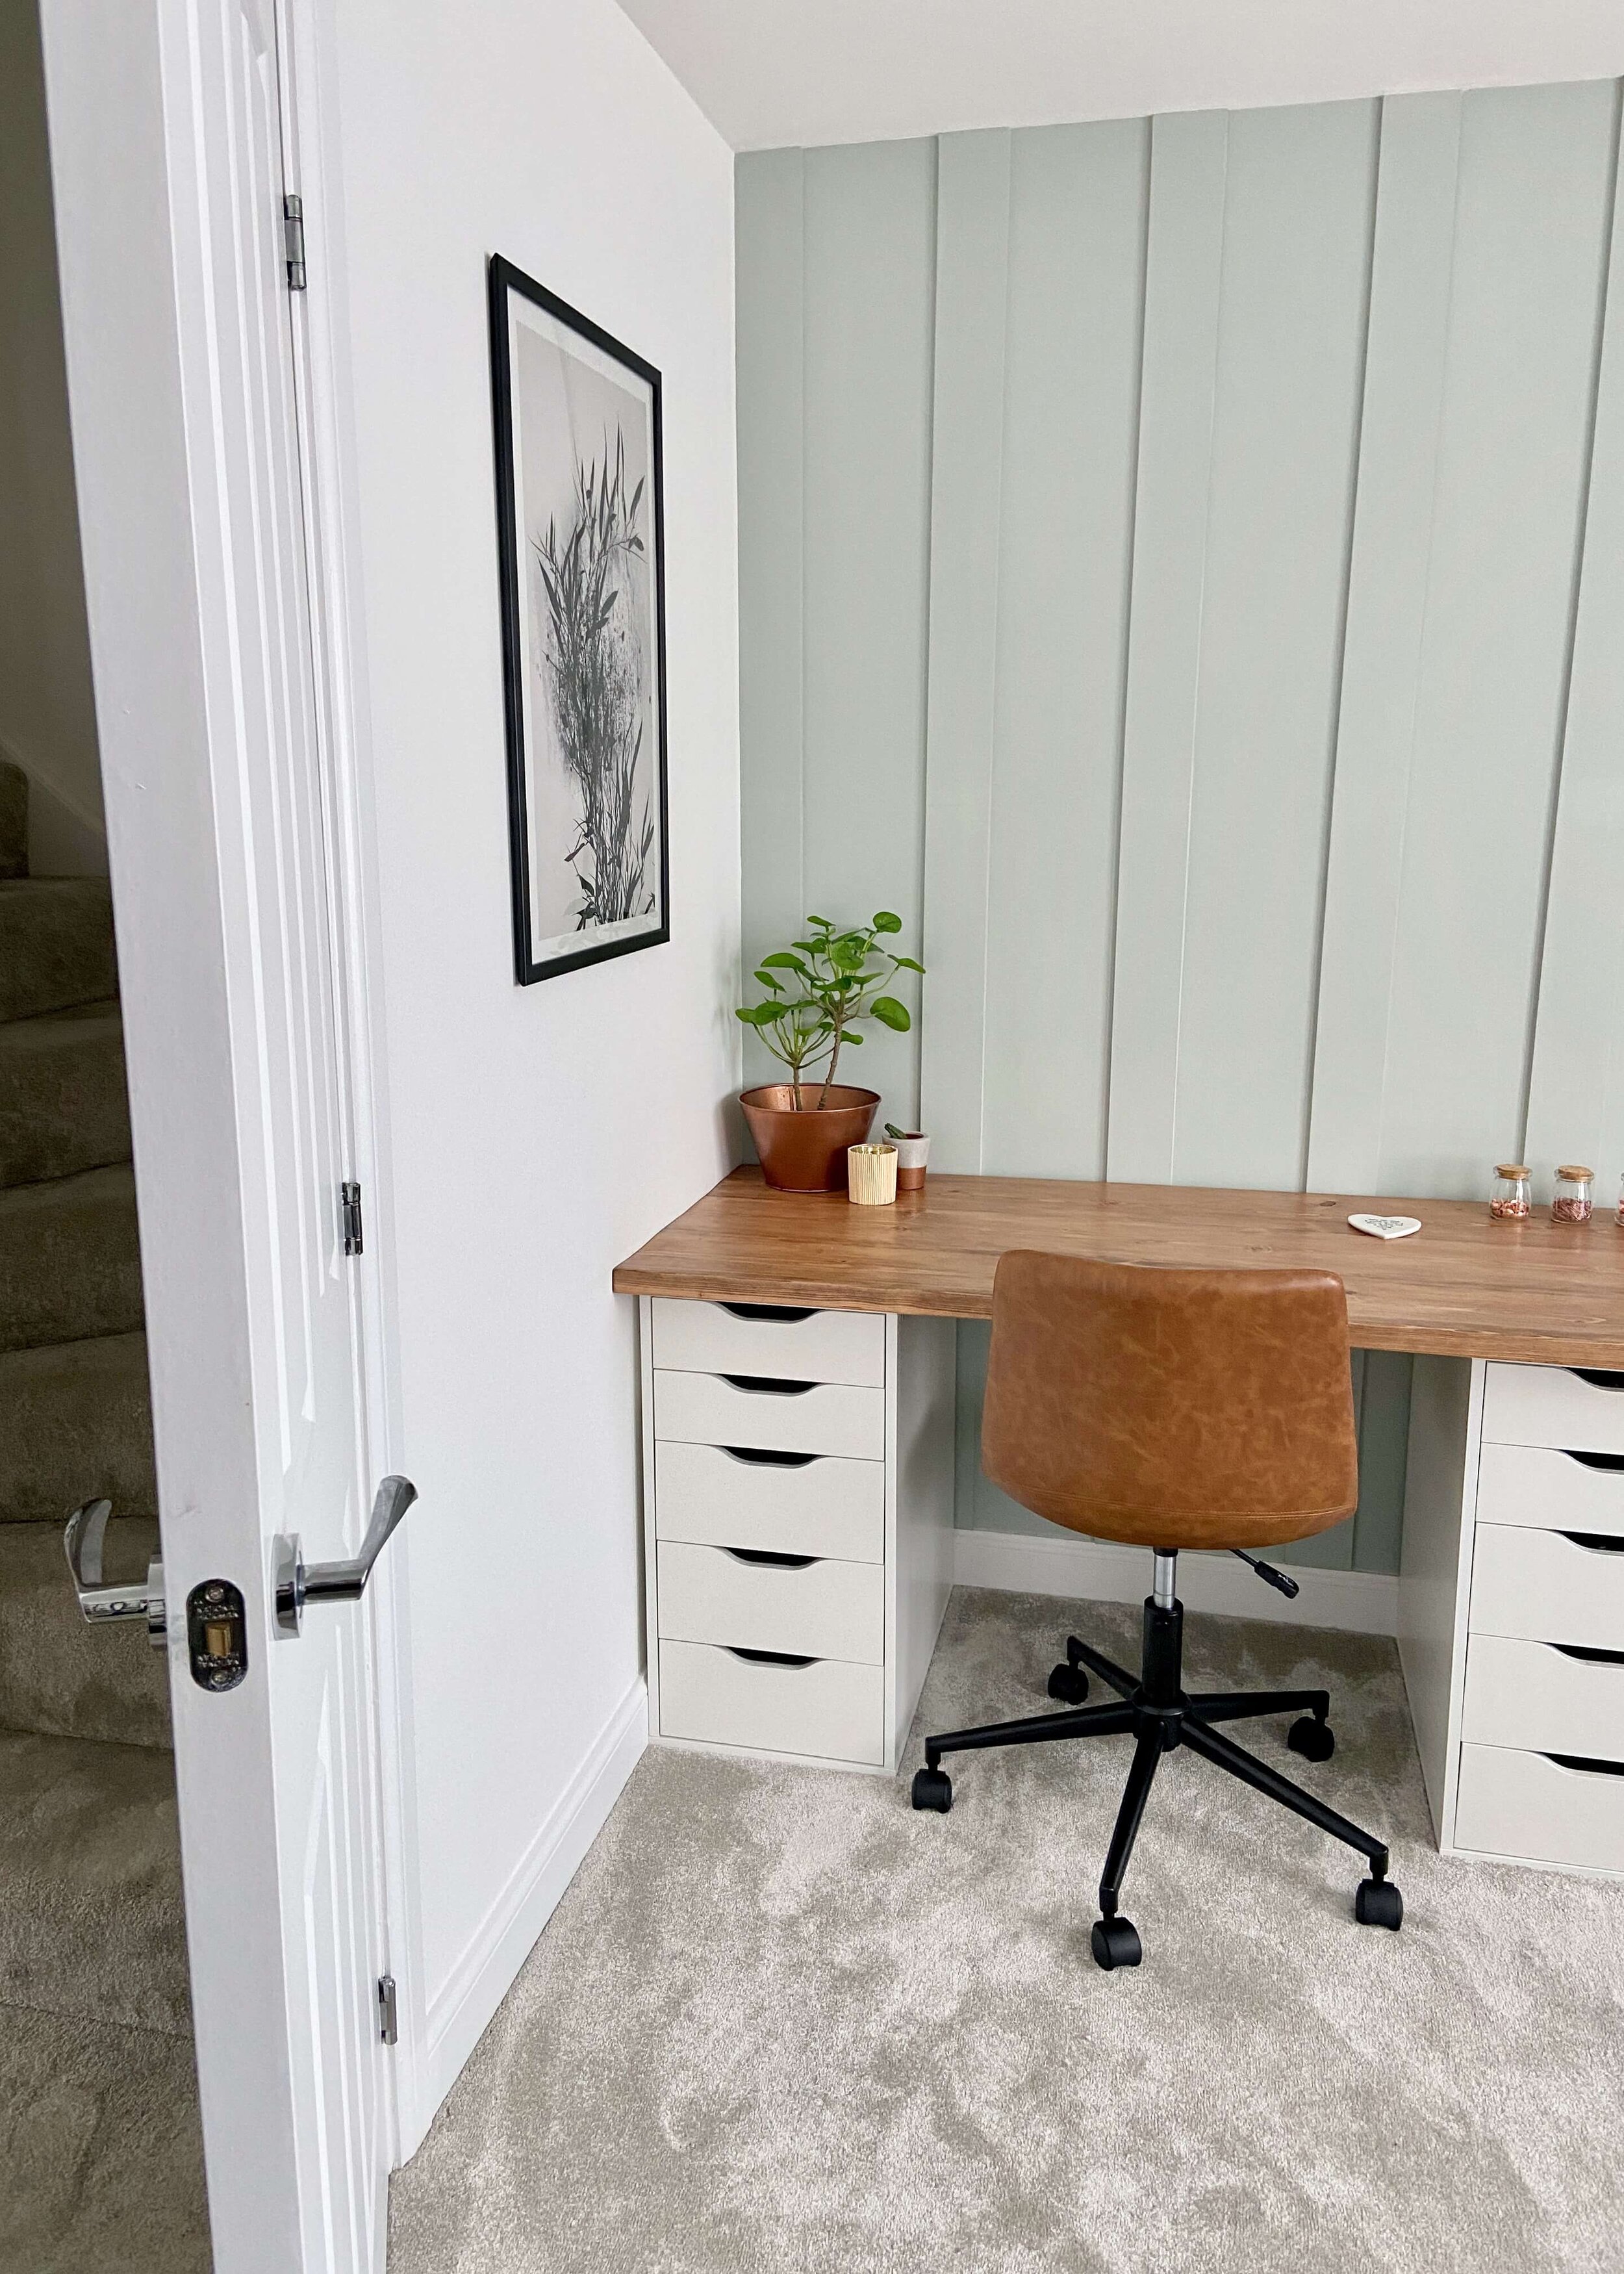
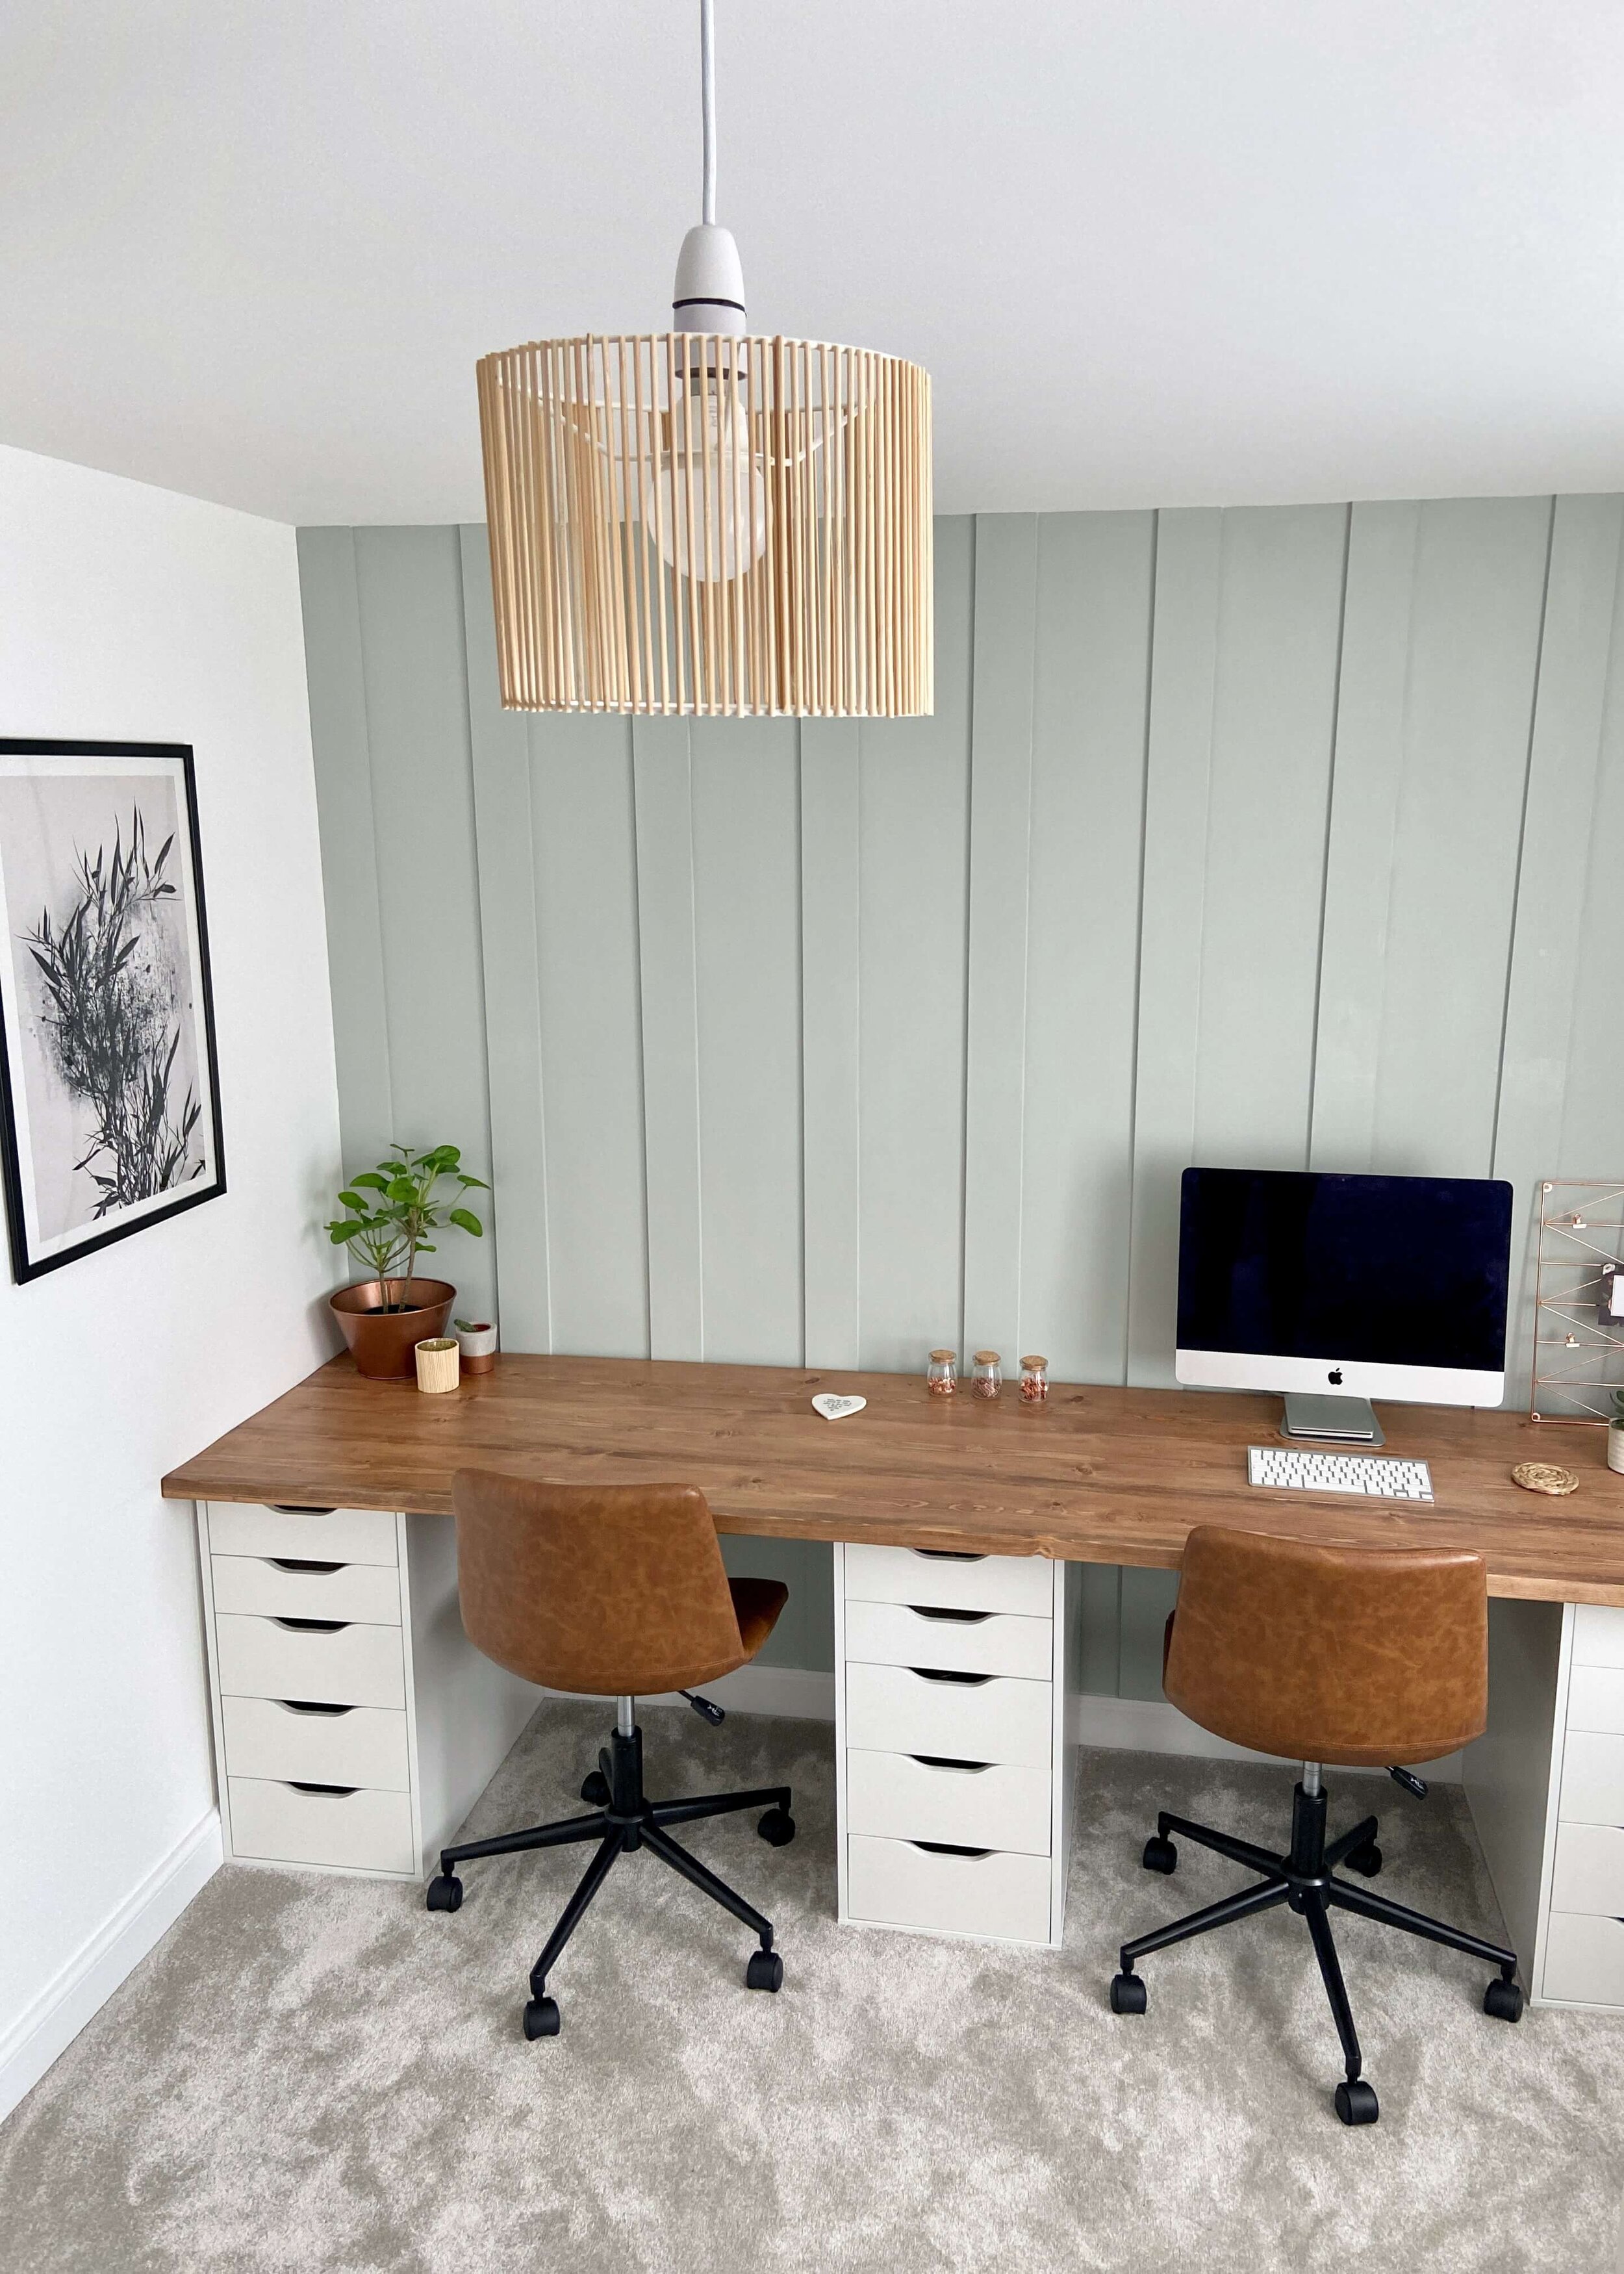
It’s been a long time coming but today I’m finally sharing the finished office space!
Advertisement: This post features a gifted product from Photowall and affiliate links however all words and opinions are my own.
The office space is finally complete! It’s been a work in progress since April but long before we even moved into the house, I really wanted to have a long desk with ample storage and space for working and crafting. It felt really important to have this space given we’re both working from home a couple of days a week at the moment, but we knew we didn’t want to dedicate a whole room to being an office. I also tend to blog and craft whilst the other half is gaming, and we still wanted this room to act as a guest room when needed, so we knew we wanted this room to serve several purposes. The other side of the room is still a work in progress, but the office space vision is a reality and so I thought I’d take you through all the DIY details. Keep reading for more!
WHAT WE DID
As I’ve already mentioned, I had an idea of how I wanted the space to look for a long time but with a new build property you have to wait for your house to dry out before you start adding wall treatments and so I held out for as long as I could. I was bursting with excitement to get this space done, and so by April, I couldn’t wait any longer and we agreed we’d crack on.
It was a completely empty space to start with, and so the first step was to design and create the wall panelling we wanted. We used MDF from a wall panelling kit from Homebase, cut the strips to size and adhered them to the wall before priming and painting. I have a whole blog post where you can read all the details about how to create your own DIY minimal wall panelling.
We knew we wanted to create our own desk using IKEA Alex Drawers as the cabinets underneath with a wooden desktop, but at this point the Alex drawers seemed to be out of stock everywhere and we had to wait for IKEA to relaunch them. I’ve never checked the IKEA website so much, and when they were relaunched, we ordered them straight away and got them delivered. Next, we took the measurements we needed for our desktop and sent them over to a friend who very kindly offered to make it. To tide us over, we positioned my old IKEA hacked Isala Desk between the drawers, used a dining table chair and added this gorgeous 50x70cm print from Photowall called ‘Black Orchidee’.
To make the desk, our friend very cleverly adhered three scaffold boards together with wood glue. He then cut them to the dimensions we sent over, which thankfully were right, and sanded the boards down all over thoroughly. He then stained it in a medium oak colour and sealed it, before attaching it on the underside to our three Alex drawers with metal brackets and screws. I did this the wrong way round, but after the desk was fitted, I then mixed up a warm green colour using Rust-oleum Chalky Finish wall paint in Steamed Milk, and Serenity, with a touch of black, and painted the wall and wall panelling. Finally, we added two Habitat Joey Faux Leather Office Chairs, this DIY rattan lamp shade and some final touches including some copper stationary, an artificial plant from Ikea and this DIY rattan candle holder.
BEFORE
AFTER
What do you think? I love this space, it’s probably my favourite in the house and it definitely feels the most put together. That’s all for today, but stay tuned as I slowly decorate and create DIY’s for the rest of our house, and I’m hoping that the next whole space I complete is the other side of this room; the gaming area/second guest room!


