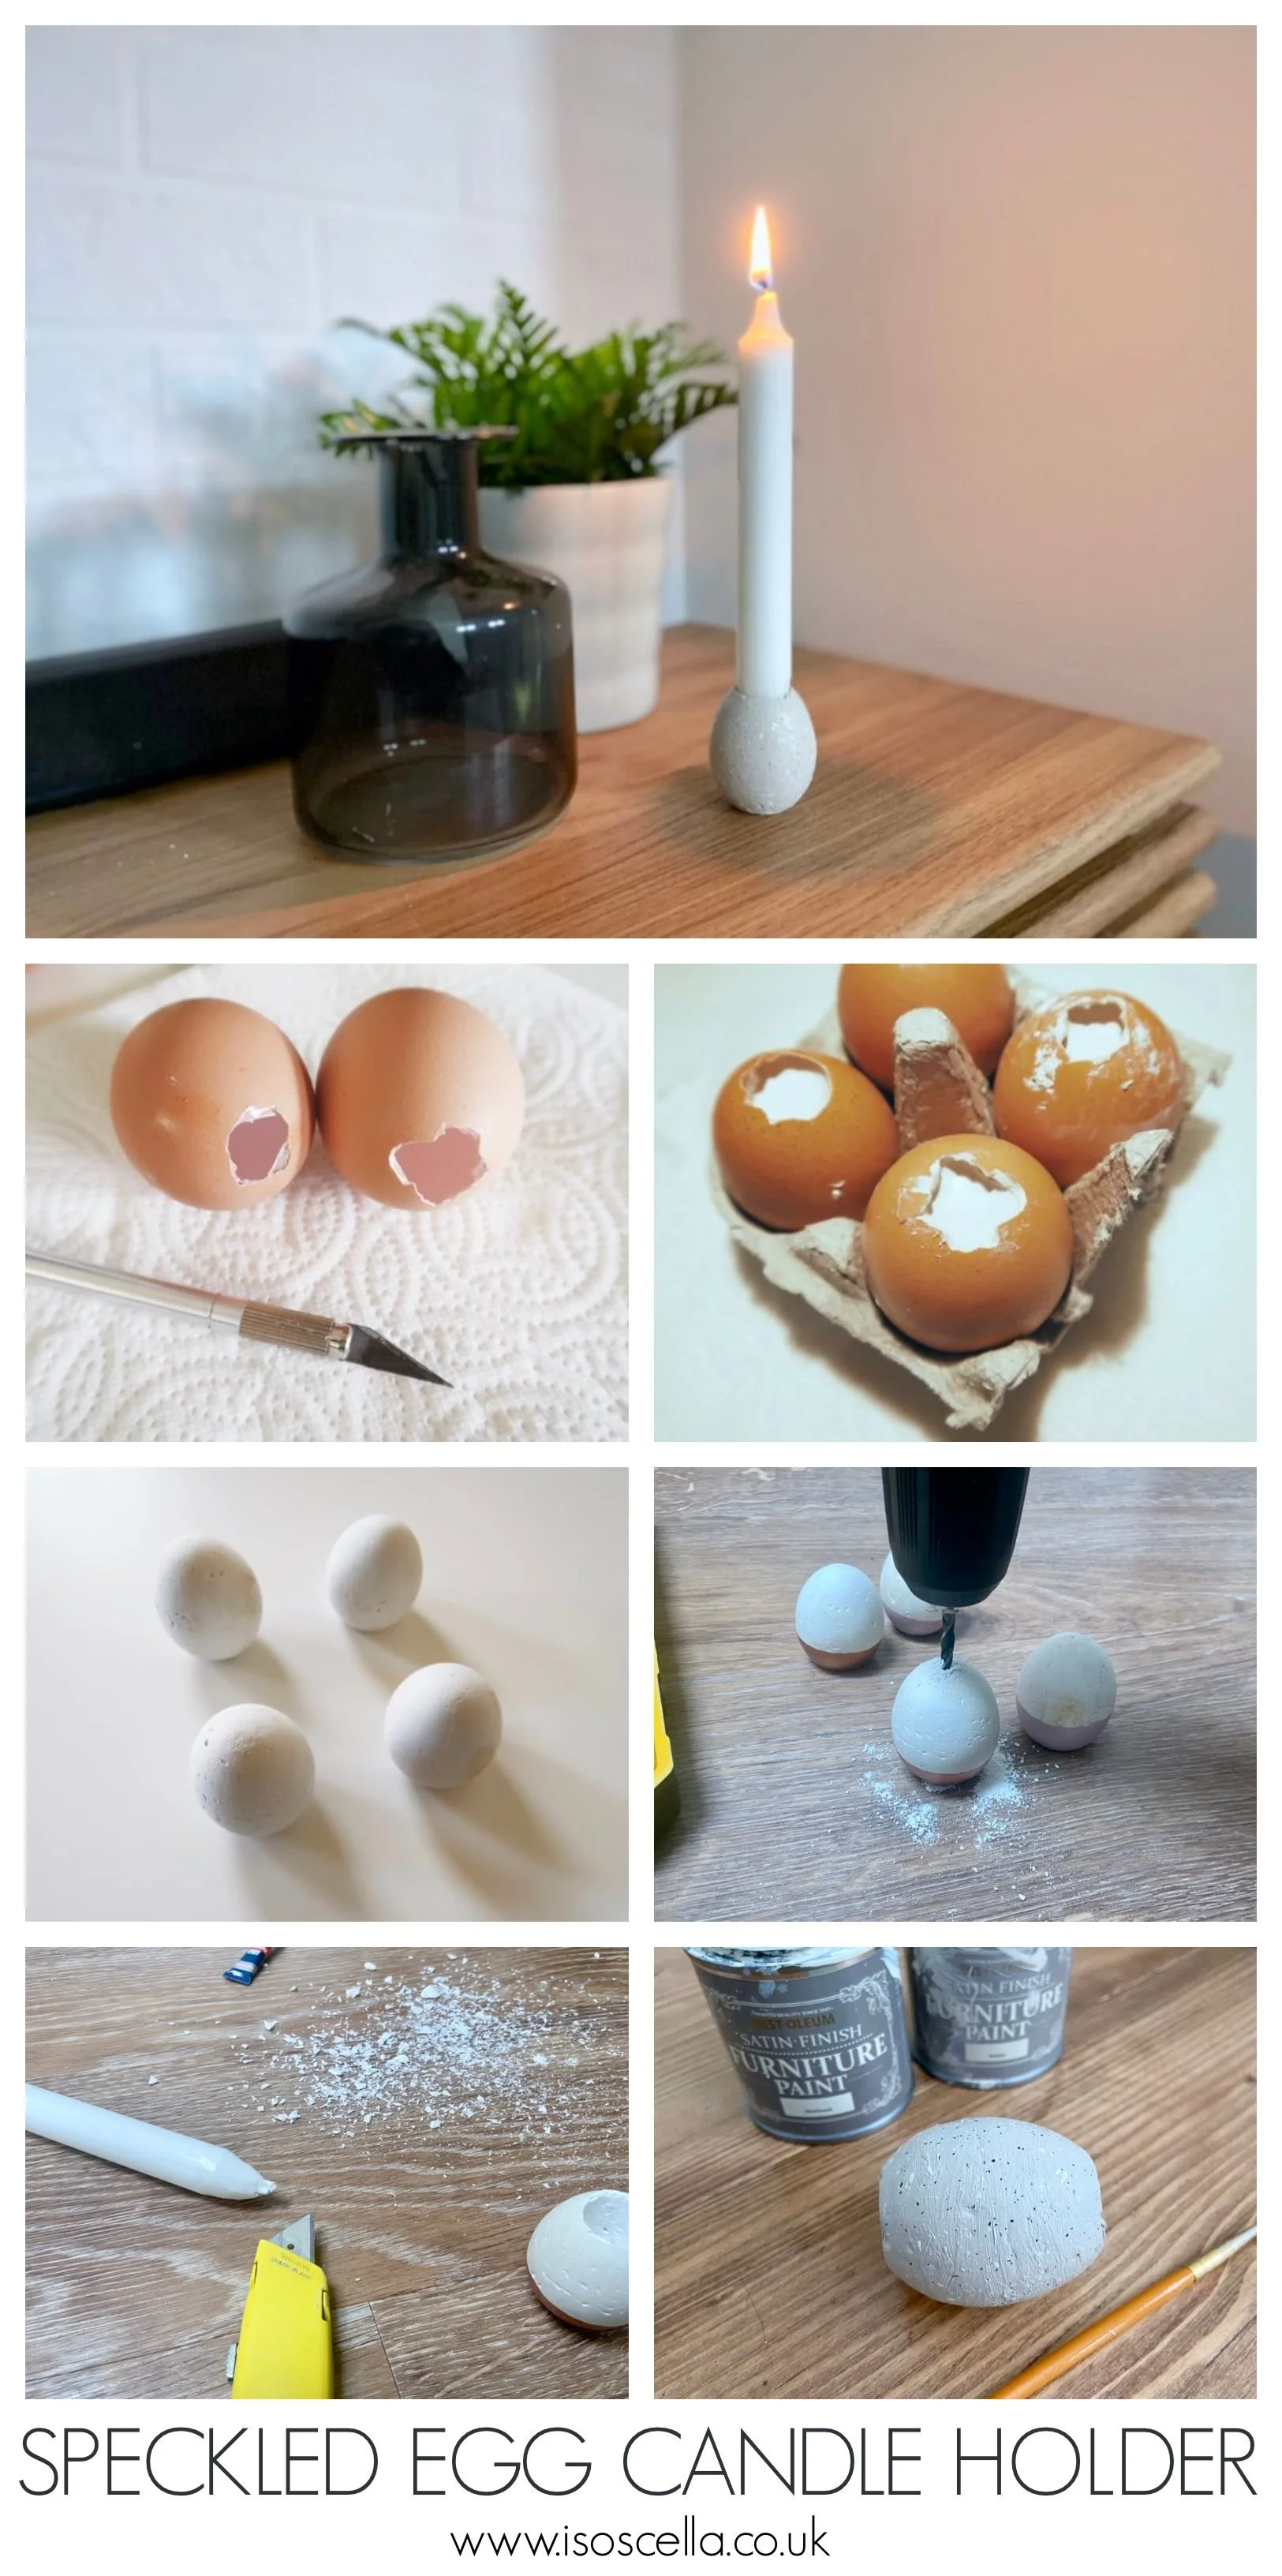
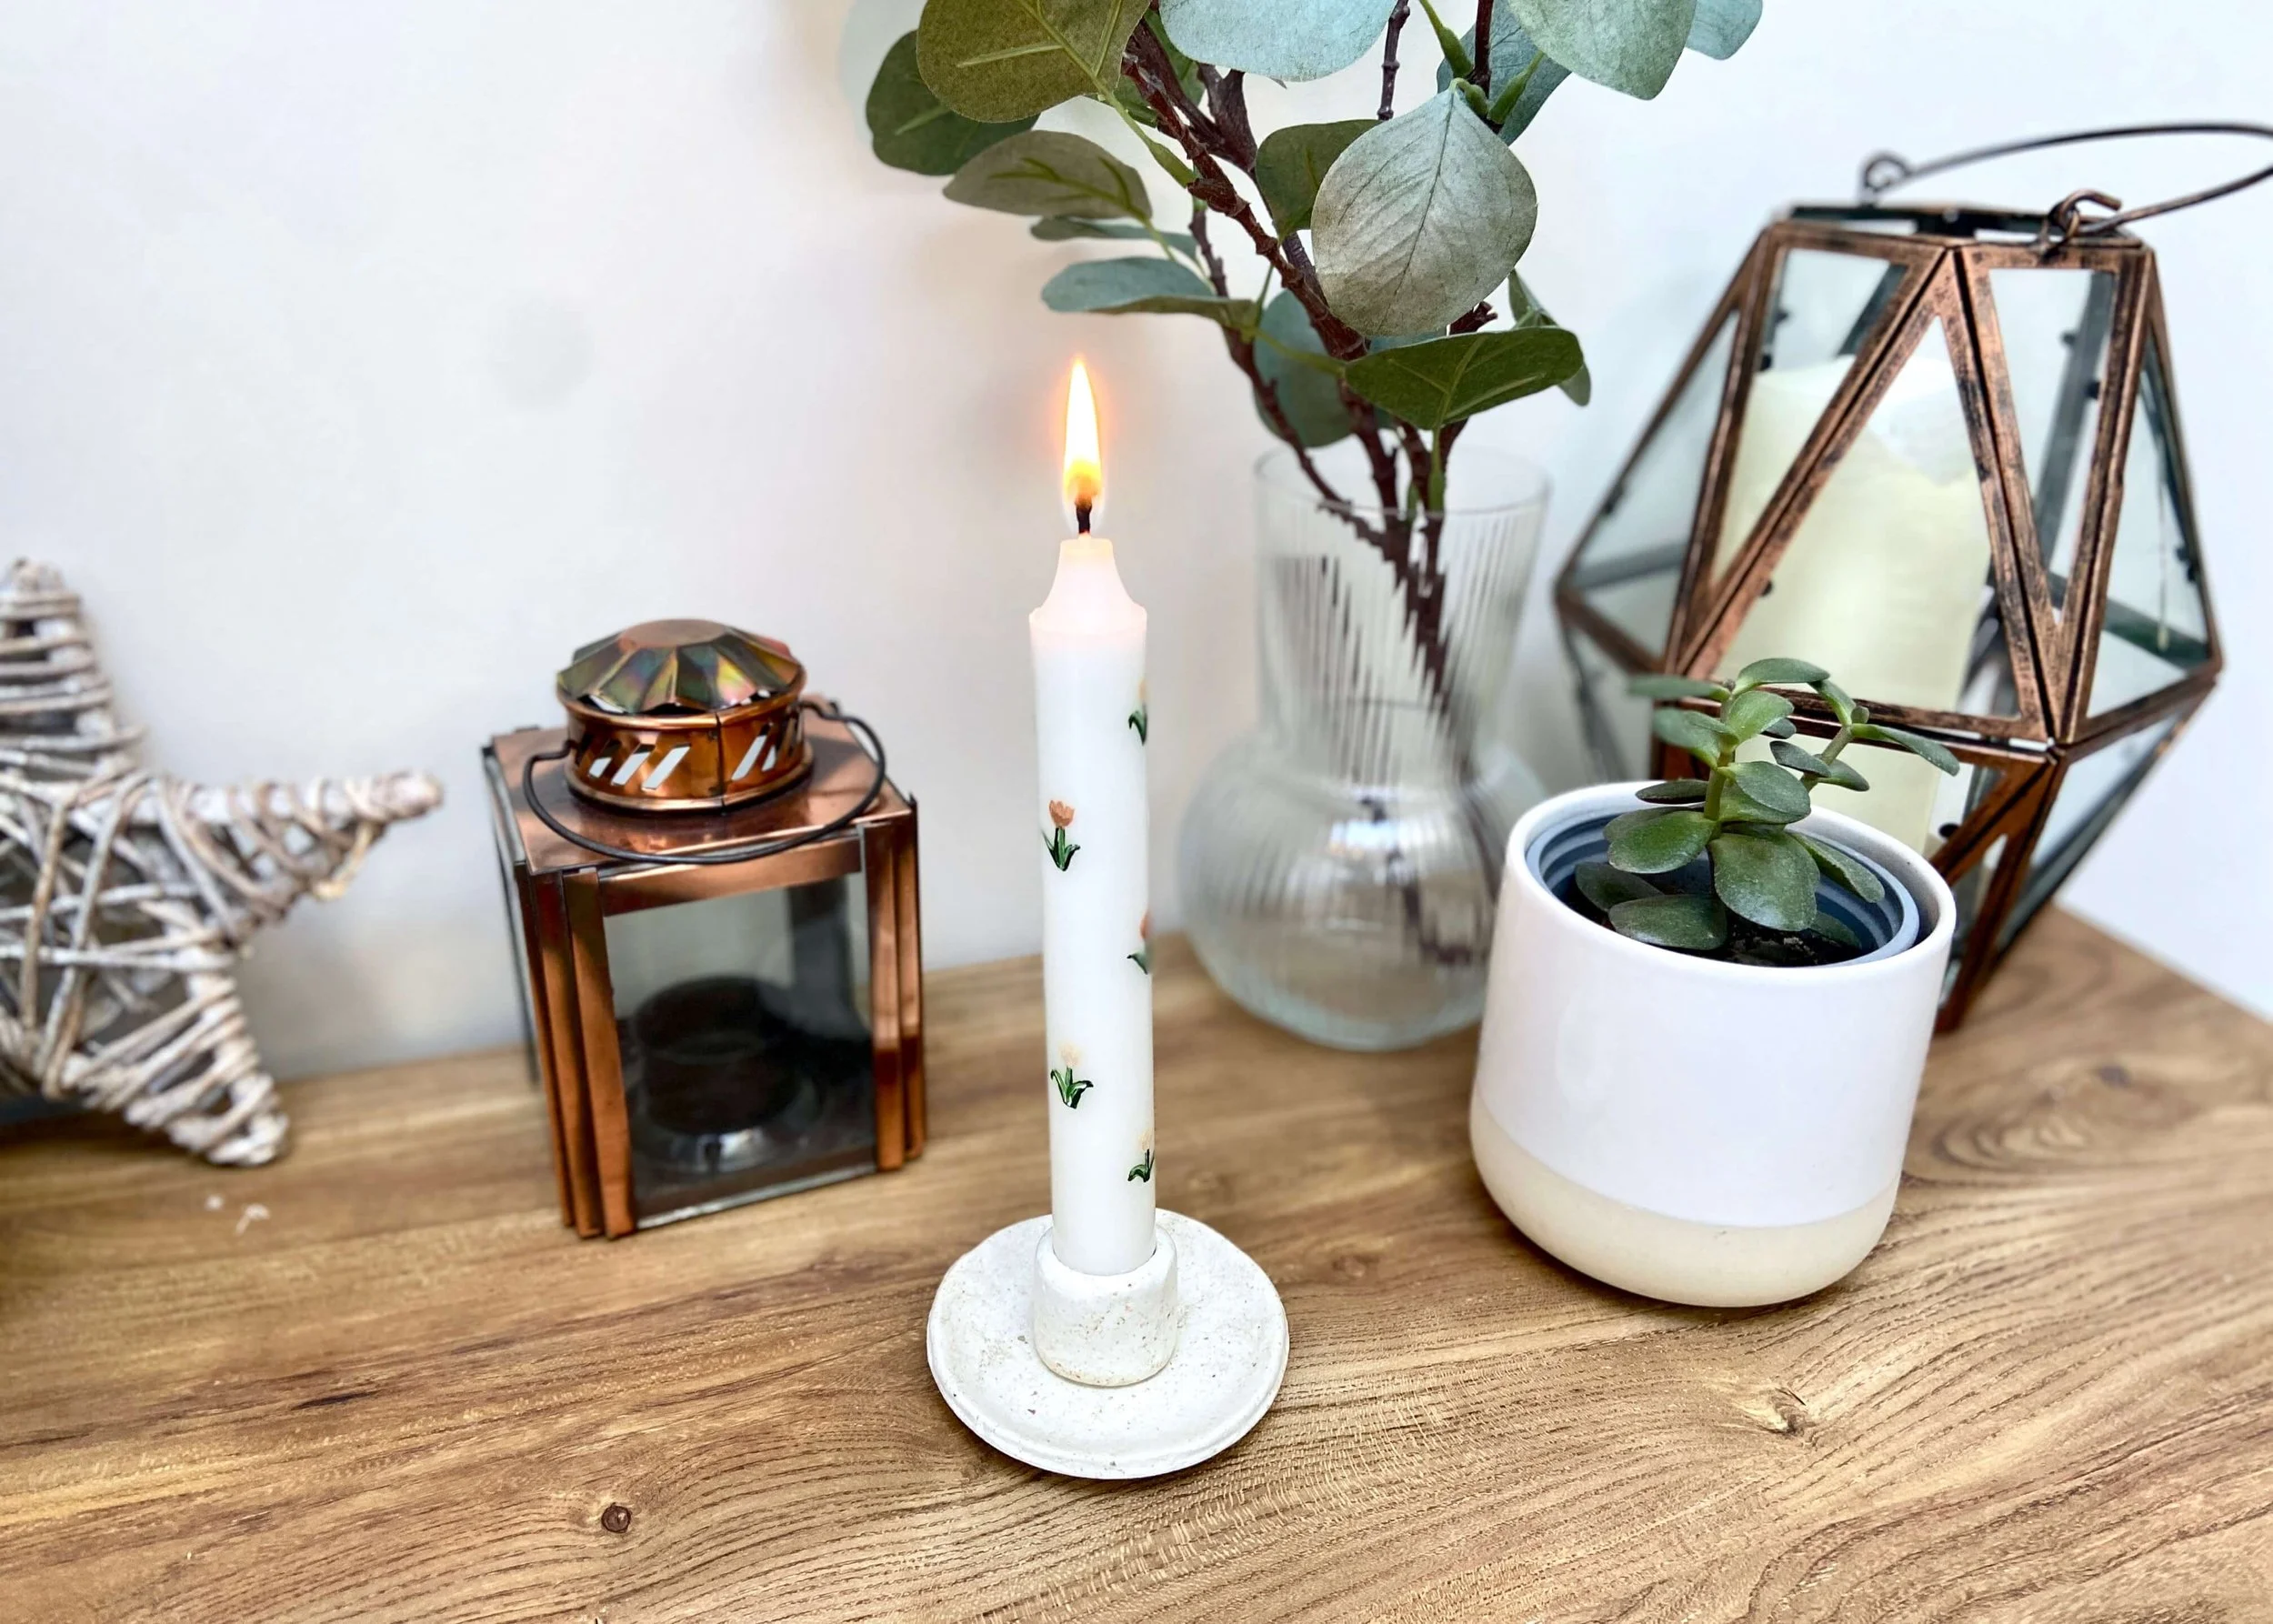
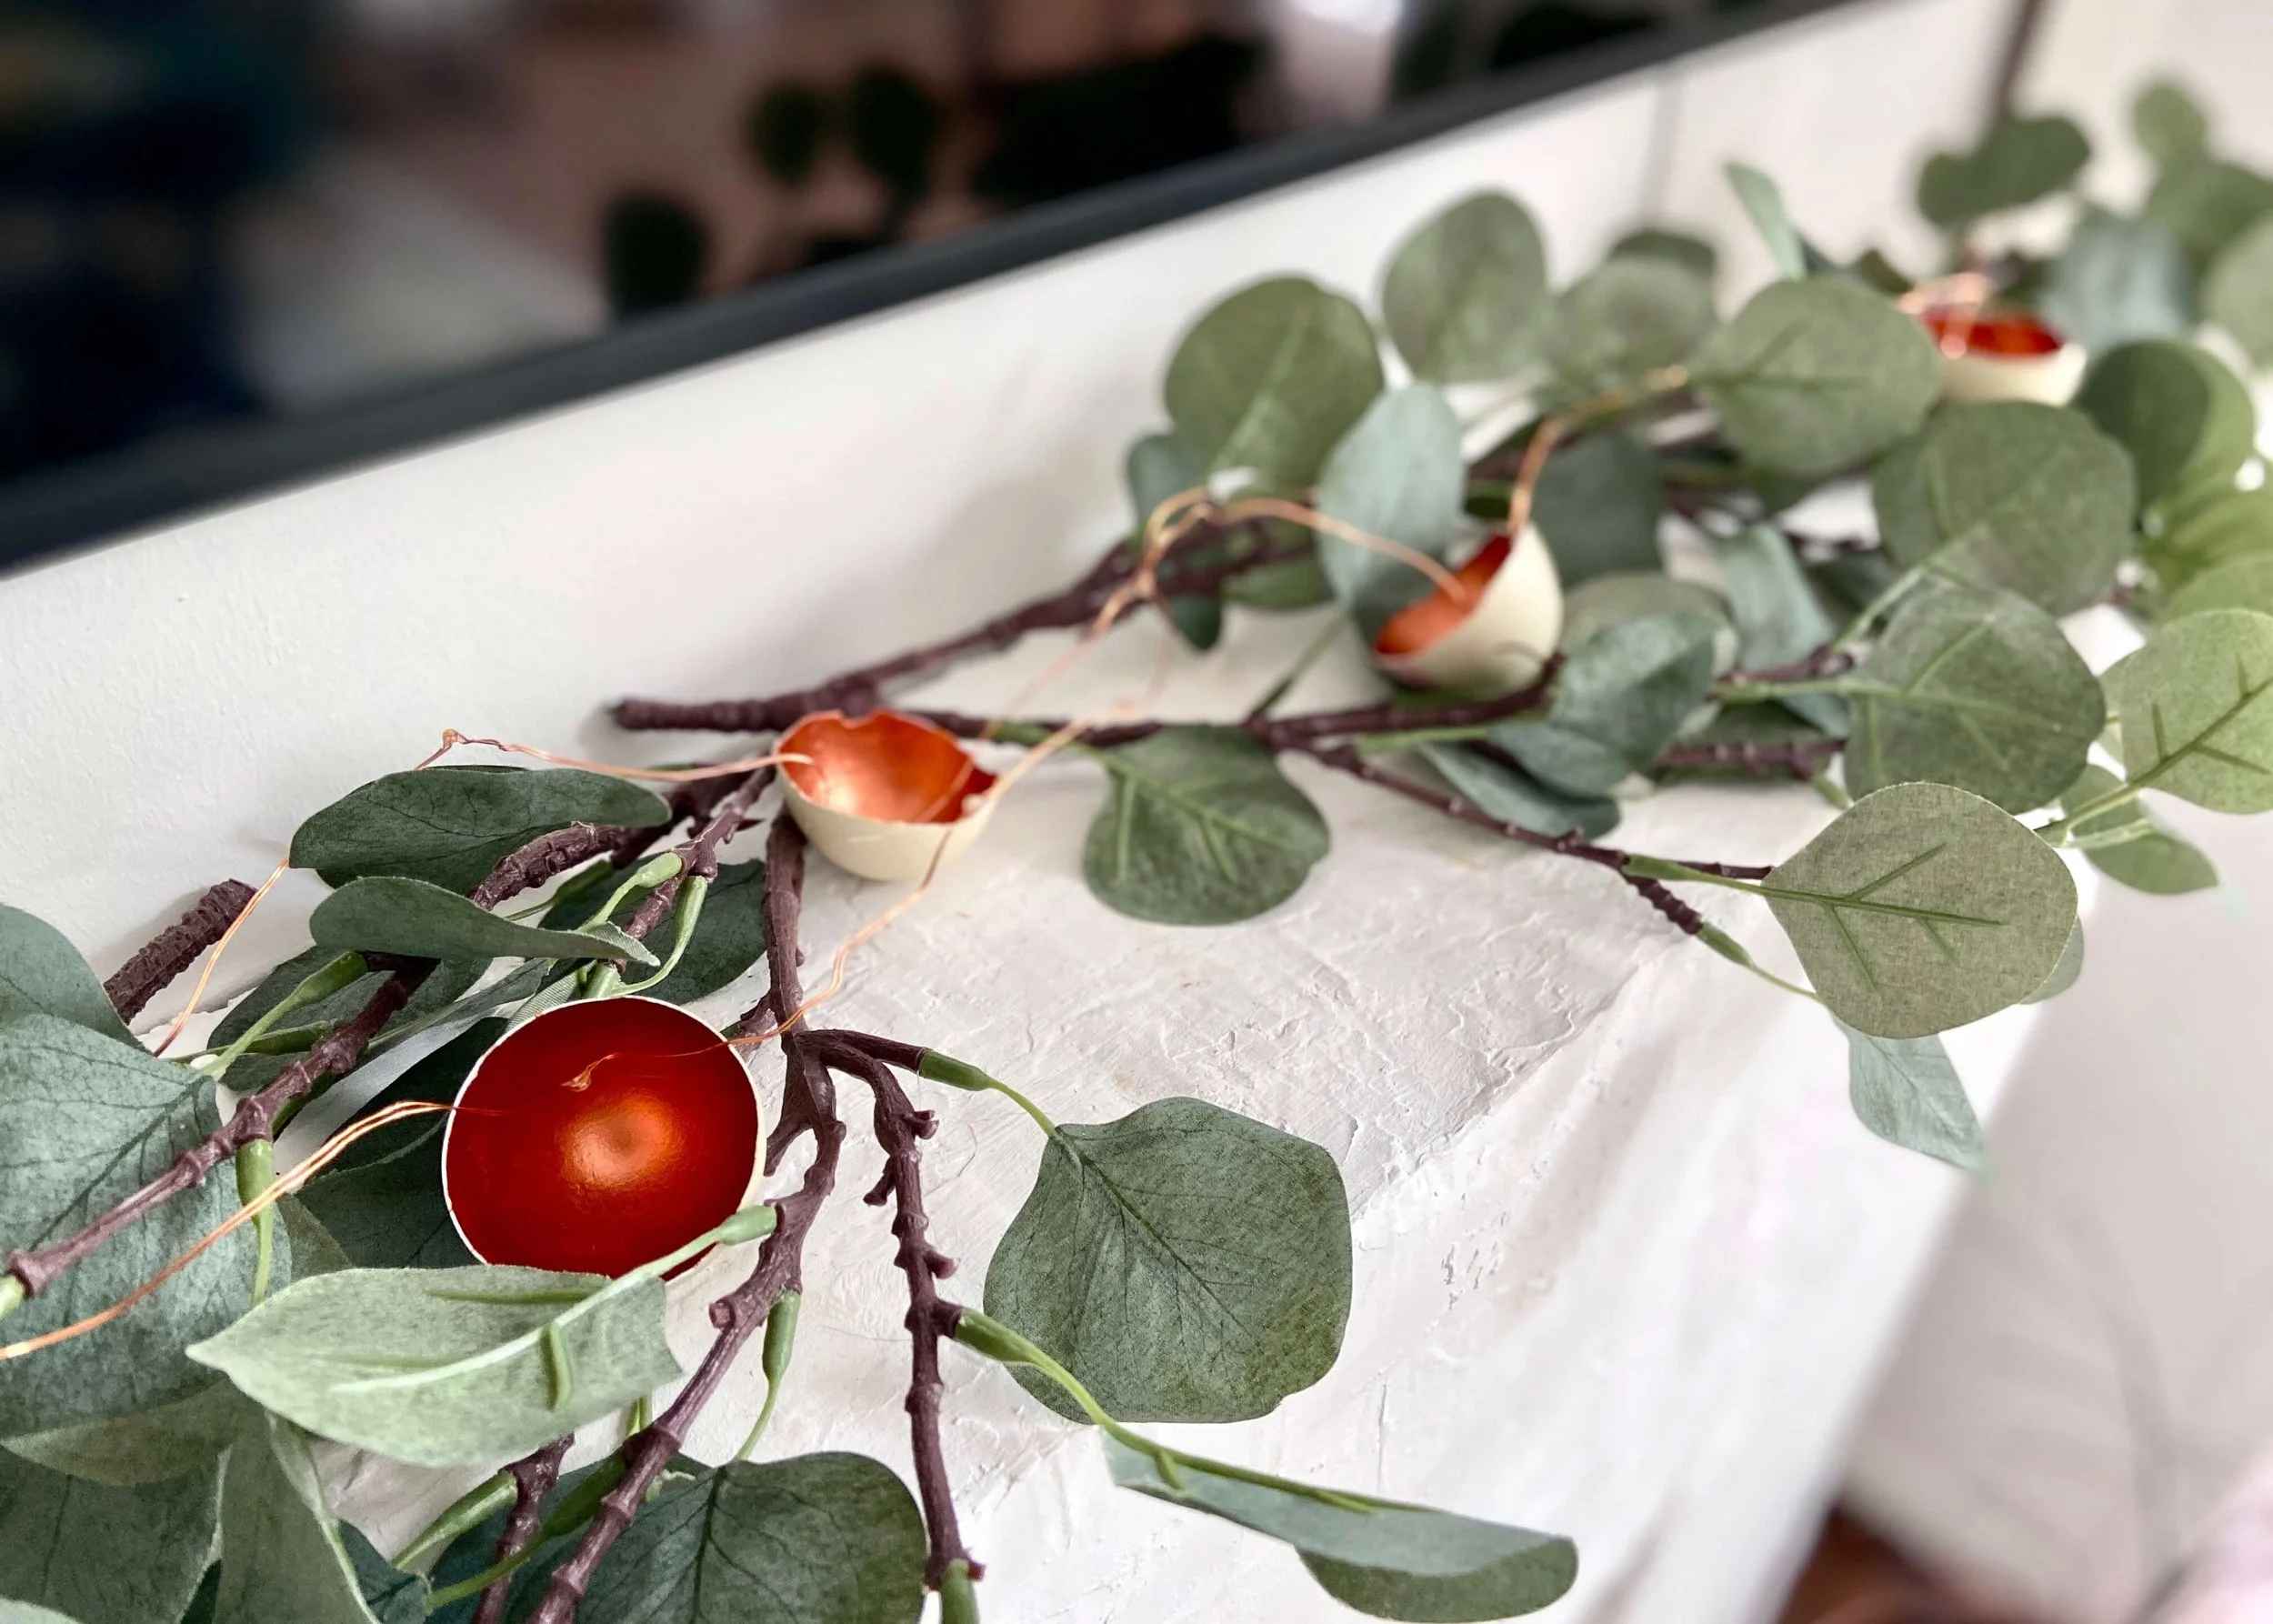
Create these simple egg-shaped tapered candle holders for Easter!
Spring has sprung, although apparently there is some snow on the way (British weather!), which means Easter is just around the corner! I love bringing out a few bits of seasonal decor at various times of the year, and Easter is no exception. I’ve made several Easter crafts over the years; from ornaments to wreaths. Back in 2018 - the days when I had to spray paint out of a window for ventilation - I made some plaster egg decorations. I stumbled across them recently, and although they aren’t to my taste anymore, I thought I’d have a go at bringing them up to date and giving them a bit more of a purpose. I decorated them pretty neutrally and naturally, and really like how they turned out. Next time I think i’ll use a slightly thinner candle with more of a tapered appearance, but for now this is working nicely. Keep reading to find out what I used and for the step by step tutorial…


1.
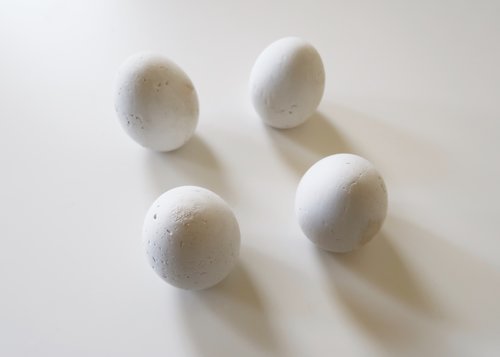
First of all, make your own plaster egg decorations. To do this, carefully remove your egg from the shell. For more details head over to my post from a few years ago.
2.
Use the shell as a mould for your plaster of paris. Leave to set, remove the egg shell and sand.

3.
Drill a hole in the top using a drill. Keep increasing the size of your drill bit and work around the edges to make the hole large enough for your candle.

4.
To get a really nice snug fit, use a blade to carefully remove some of the wax on the bottom of your candle.
5.
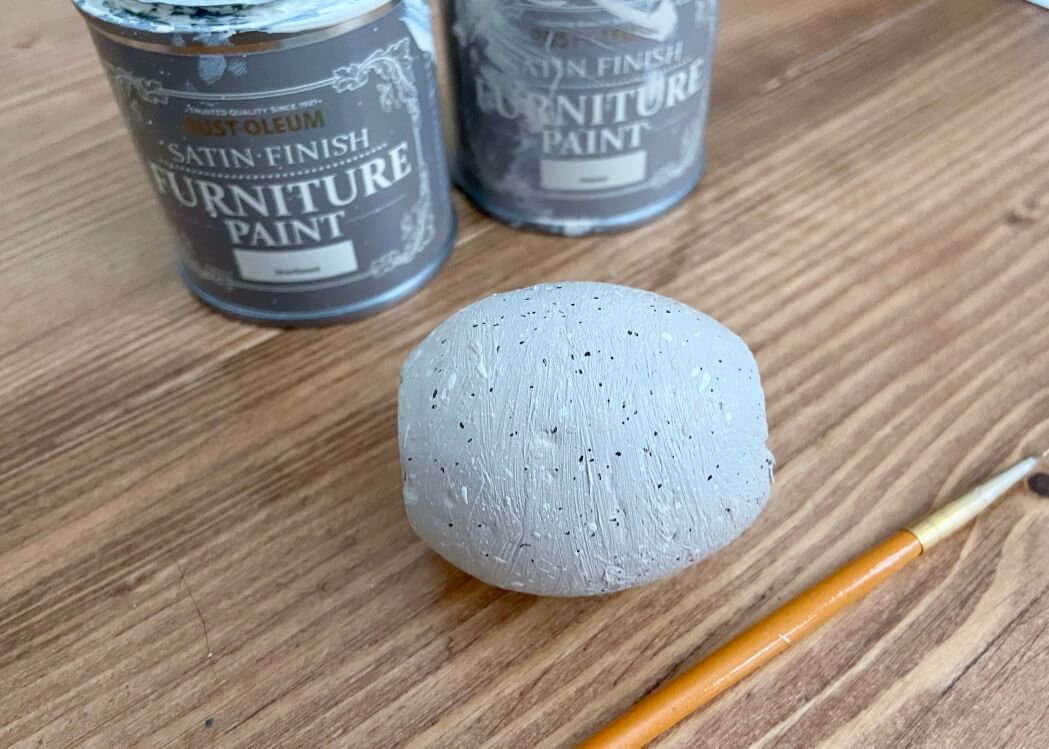
Finally, paint your plaster egg in whatever colour you fancy and flick various colours, including lighter and darker shades, to give it a speckled effect.