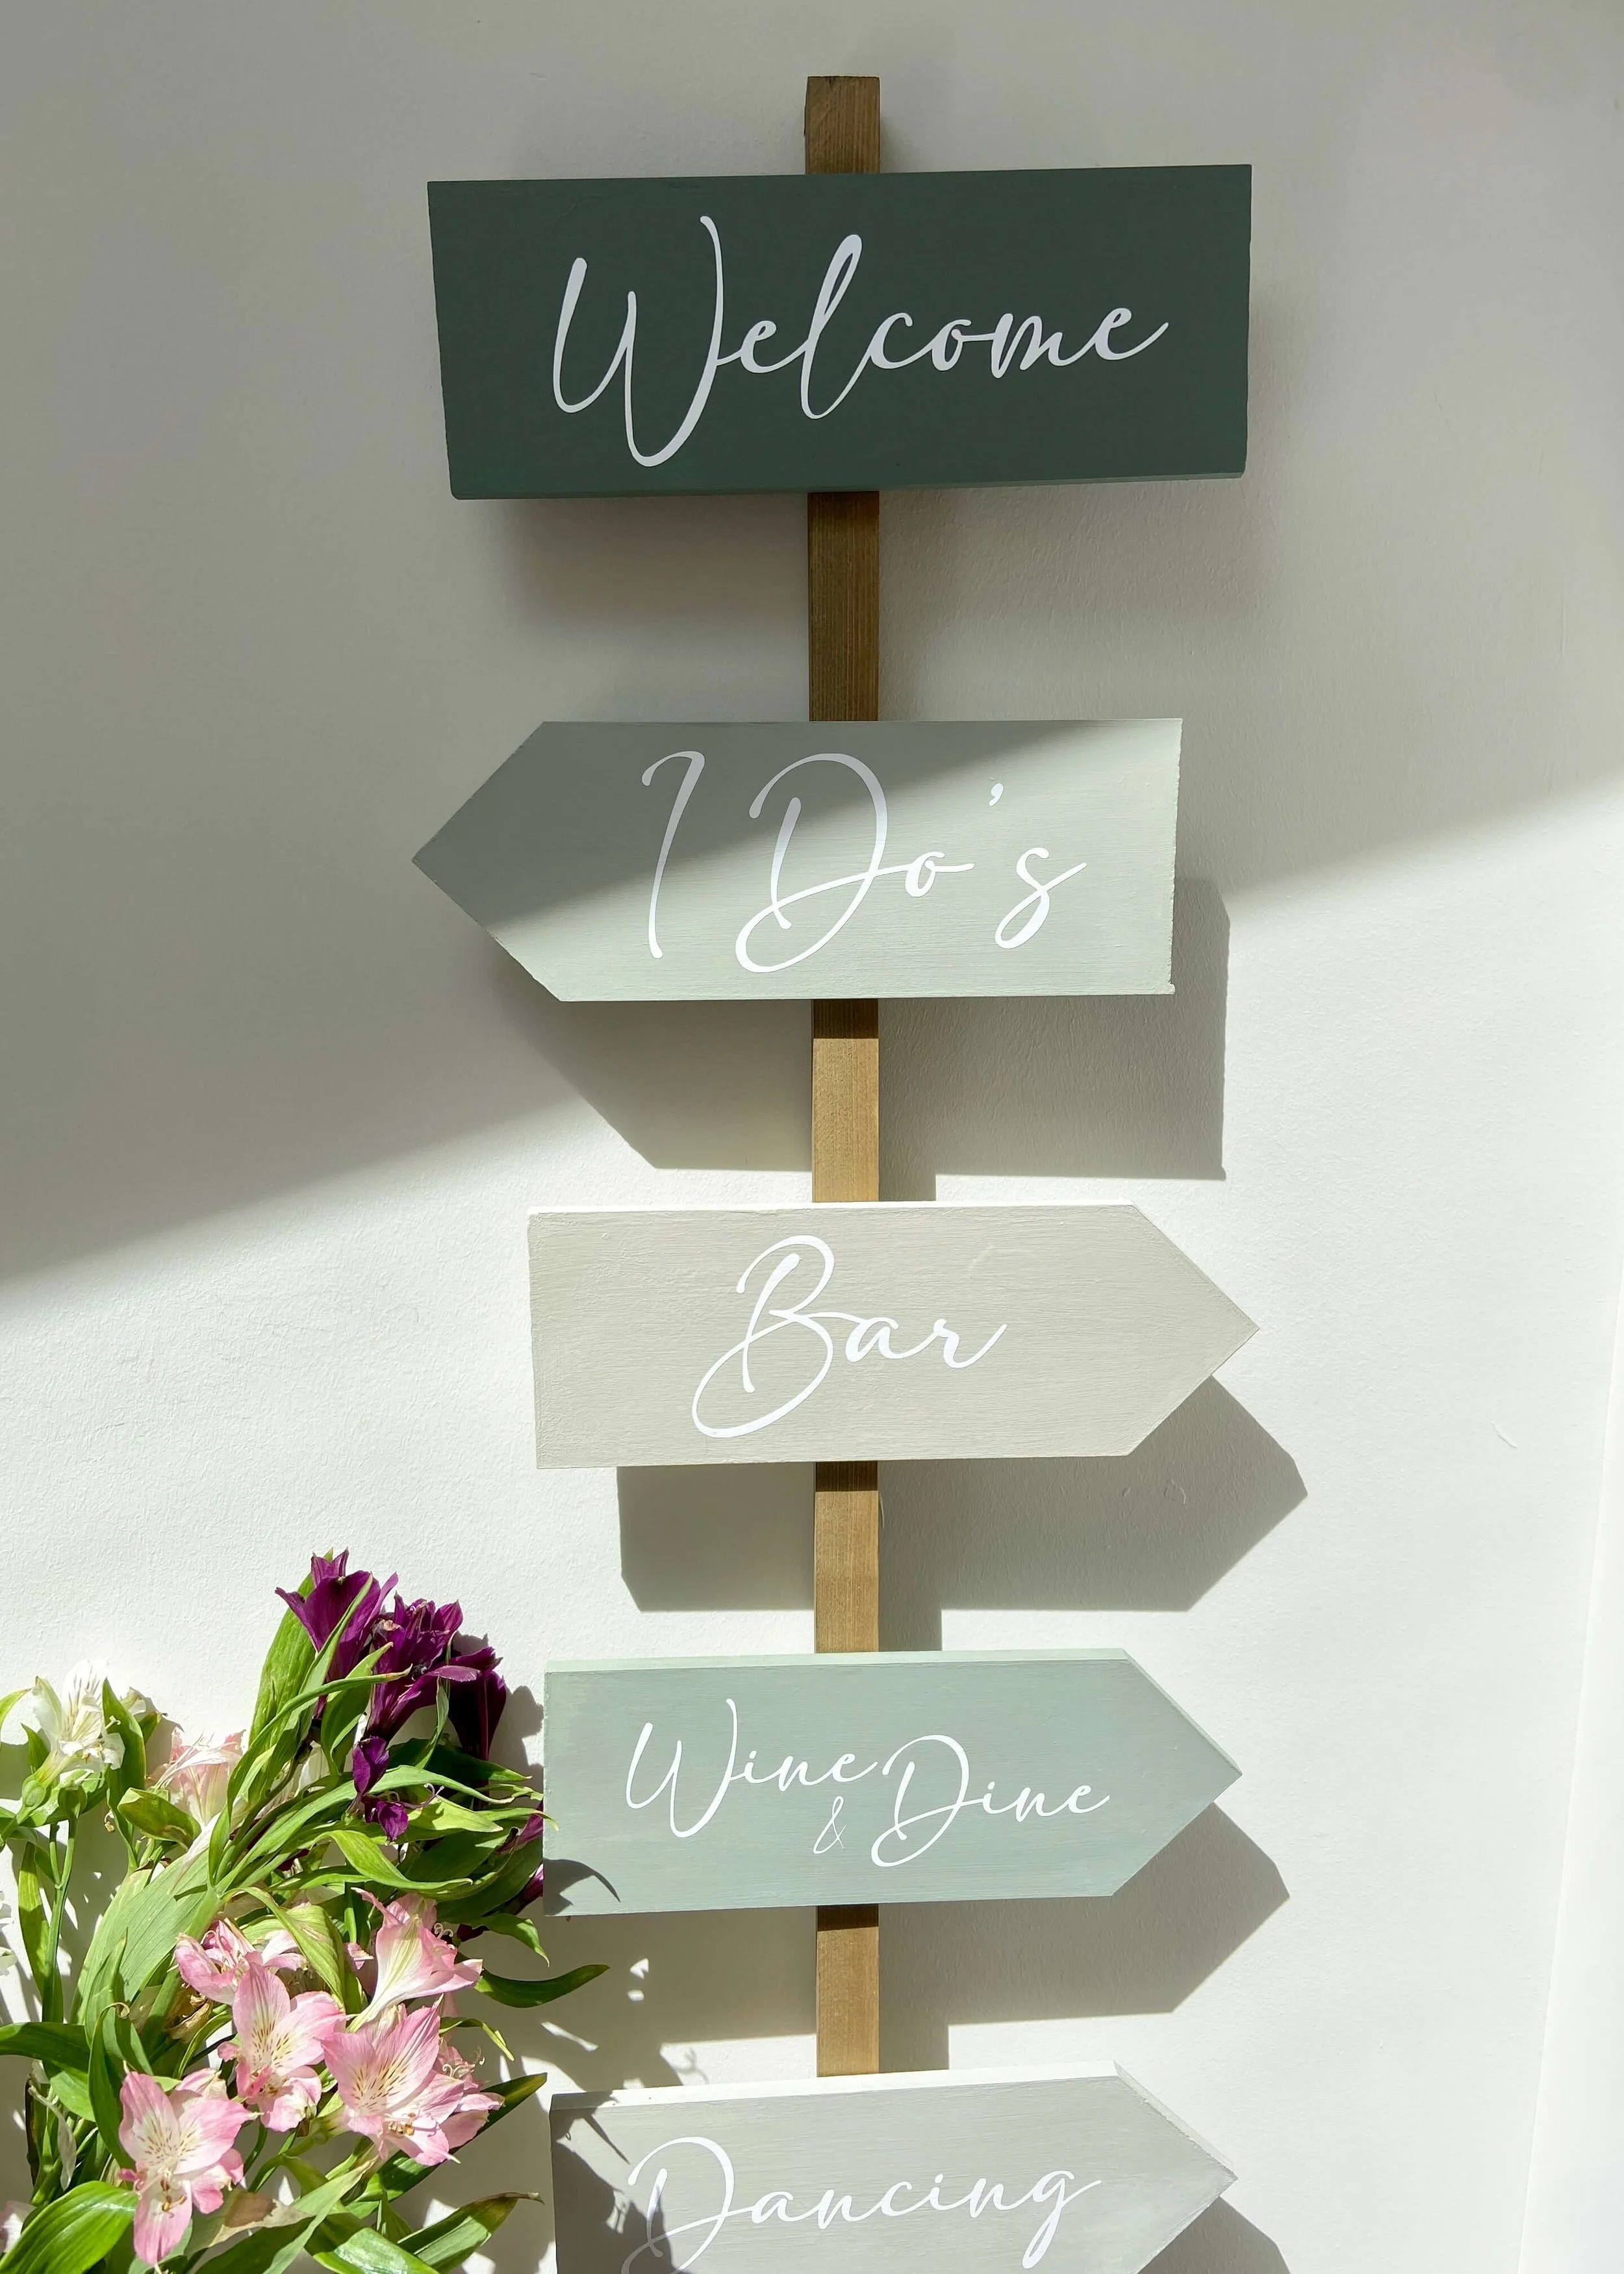
Make sure your wedding guests don’t get lost with this DIY wedding direction sign made from wood offcuts!
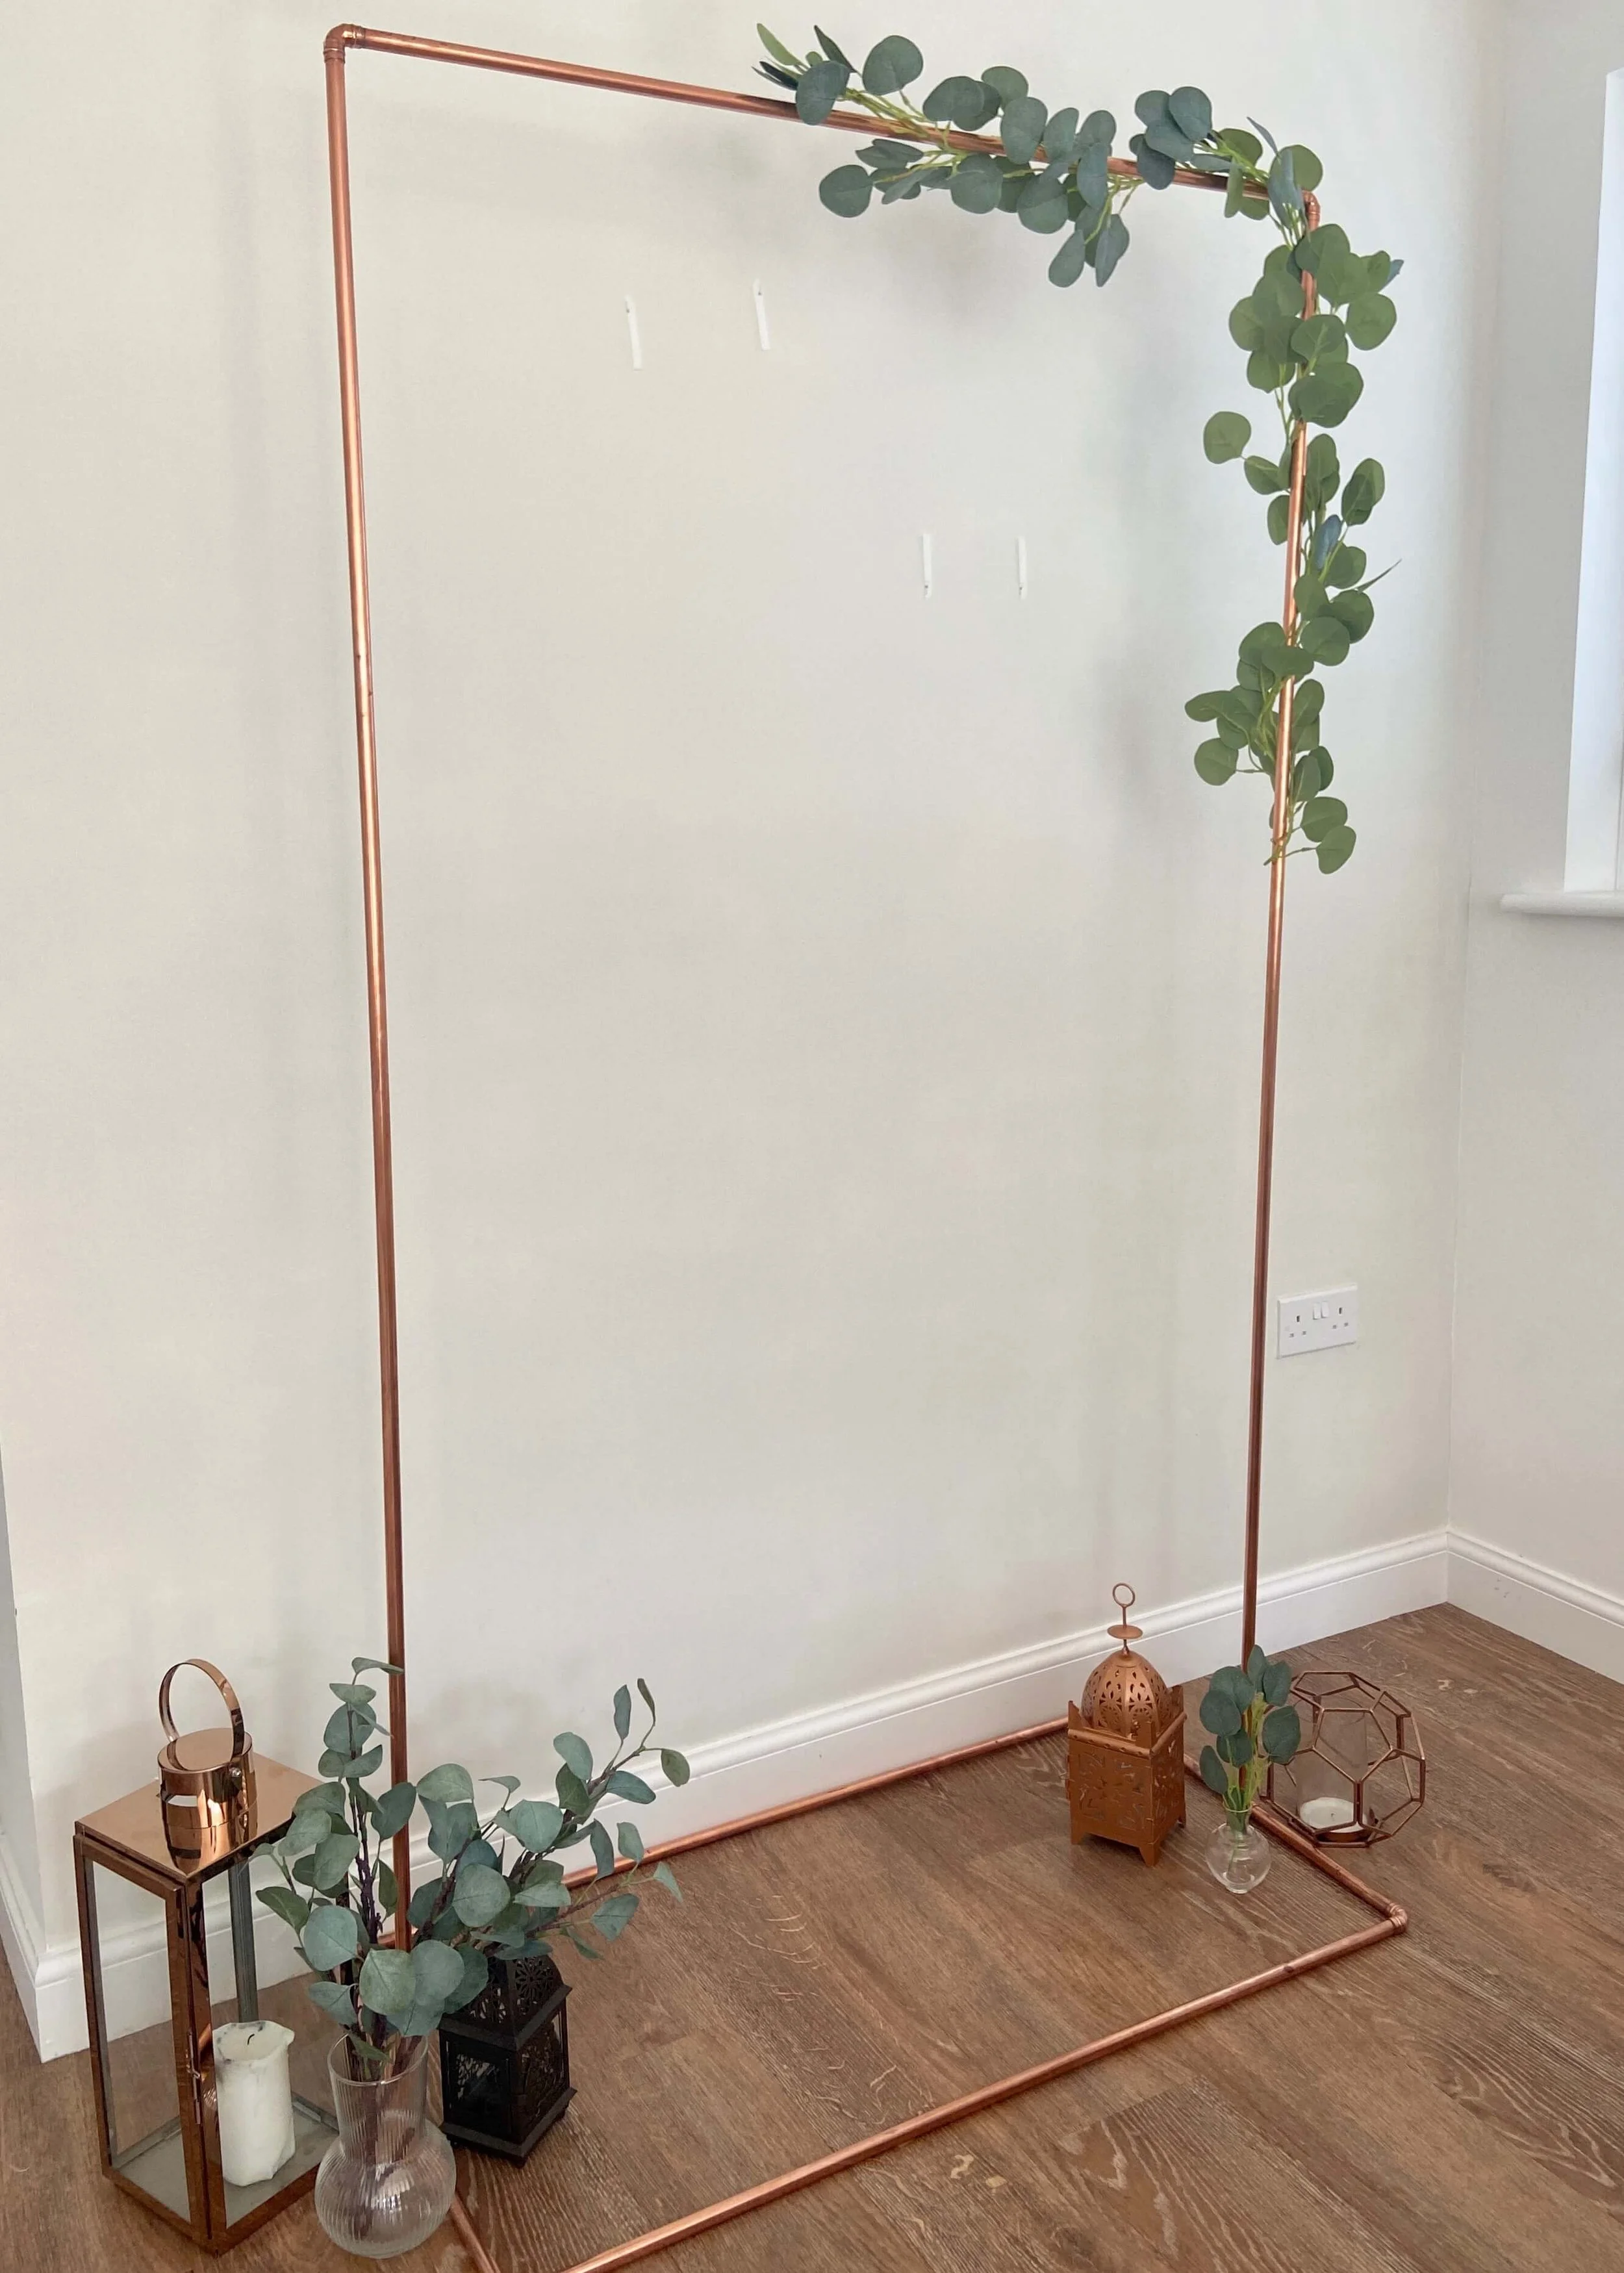
Although the chance of people getting lost at our wedding venue seems pretty low, I saw another wedding at our venue that had a rustic directions sign for decoration and so instantly I wanted our own. I had lots of MDF cut offs from panelling the office wall, and what better way to use them up than repurposing them into this cute sign. You could use any wood off cuts for this project really, as long as they’re big enough for the size sign you want, and although I painted mine, you could easily just stain and seal yours. Our venue doesn’t allow any stakes in the ground so I’m still thinking about how to make this freestanding, however if yours does then you can just hit this straight into the soil. I used my brand new Cricut for this project, but you could also easily buy custom vinyls online, use a paint marker or sharpie, or even a stencil. Keep reading to find out what I used and for the step by step tutorial…


1.
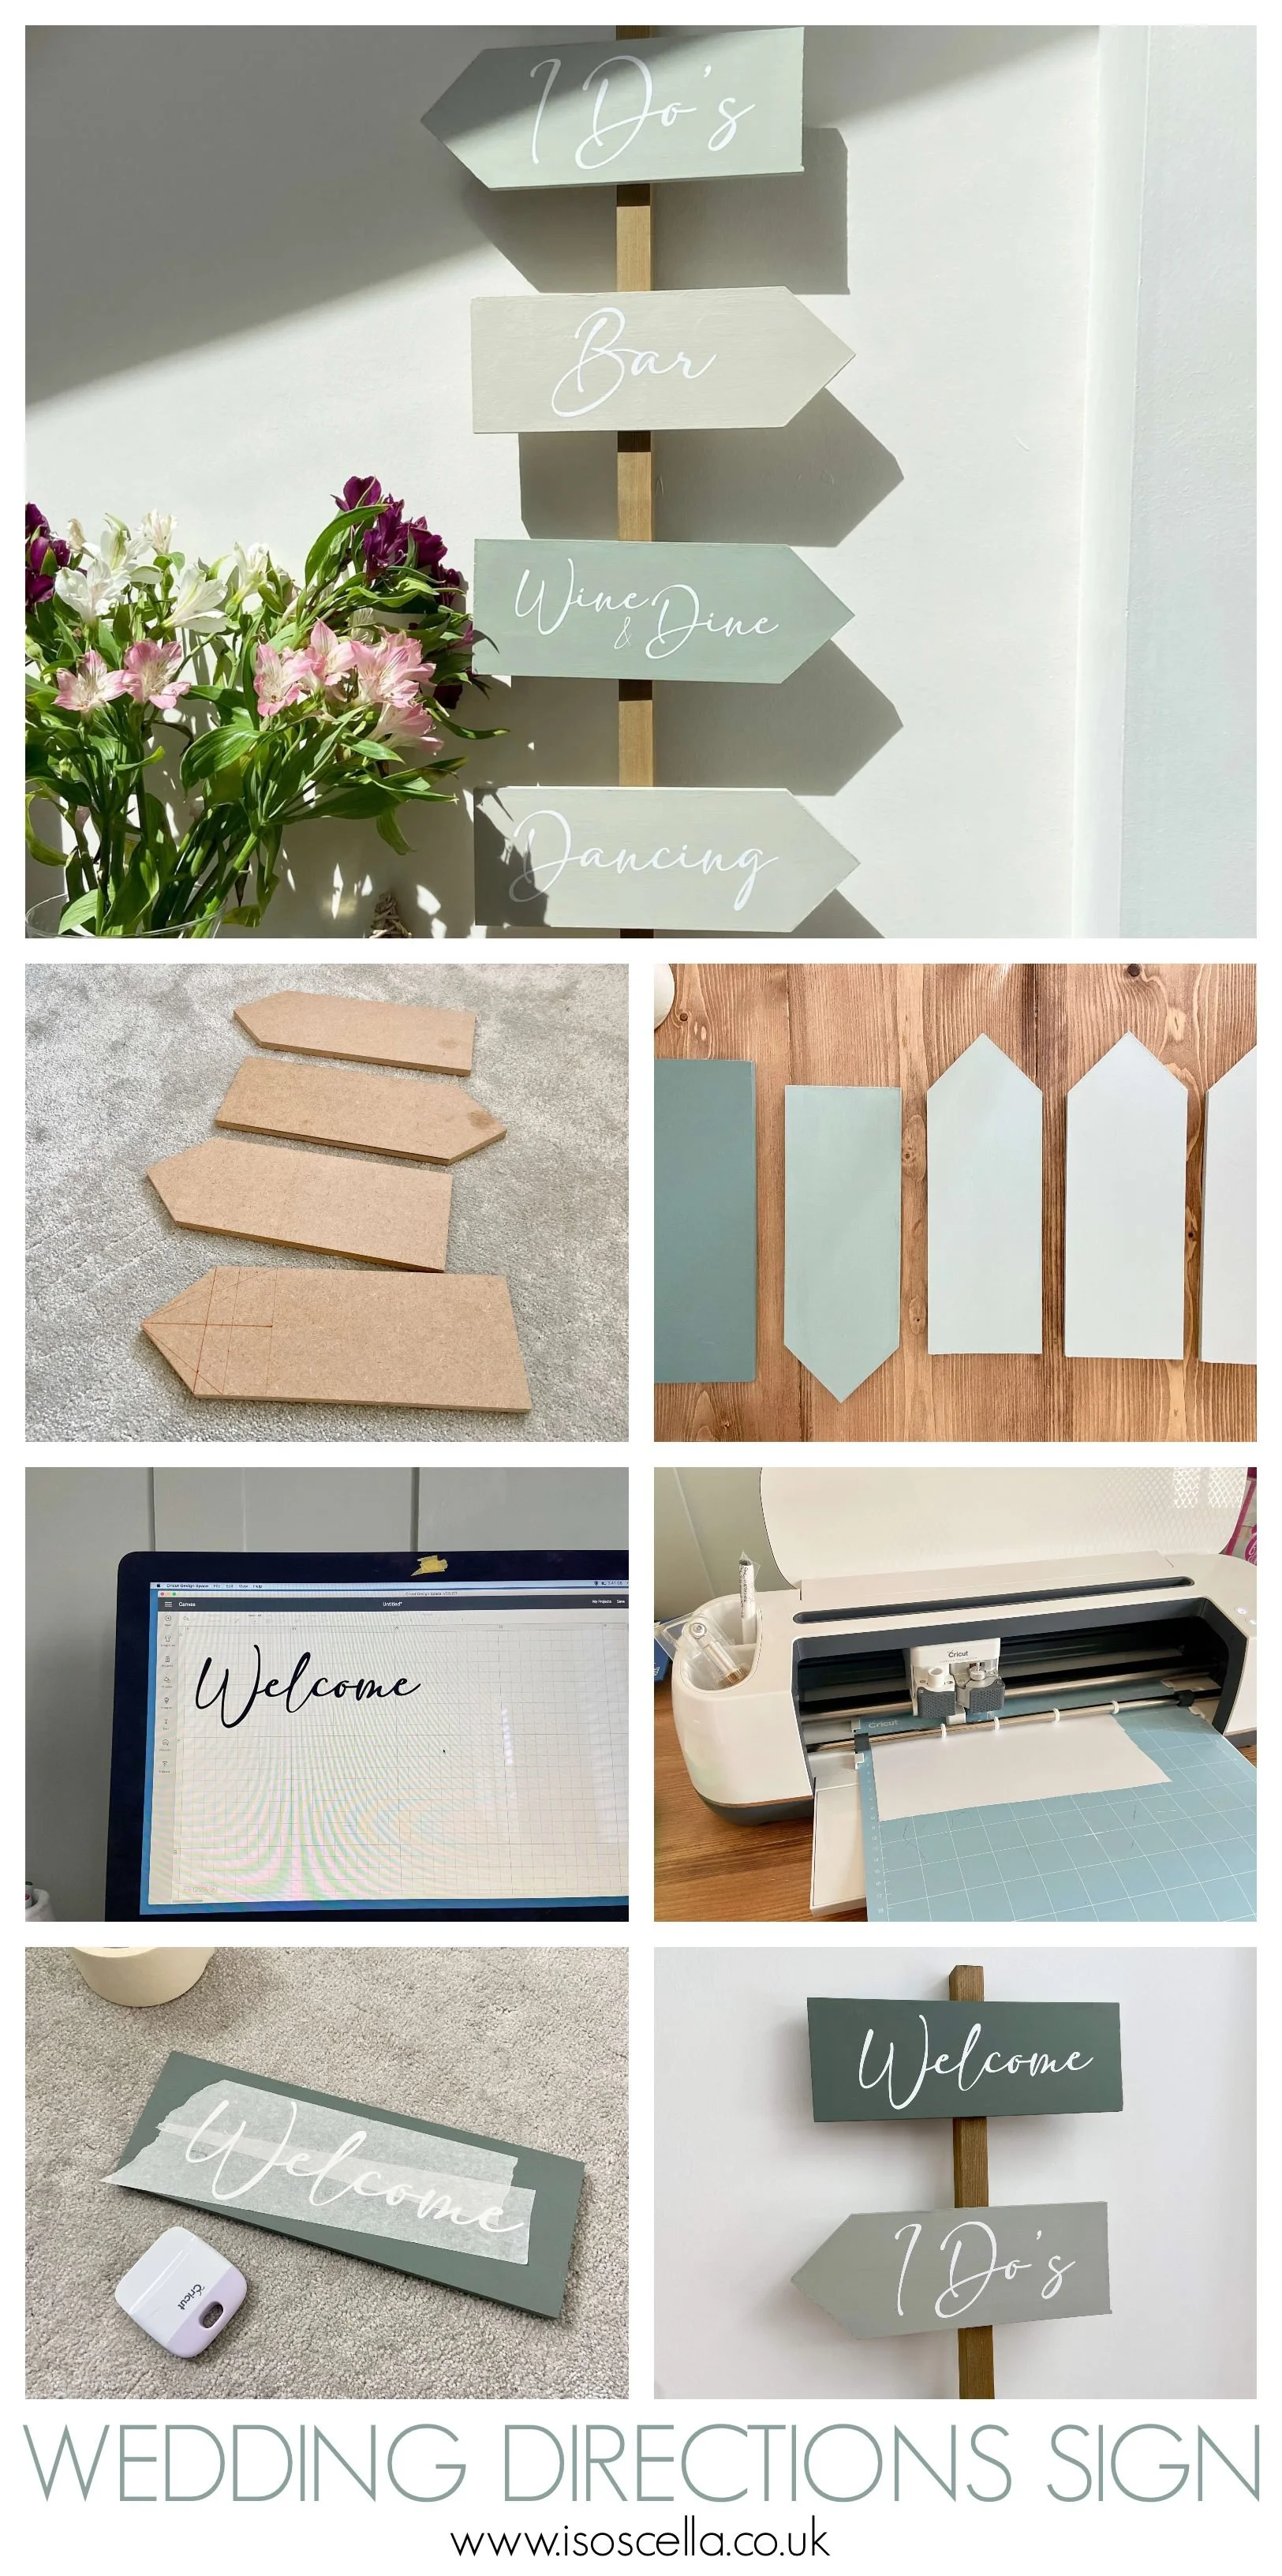
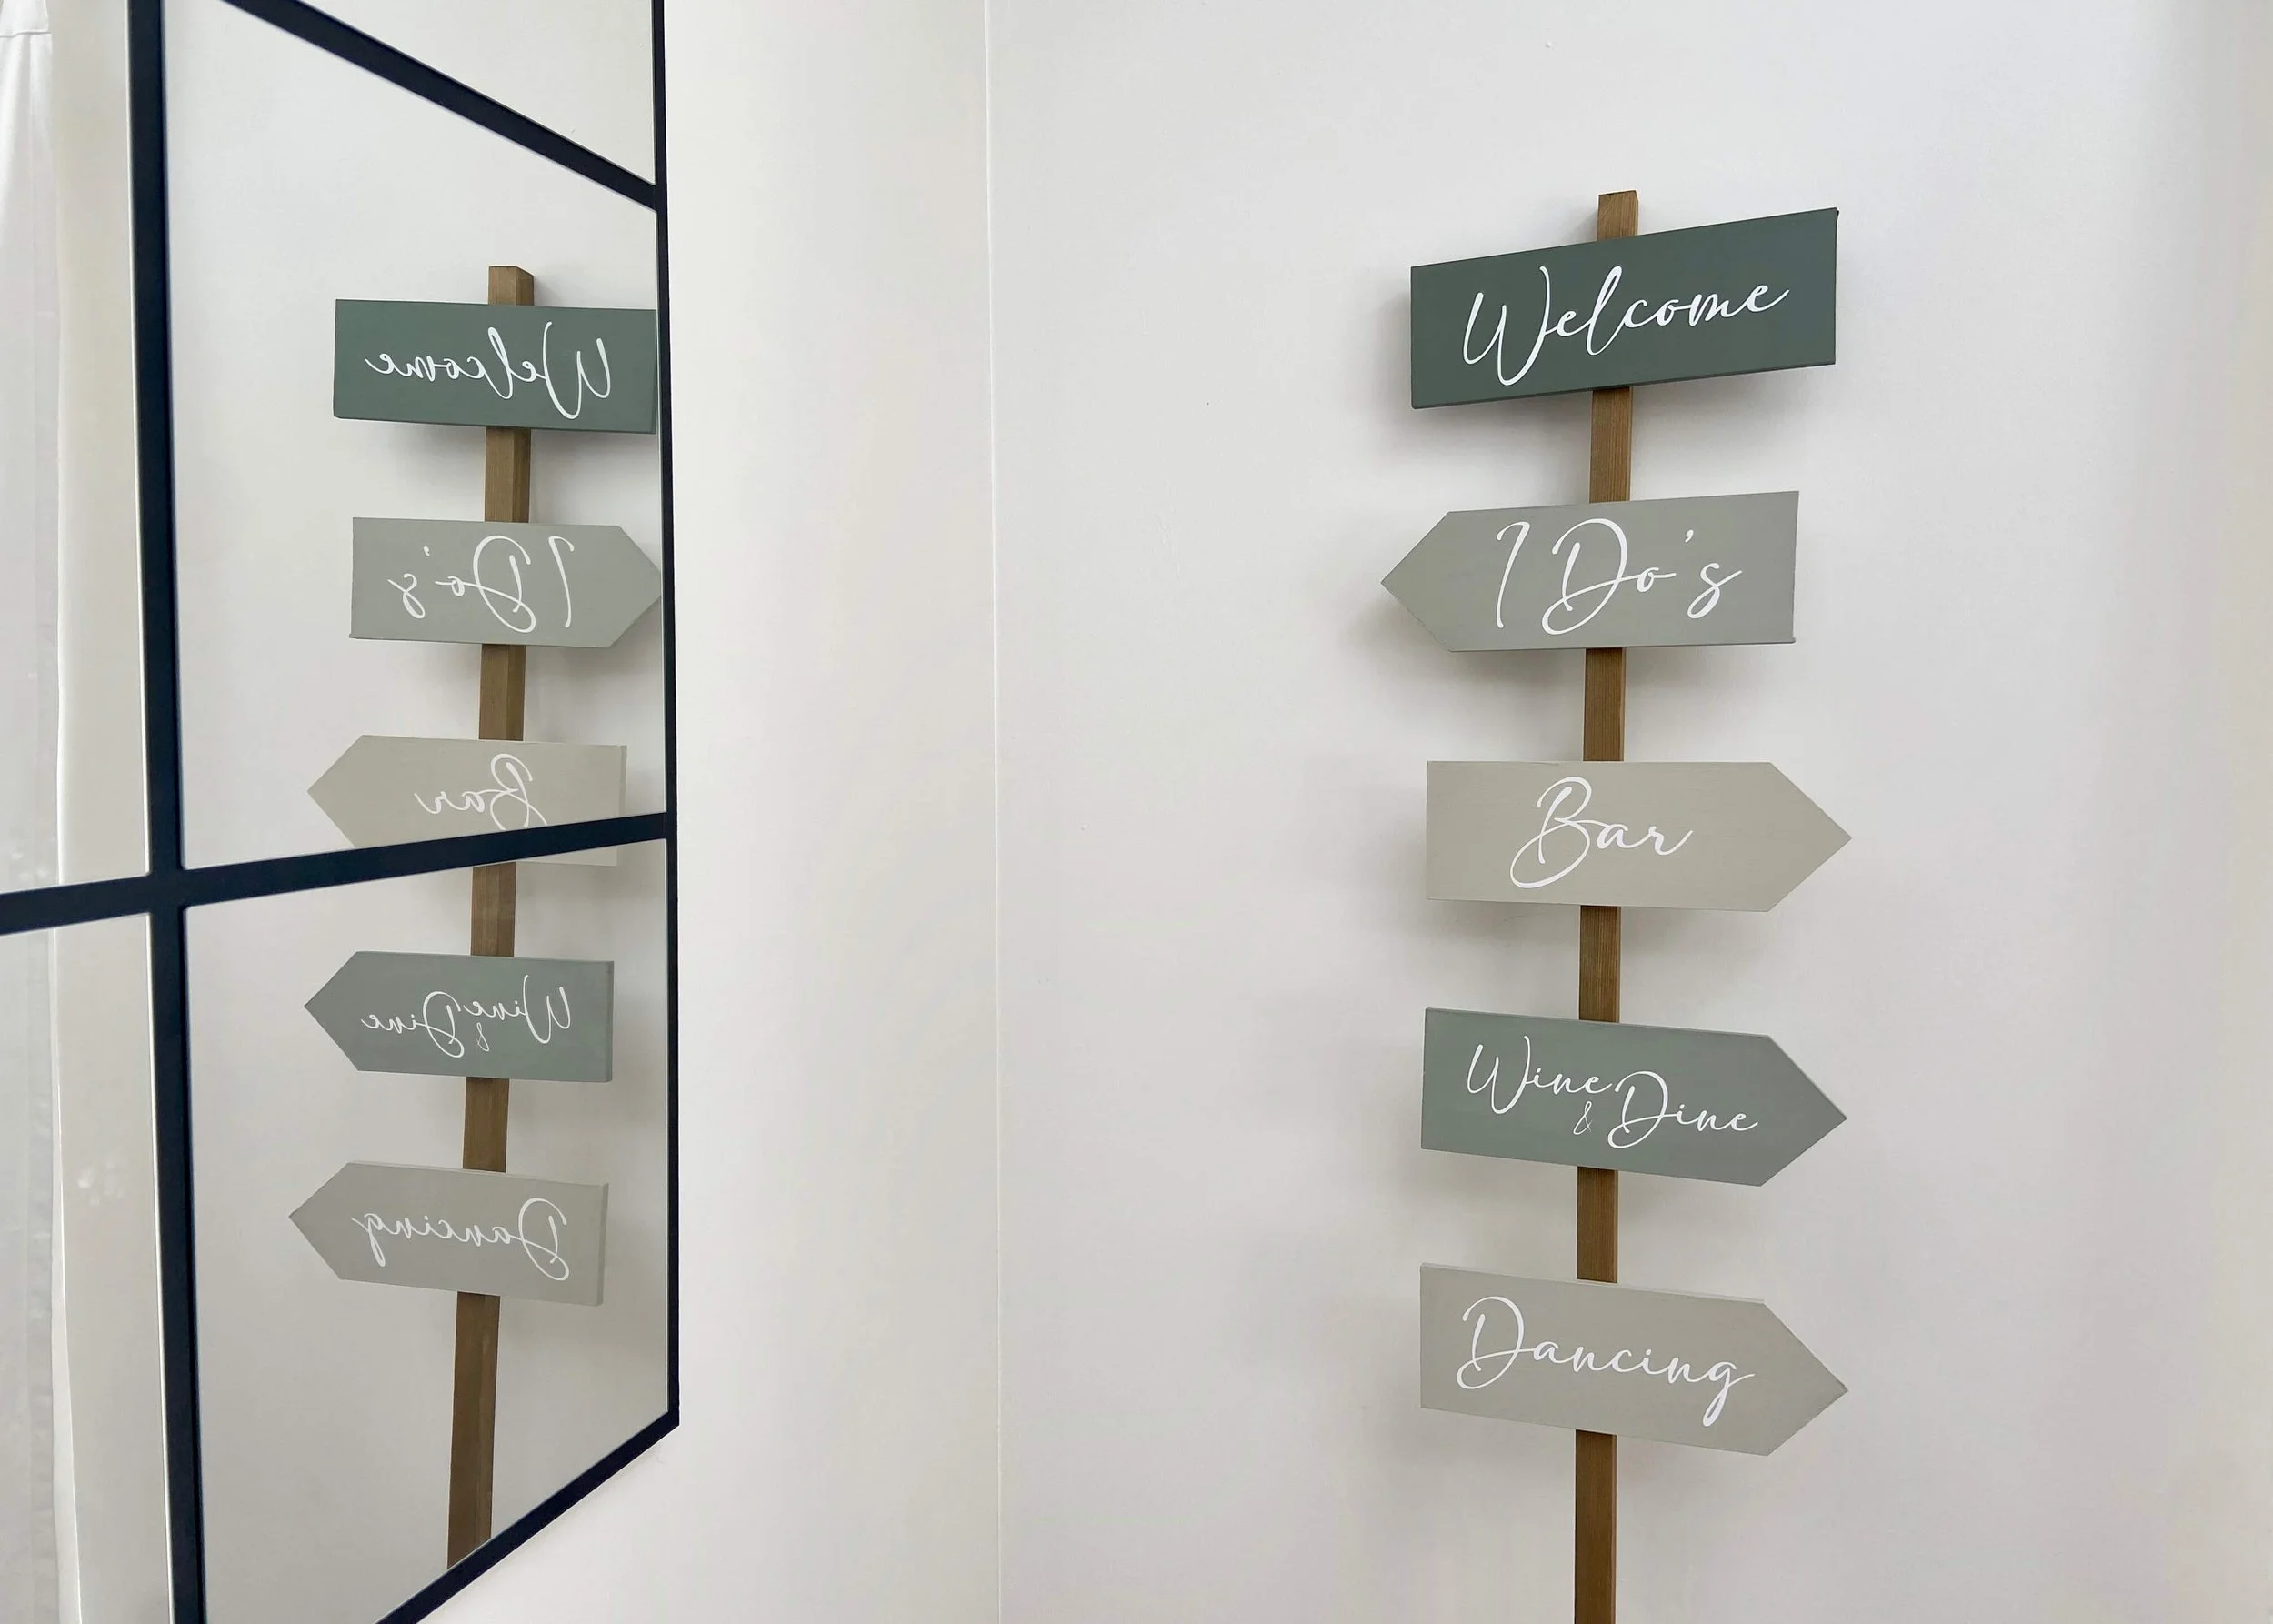
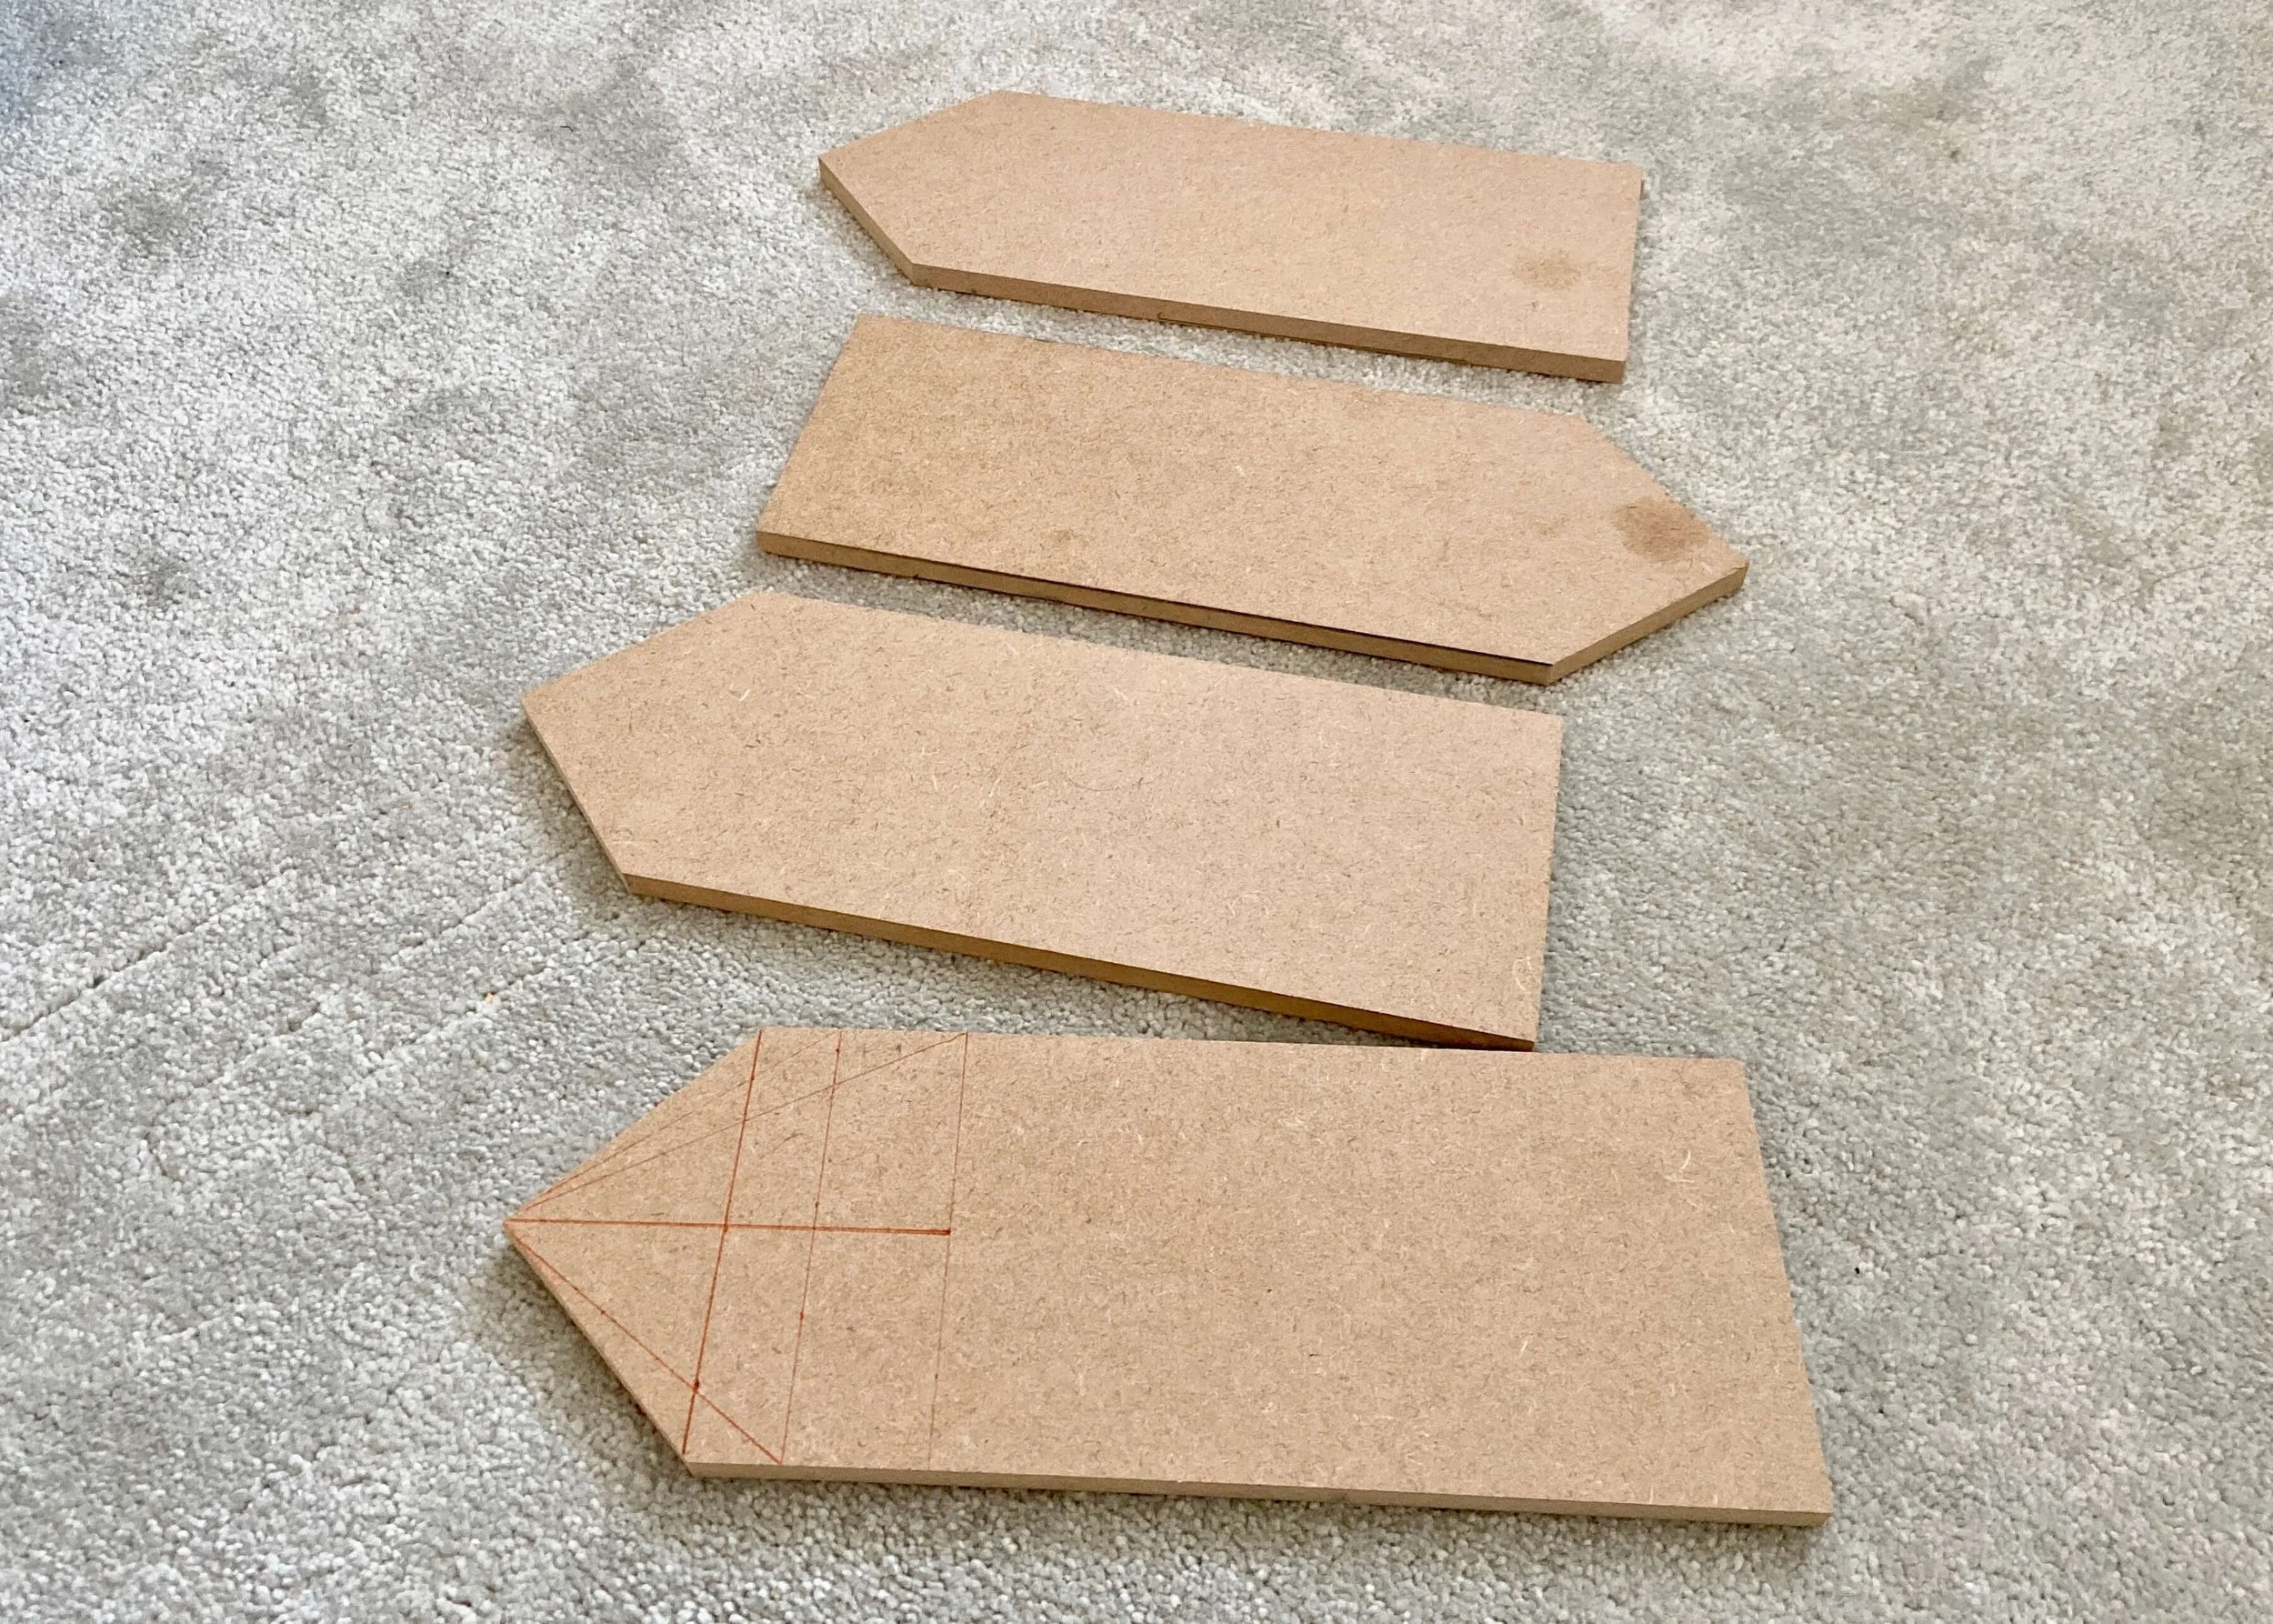
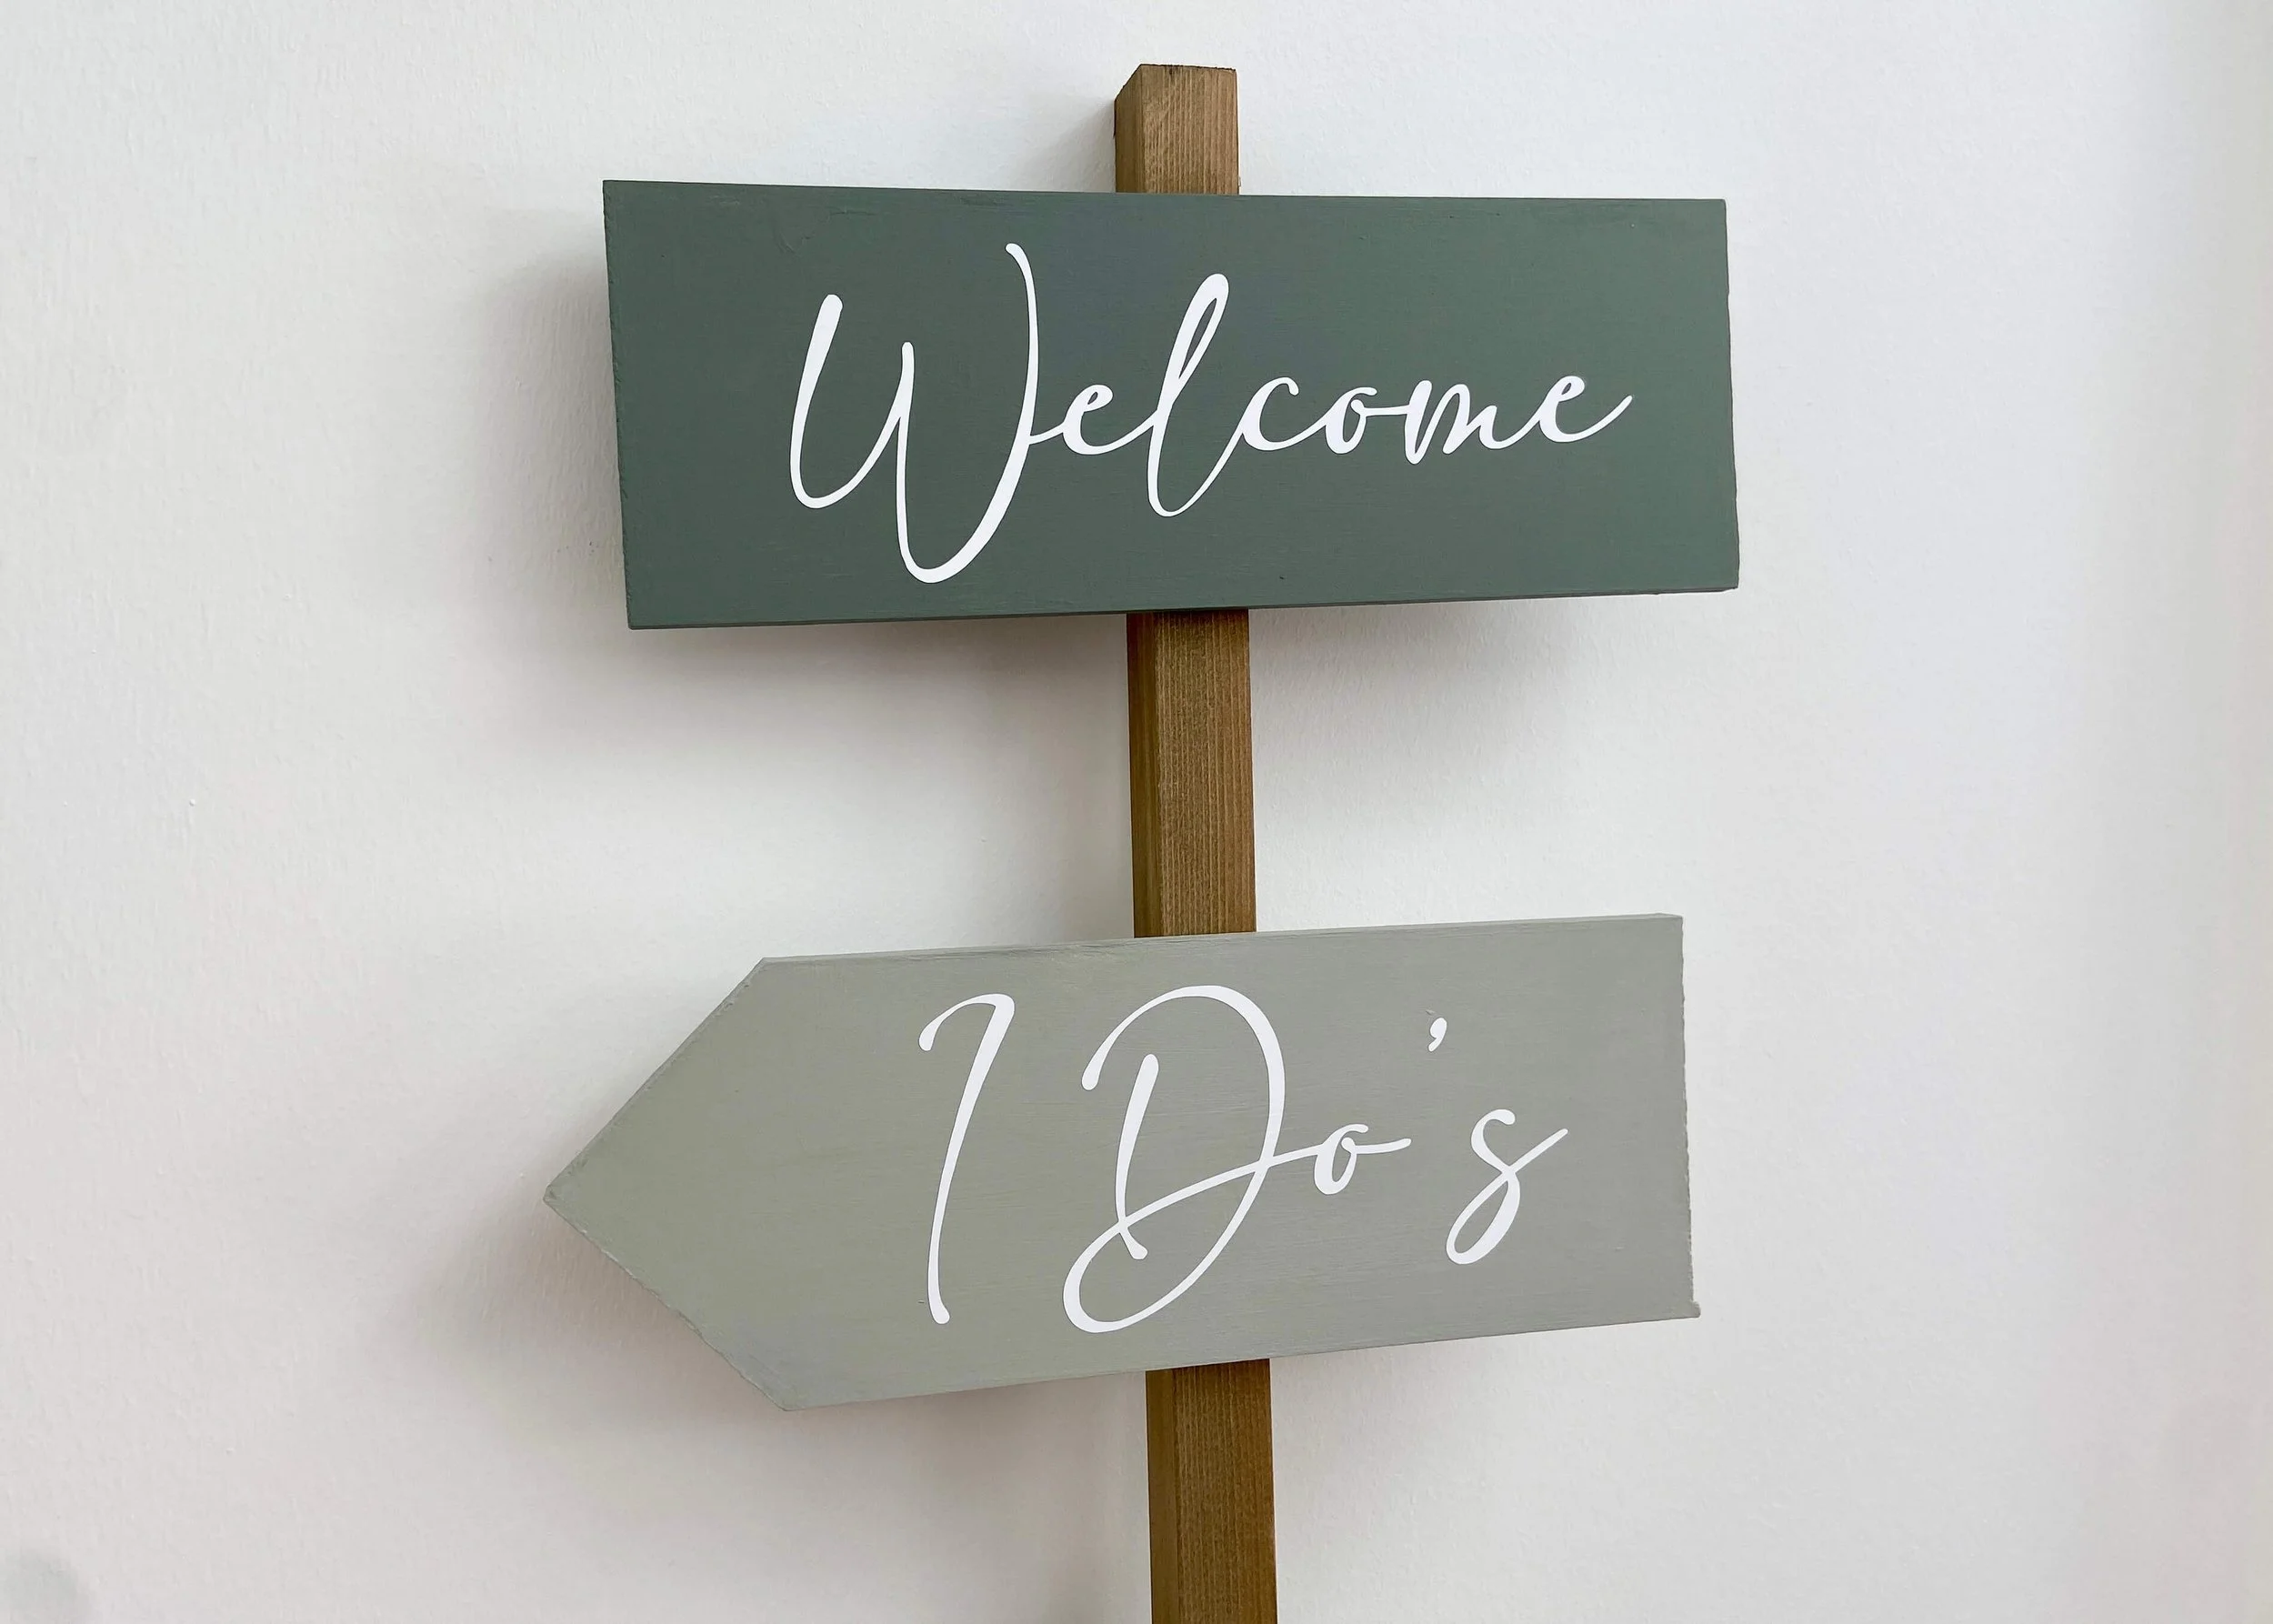
Grab your wood offcuts and decide how many individuals arrows you want and what size these will be. I kept one piece square for a ‘Welcome’ sign at the top, and then had 4 arrows beneath this. Cut each piece of wood to size.
2.
Next find the mid-point vertically and draw a line horizontally to indicate where the point of the arrow will be. Use this point and the 45 degree cutting guide on your mitre box to create an arrow shape at each end of your signs.

3.
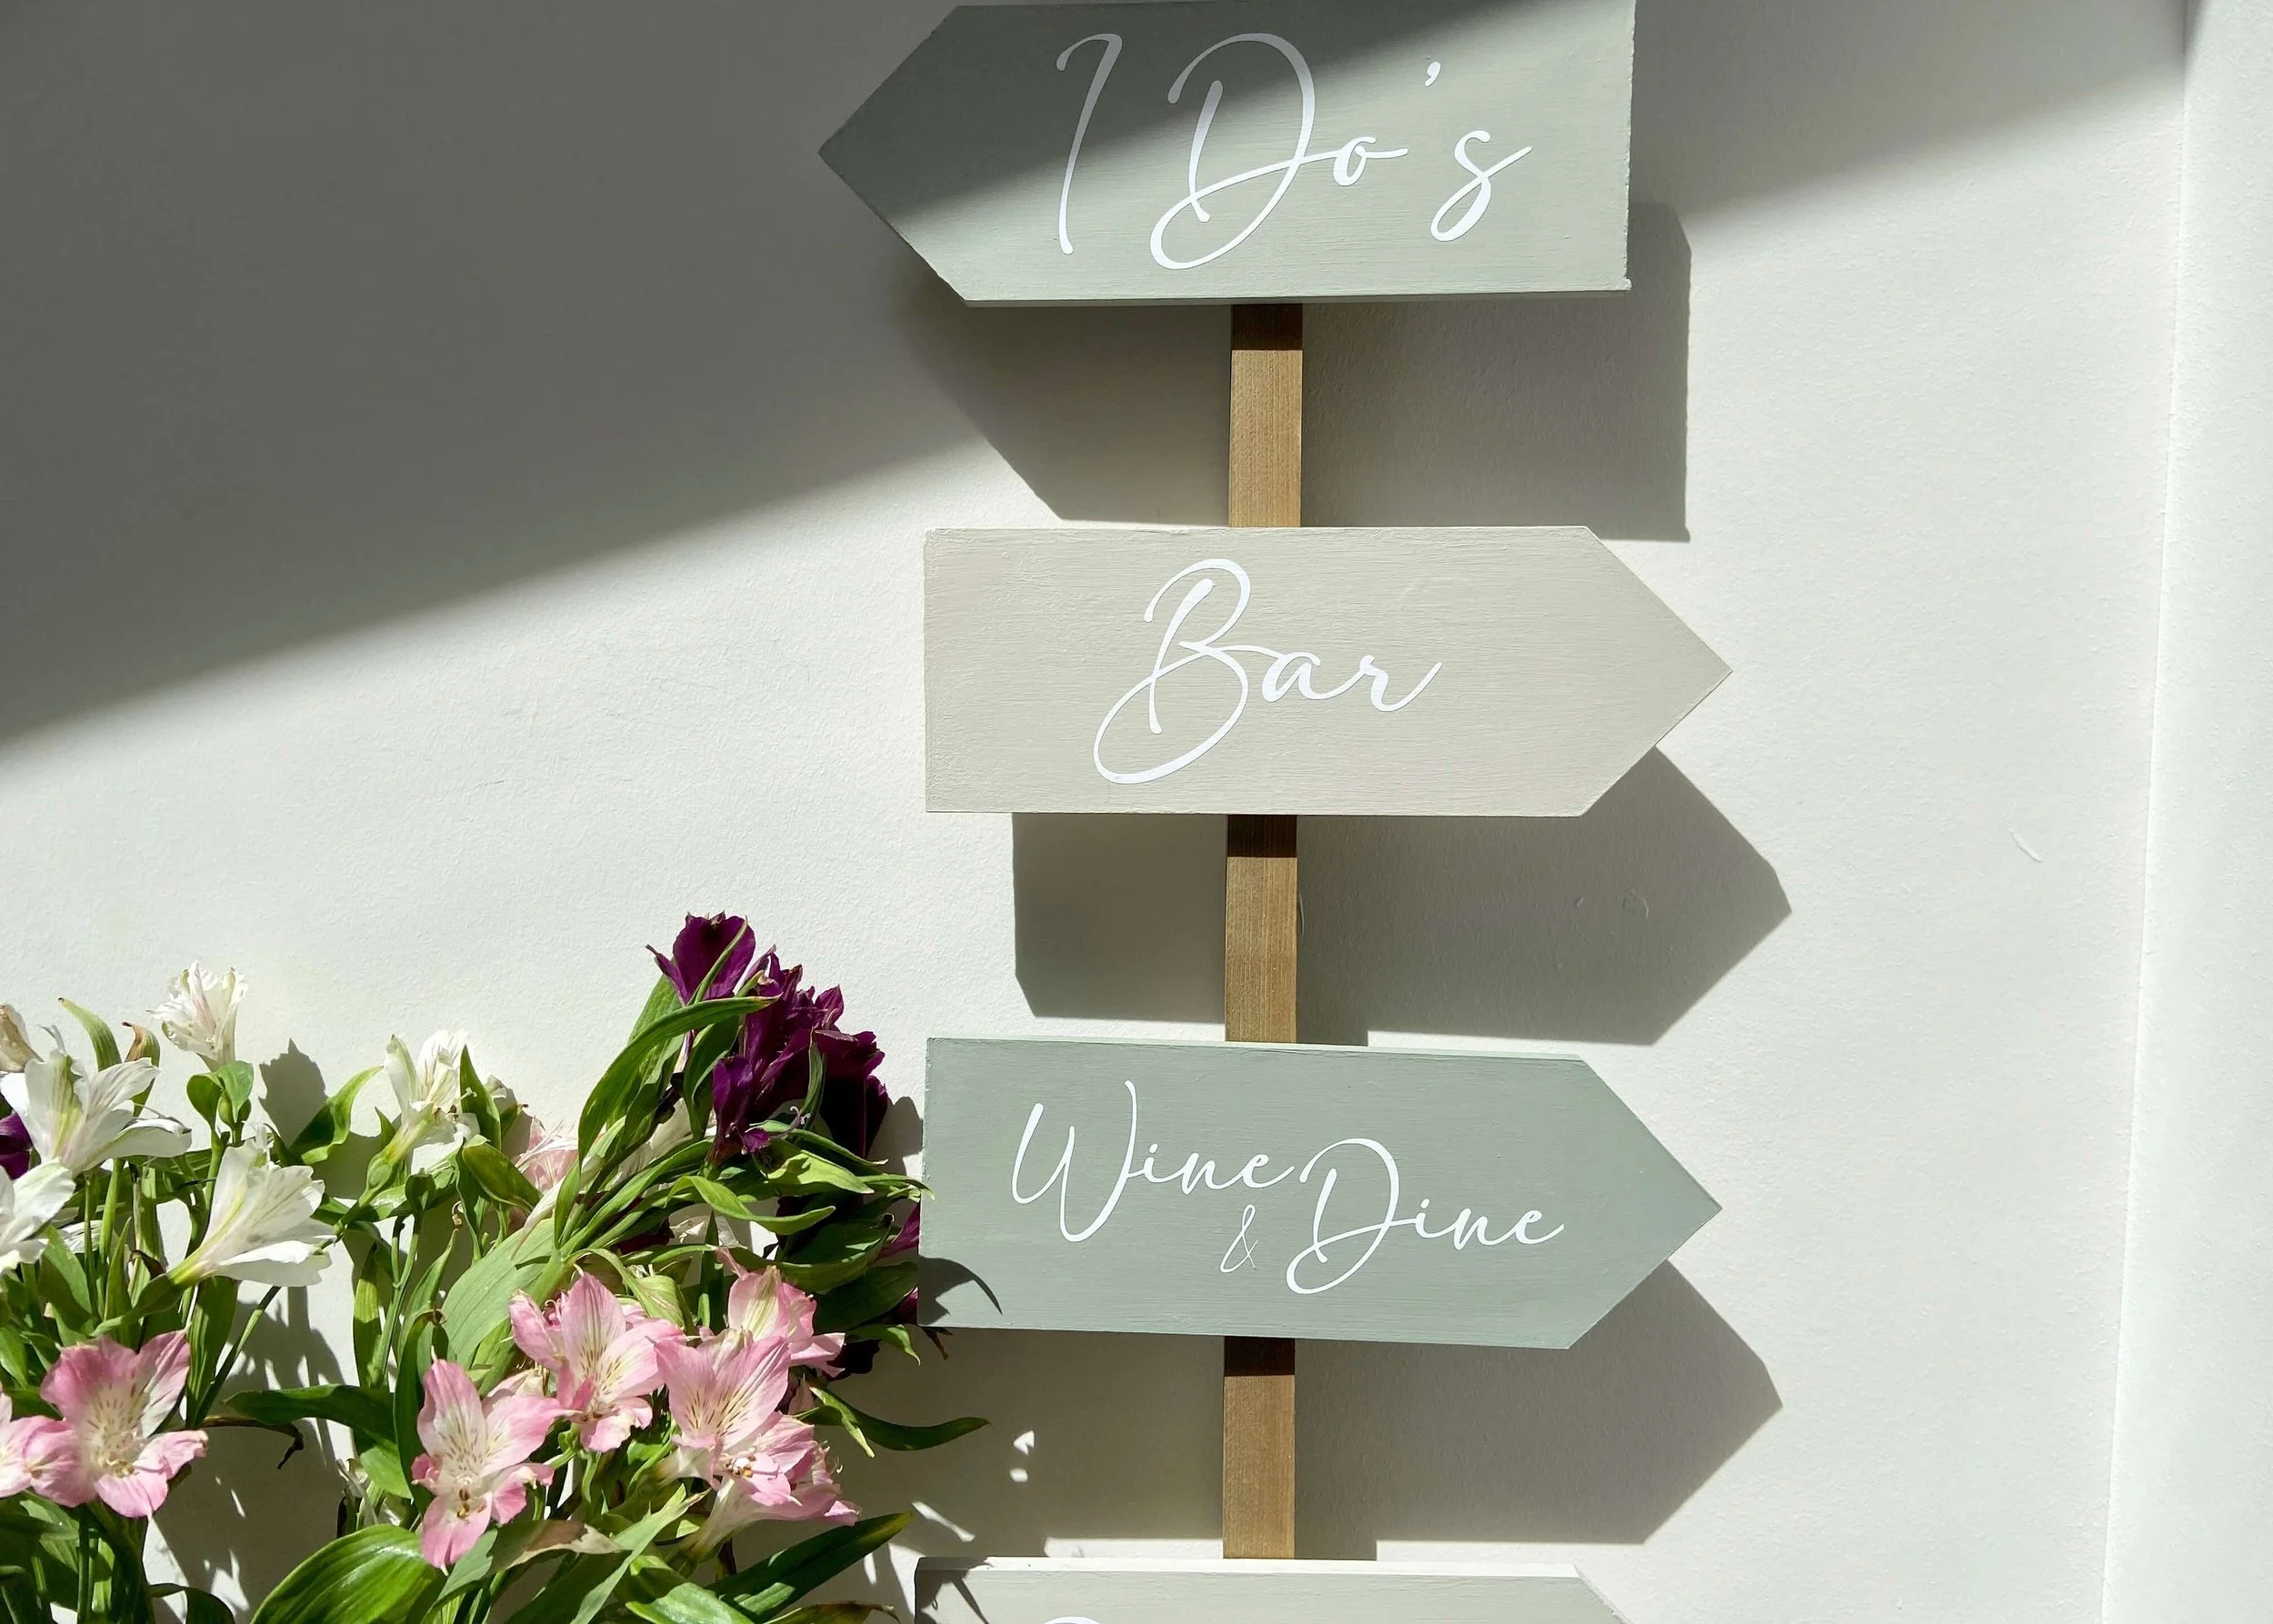
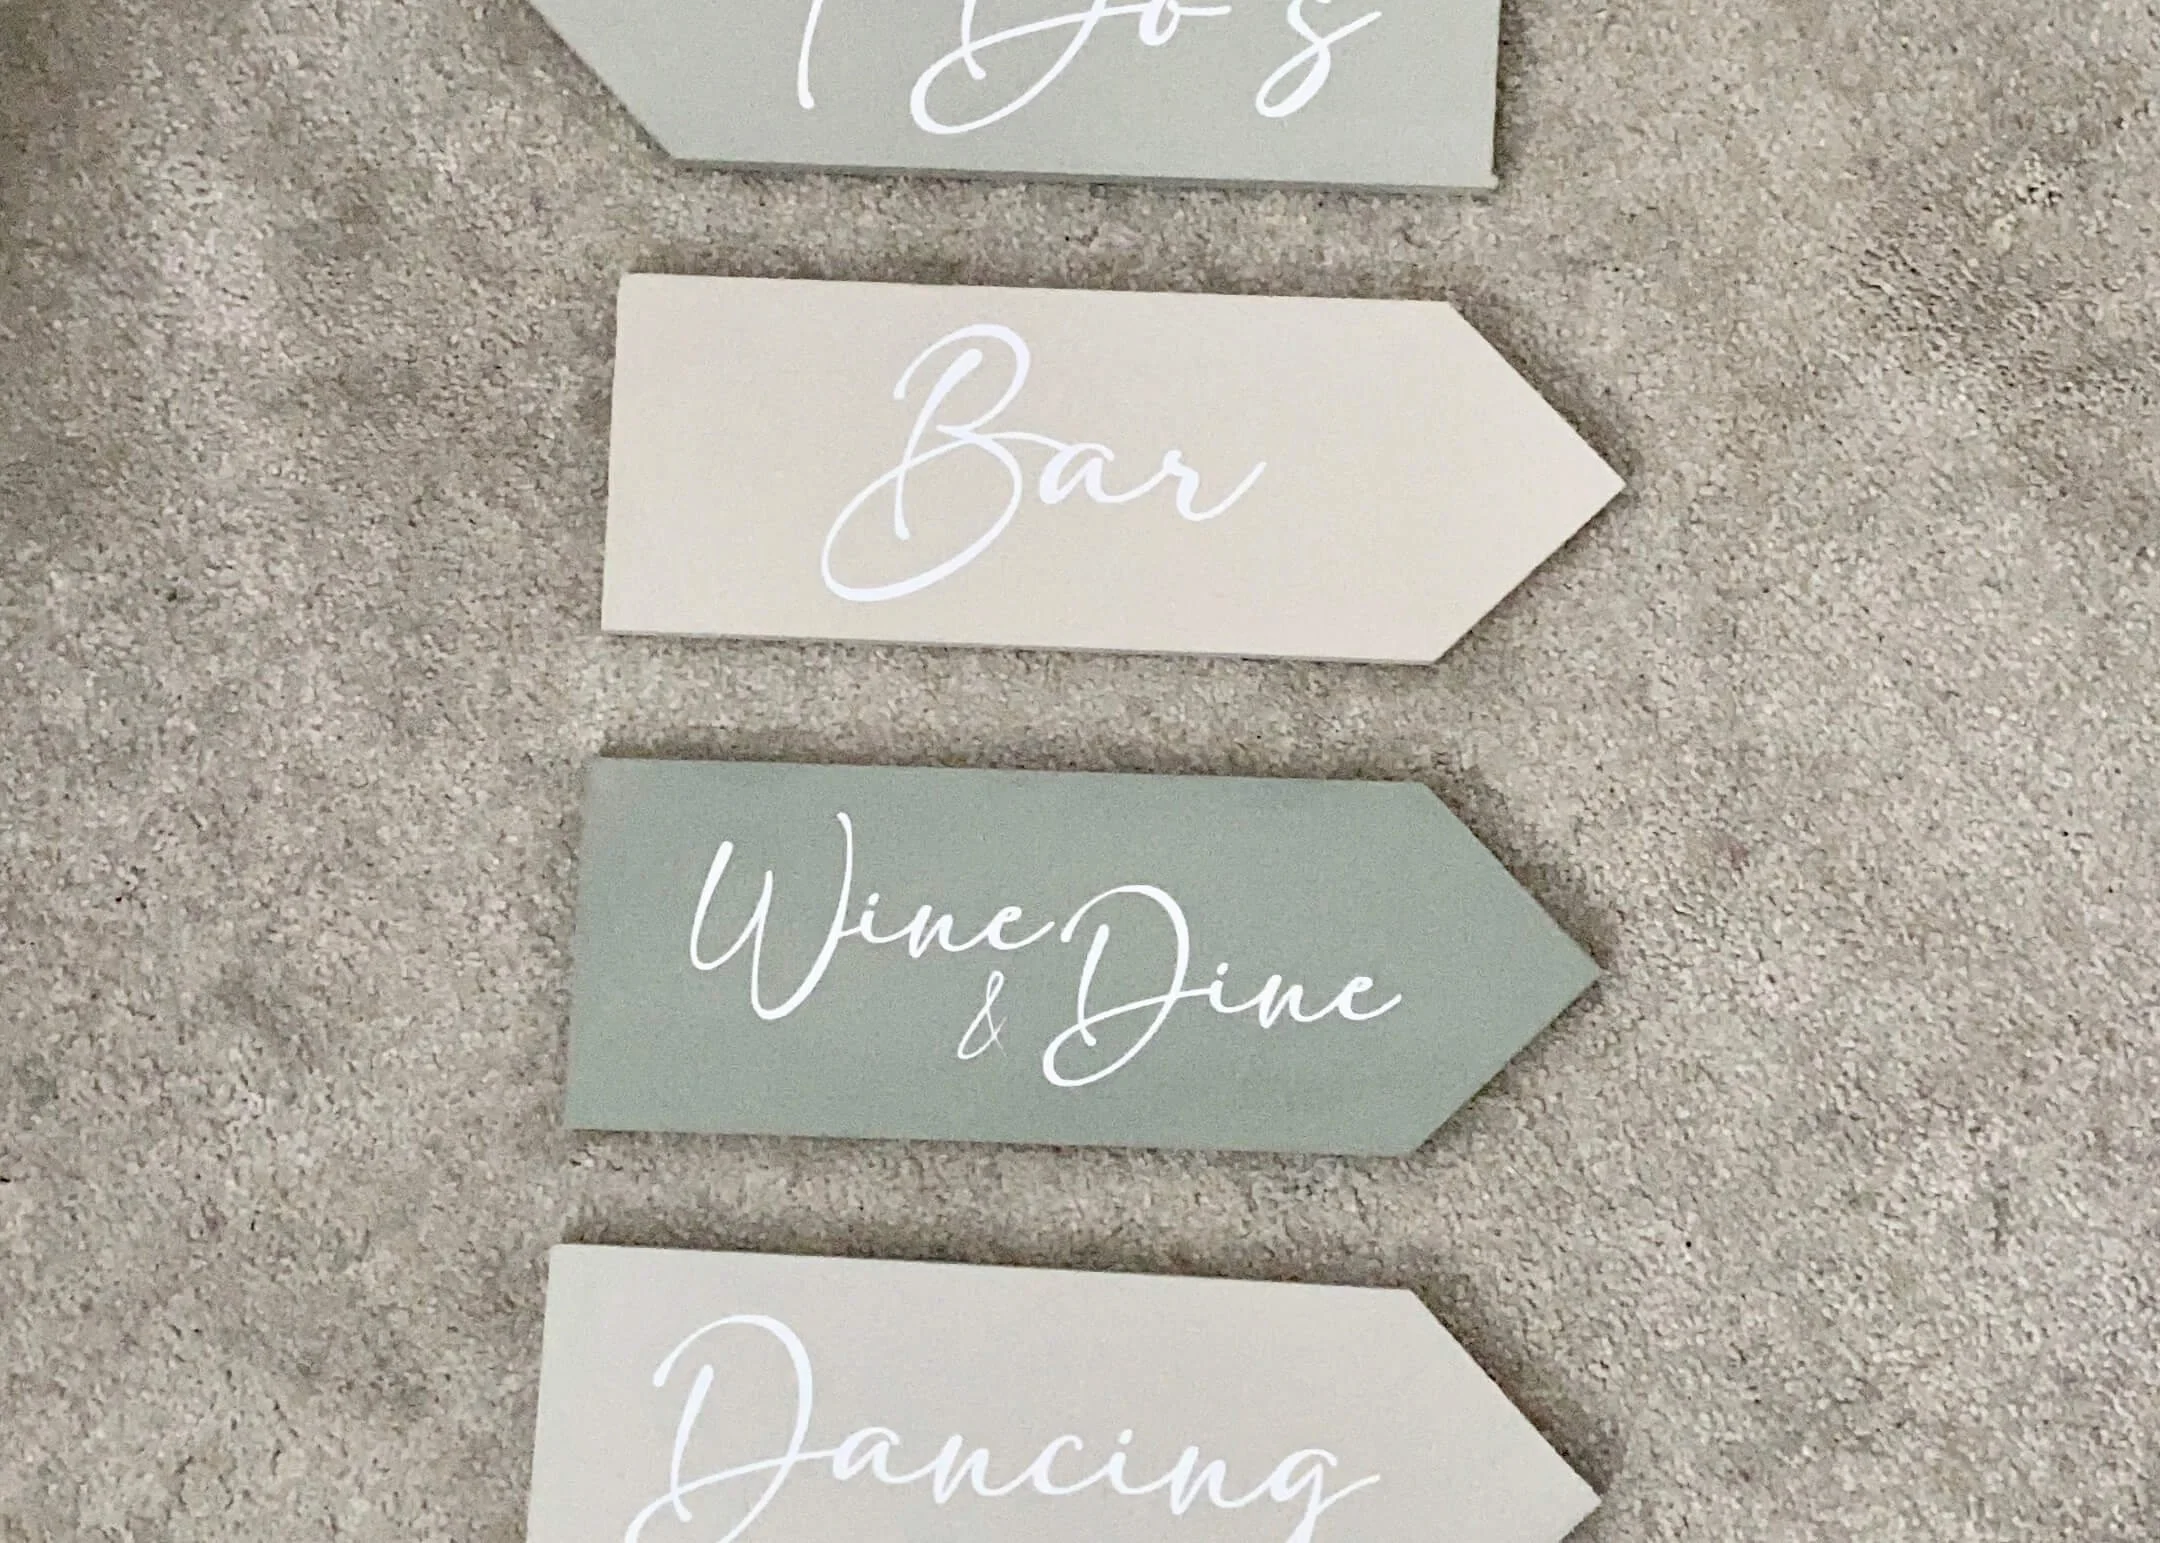
Prime each of your signs if your wood is porous and decide what colour you would like to paint them. I used a dark green colour called ‘Serenity’ and mixed this with a little more white for each sign to create a graded effect. I then painted each sign in two coats of each colour.
4.
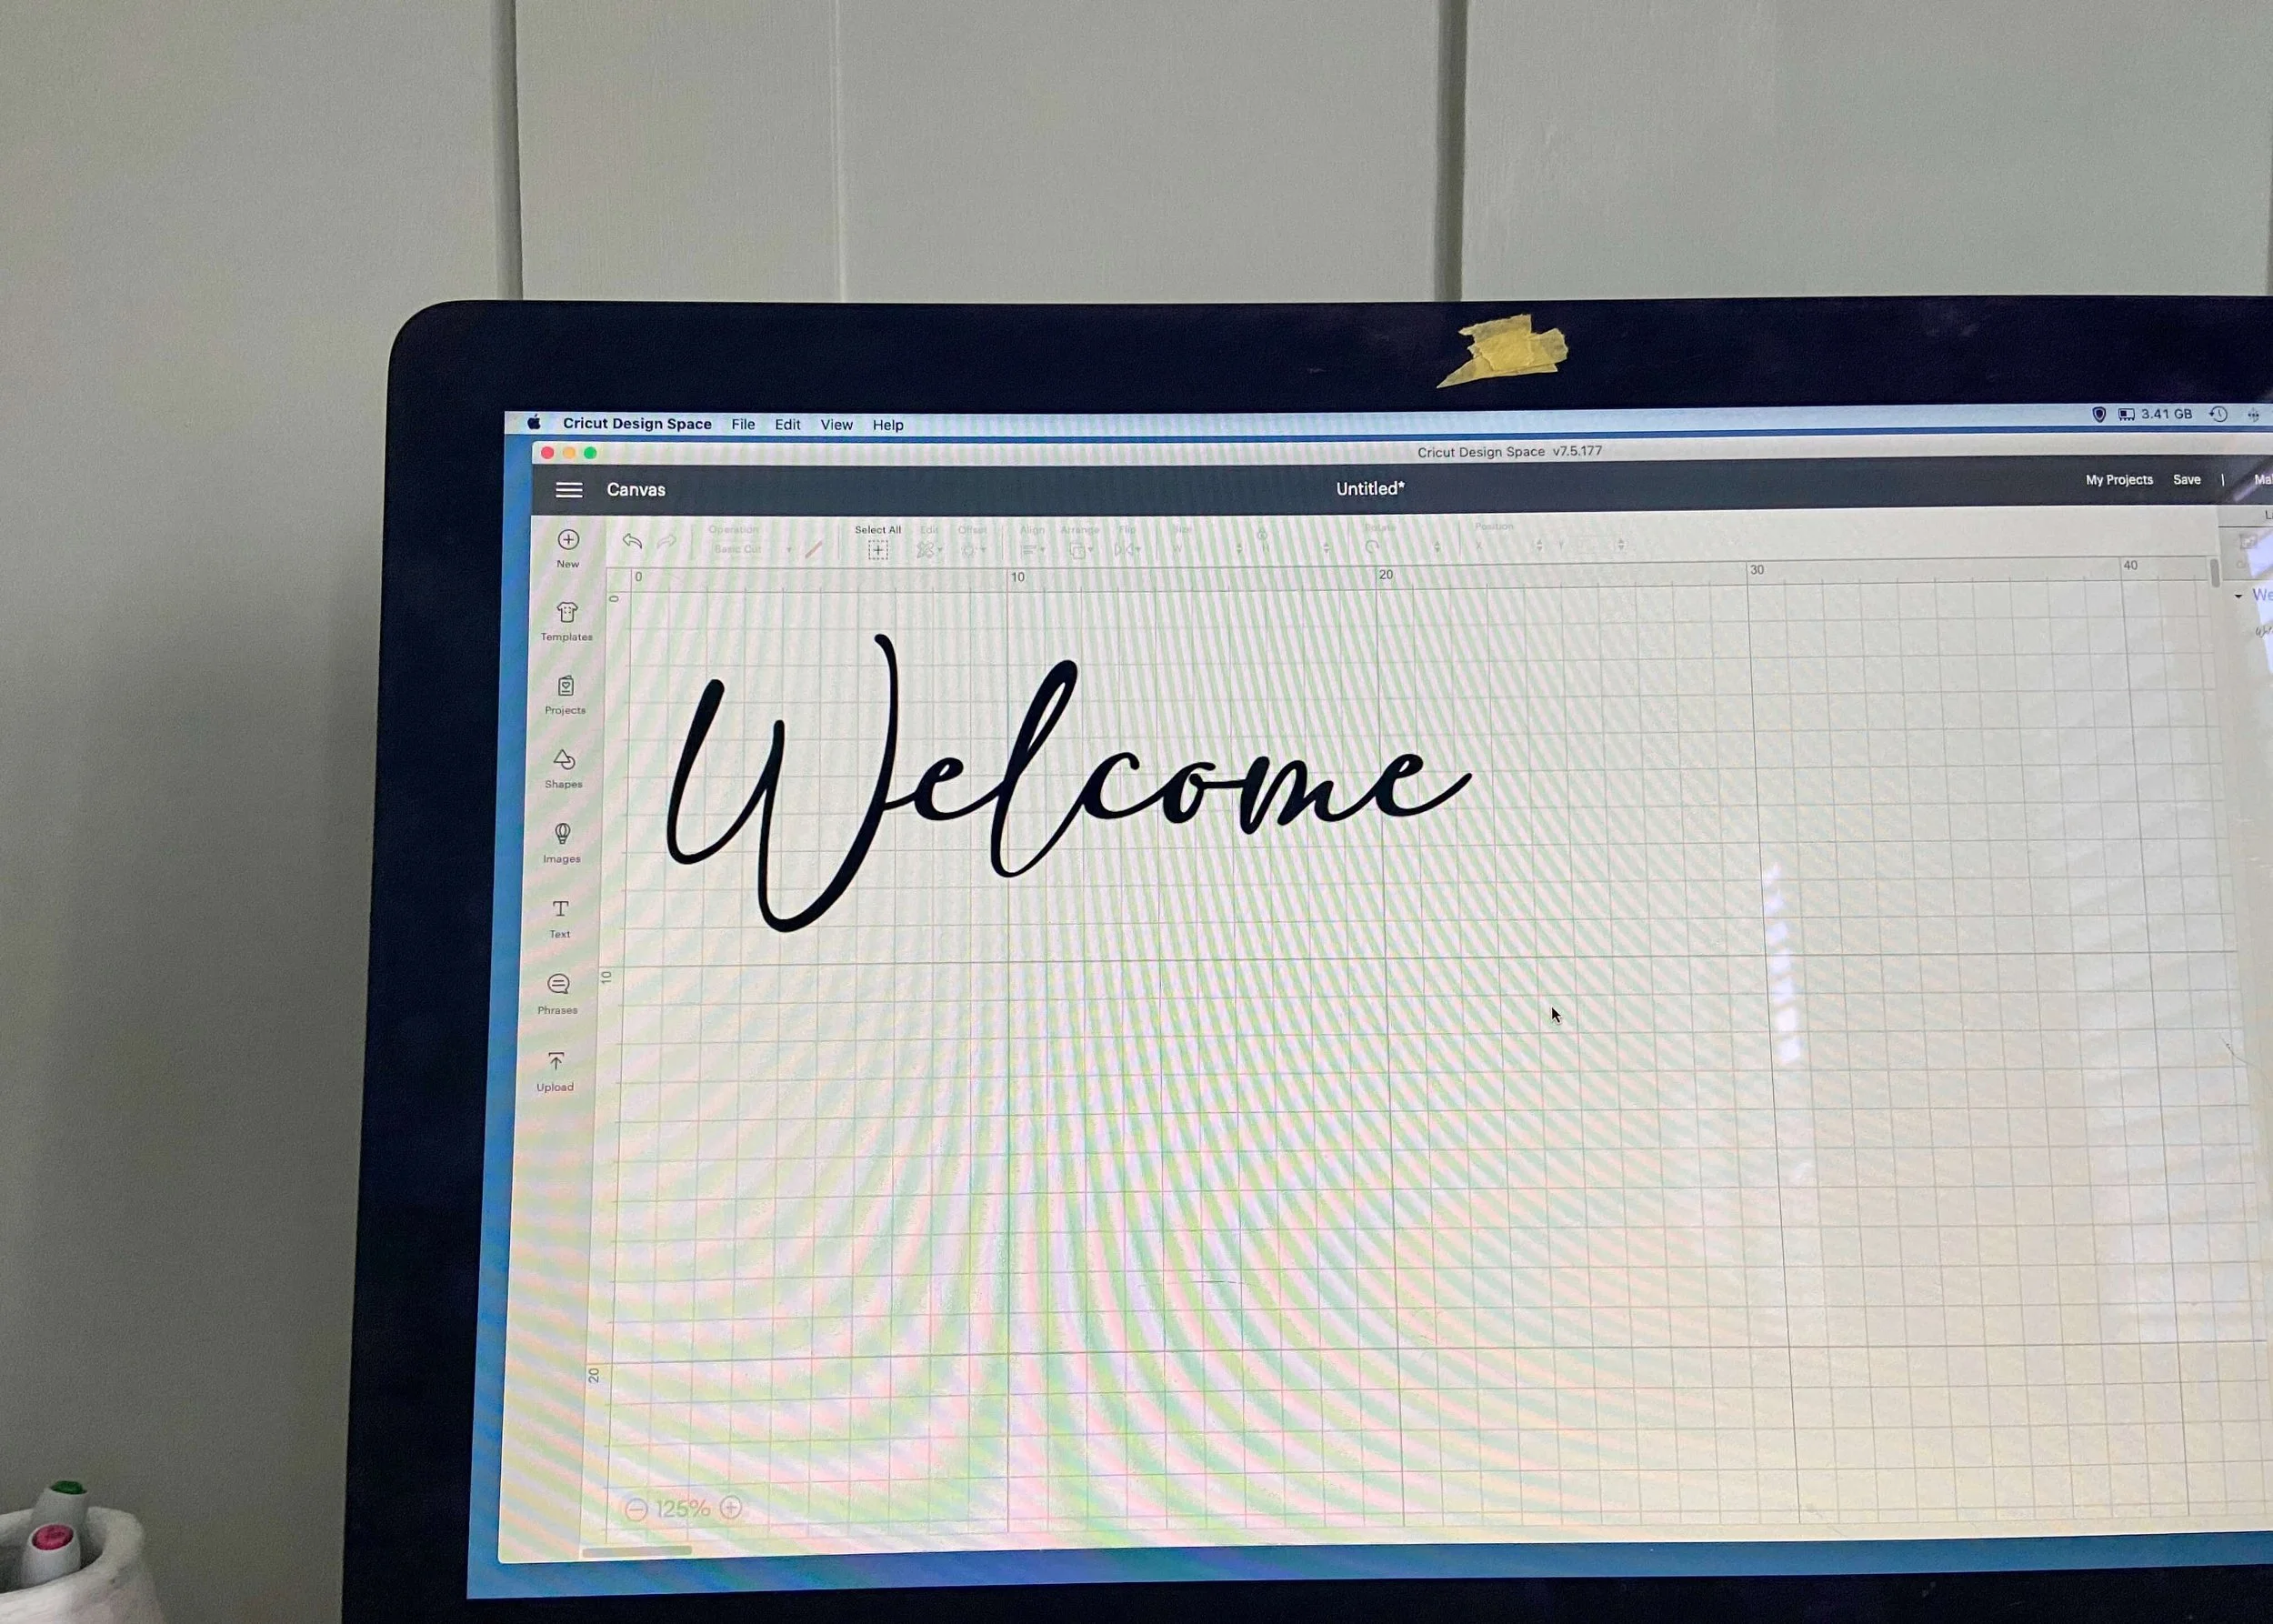
Decide on what font you would like on your signs, and create your text in Photoshop. I used a lovely font called ‘Adelia’ which is free for personal use here. I then saved my text with no background layer and as a PNG file. I then imported this into Cricut Design Space and sized it to fit my sign.

5.
I then loaded my Cricut Maker with the light grip mat and an appropriately sized piece of white permanent vinyl. Use the rotary blade, which is included with your maker, sett he pressure to ‘More’ and do two passes before unloading.

6.
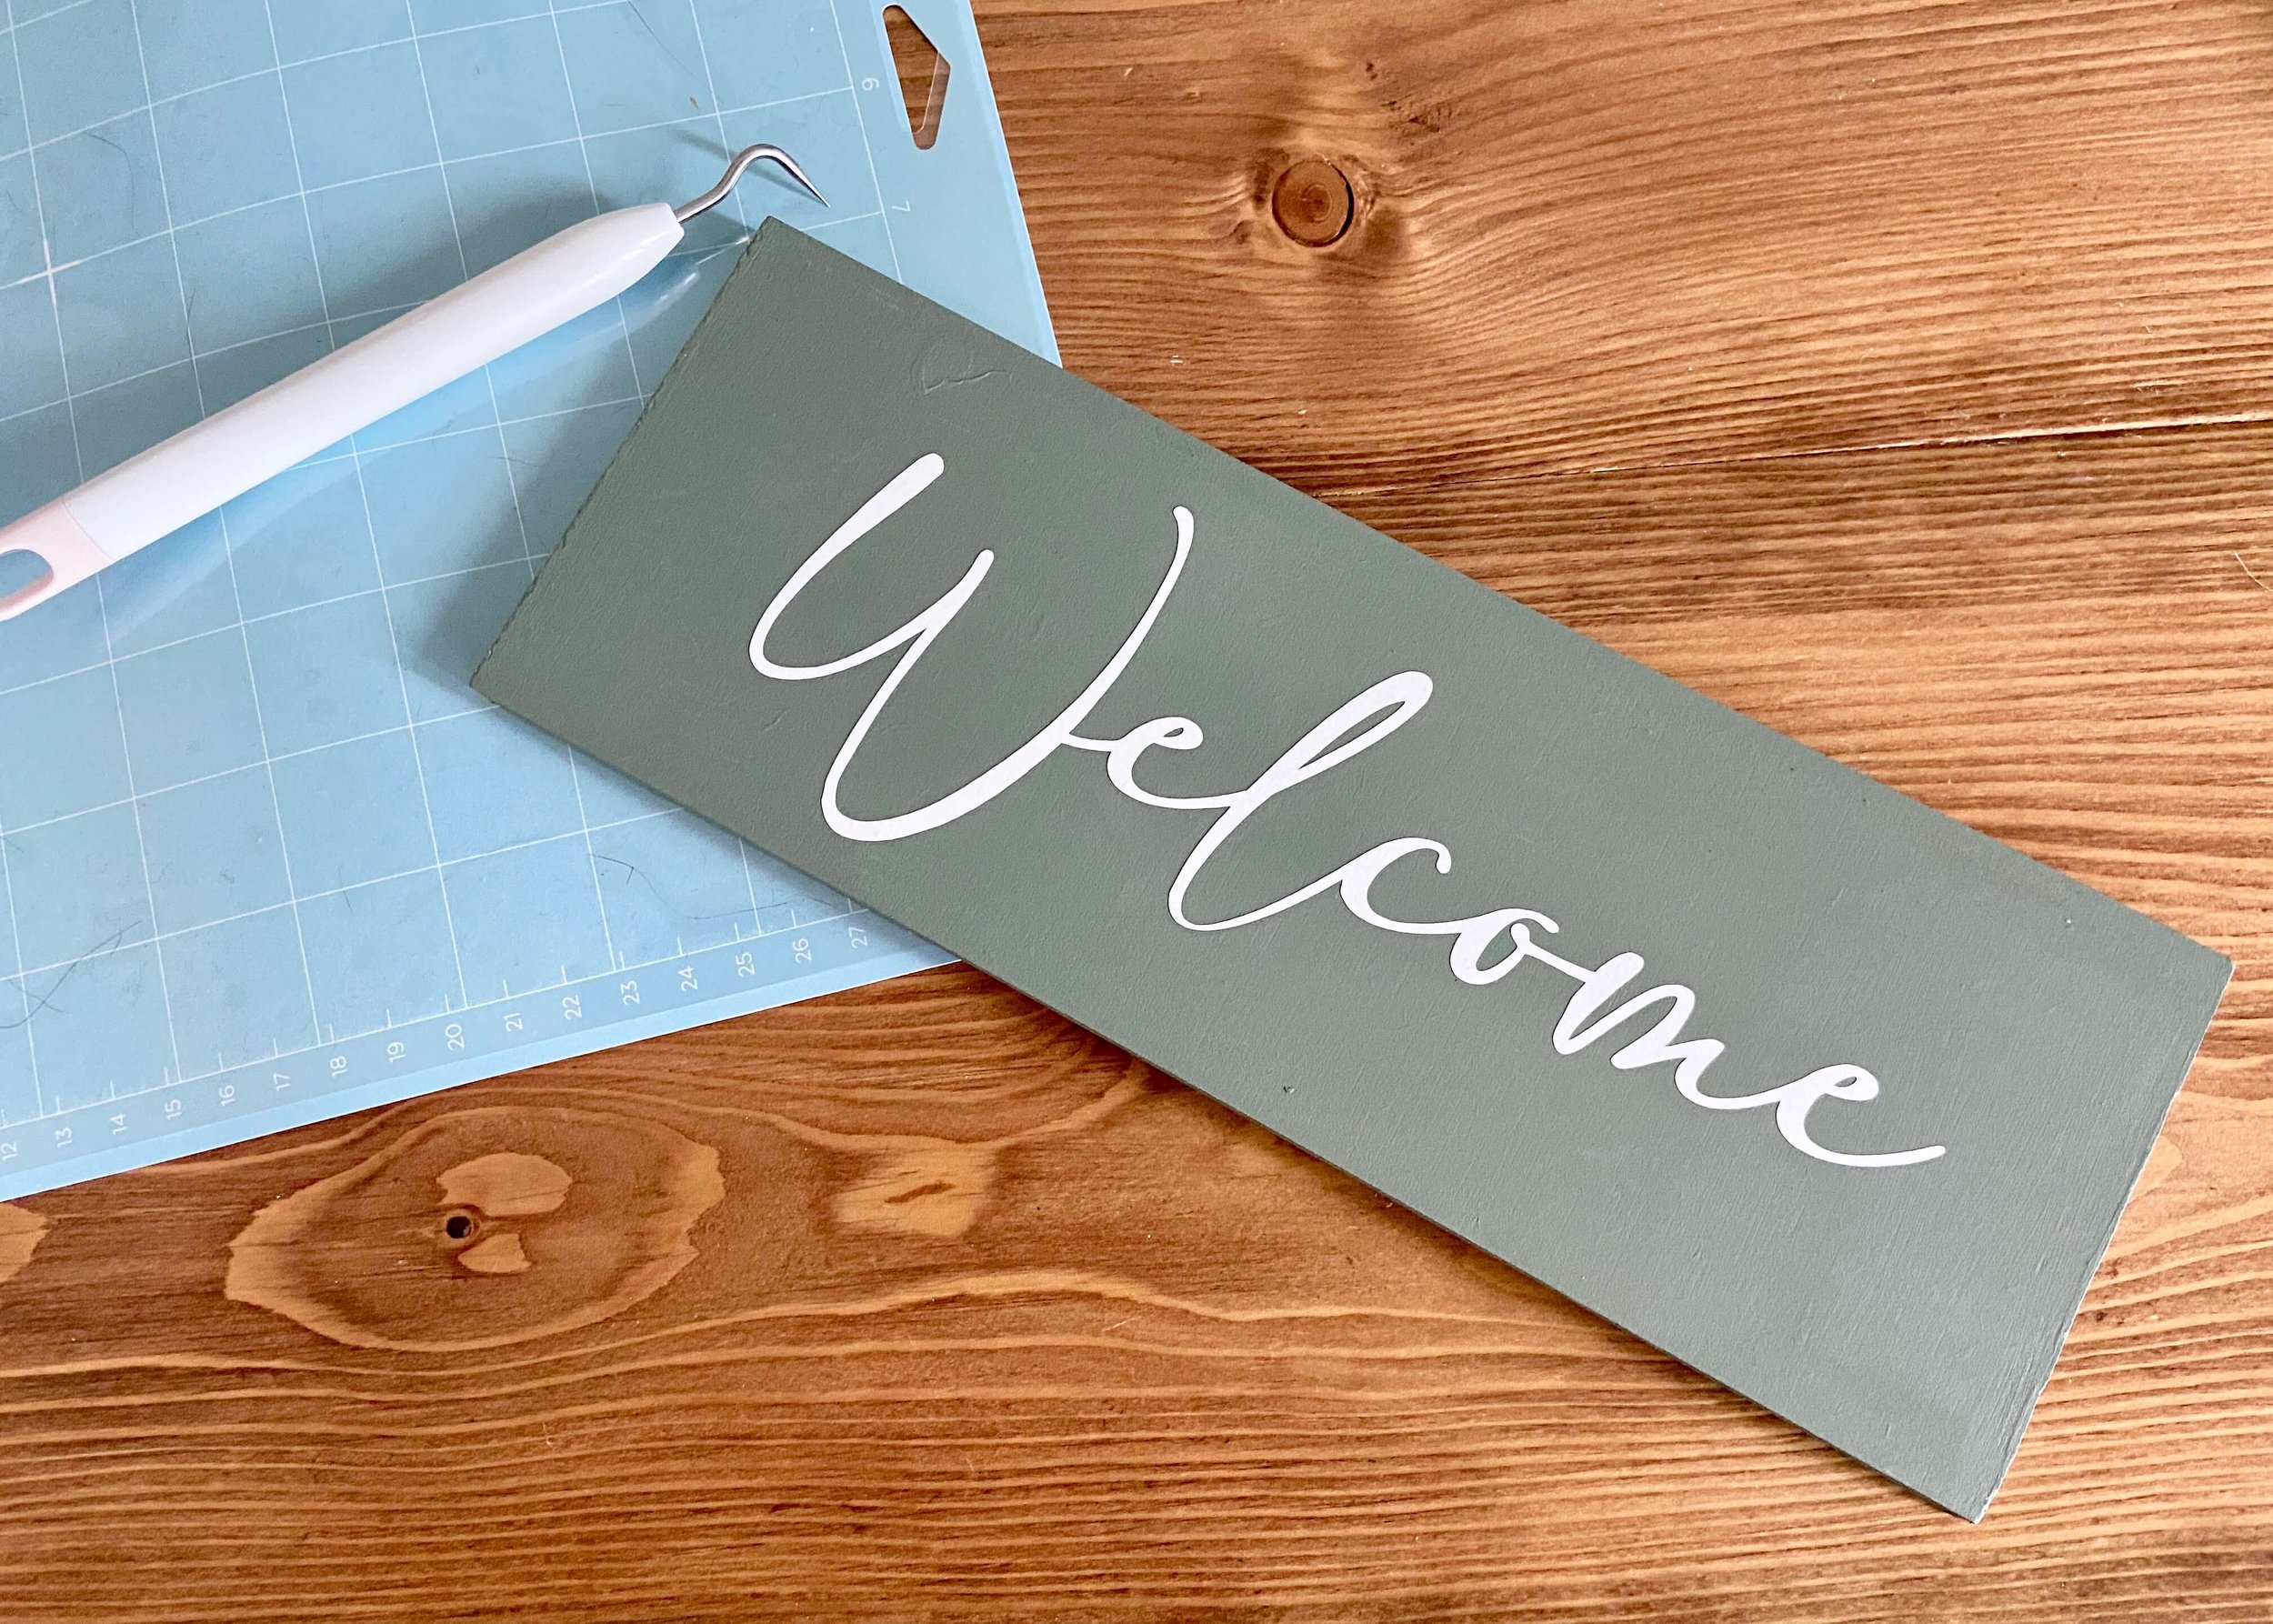
Next, use your Cricut tools to remove the white layer around your text, leaving the text on the vinyl backing. Lay transfer paper or masking tape as I do over this and ensure the text is securely adhered. Flip this over and peel the back off your text.
7.
Transfer this to your sign, and position it so that the text is positioned how you want it. Press the masking tape and text firmly to your sign. I find the little scraper tool that comes with the basic tool set is really helpful to ensure your vinyl is stuck to your sign. Then, carefully remove the transfer tape or masking tape.
8.
Repeat this process until all of your signs have the text on that you’d like them to. I found it helpful to lay my signs on the floor first to ensure they were pointing in the right direction before I began sticking on the vinyl.
9.
Finally, flip your signs over and add a strip of wood to the back of your signs using wood glue and a few nails. Be sure to use nails that are shorter than the depth of this strip and your sign. You don’t want them coming through the front of your signs.