How I made my own wedding invites and how you can too!
It feels quite surreal to be writing this post. My partner and I have been together for a well over a decade, but this year we’re actually getting married. We’ve taken our time getting married for various reasons, and so now we’re here, we’re both really excited. It is of course, for a crafter like myself, an exciting opportunity to make and create different aspects of my wedding. If you’ve followed the blog for a little while, you might know that over the years I have painted and designed some of my friends wedding invitations. So, it only made sense that I made my own, and that I share with you on here how I made them!
THE DESIGN
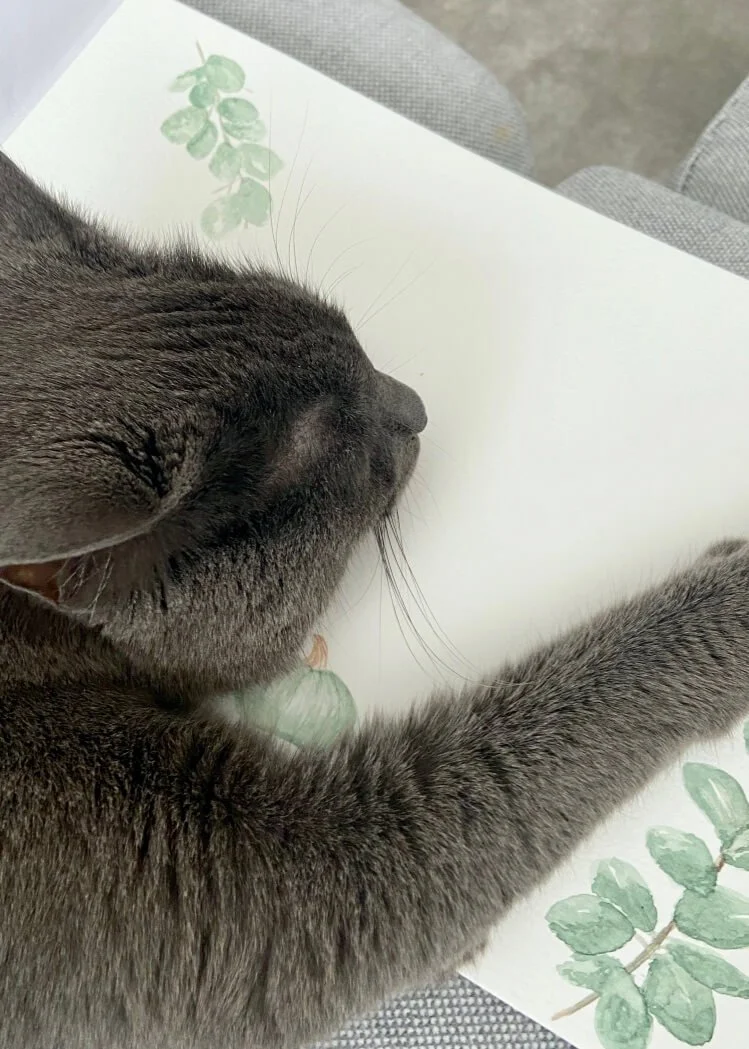
It might not come as a surprise to hear that I love green. If you follow me on instagram, you’ll know that half my house is green. I love greenery and being outdoors, and I also have a longstanding love for copper accents. My partner and I knew that our colour scheme/decor would be centred around that, and after a bit of research online and particularly on Pinterest, I decided to paint some eucalyptus sprigs in watercolour paints. As our wedding is in Autumn, I also painted some pumpkins, but decided in the end to only include these on our website.
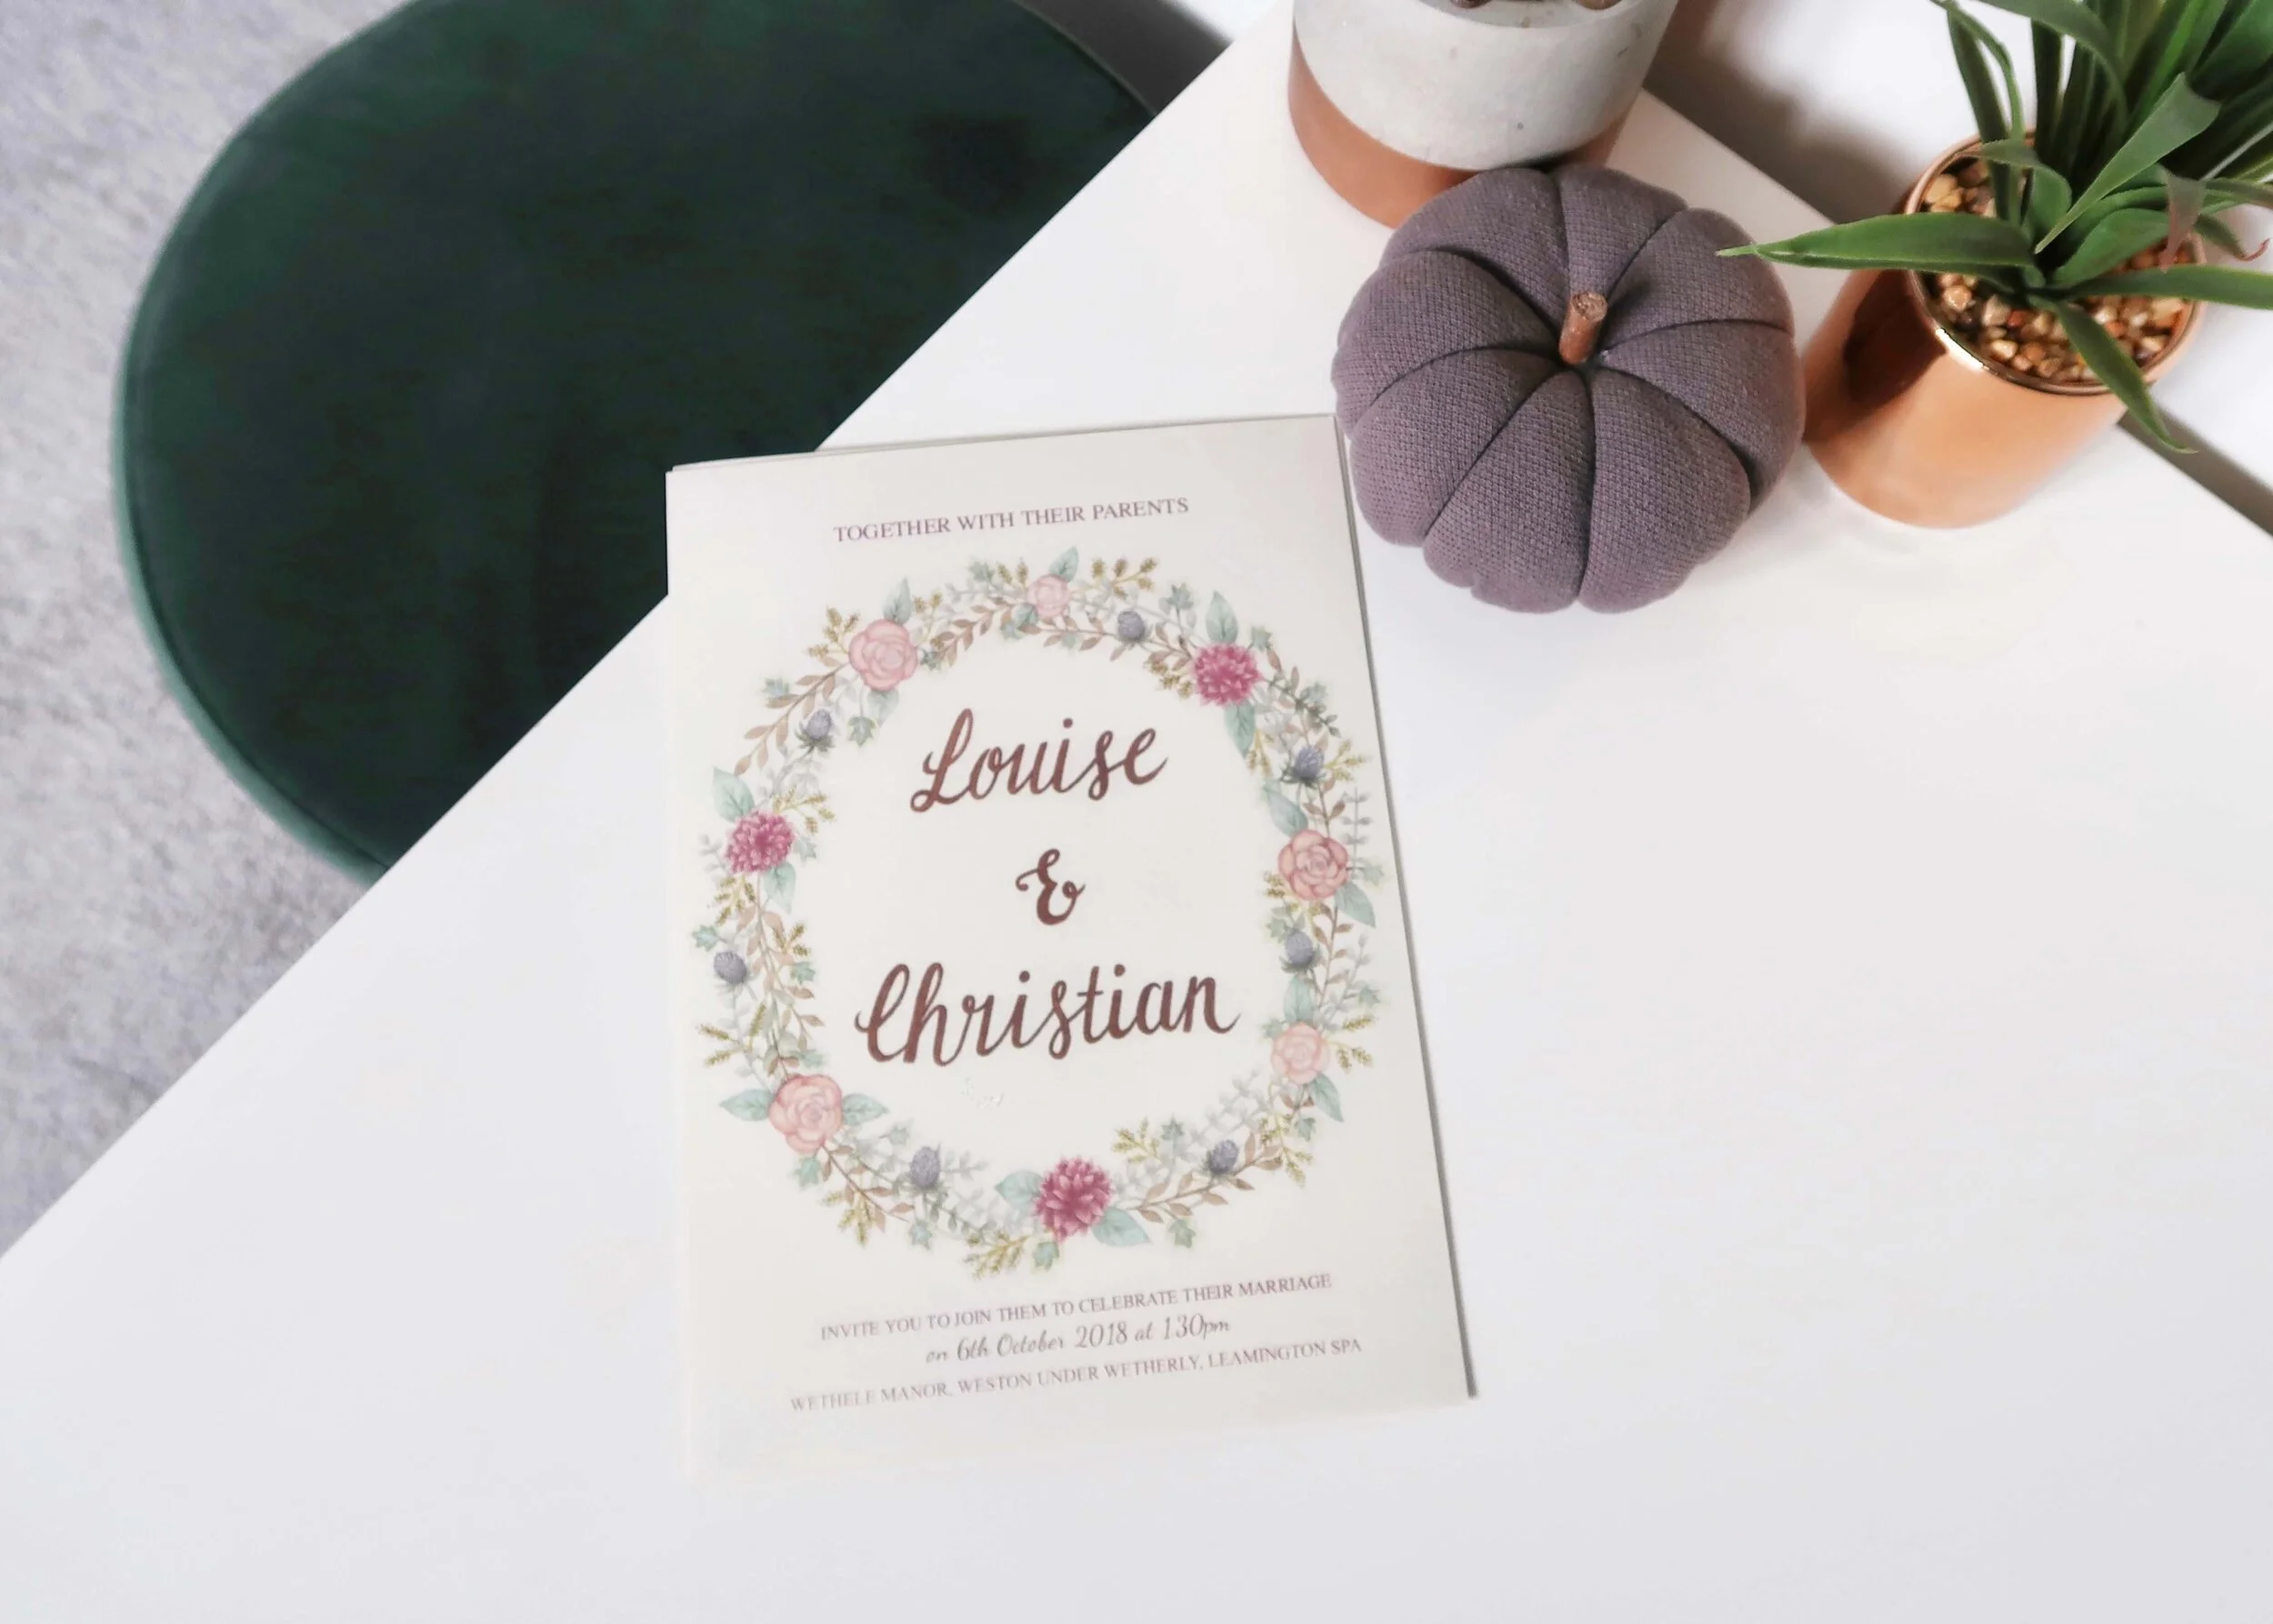
Once I was happy with my painted sprigs, I scanned them into my computer and removed the background in Adobe Photoshop. I then saved them as a PNG file and used BeFunky.com to design the front and back of my invite. I added a border as well as the relevant text and played around until I was happy with the design. I couldn’t find the exact font that I wanted for the headings, and so I took to Etsy and bought this beautiful calligraphy font called ‘Sophisticated’ by SaltyInkFonts. I really wanted to use copper foil or embossing on my invites, however I realised it would add so much extra time and money to the process, so instead used an image of a copper sheet to give my borders and headings a faux copper effect digitally.
THE PRINTING
I designed our invites to be A6 in size, though A5 is perhaps more commonly used for invites. I initially bought some A6 card to print on, but after a few attempts with my printer, realised that it wasn’t possible to print borderless on A6. This was such a frustrating part of the process, but it was a lesson well learnt (my printer only prints borderless on A4 paper!) and so instead I bought some A4 Eco Fleck Card 250gsm from The PaperBox Limited as well as a guillotine. I then created two A4 PDF documents; one with with 4 of the front of my A6 invites on, and one with 4 of the back of my A6 invites on, and printed the front on one side of my A4 card, and the back on the other. I then used my guillotine to cut out the 4 invites. I’d also designed some additional cards with gift information on, which I organised onto another A4 PDF document so that there were 8 per page, and printed and cut these out too.
THE PACKAGING
I had grand plans for the packaging of our invites. I really wanted there to be an element of transparency somewhere, and so I decided to buy some A4 tracing or vellum paper, and use these as a cover for my invite. To do this, I cut each A4 piece of tracing paper in half, and then placed the invite in the centre of this now A5 piece of tracing paper, and folded the sides over. If you’ve cut them correctly, you should find that the edges slightly overlap in the centre of your invite. I then slipped in the gift card behind the invite within the tracing paper sleeve.
To secure the sleeve snugly around the invite, I decide to have a go at wax sealing. I was pretty nervous about trying this but bought myself some wax in a lovely dark green, as well as a mini wax sealing stamp. Wax seals are usually 2.5cm in diameter, but as my invites were only A6 in size, I decided to go for this mini stamp, 1.5cm in diameter, and to go with our green theme, chose a stamp with a simple leaf pattern, which I think works really nicely.
The wax I bought is ideal to use in glue guns, but as mine had glue stuck in it, I cut off small lengths of wax and melted these in an old teaspoon over a tea light candle. Once melted and runny, but not bubbling, I then poured this on the overlap of the sleeve in the centre, and then place the stamp into the centre of this. The weight of the stamp itself is enough to create the stamp, and so once you’ve positioned it, you can let go and wait for the wax to set. It doesn’t take long, and you’ll know you can remove the stamp when you lift the edge of it and the wax keeps it’s shape.
Finally, I bought these beautiful quality dark green envelopes in a C6 size (C6 for A6, C5 for A5, etc) from The Paperbox Limited. I then bought some permanent white gelly pens by Sakura (these are waterproof) to write the envelopes, and wrote our guests names in a calligraphy style, with the address in simple capital letters underneath. We then sealed the envelope, and for any that we were posting, we decided to add some tape to ensure they were really secure.
I’m so happy and proud of these. They are far from perfect but considering I made these from start to finish, I really am chuffed. I would still have liked there to be some shine or metallic element on them, but I think the compromise worked out quite nicely. What do you think?


