a look back at your favourite projects of 2022
Happy New Year everyone! I hope you have all had a lovely festive period and are looking forward to the year ahead. I always have mixed feelings about the New Year myself. I personally love all things Christmas, and struggle with my energy and mood levels during January, so a big part of me finds the end of the Christmas period, which is often New Year’s Day for me, quite sad. However the end of the year does inevitably get us all thinking back over the year and it’s a really good opportunity to stop and recognise all that we have experienced and accomplished.
I found it so rewarding to look back on my projects of 2021 last year, I pleasantly surprised myself, and so I’m again starting off another year with a look back at the projects of mine, which according to analytics, were your fave. I’d love to hear what you think about these projects or if there was another project of mine you loved but which I haven’t shared here, so do let me know in the comments! As always, if you like this post, please subscribe to email updates and share!

A BIG YEAR
2022 was a big and busy year for me in my personal life. I planned and organised my wedding to my partner of 13 years, and we finally tied the knot in October. Being into interiors and of course a DIYer, it was important to me to make or put my stamp on as much as I could. So much of that I loved, and it was truly overwhelming on the day to see it all come together, but I have to say, it was a lot of work, which was not helped by being a perfectionist! My poor husband spent many an evening watching me stress but unable to help aside from handing me tea, however hand me tea he did, and we got there in the end. Funnily enough, and just like everyone had kept telling me, the small things I had been fretting about I barely gave any notice to on the day.
With my focus last year so much on the wedding though, a lot of my projects in 2022 were wedding DIYs or ideas, which you’ll probably notice below. Despite the stress, I really enjoyed thinking about our wedding decor and stationary, as well as challenging myself to create the look I wanted on a budget. It was something I had never given so much thought to before. I’ve shared several of my wedding projects on the blog already, but there are still a few to document on here, so keep an eye out for them over the year ahead. I feel like 2022 was also a year of growth for this little corner of the internet, as well as my associated social media accounts, and so I hope to continue on as I have, and that you enjoy what’s to come on here in 2023!
THE TOP TEN

As the titles implies, this was SUCH an easy project. I wanted to create some wall art for my bathroom to warm up the space and these did just the job. I love textured art work and am so happy with how the DIY wooden frame turned out.

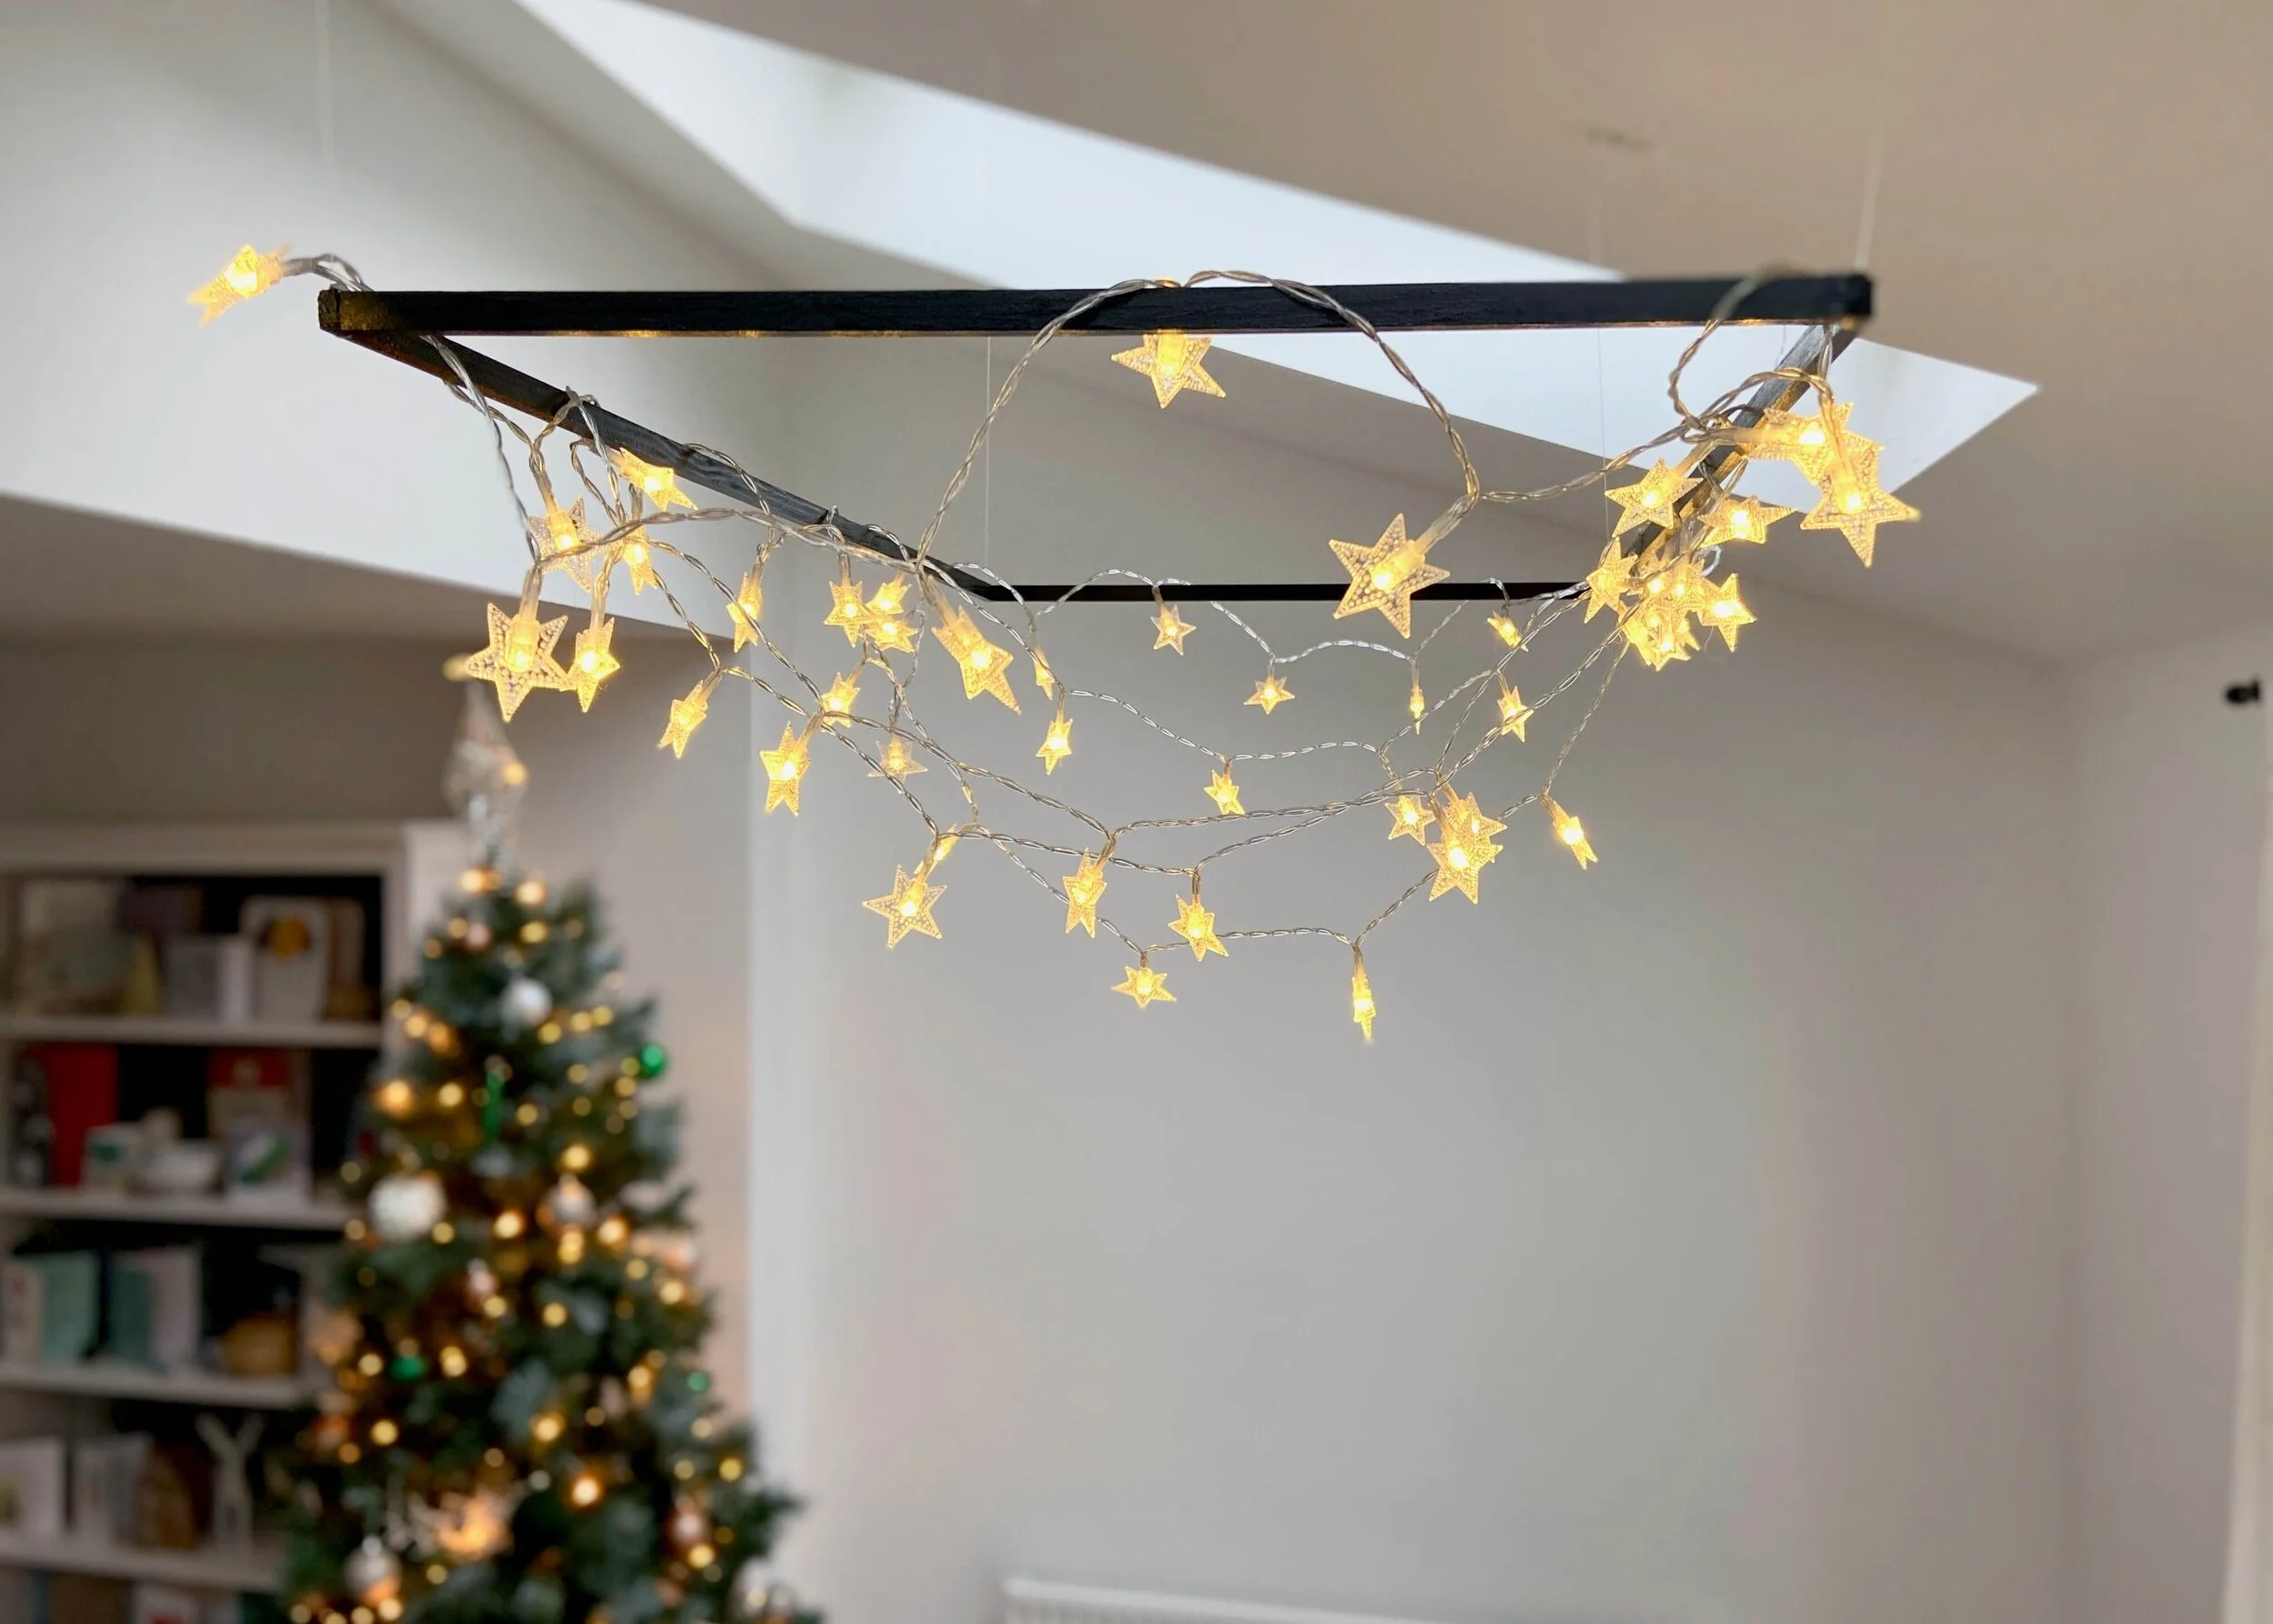
The wedding DIYs began! This was a project that I had been thinking about a long time before I started it, and I was really unsure about whether it would work. Once I built up the nerve to try it, I took my first foray into soldering and created two of these for my wedding; one for a backdrop with a neon sign on and a smaller version for the seating plan. They were a little wonky but still looked great, saved us a lot of money, and are still going strong.

This project was such fun, and slightly tongue-in-cheek, one. If you have a cat, you’ll know that no matter what you buy or make them, there is nothing like a cardboard box. So to try and meet my box-loving cats halfway, I added fluted wooden trim to the box they were sleeping in and stained it to match our decor. It’s proven to be a good compromise as the cats still love it, and we don’t mind having it out!
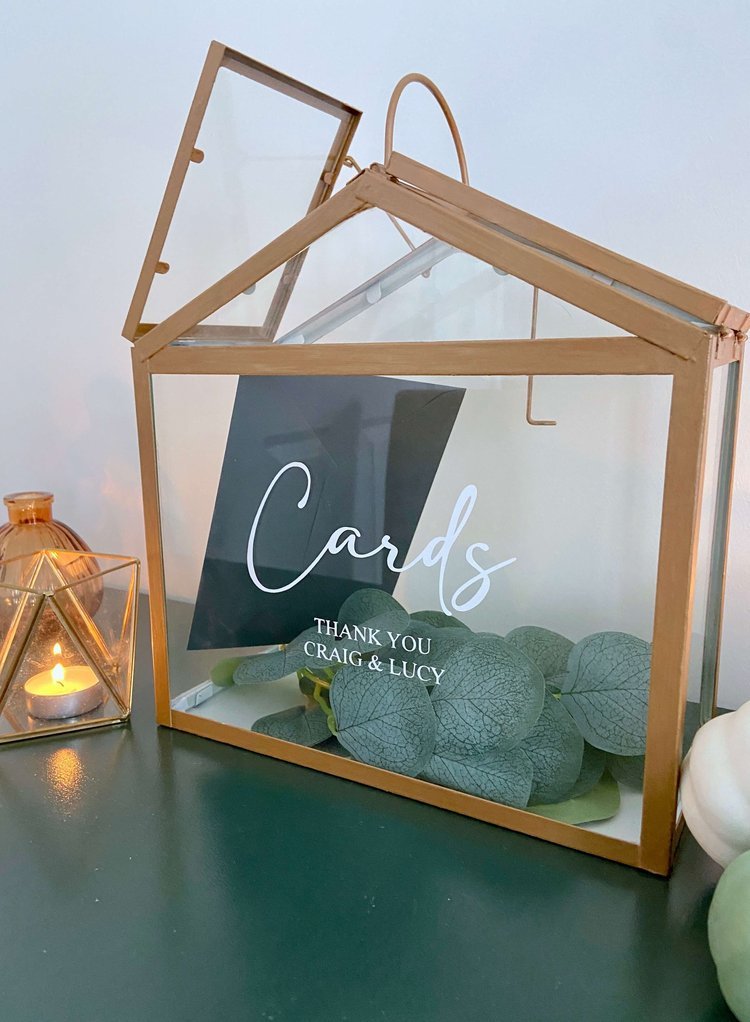
When I found these little terrariums in Primark Home I was over the moon and knew straight away what I wanted to do. I could have made my life a lot easier by spray painting the frame, however I still loved how this looked and it turns out you guys loved it too!

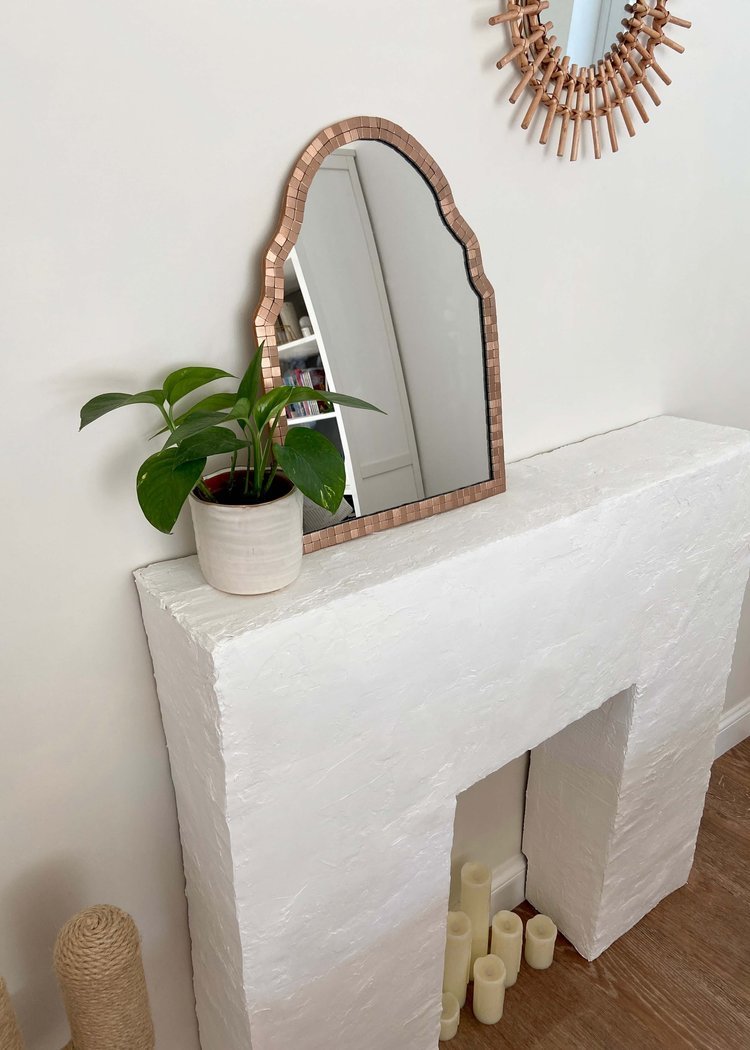
Inspired by a mirror I saw on Oliver Bonas that was sadly sold out, I cut a rectangular mirror into this staggered arch shape and created a backing and frame using cardboard (of course!) and bronze self-adhesive tiles. This project took me quite a while, I painstakingly cut, positioned and stuck tiles on as symmetrically as I could. All the pain was worth it though, as I got the look I was going for and it’s the perfect addition to our cloakroom!
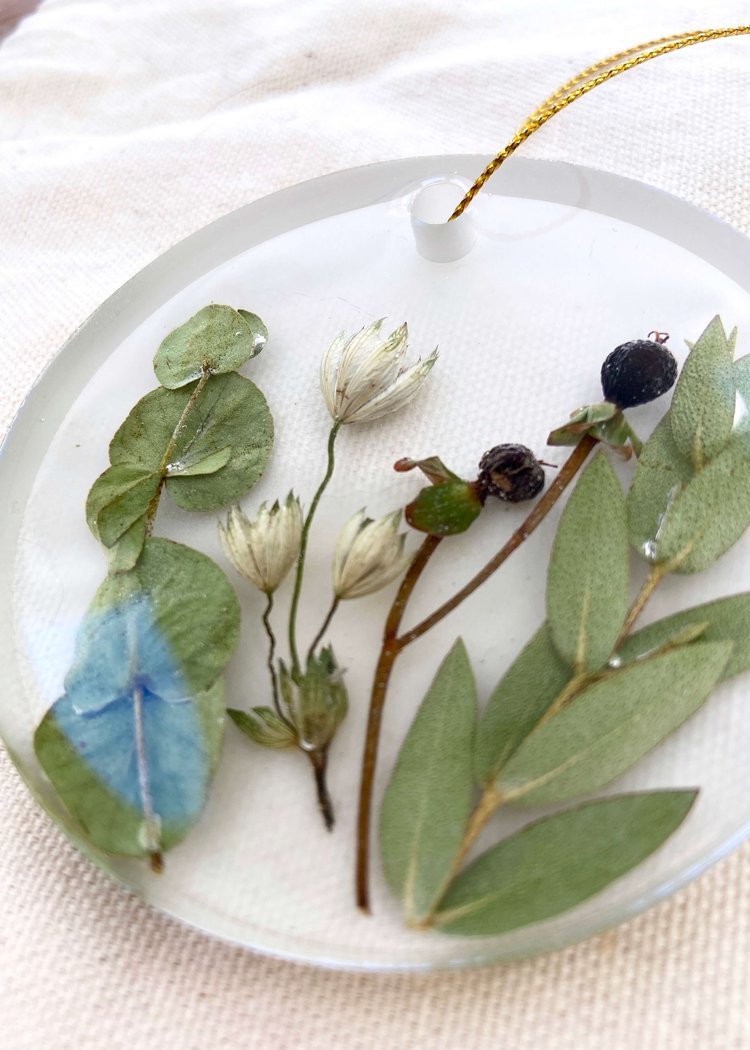
Minimal Floral Resin Tree Ornaments
Another wedding-related, but this time also festive, project! I had a lot of flowers and foliage left after the wedding and it seemed such a shame to let it go to waste. Instead, I created these tree ornaments with clippings from our wedding flowers set resin. I used a mould specifically designed for creating resin baubles, and so once the resin was set, there was a hole already made in the top of the ornament. Perfect!
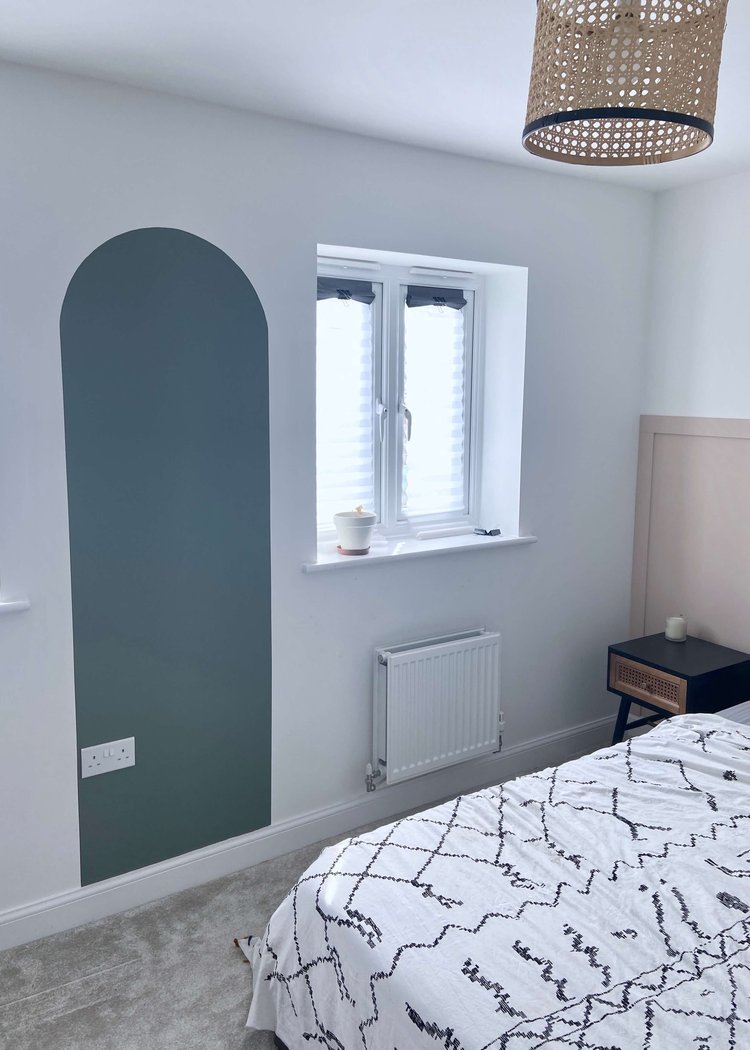
Arches were everywhere last year. I love a good colour block and so when I finished painting and panelling the guest room, I decided to add this pop of green between the windows to bring in some of the greens from the rest of the house. I have plans for this arch, which I’ve not finished or shared yet, so stay tuned. This arch colour block isn’t everyone’s cup of tea, but I think it’s so cute!
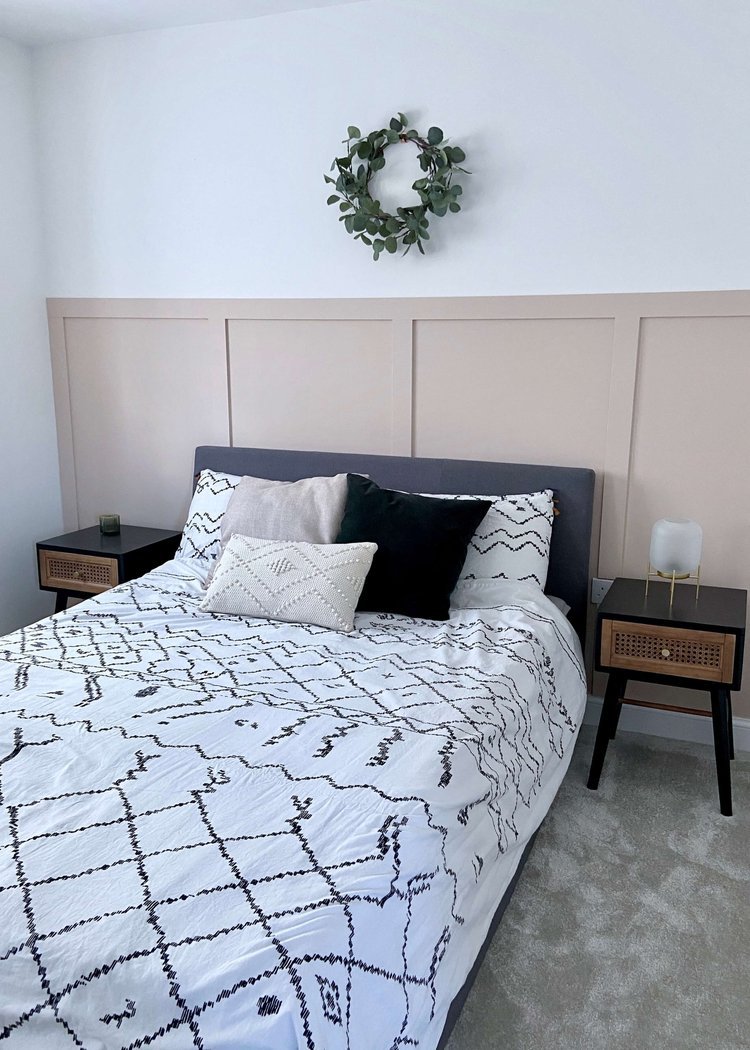
You know how much I love texture on the walls, and so to decorate our guestroom, I opted for some wall panelling. Instead of the full height panelling I did in the office makeover though, this time I went for half-panelled walls. I painted the panelling in a lovely warm beige colour and plan to finish it off with a wooden ledge on top this year (stay tuned!).

Paint Sample Heart Decorations
You guys loved this idea! I had several pieces of card painted with different colours on from choosing a paint colour for the guest room and so I cut them up and turned them into Valentine’s ornaments. The method to make these was similar to a lot of the paper ornaments I’ve seen this Christmas. Simple, but so effective, and a cute little nod to Valentine’s day!
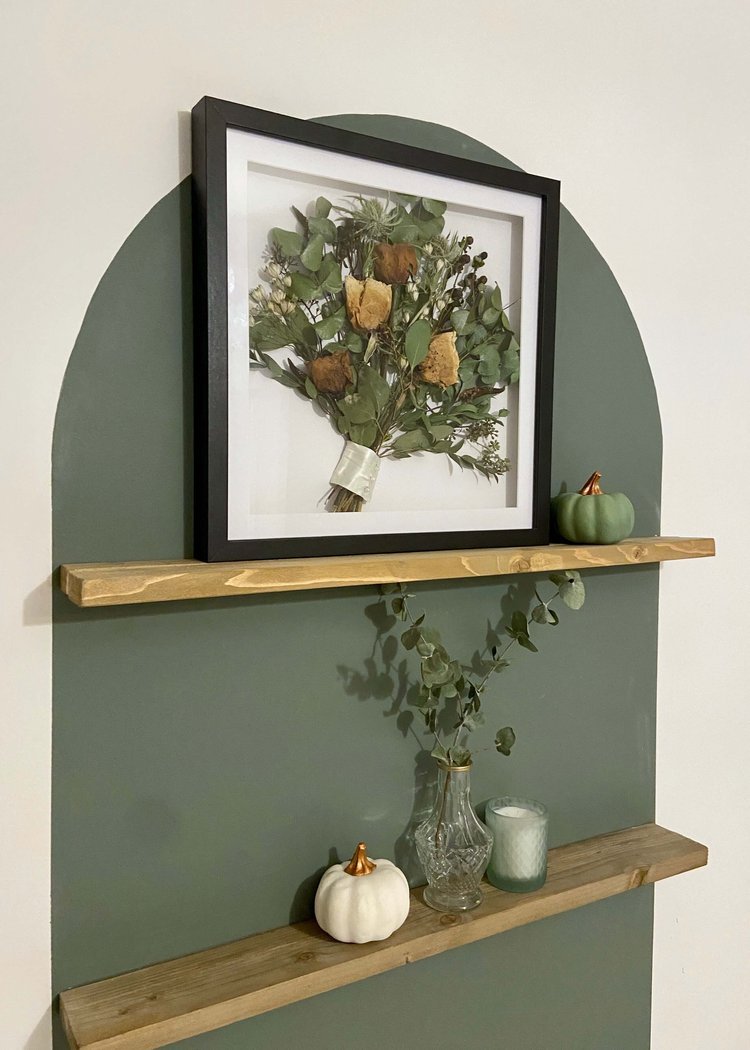
I couldn’t part with my bridal bouquet and so this led to an attempt at preserving and displaying my flowers in a box frame. I struggled to find frames that were as deep as I wanted, so I didn’t use my whole bouquet and styled what did fit to look like my a bouquet. I’m no expert on preserving flowers, I perhaps didn’t keep these in a dark enough room, however I like how autumnal they look and love that I can keep this special part of the day with me for years to come!
Thank you so much for all of your likes, comments and shares here and on social media over the past year. Your support means the world to me. Happy New Year!
x