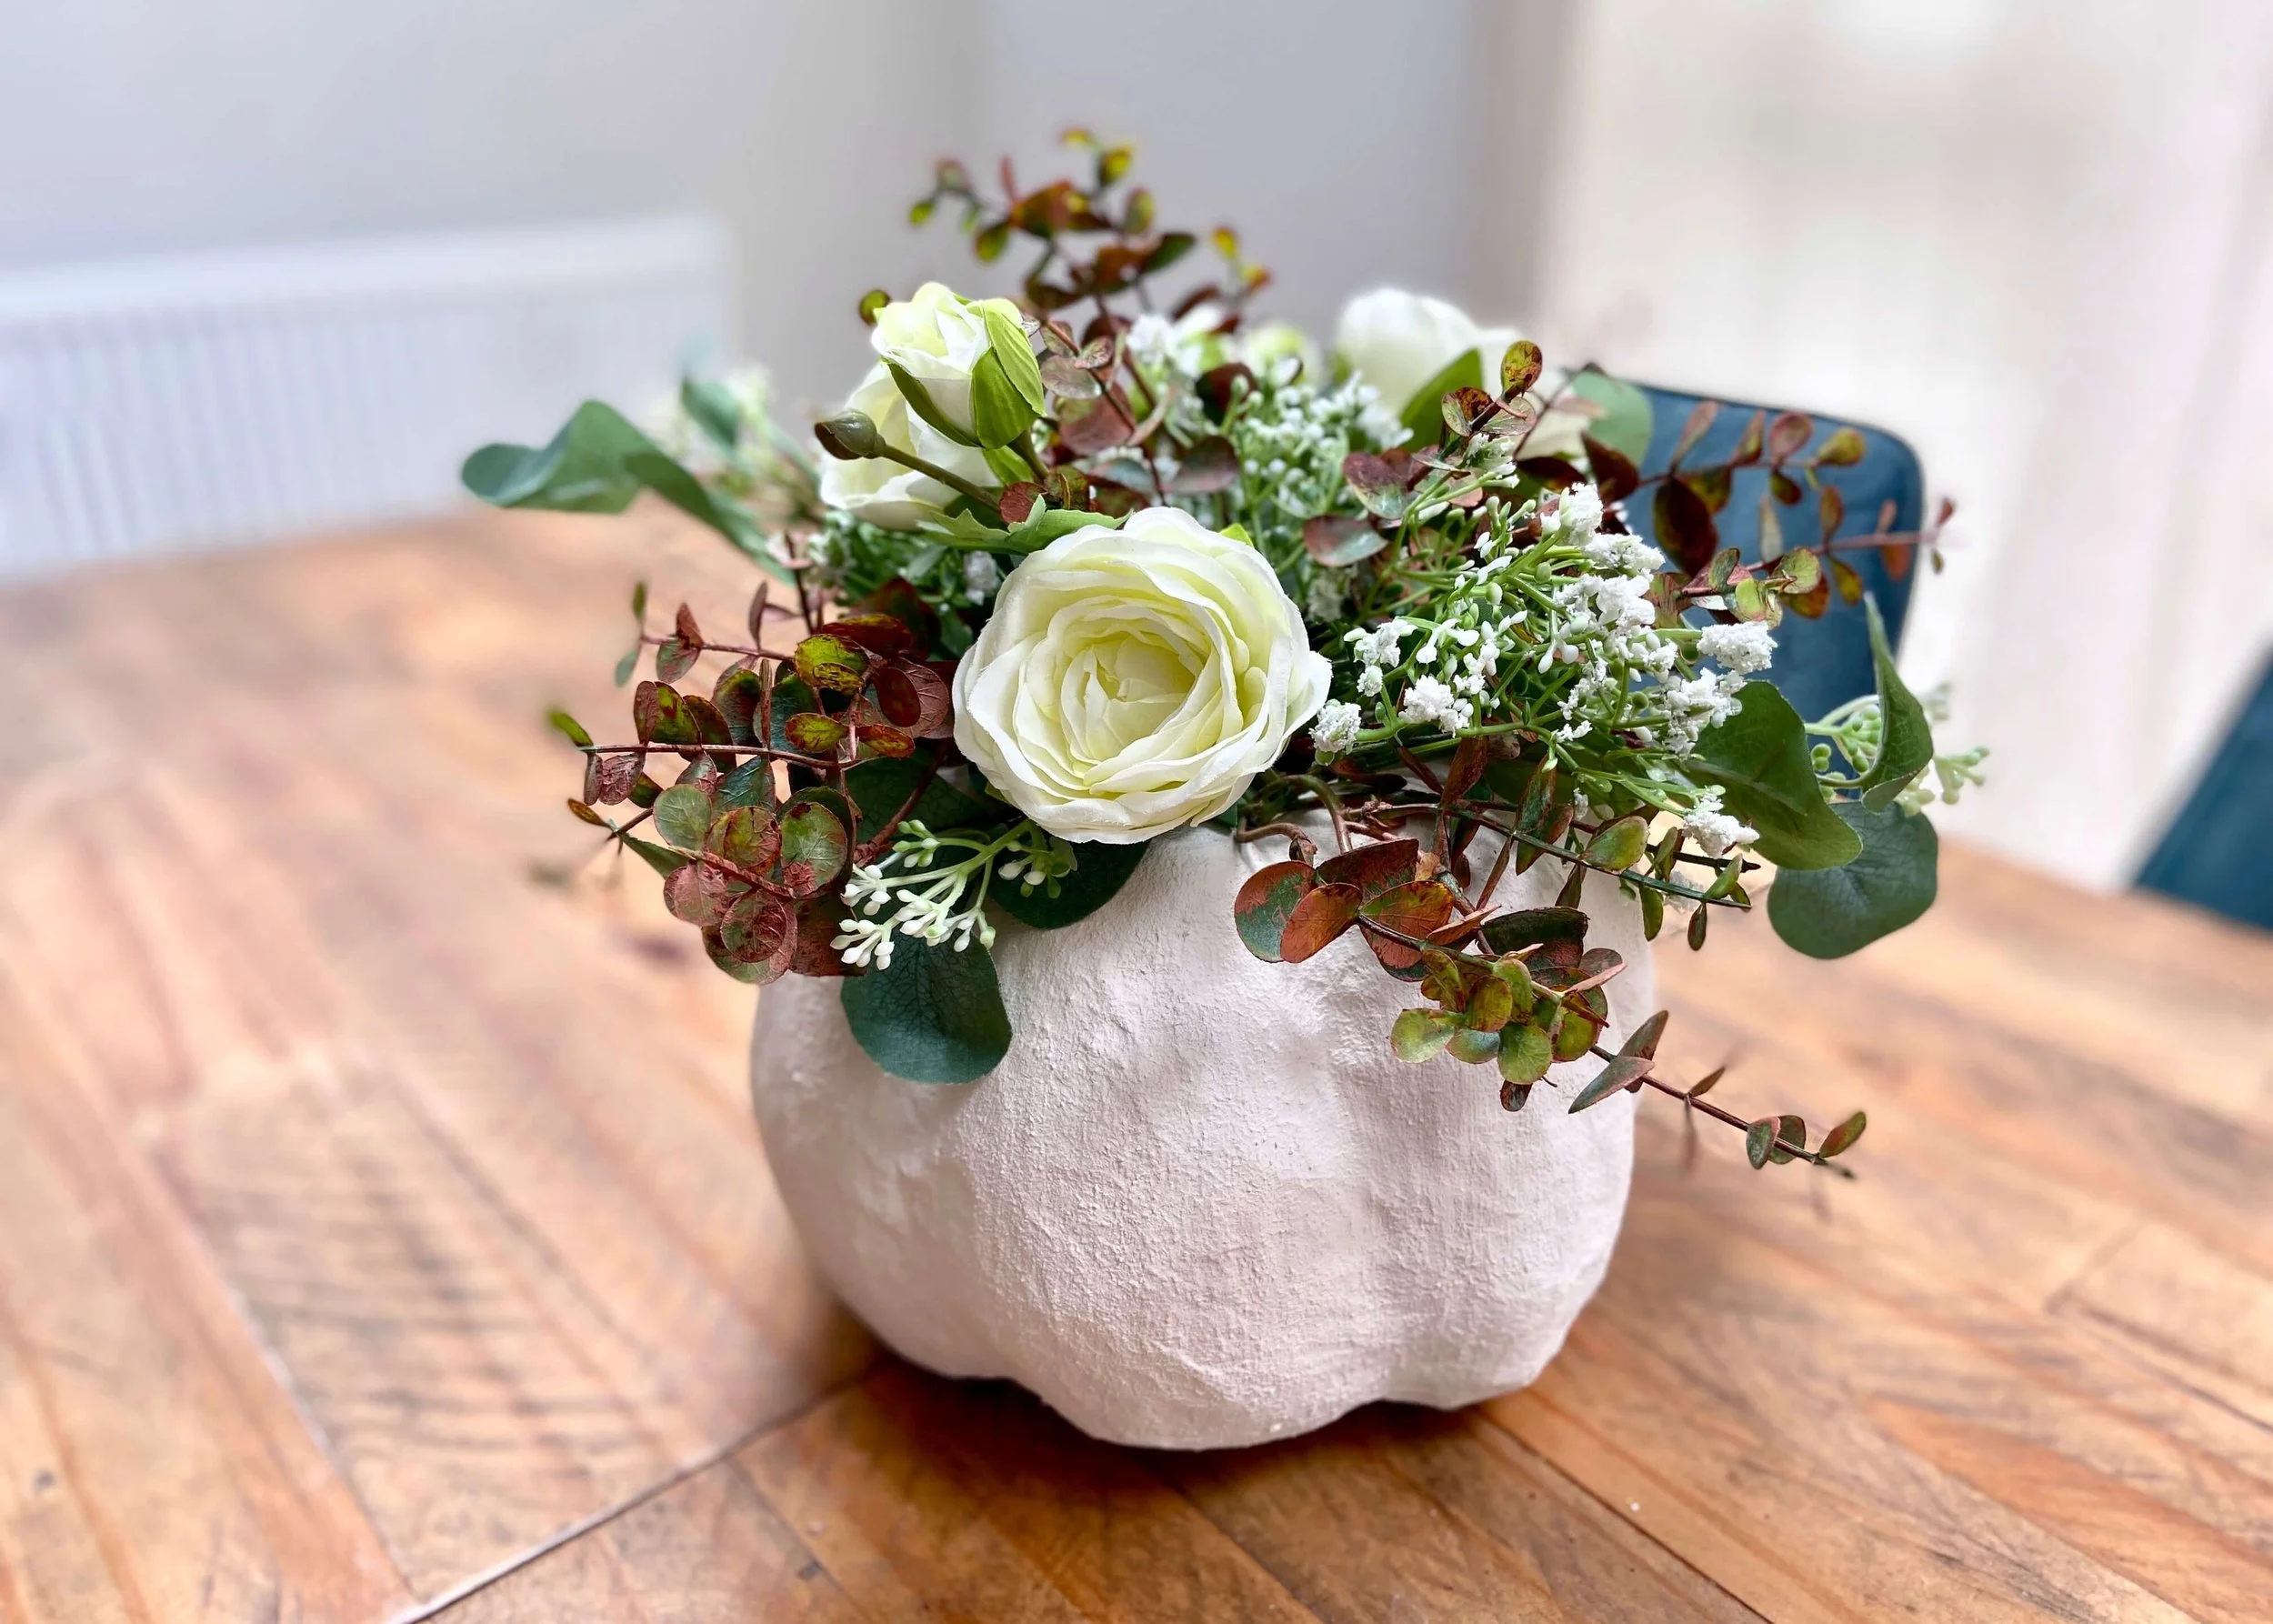
Halloween doesn't have to be messy, scary or gorey and with all the lovely no-carve pumpkin ideas about it's easier than ever. I love not having to get my hands all slimey whilst scooping out those pesky pumpkin seeds and even better they last much longer than pumpkins that have been carved! If you like the sound of that then you're going to love these DIY No Carve Vintage Pumpkins.
Happy Halloween everyone! I'm posting my DIY posts for this month a week later than I'd initially planned as I've been on holiday and spent the weekend away, so I've only just managed to get this up on here before the end of the month. I'm really glad that I have though, even if the lighting in these photos isn't that great, because I'm so happy with how the pumpkins turned out and love that my tabby cat photobombed the photo and then sat for about 5 minutes so I could get snap this - isn't she adorable?! Keep reading to find out what I used and how I made them...


1.
Clean your pumpkin and then draw out your vintage-inspired pattern all over using a marker. Carefully go over these lines with hot glue.

2.
Once the glue is dry, use the dimensional fabric paint to more precisely add finer details like dots.

3.
Using the dimensional fabric paint, I also added some extra curls and shapes but it's entirely up to you what you do. Leave this to dry completely overnight.

4.
Once the fabric paint is dry and has set hard, use a sponge to apply acrylic paint all over the pumpkin. I did a thin layer on this green pumpkin so that some green still came through.

5.
Once dry, dry brush gold acrylic paint all over the pumpkin being sure to focus it on the glue and fabric paint. To dry brush, wipe most of the paint off of the brush onto a tissue before painting.