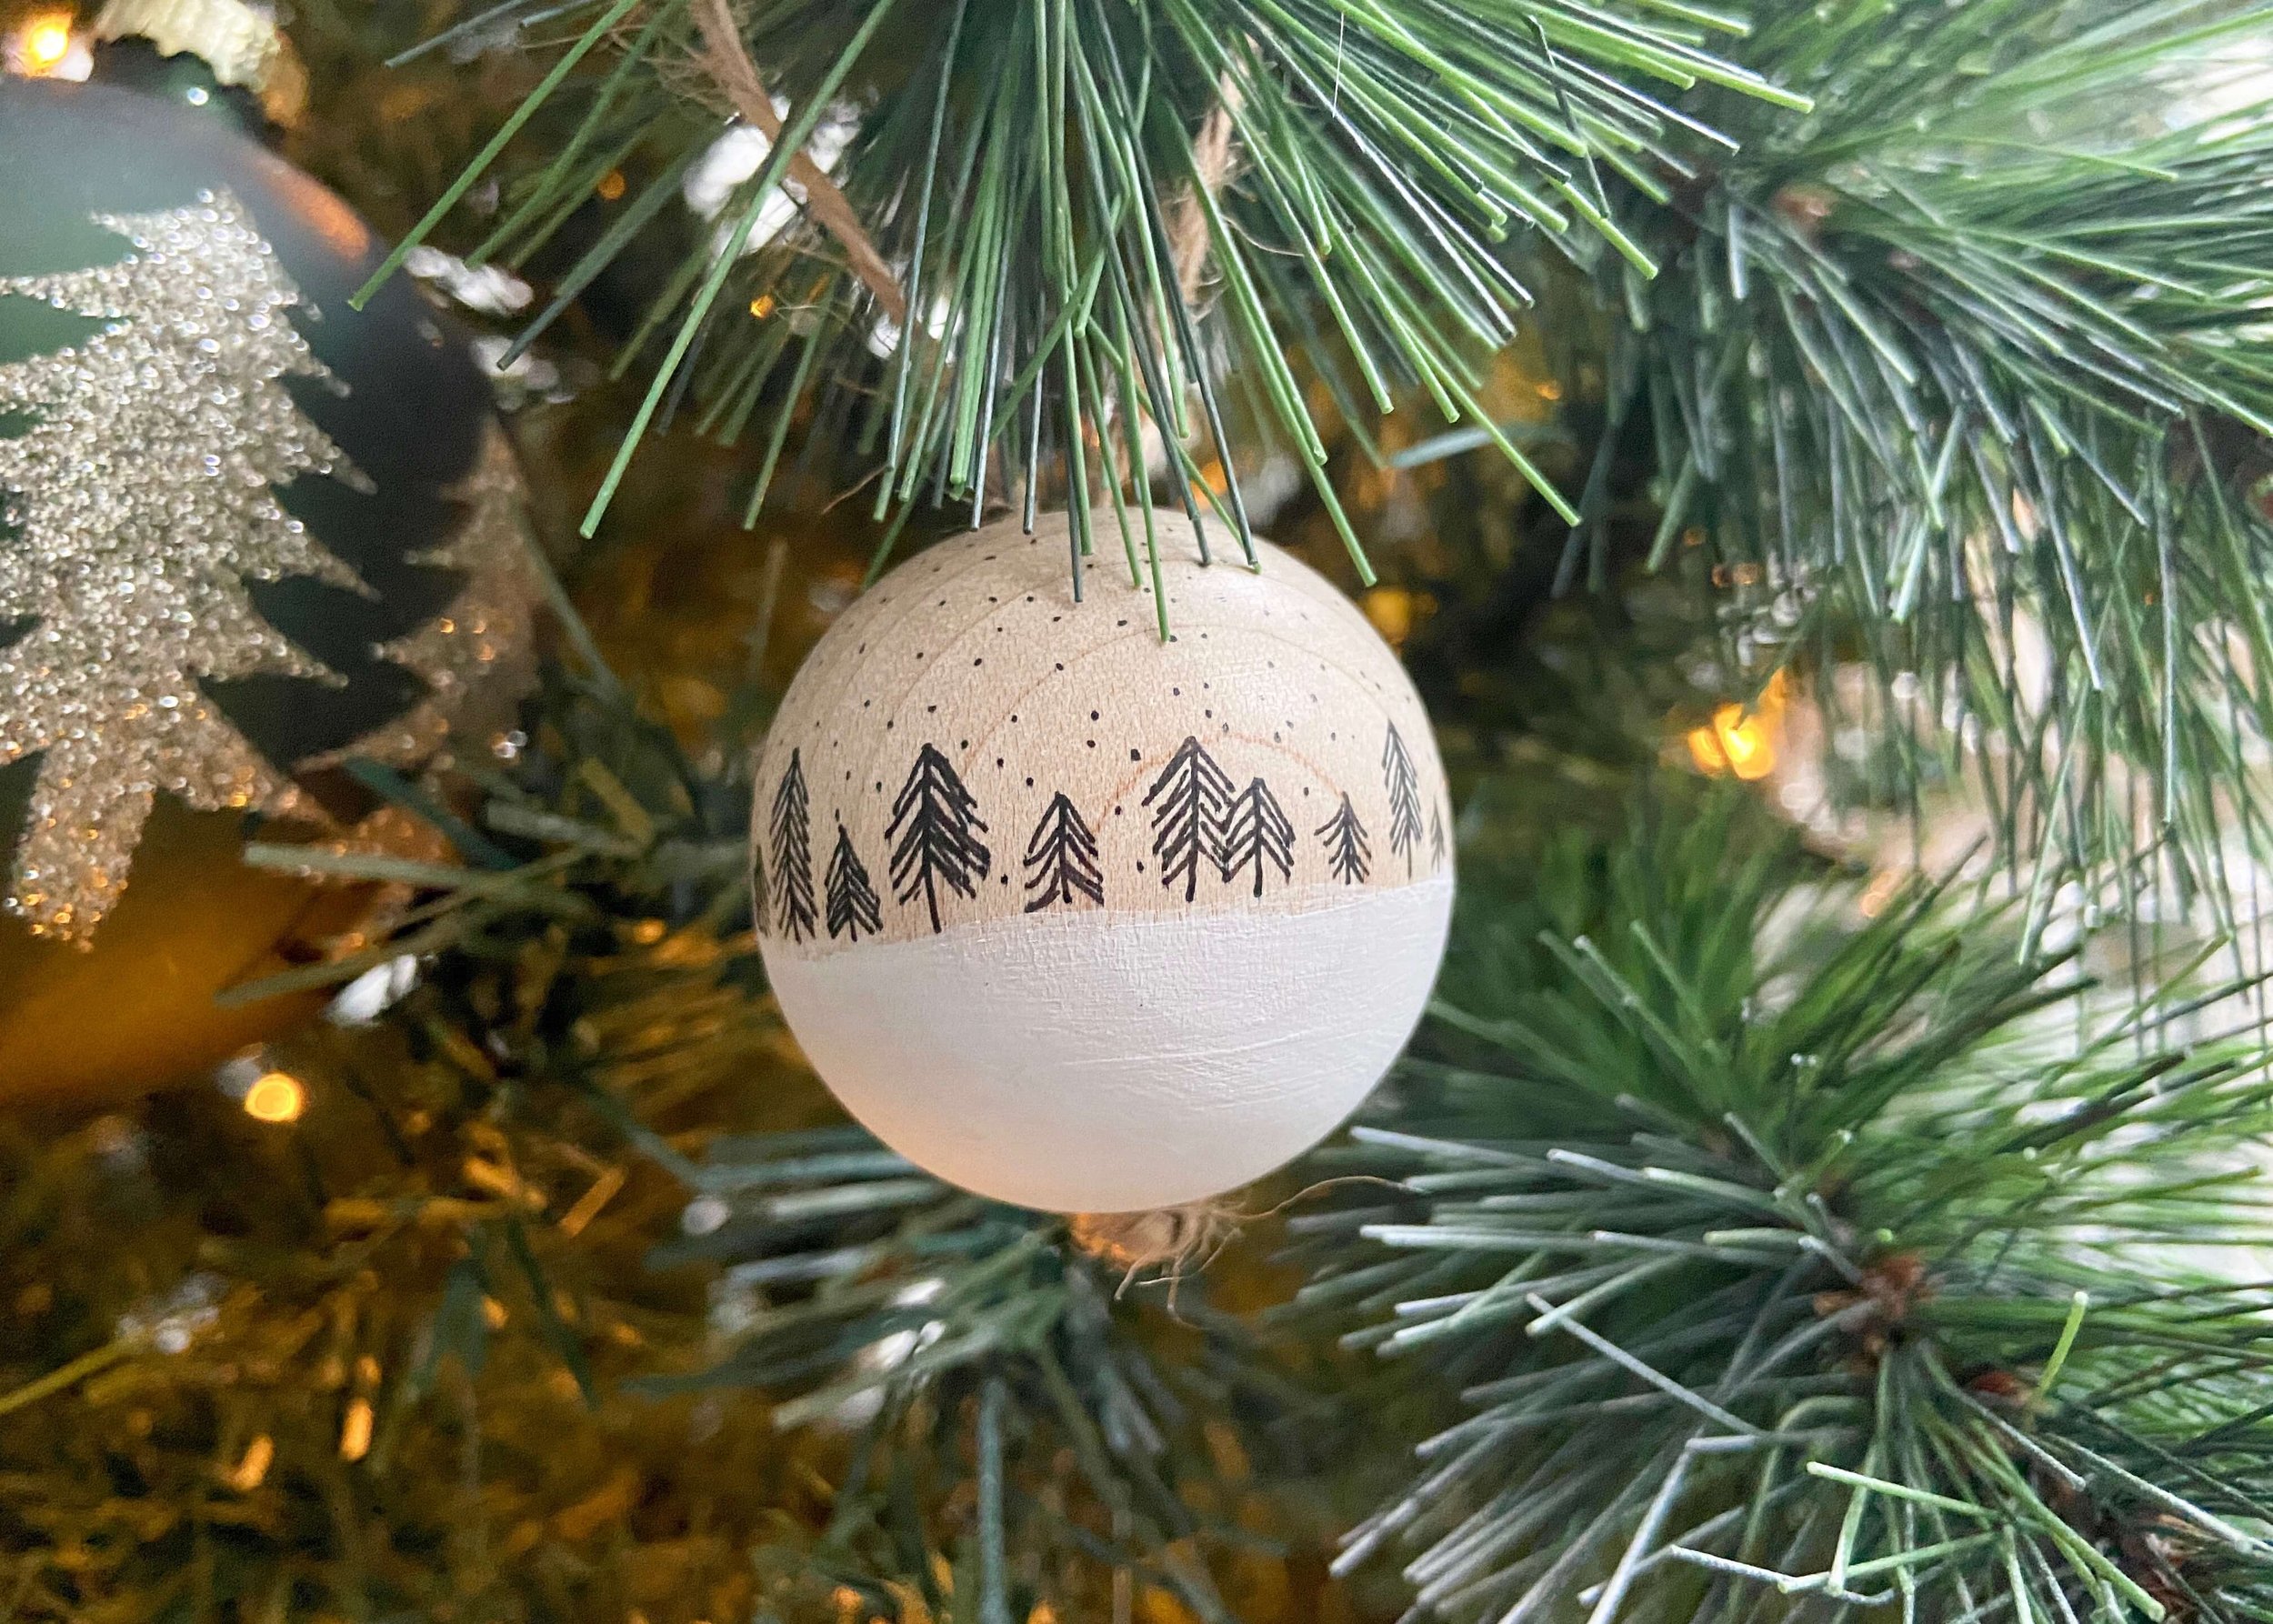
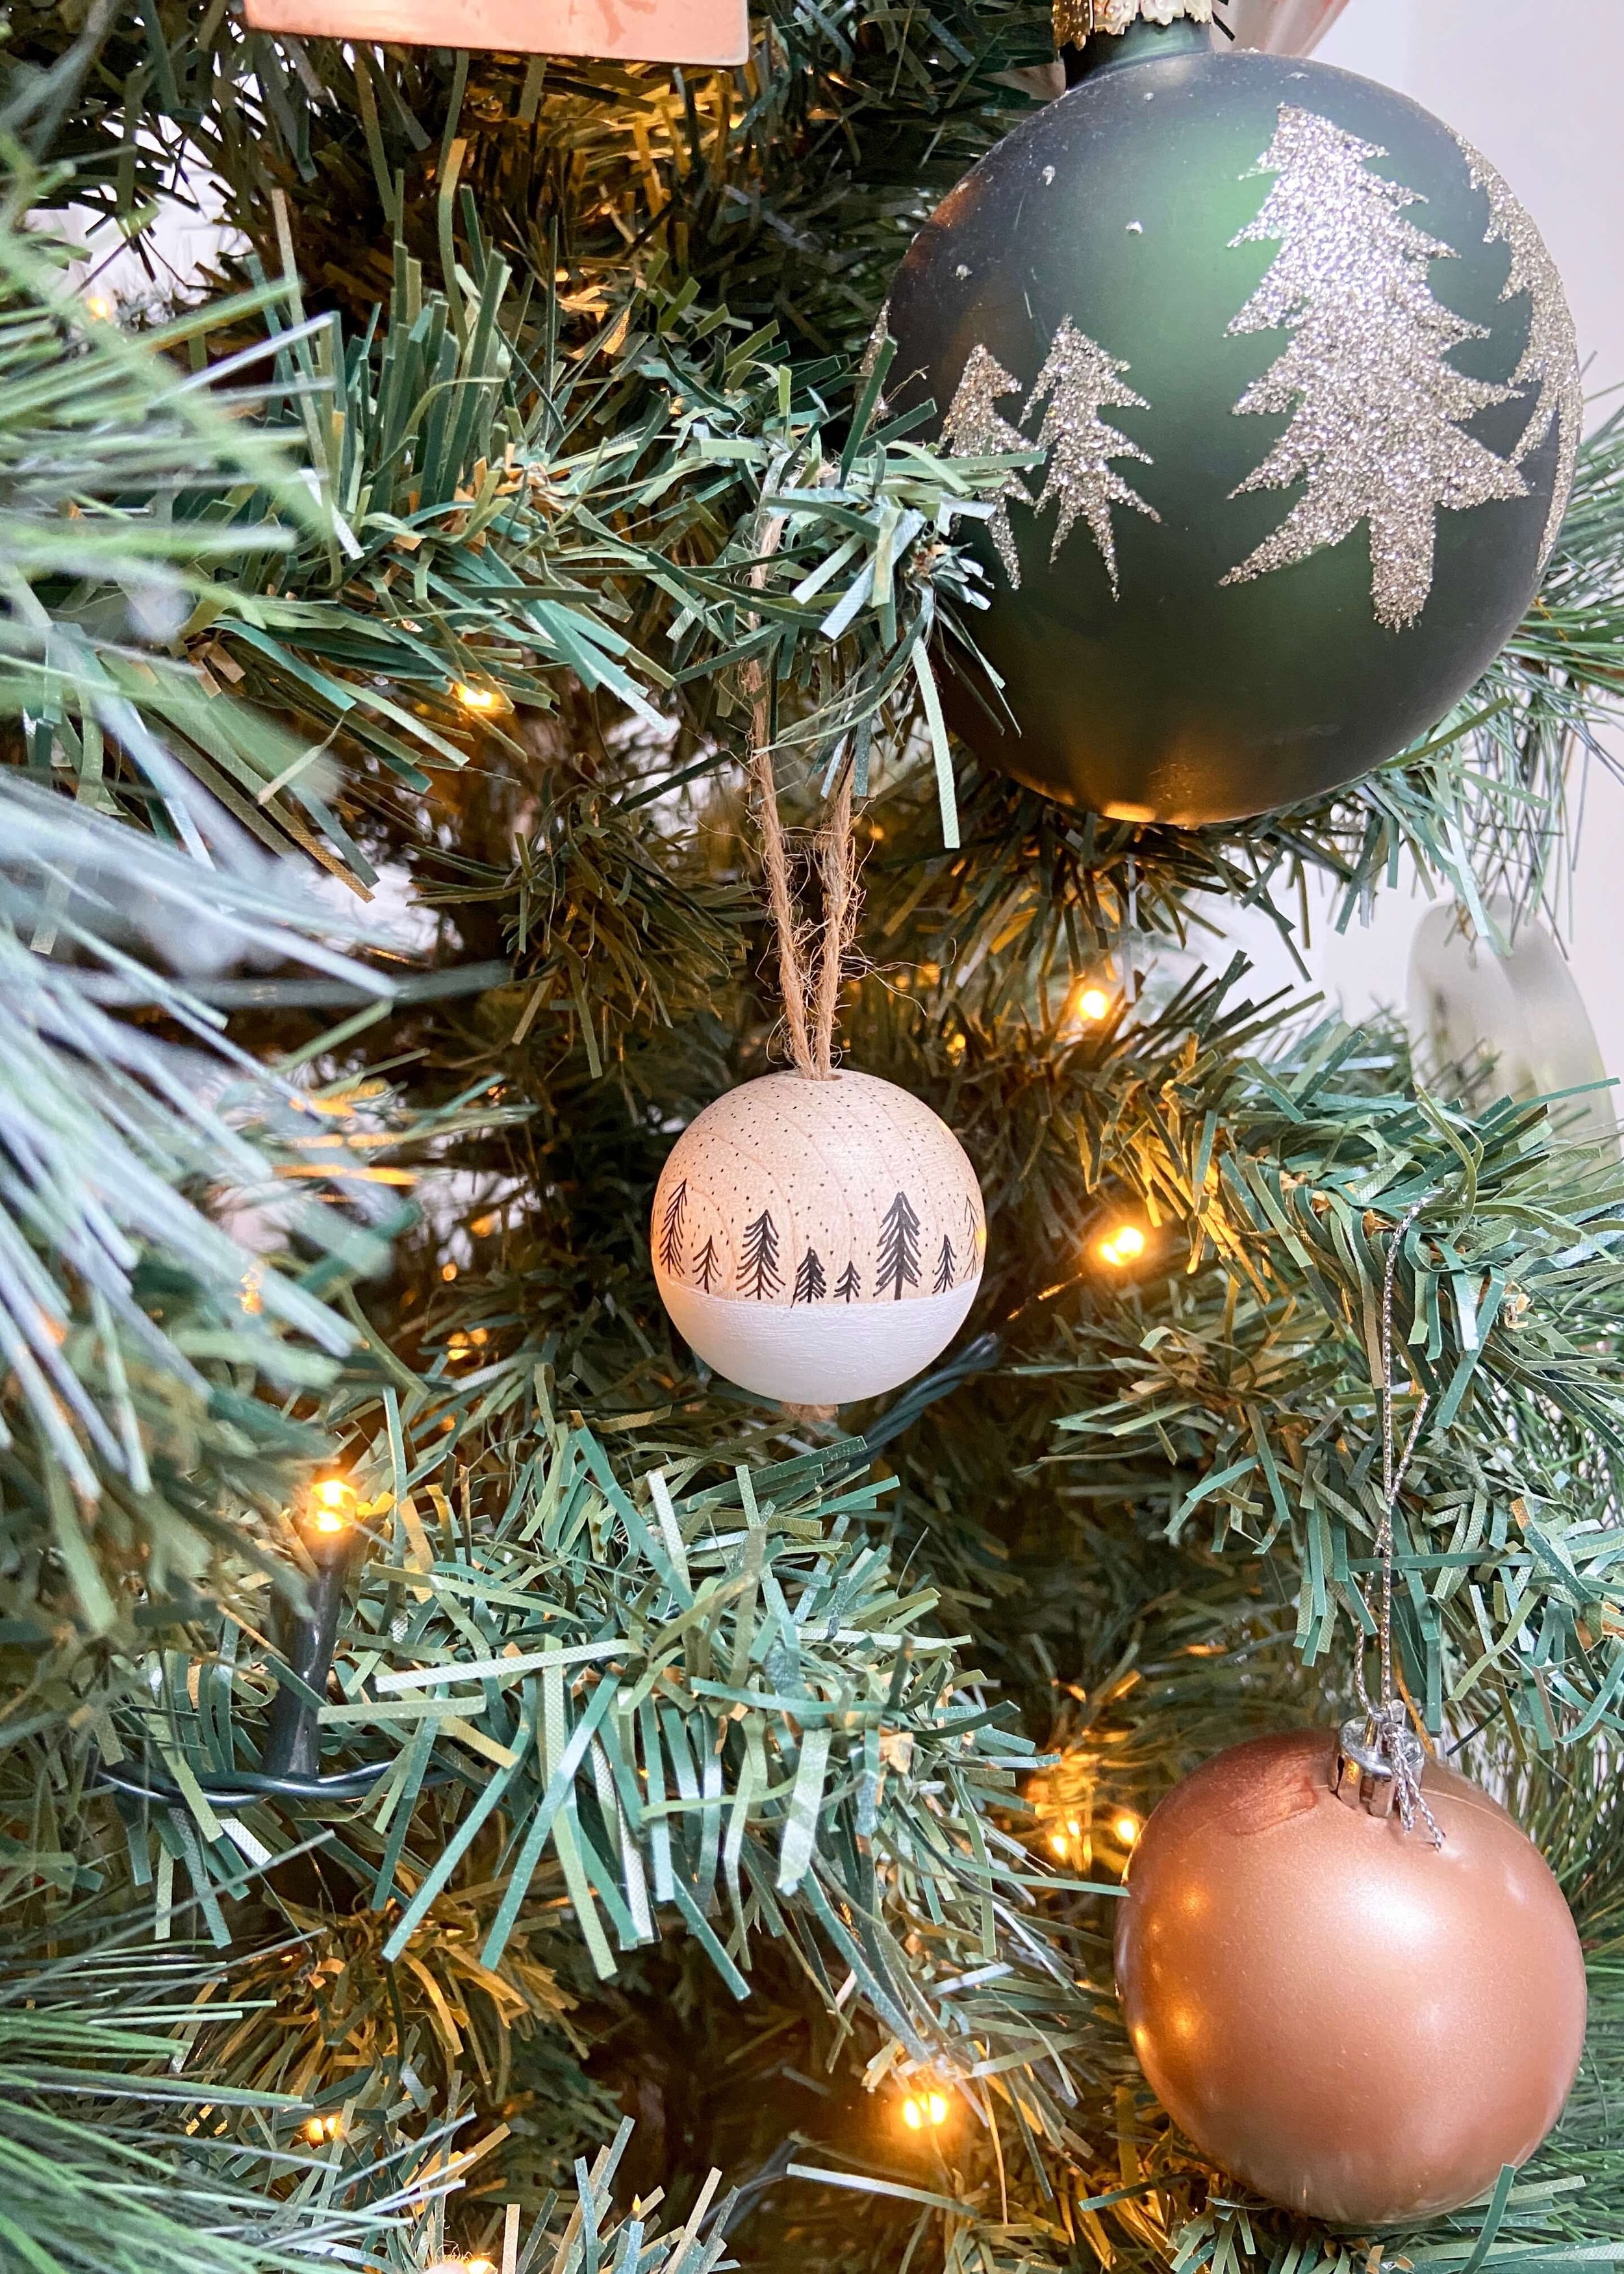
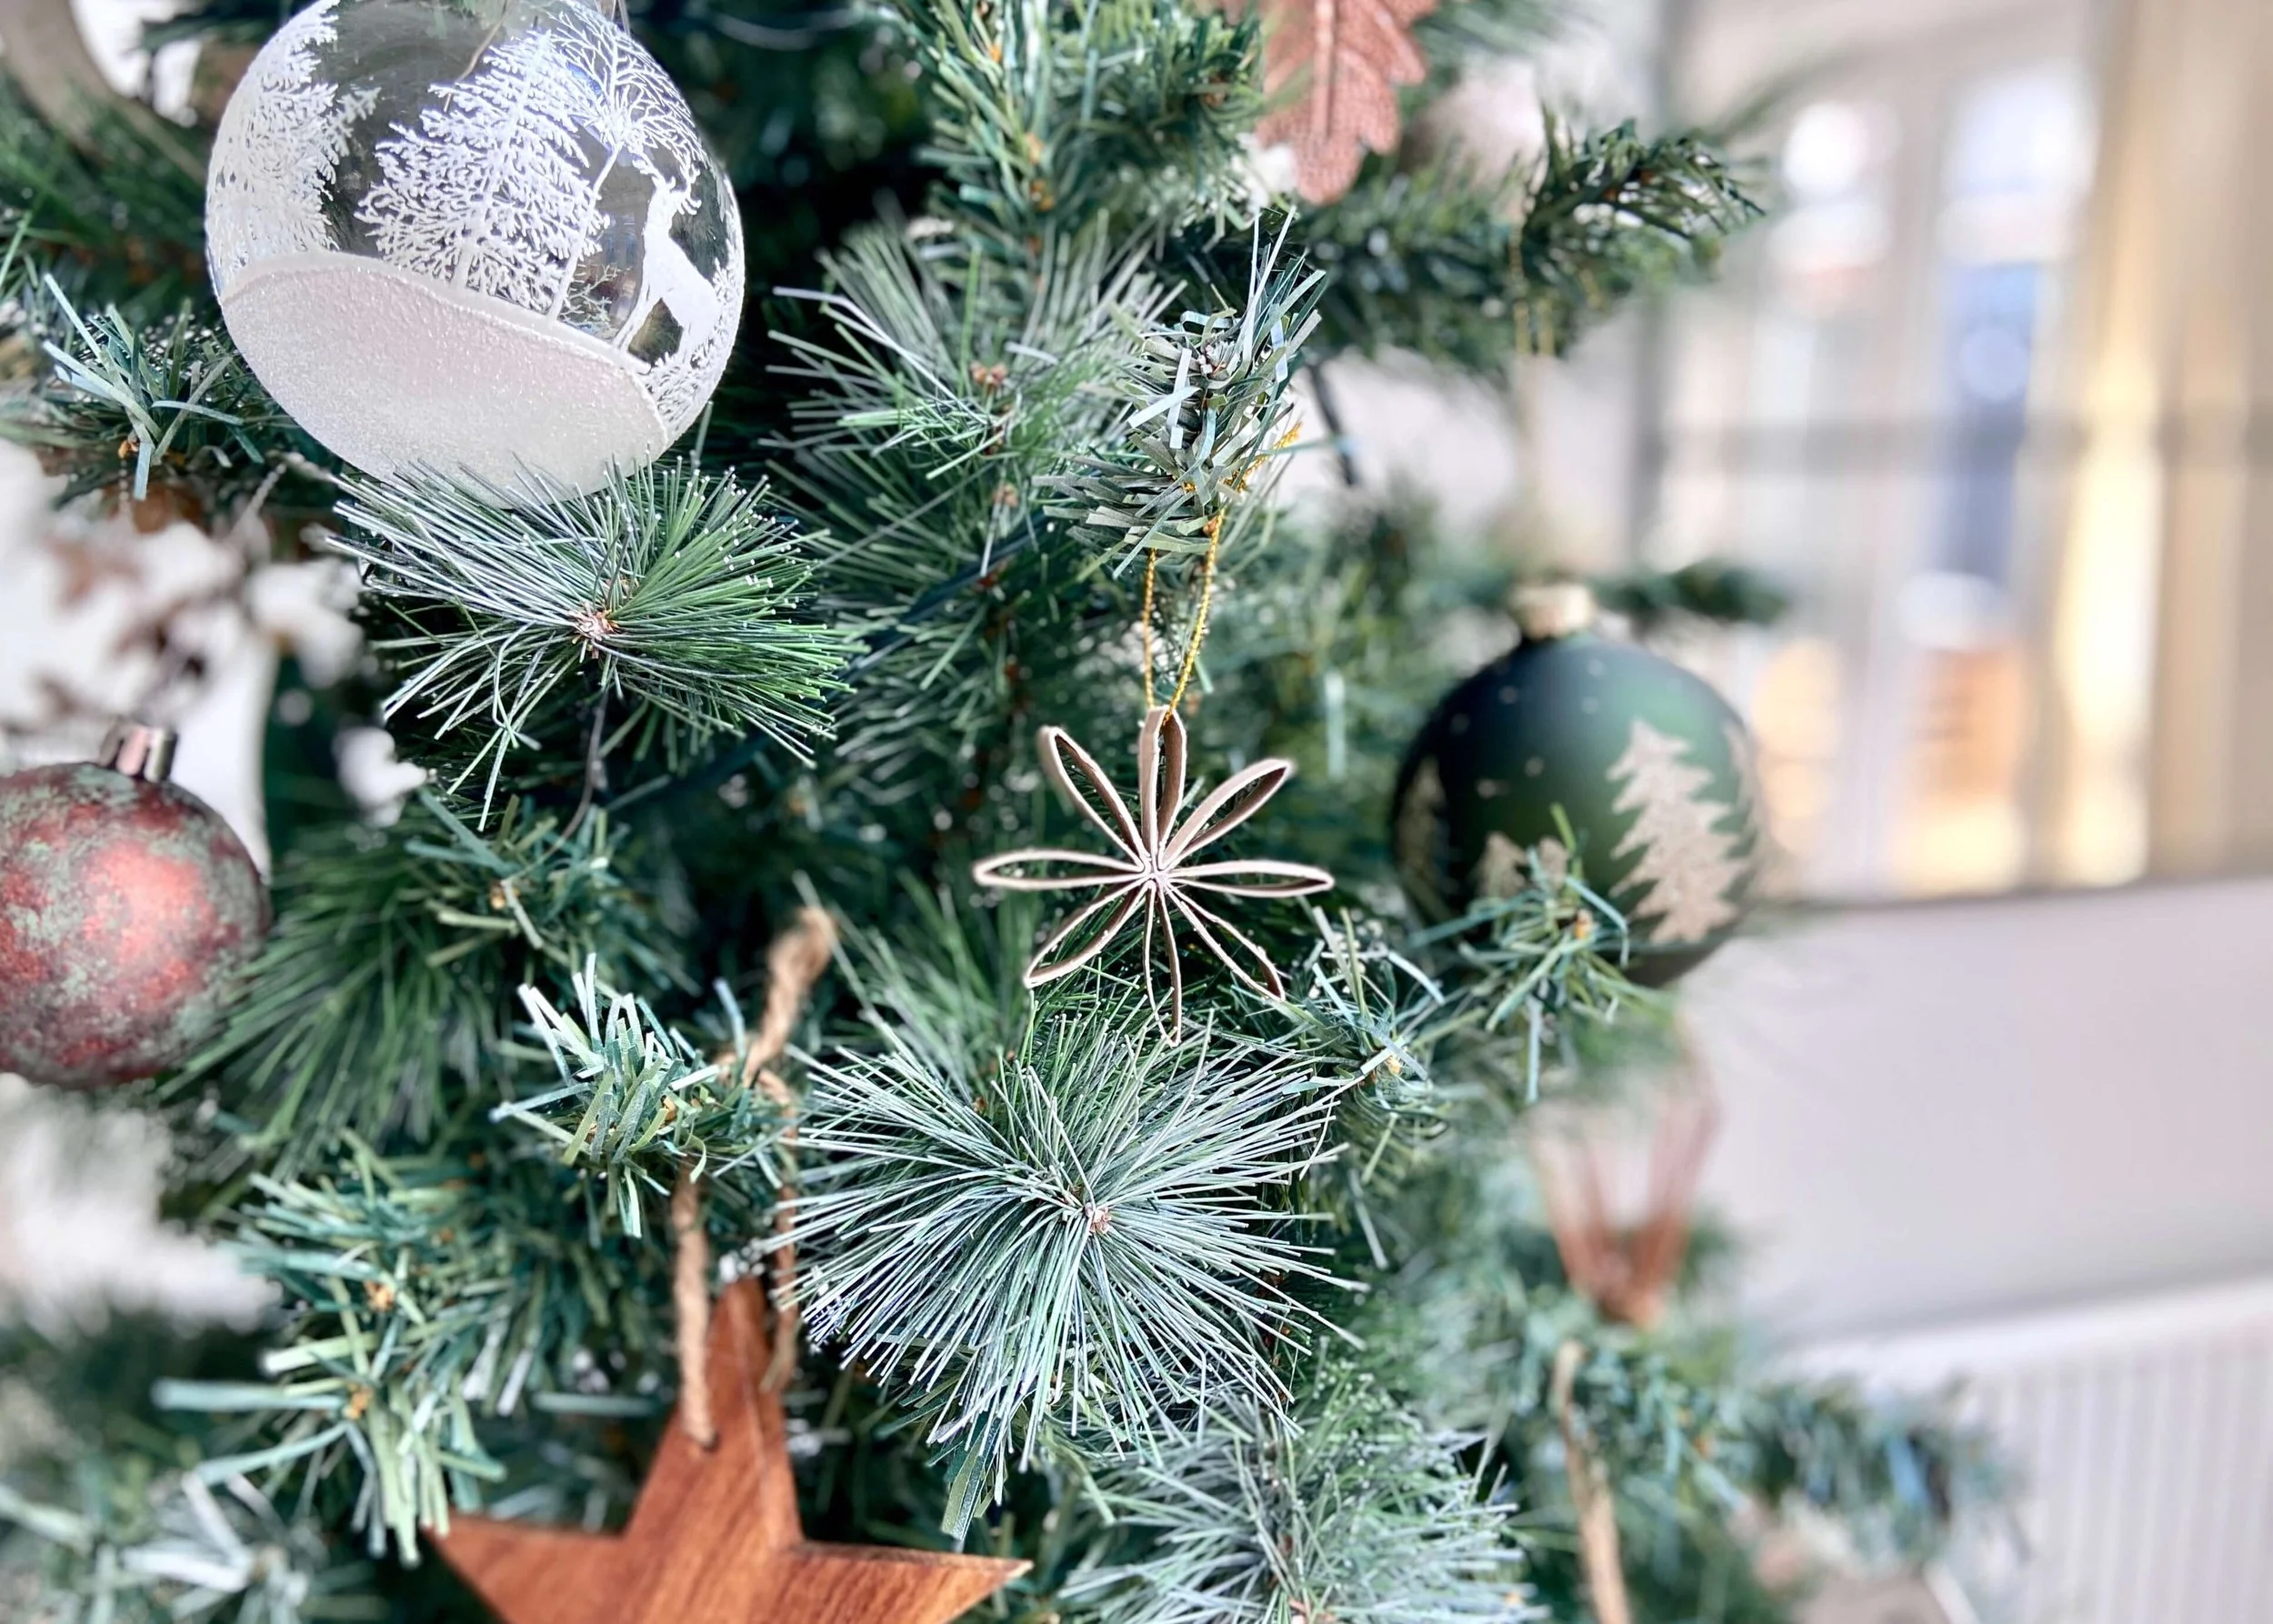
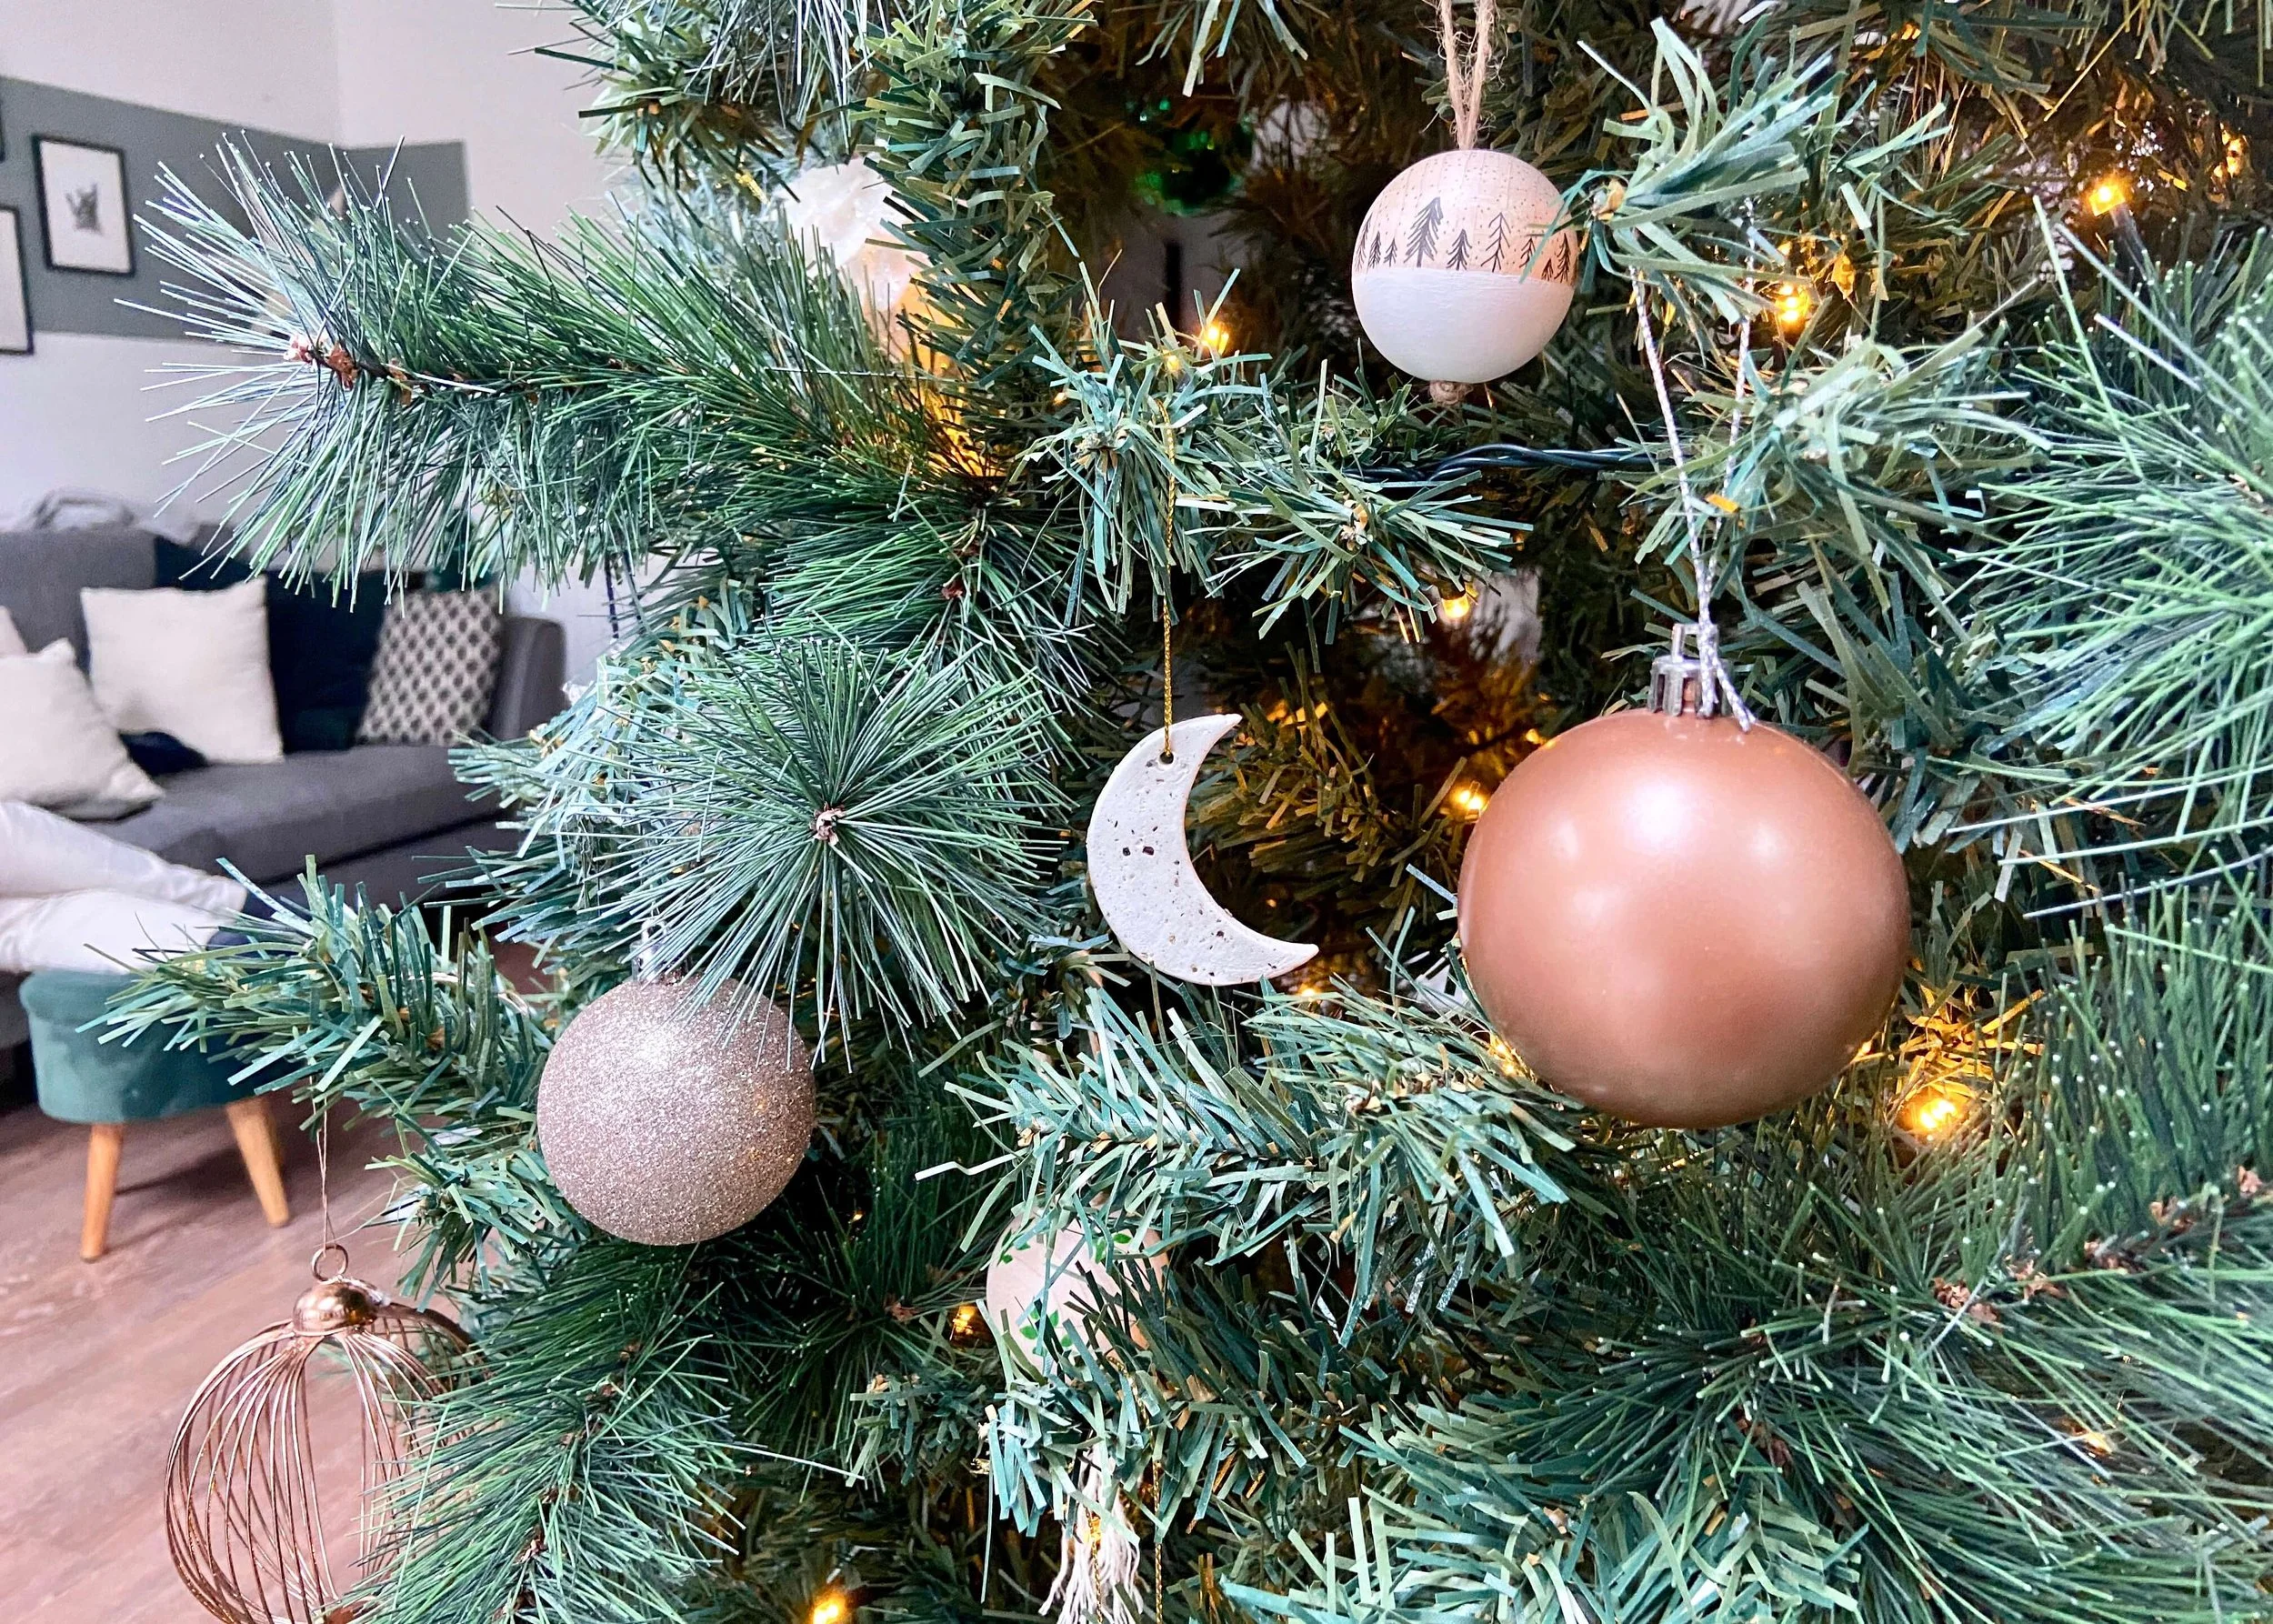
Create these adorable snowy forest scene boho baubles this Christmas!
It’s that time of year again! Christmas is my absolute favourite time of the year; I love the twinkly lights, the cosy evenings, the countdown, time off work (obviously!) and of course the festive crafting. Each year I like to DIY a few more baubles or tree ornaments out of materials I already own, and after my floral bead tree ornaments from a couple of years ago, I still had a lot of these large wooden beads left to use. All I used for this project were the baubles, white paint and a fine liner, and aside from the drying time, these were really quick and easy. Despite how easy they were, they’re one of my favourite DIY baubles on our tree! I’m loving all the rustic, textured and metal tree ornaments that are around at this year. Let me know what you think of them below and if you like what I do, please do subscribe and share on social media!
Large wooden beads
White acrylic paint
Black permanent fine liner
Twine
1.
First of all, take your beads and mark the middle (with the top and bottom being with the holes in) all the way round.
2.
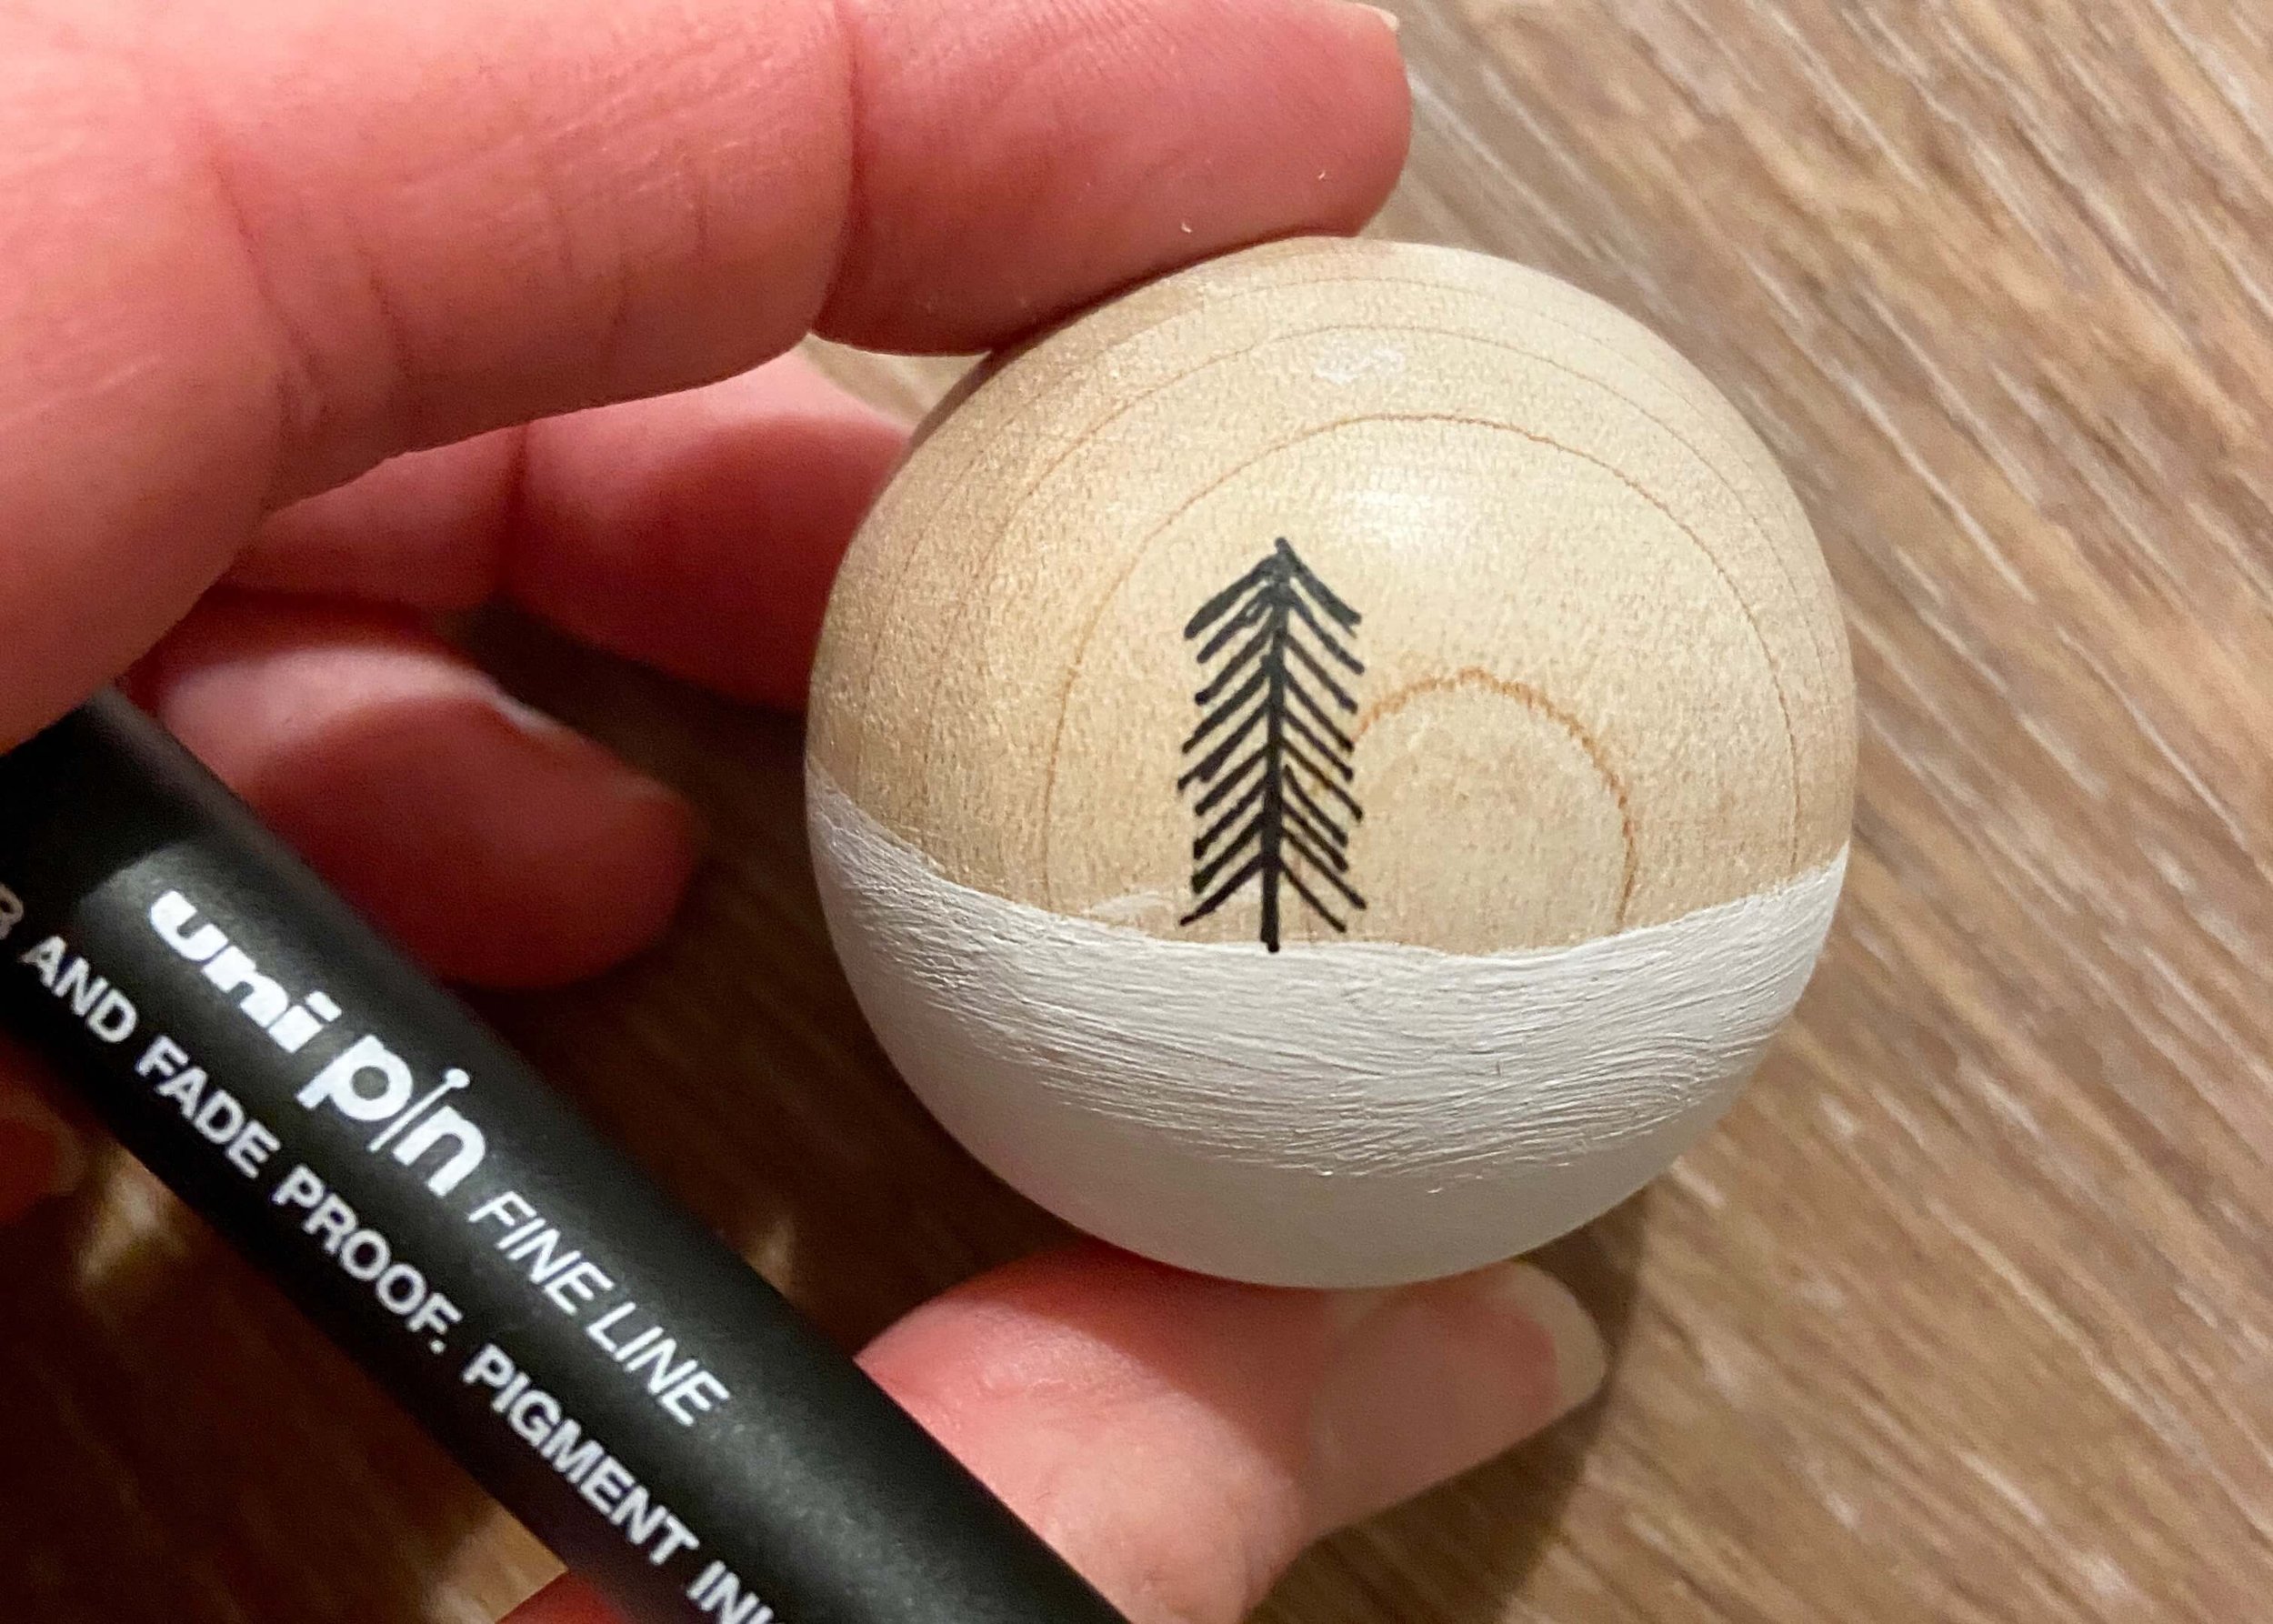
Paint below this line with white paint. I found I needed to do two coats leaving them to dry in between.
3.
Next, use a black permanent fine liner to draw your forest. To draw each tree, first start with a vertical line starting from the white paint or snow. The height of this line will be the height of your tree.
4.
Then add an arrow head shape to the top of the tree. The width of this arrow head will determine the width of your tree.
5.
Draw multiple arrow head shapes all the way down the tree to create your christmas tree shape.
6.
Repeat steps 3 - 5 to draw another tree. Change the height, width and shape of the arrow heads to create different tree types and shapes.
7.
Continue this all the way around your bead until your forest can be seen from all directions.
8.
Next, add dots all over the exposed wood above the forest to represent snow.
9.
Cut off a length of twine, fold this in half and poke it through the bead. Tie a knot on the bottom of the bead and cut off any excess.


