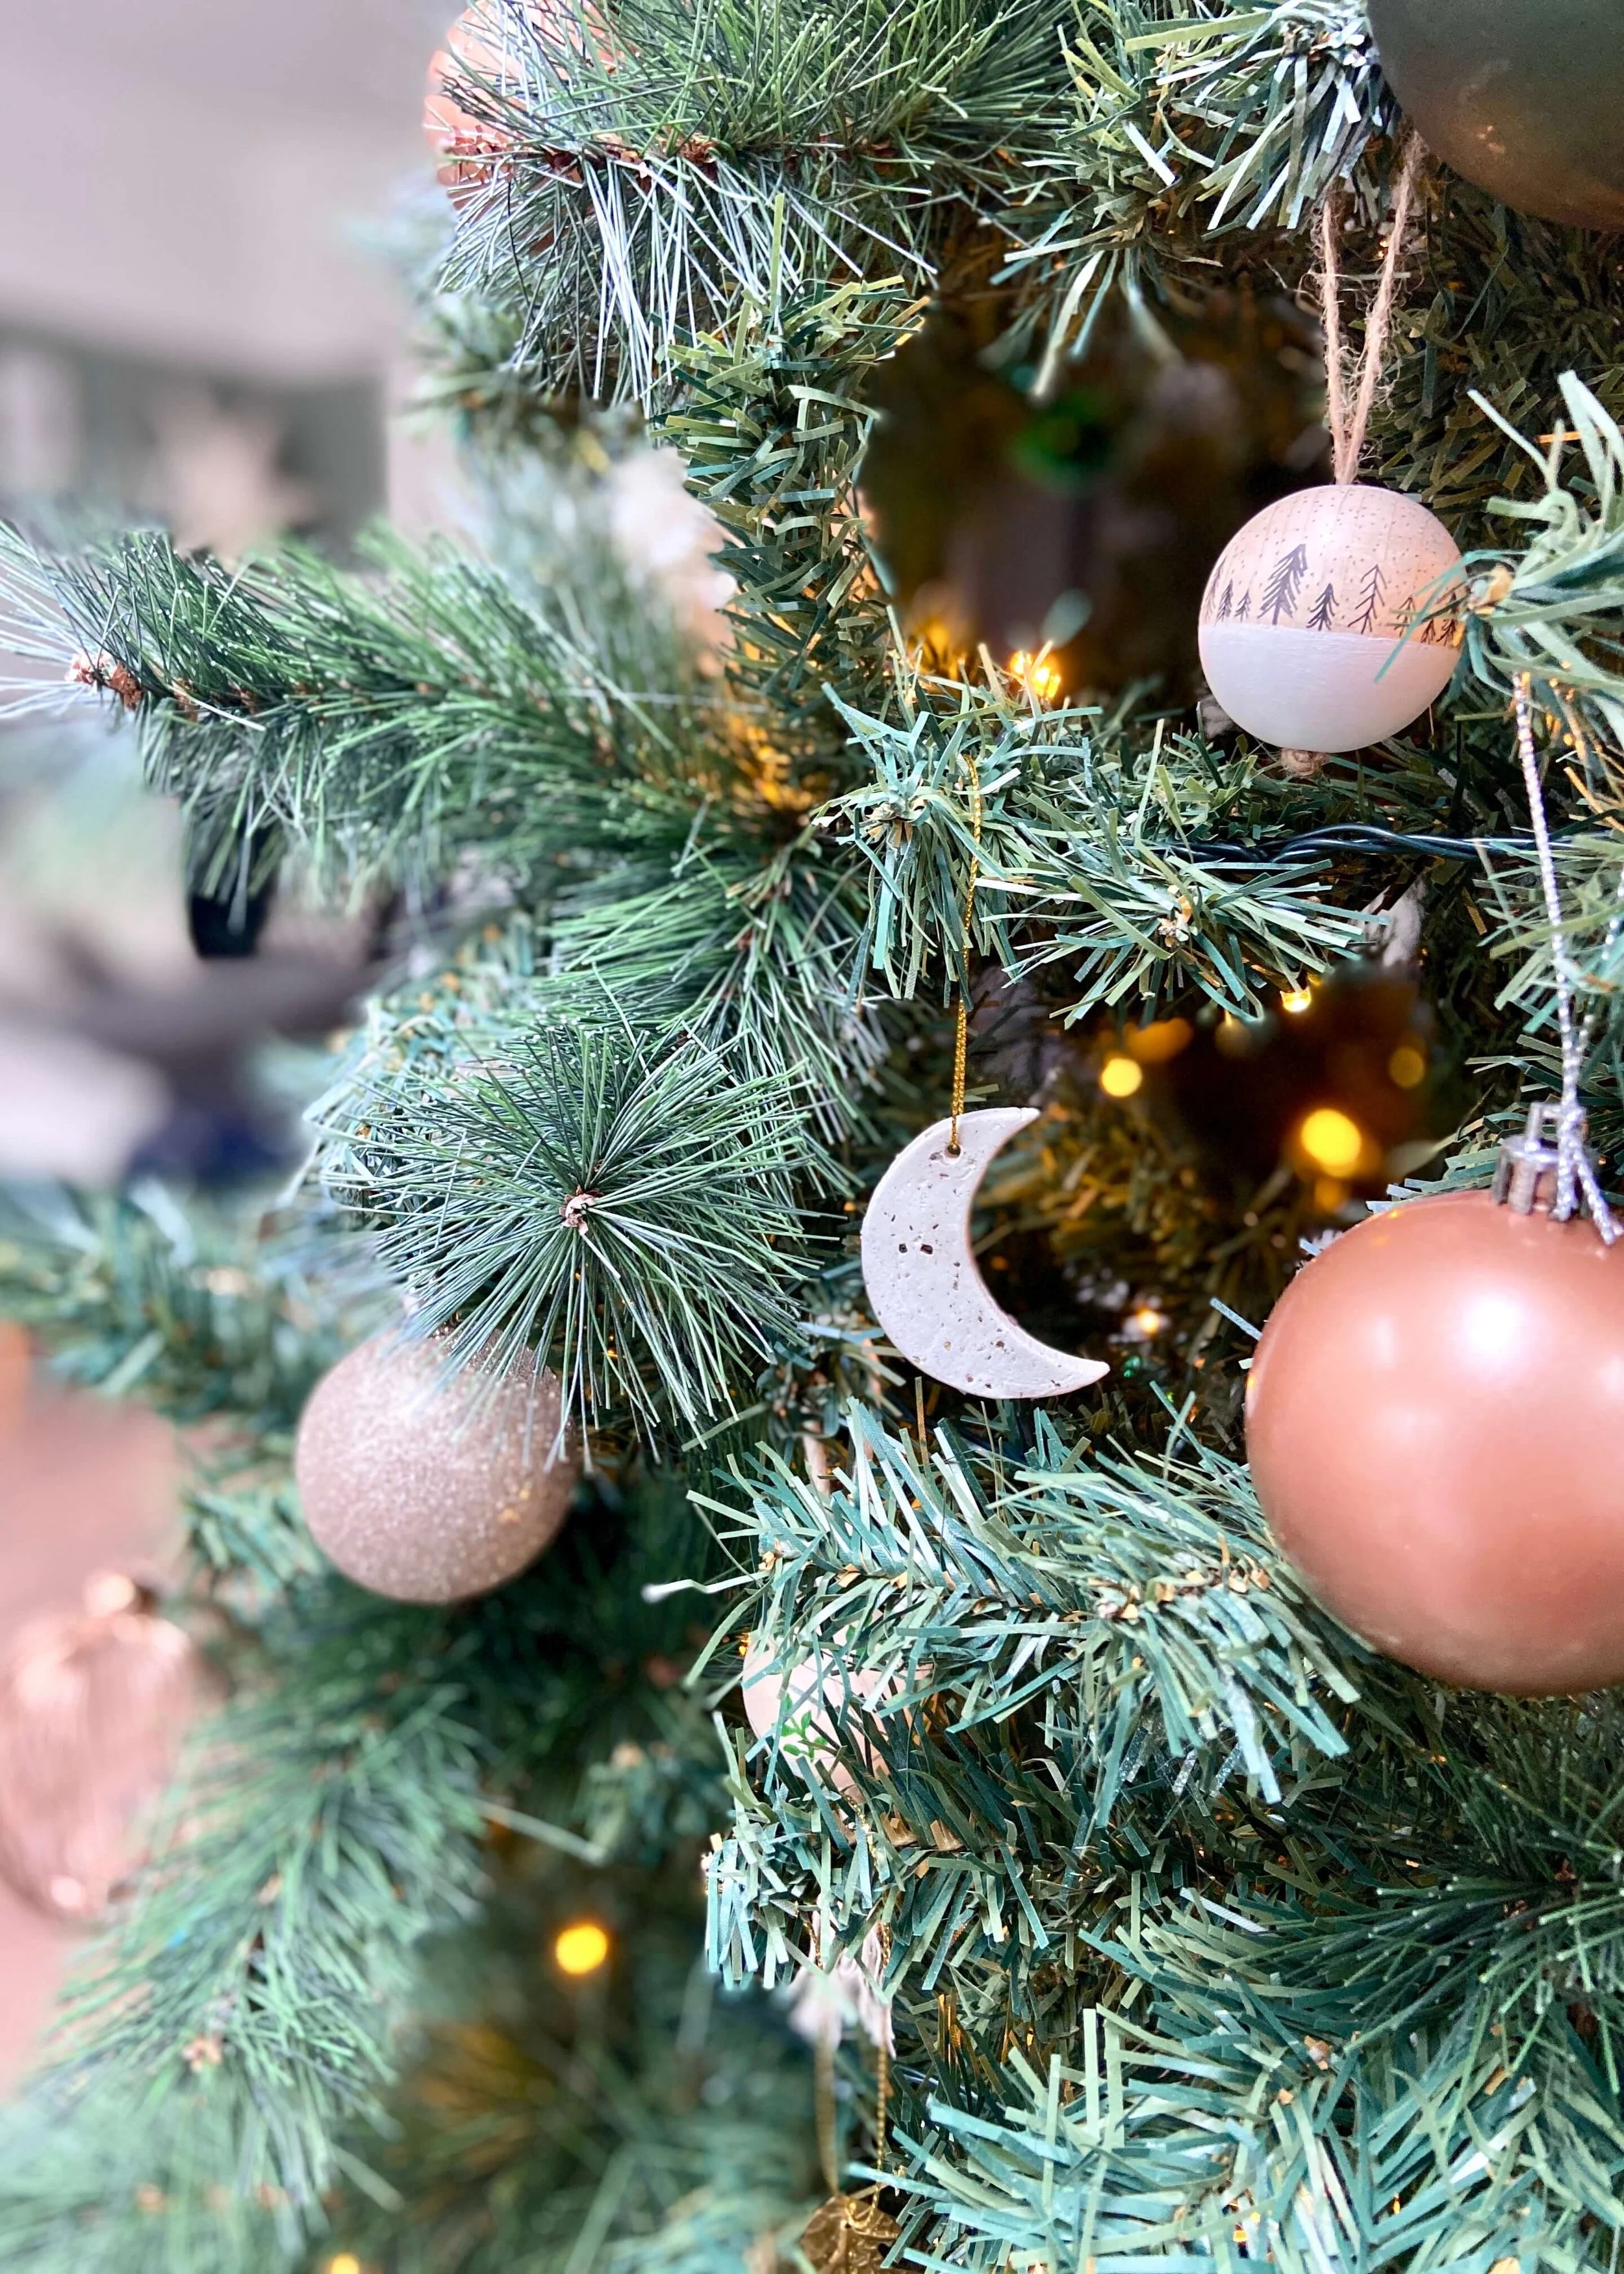
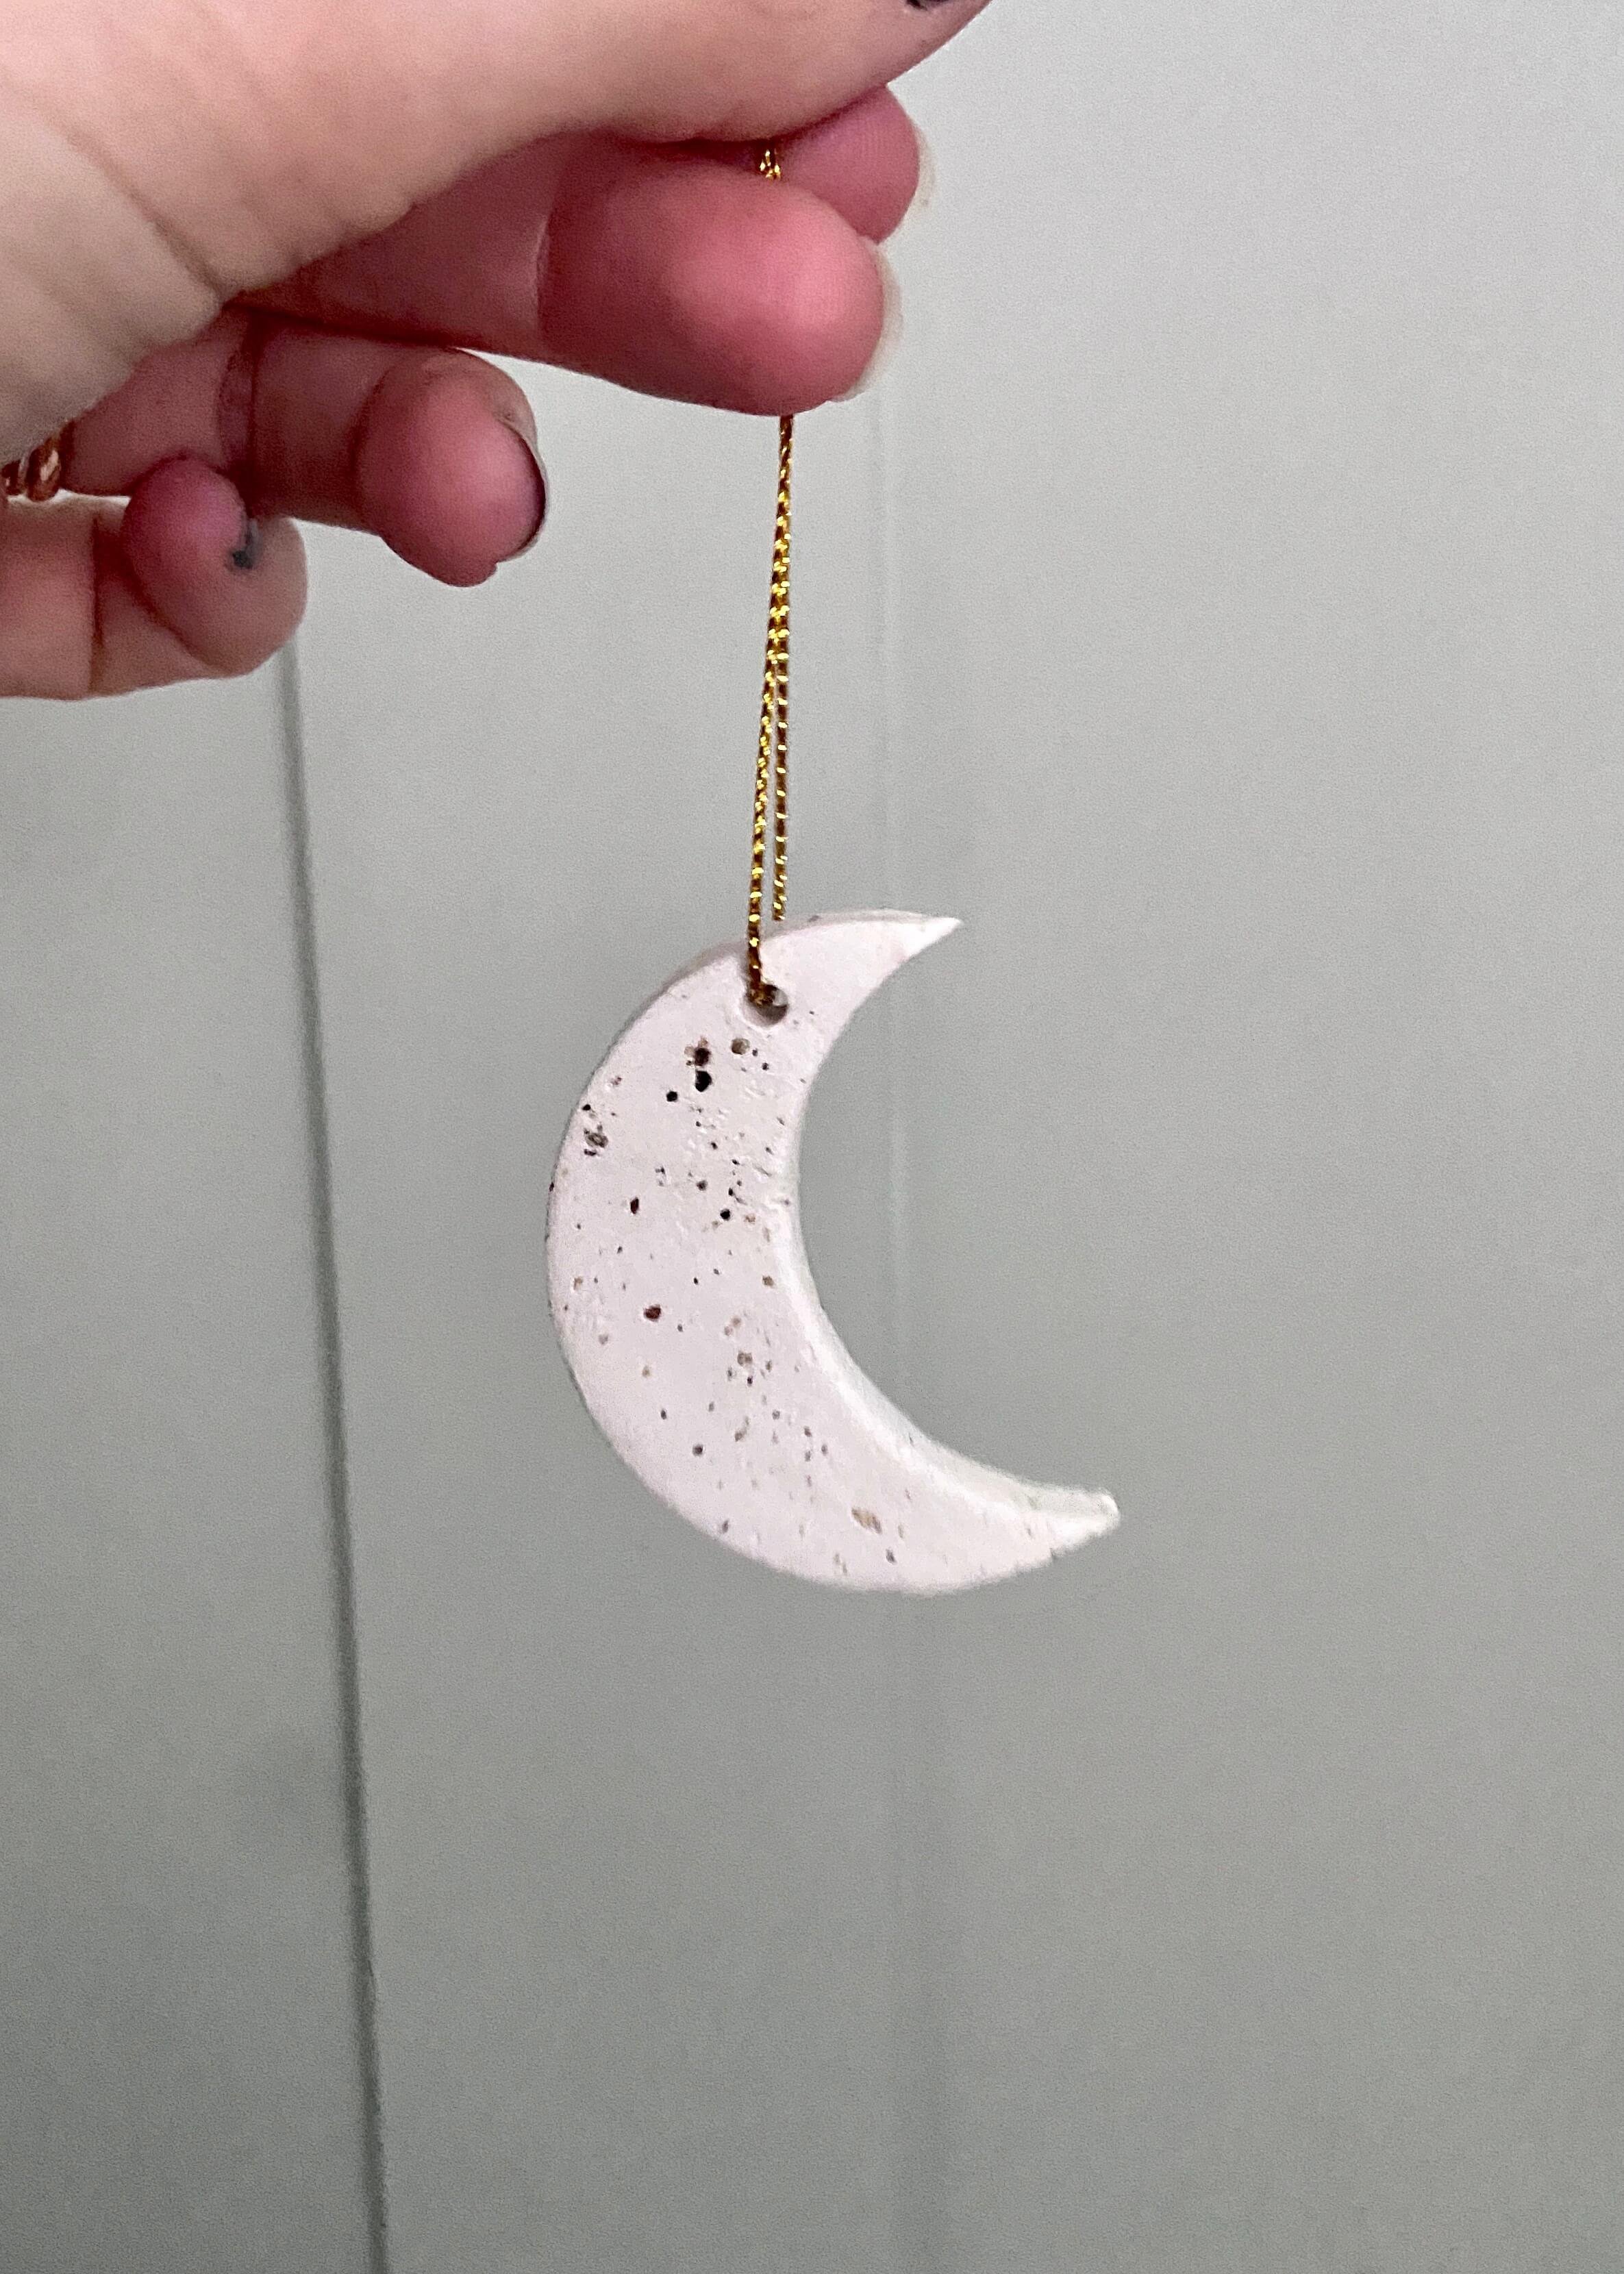
Add a bit of celestial magic to your Christmas tree with these faux stone moon ornaments made from air-dry clay!
Air-dry clay is one of my favourite mediums to use. You can create so much from so little, and I love that you don’t need to fire it and once it’s dry you can still edit it with sandpaper. As you know, I’m a huge fan of Christmas, and every year, I challenge myself to make some new ornaments for my tree using materials I already have or by upcycling old baubles. I’m slowly but surely covering my entire tree in handmade ornaments!
It’s been a while since I made a clay tree ornament, and so this year I decided to add some celestial vibes to my tree with some faux stone crescent moons. Adding peppercorns to clay is such a cheap, quick and easy way to add some texture and to give your clay a faux stone finish. I first tried this last year with these adorable clay bunnies, and I found it really elevated my final piece.
I absolutely love making clay ornaments, and have been considering adding some to my Etsy shop. Let me know if you think I should, and if you’ll be having a go at this project yourself. As usual, if you love what I do, please subscribe so you can stay updated and share on your social media platforms so others can enjoy too!


1.
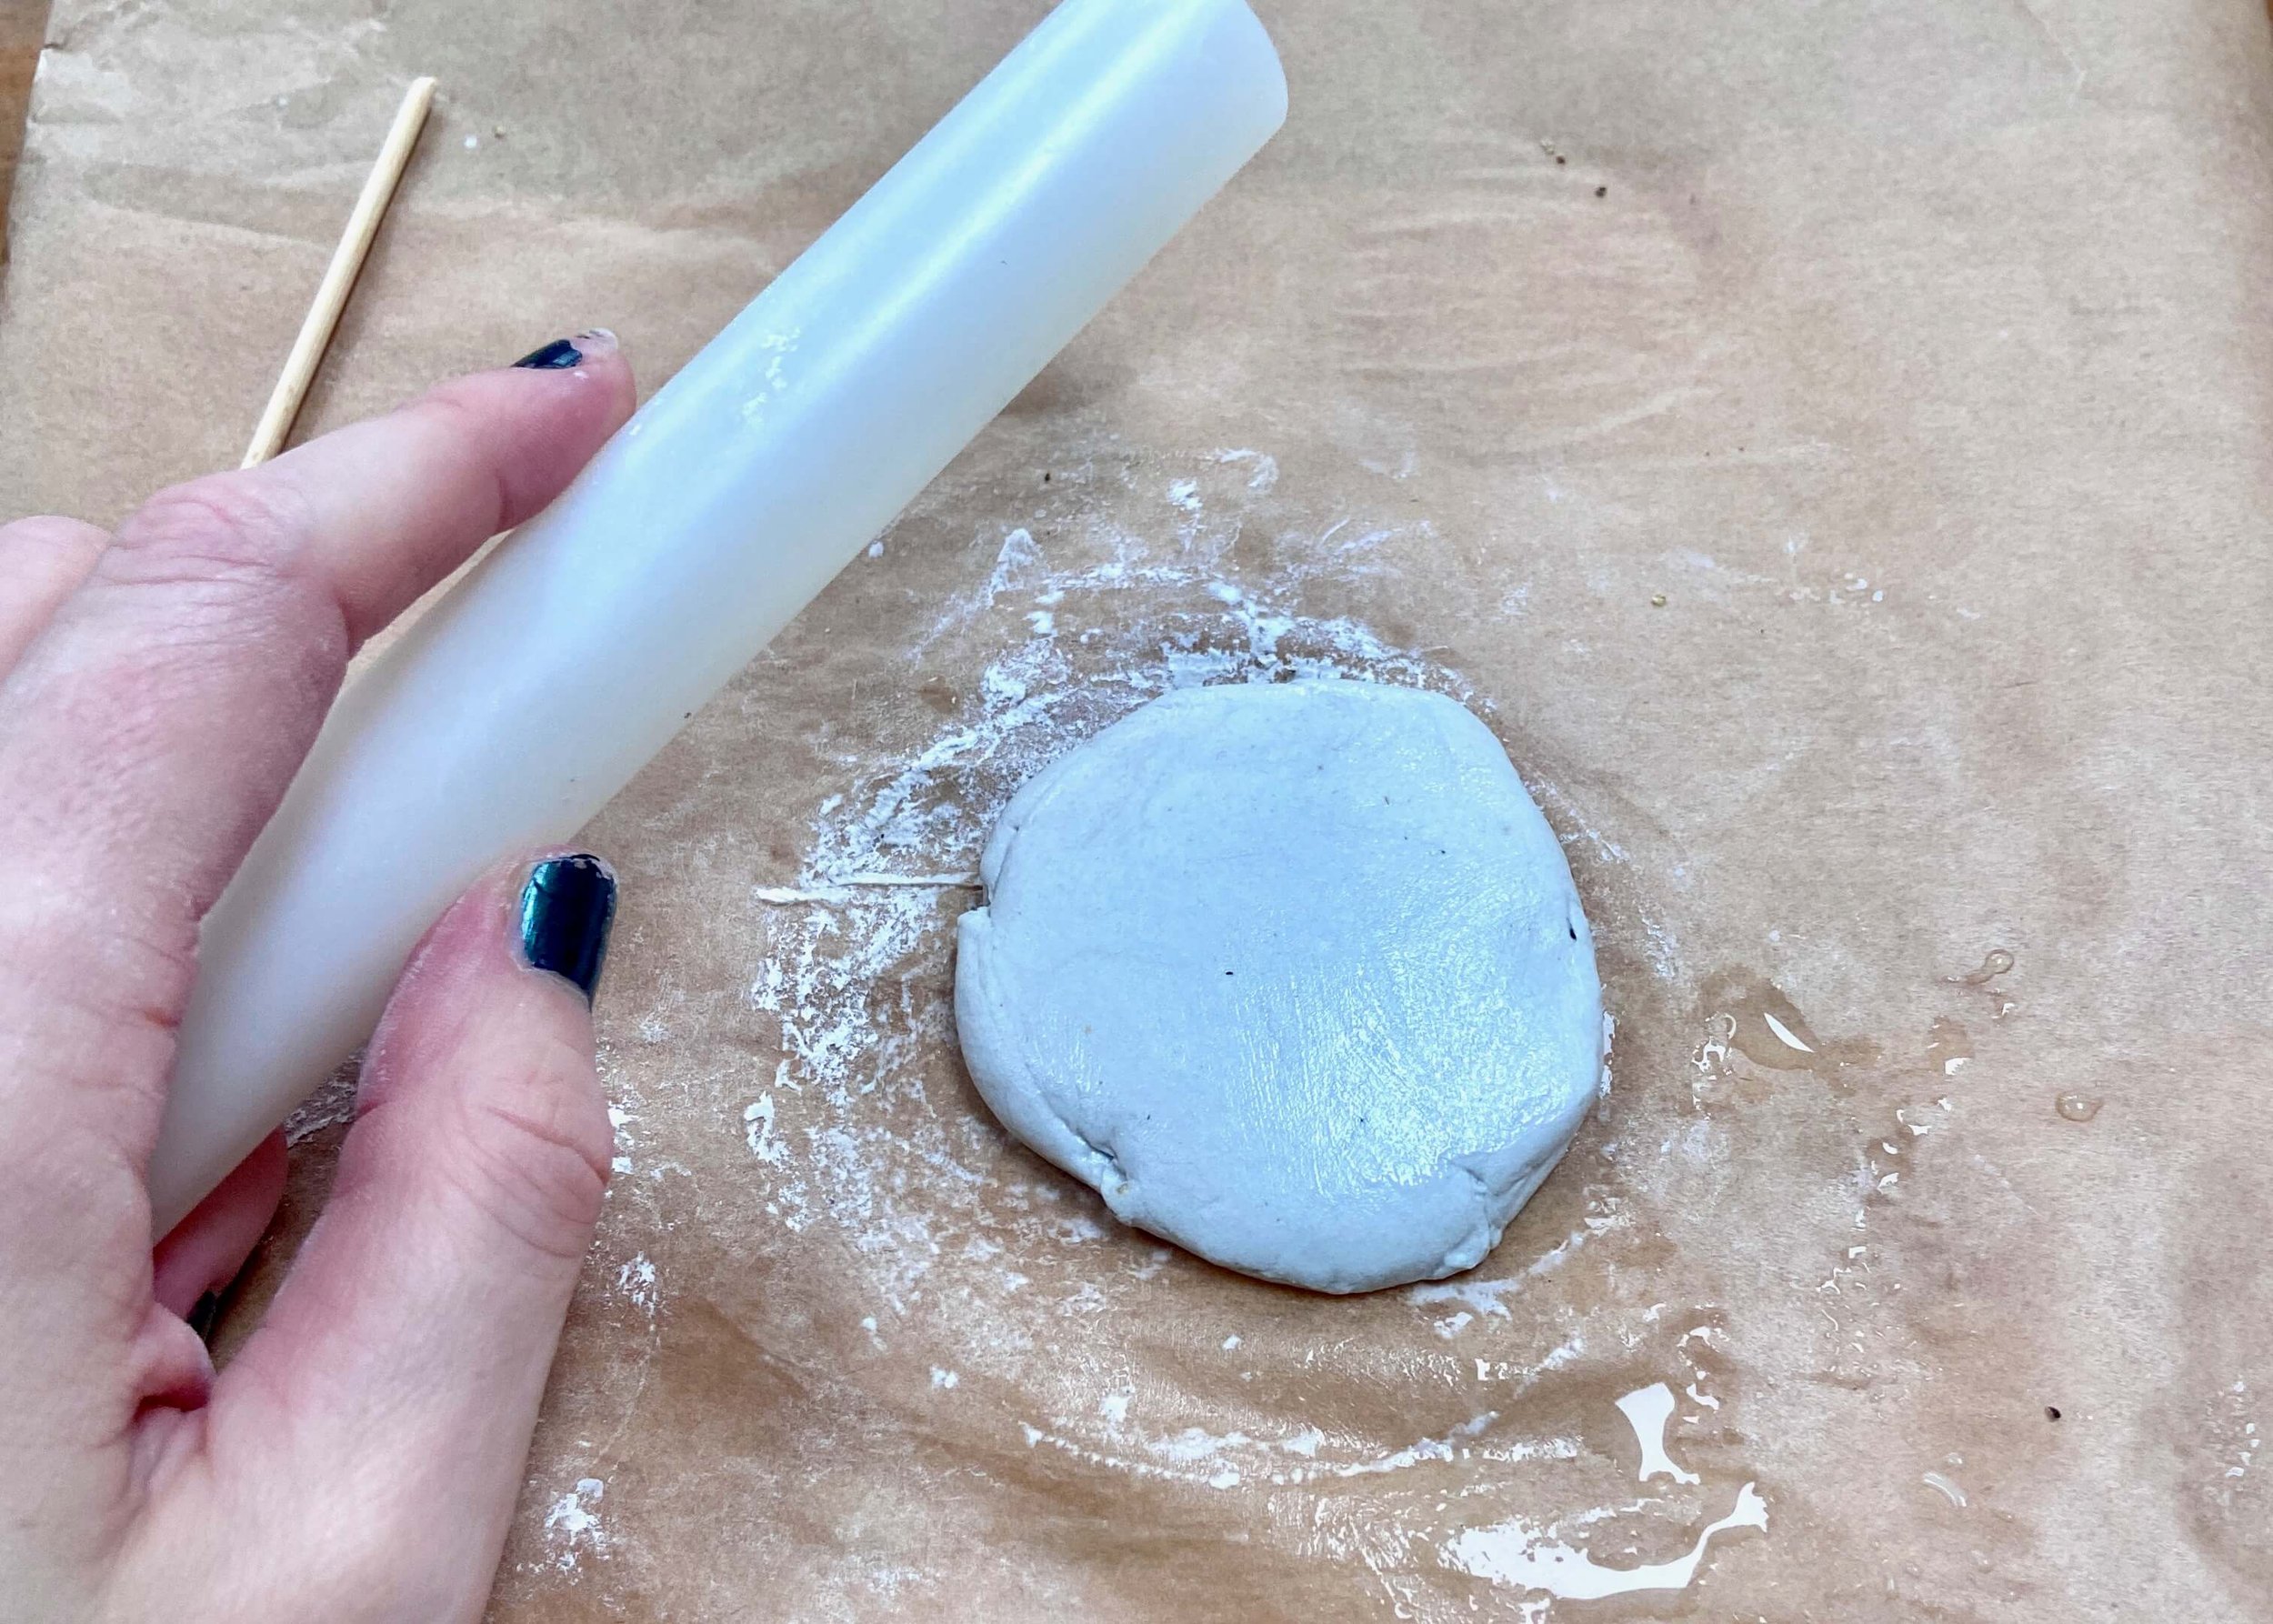
First of all, break off some air-dry clay and roll it out using an acrylic roller until it is your desired thickness.

2.
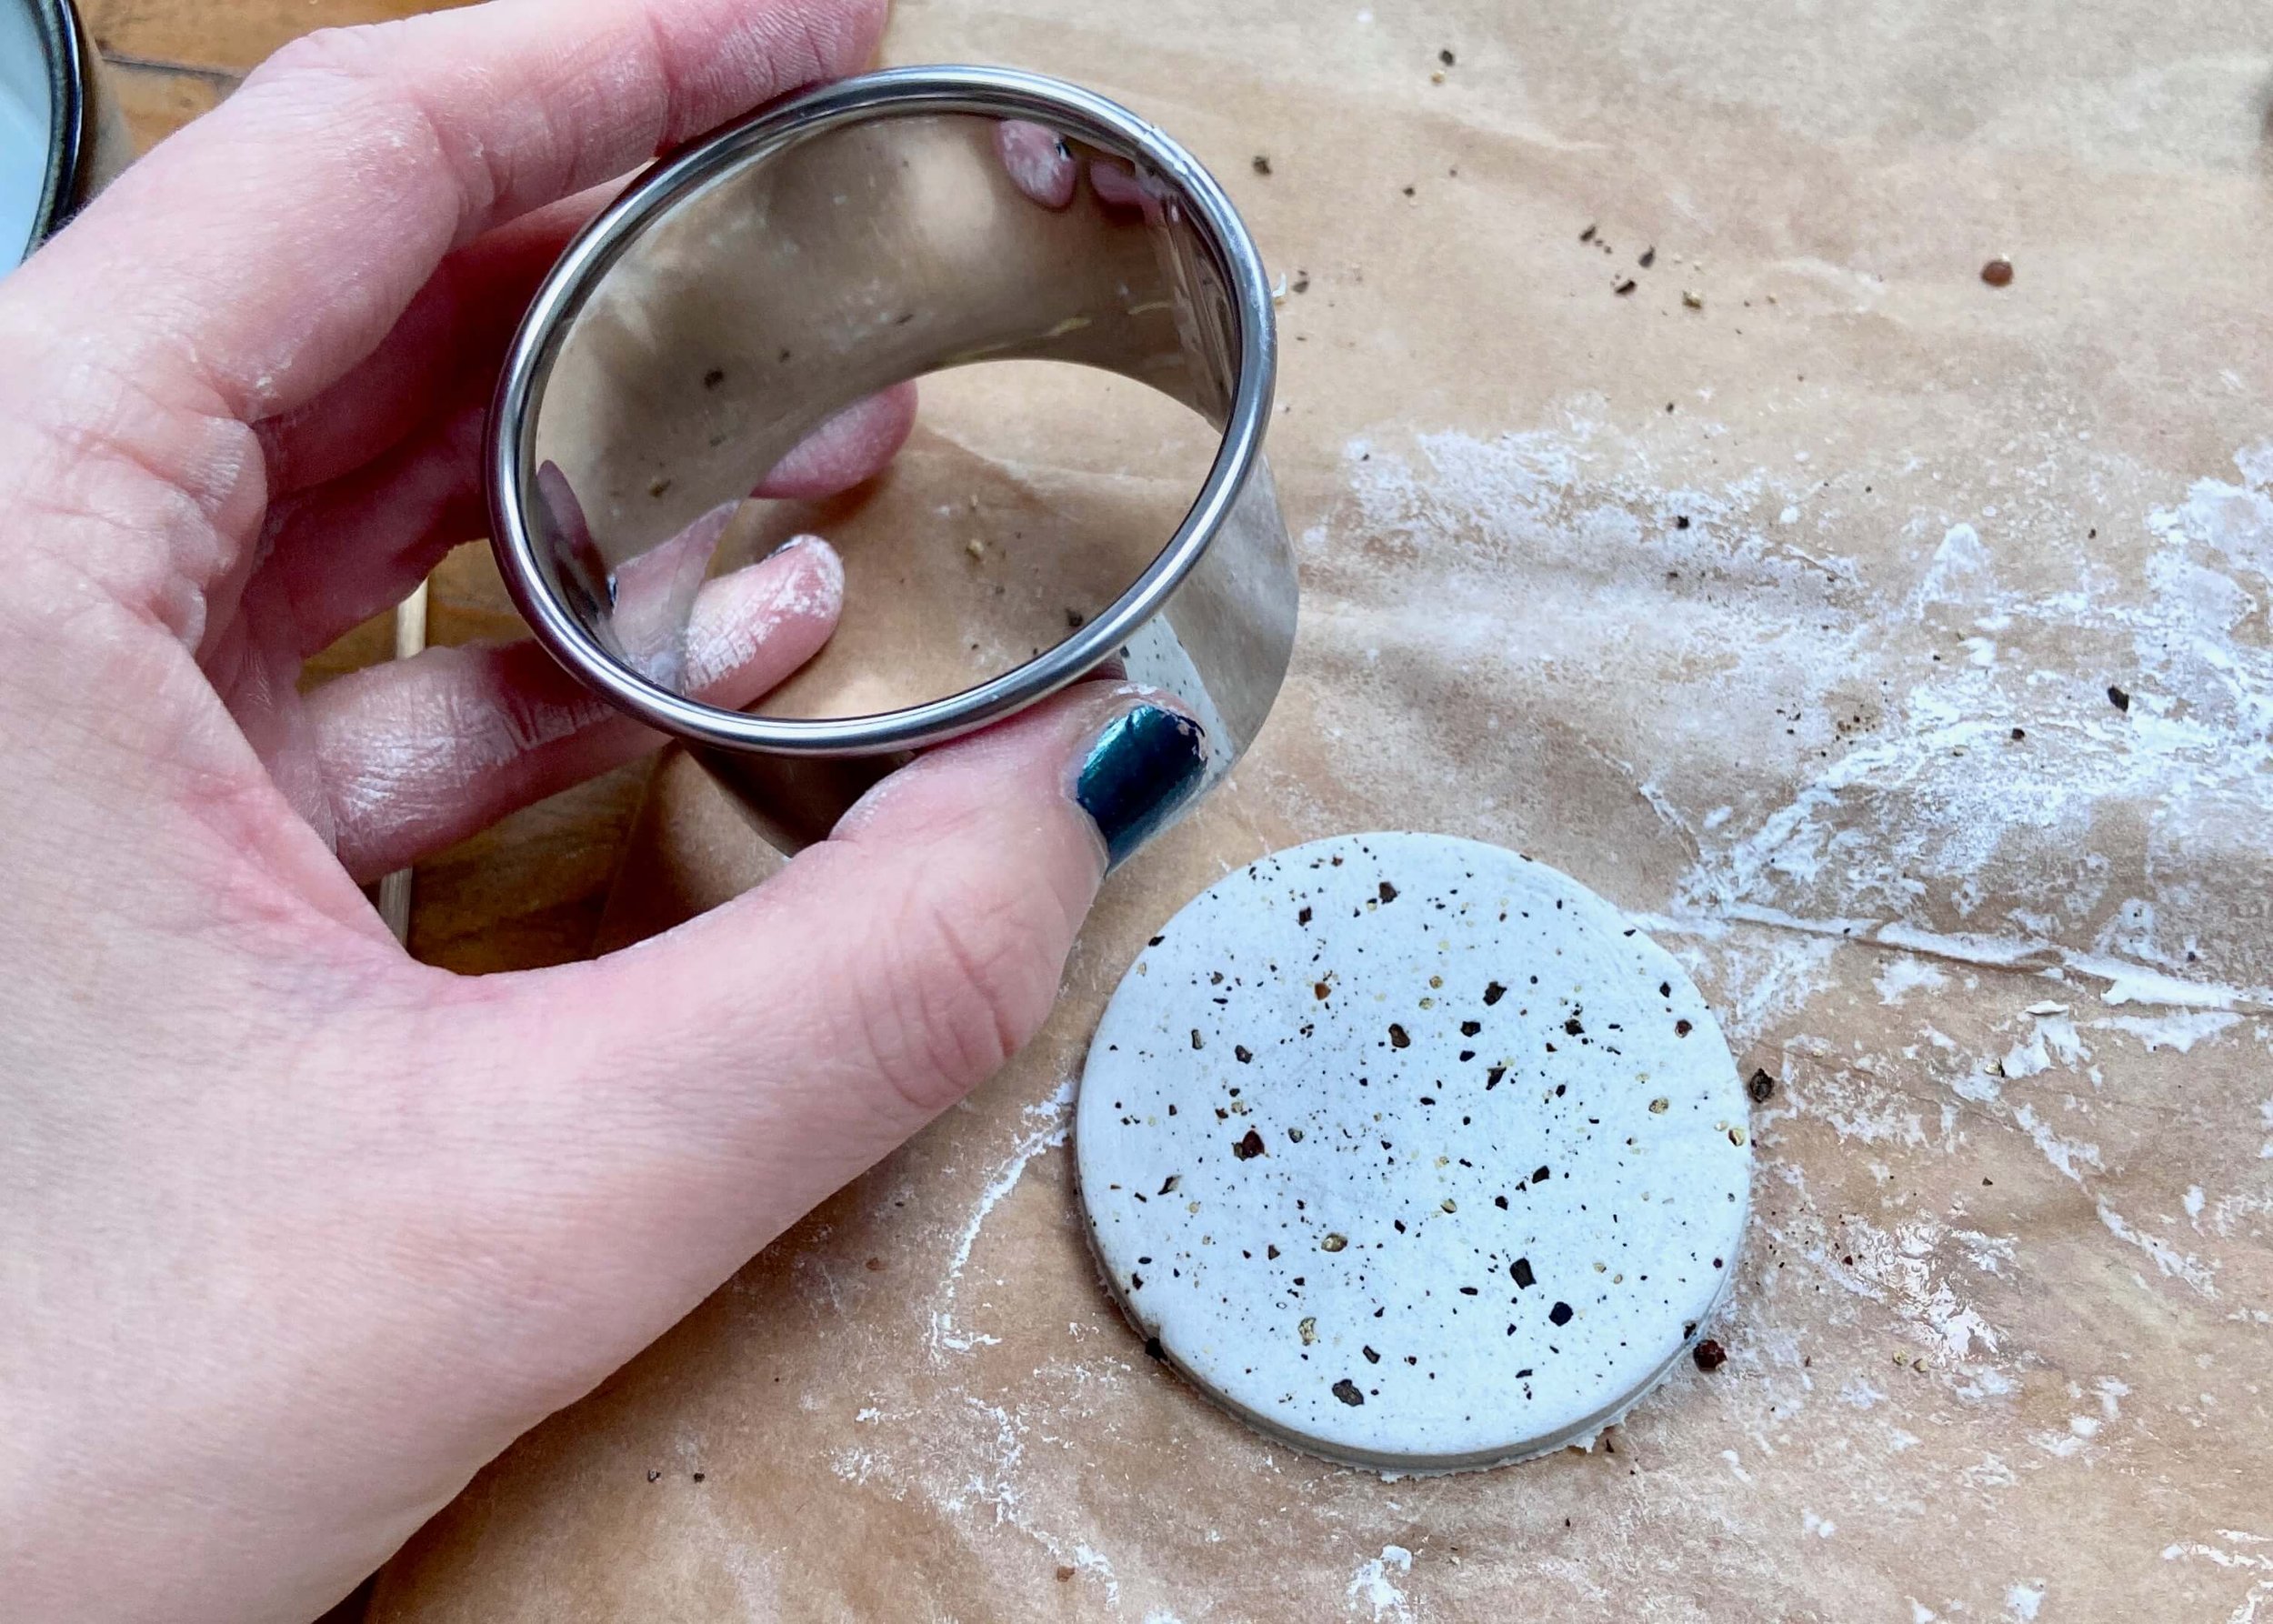
Use a pepper grinder to add pepper all over your clay. Be sure to do this on both sides. Then roll the pepper into the clay with your rolling pin.
3.
Use a round cutter to cut out a circle.

4.
Use the same round cutter but move it slightly to the right of your clay circle to create a crescent moon shape on the left of the cutter.
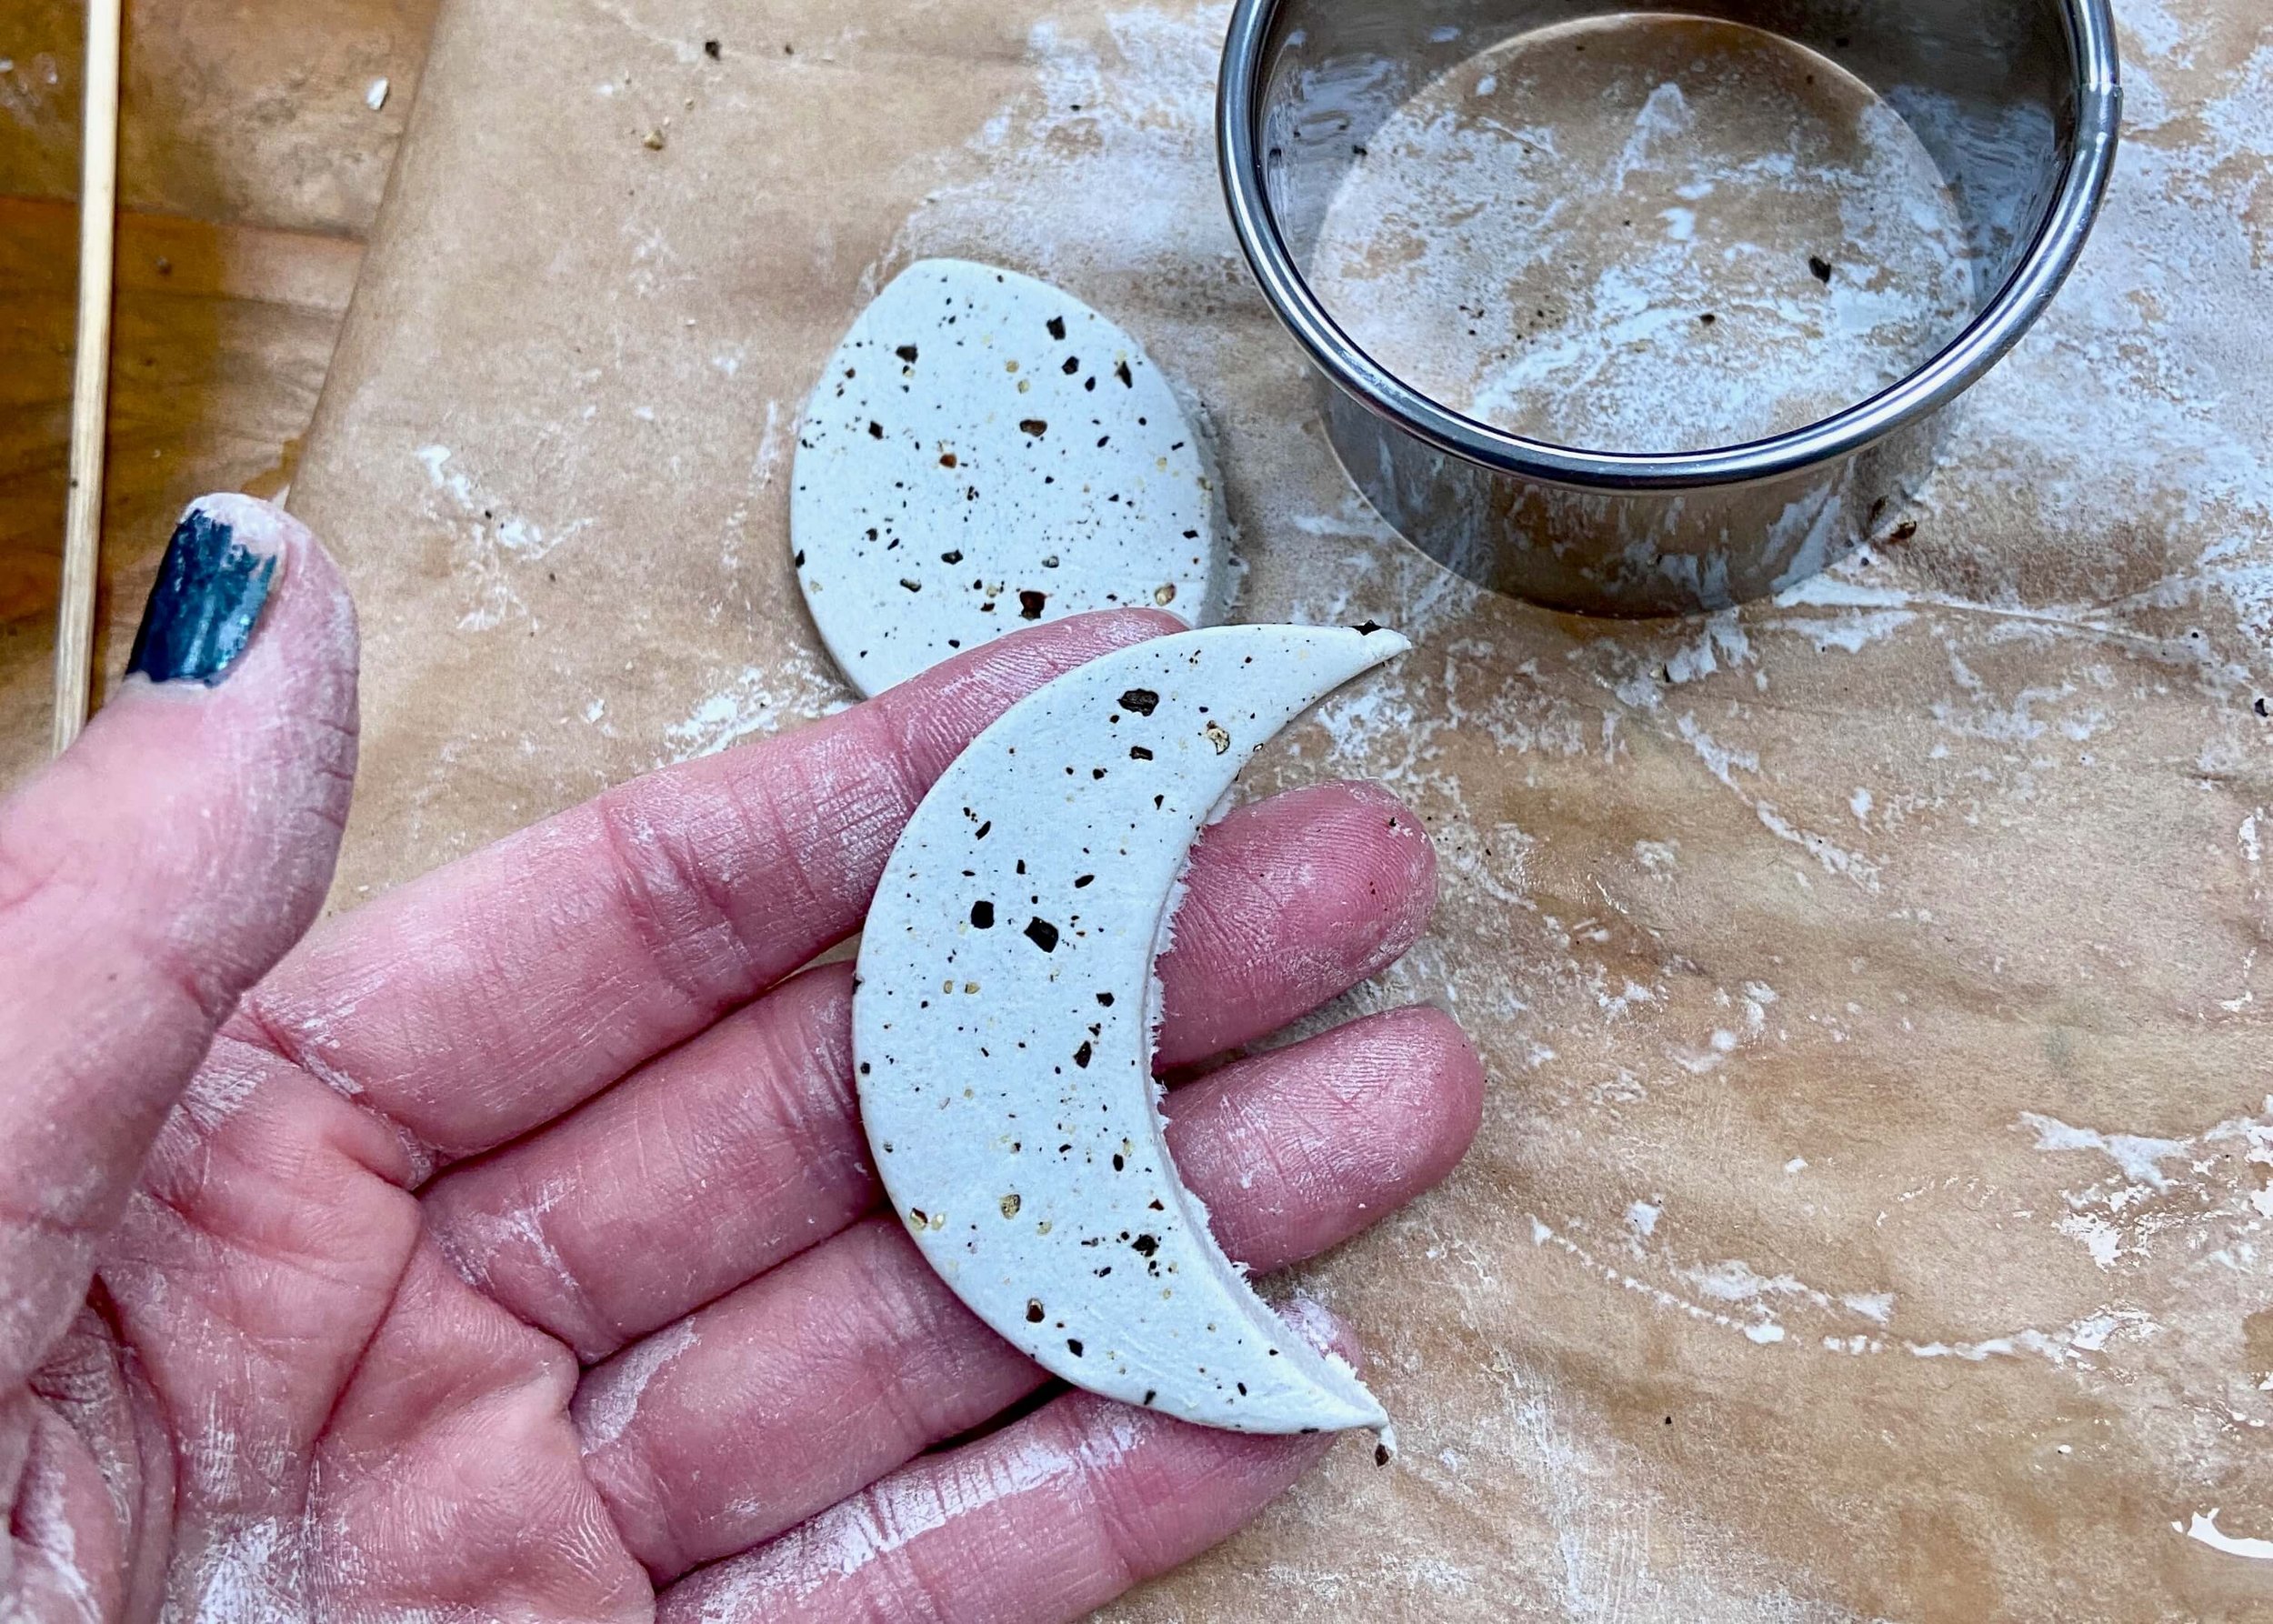
5.
Press down firmly and gently twist and pull to remove the excess clay.

6.
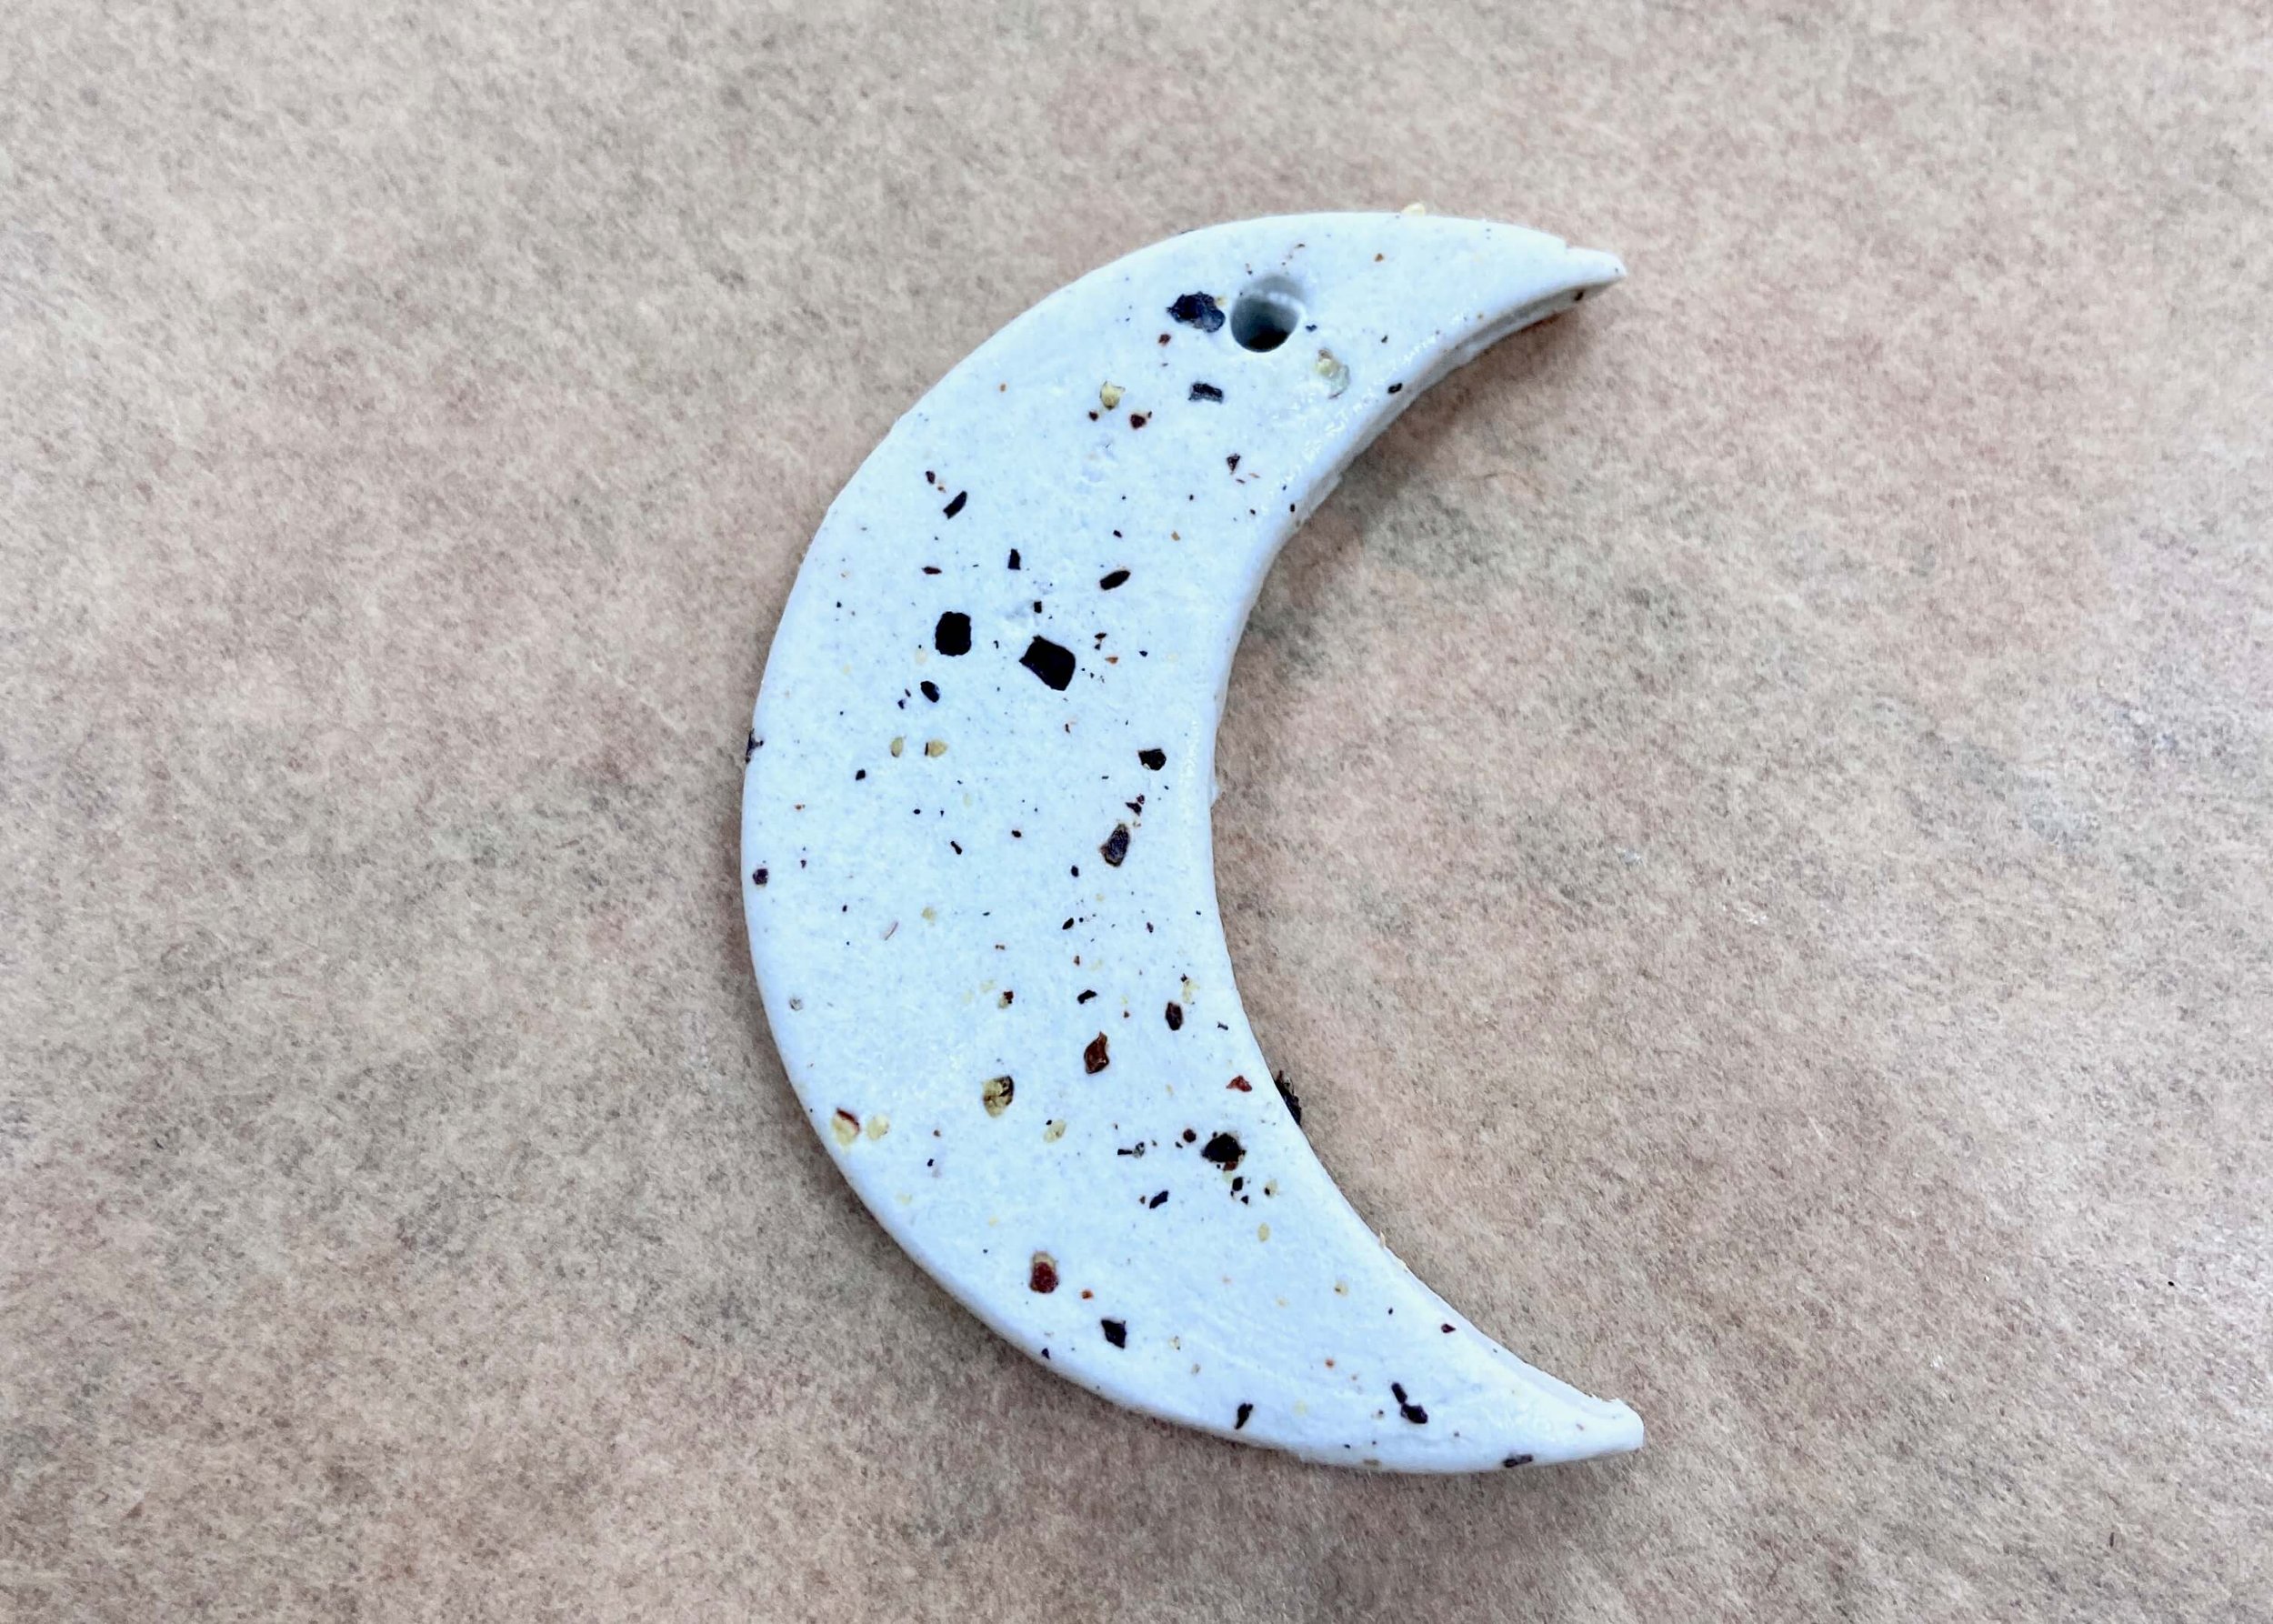
Use a skewer or small straw to create a hole in the top for hanging. Be sure to leave enough clay either side of the hole so that it doesn’t break.
7.
Leave the clay to dry thoroughly in an area that is a steady and normal temperature. I like to turn my drying clay over when I can to make sure it dries evenly, which avoids cracking. Once dry, you can seal your clay to protect it. Next, cut off a length of string, twine or ribbon, push this through the hole and tie a knot.