
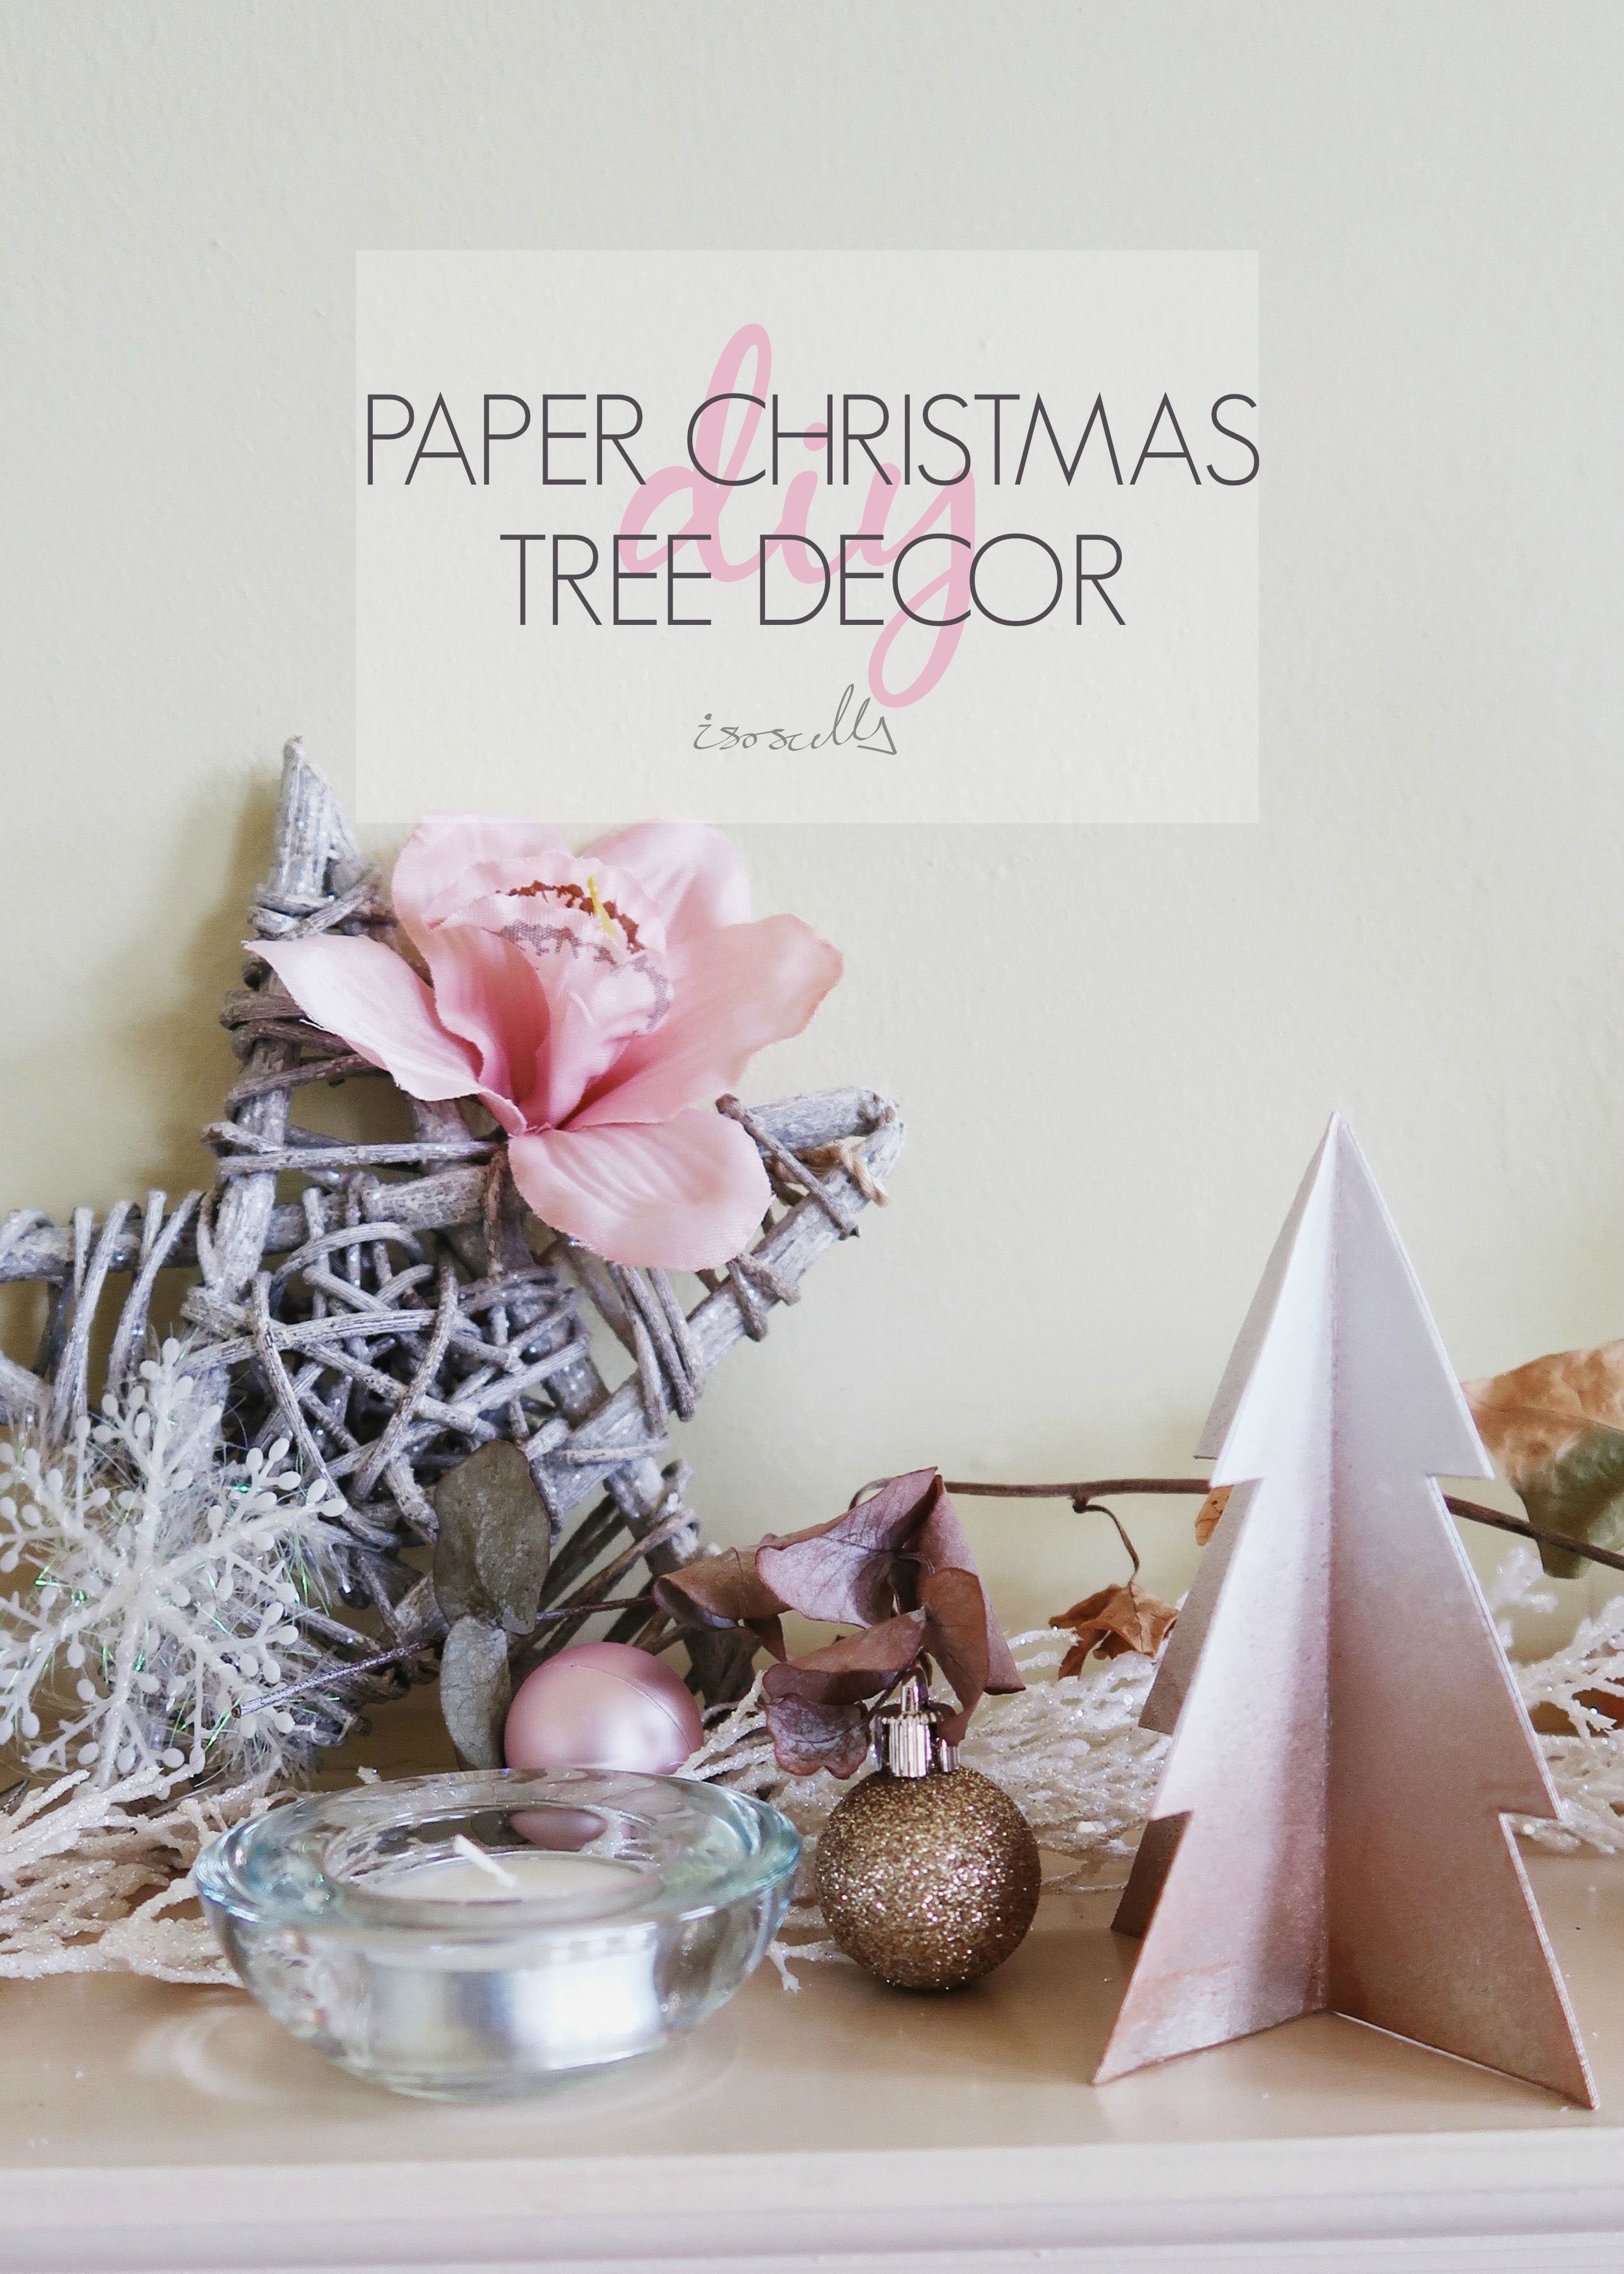
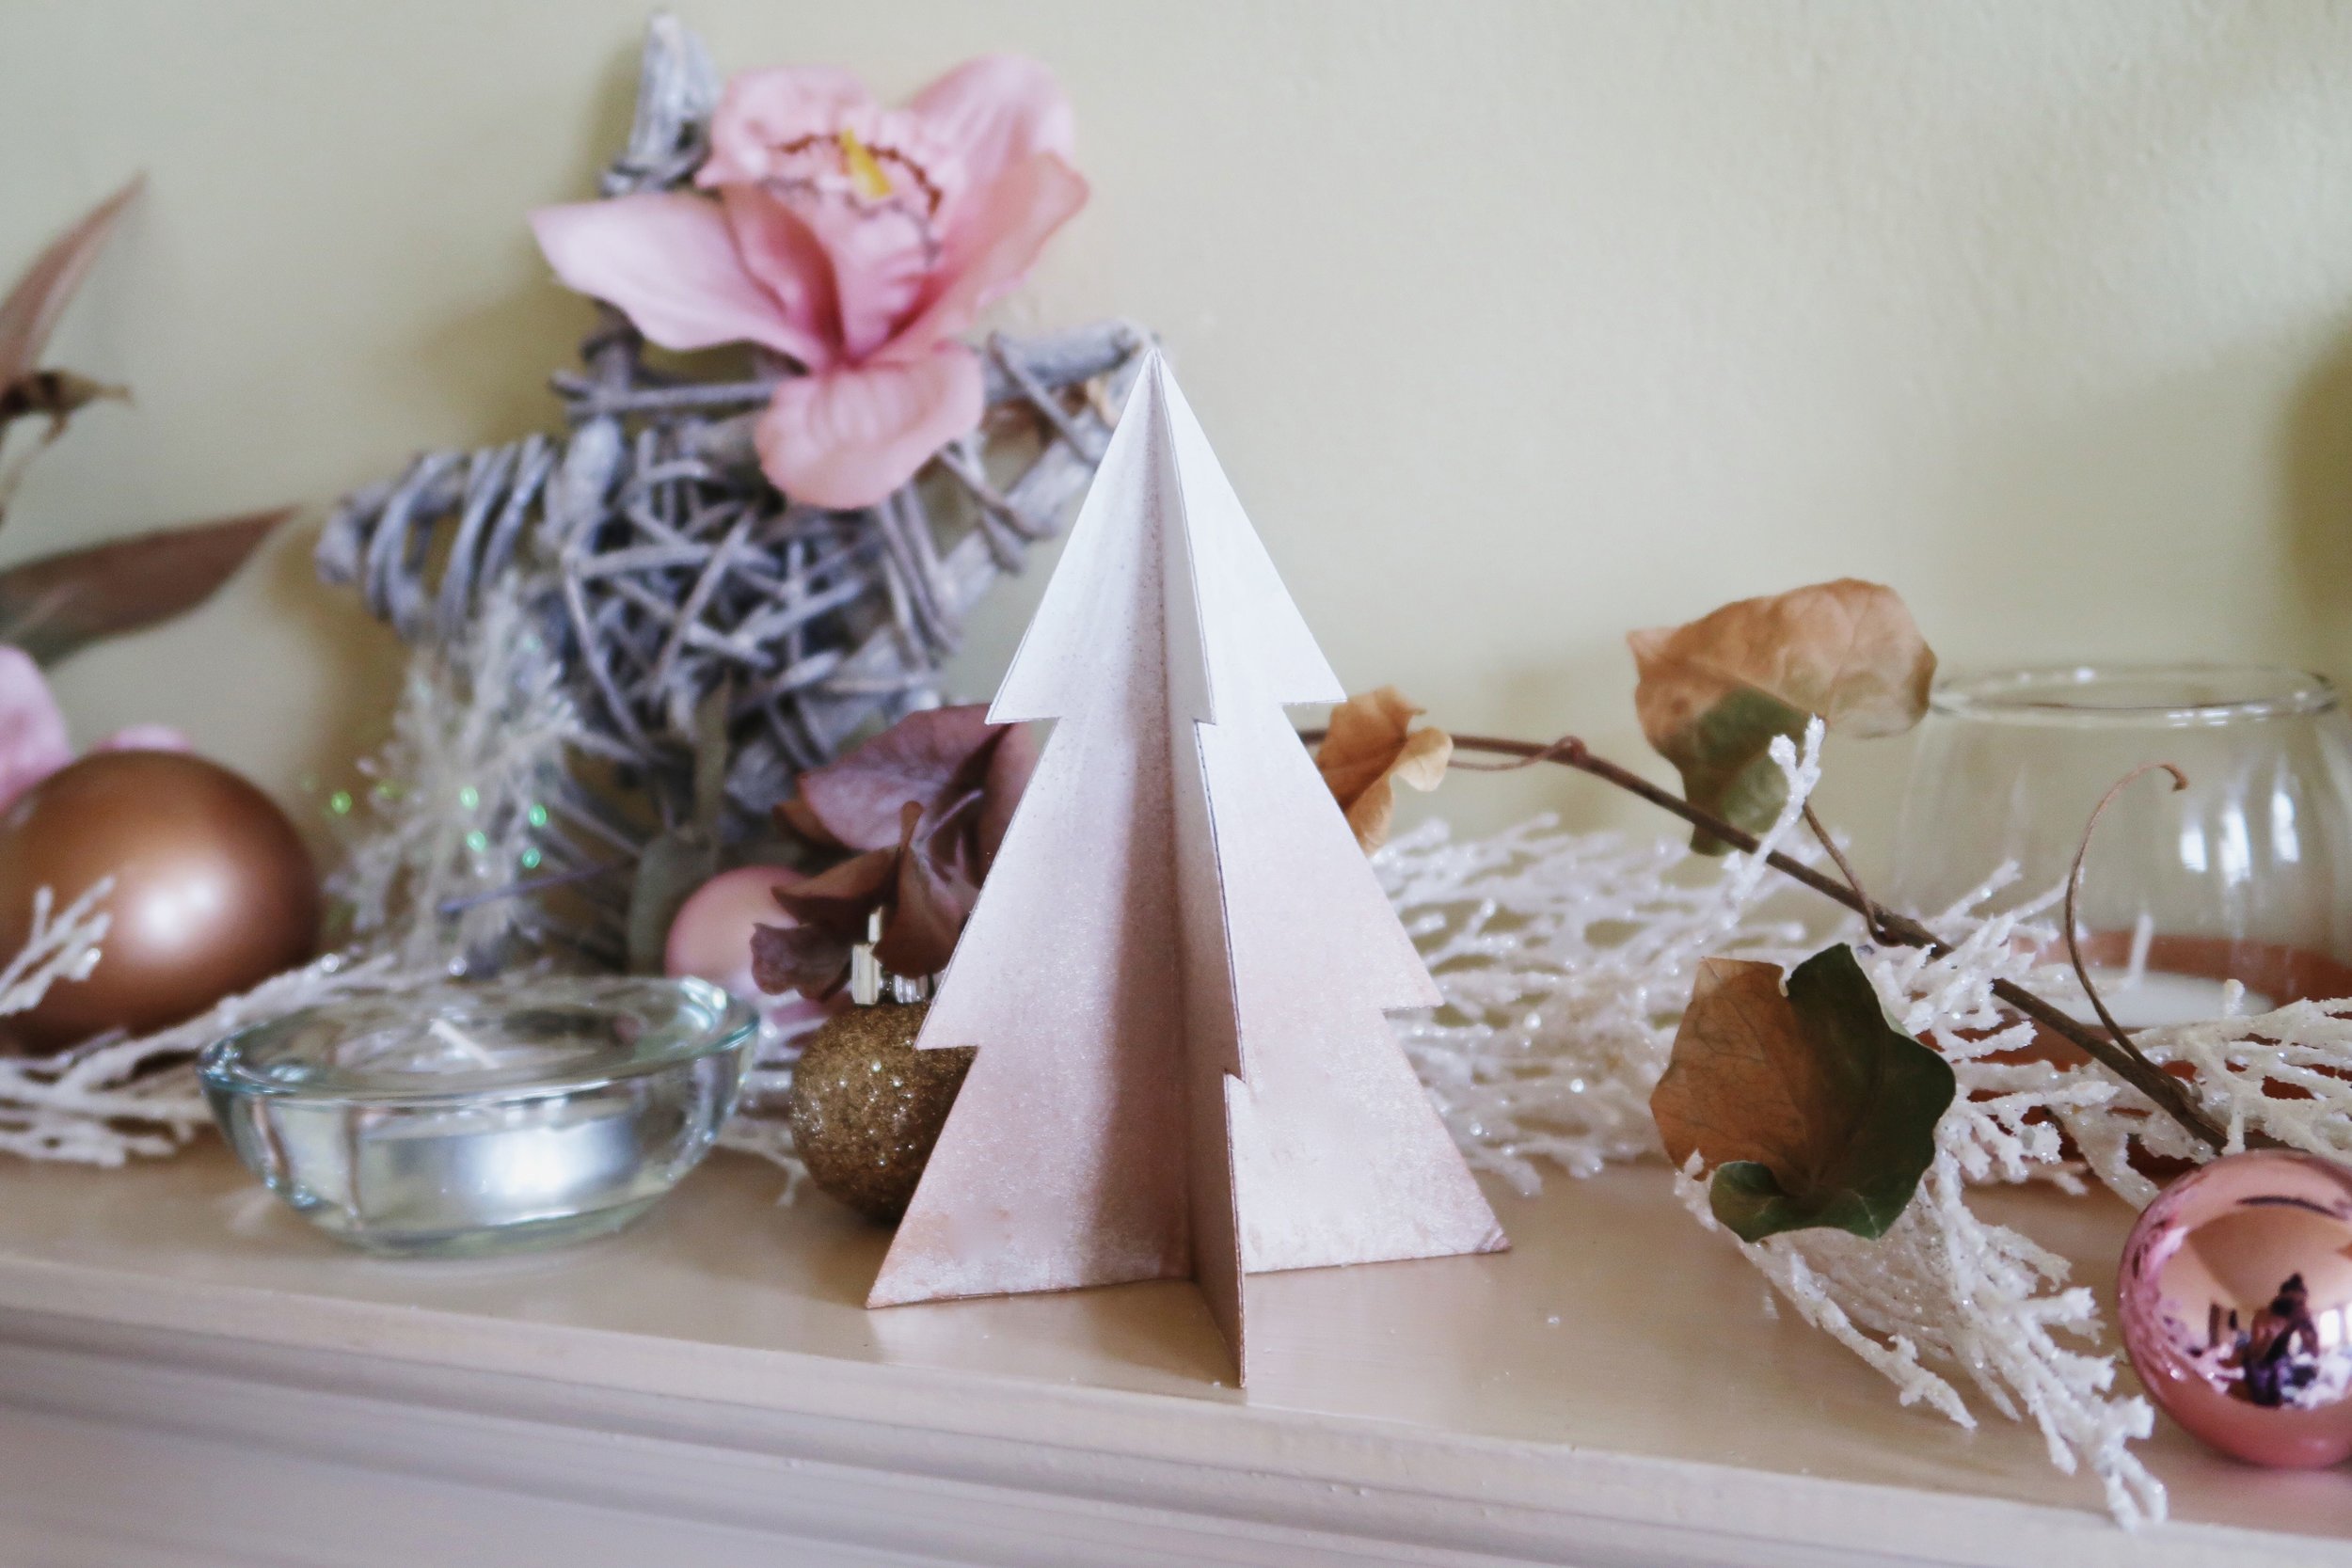

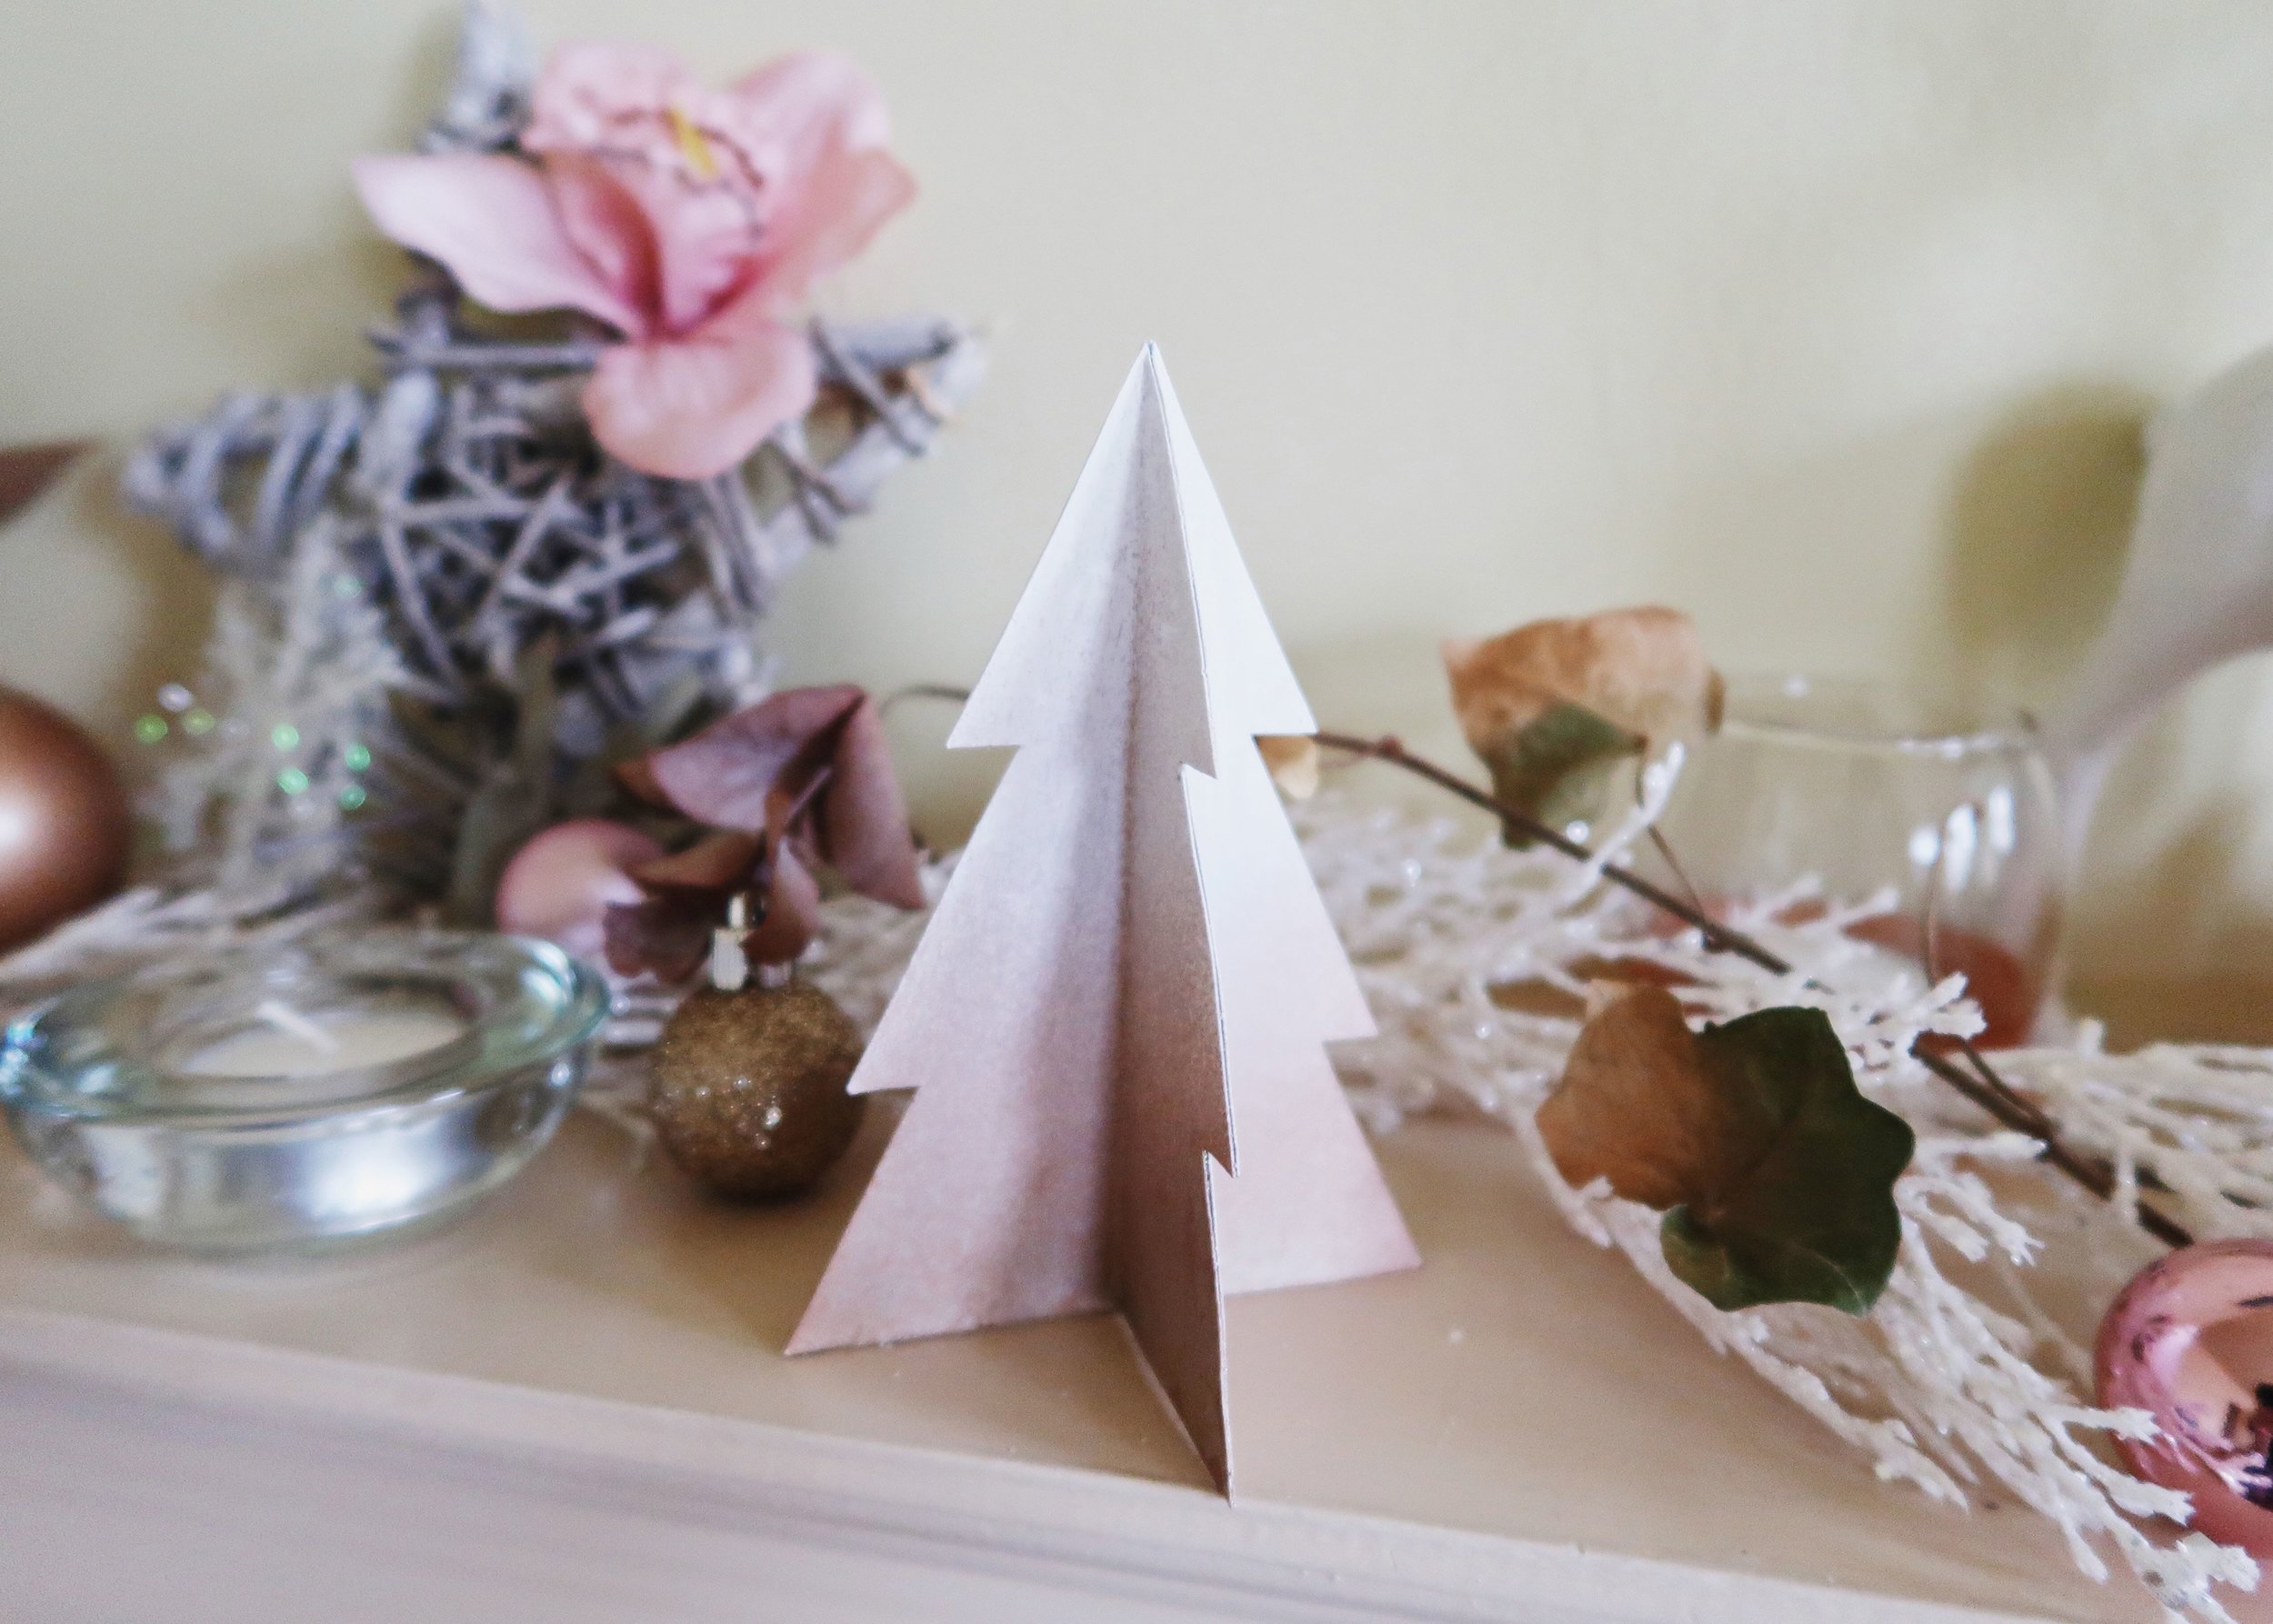
It may technically be November still, but December is just a matter of days away and if like me you like to craft some of your Christmas decor, now is the time to get started. So if you're looking for a cheap and easy way to make some decor yourself, then this DIY paper christmas tree decor may be for you!
As a child, one of the things I remember looking forward to in the lead up to Christmas was my family's tradition of choosing a new colour for our decorations every year. It's a tradition I love but it's one which can become really rather expensive if you're having to buy in new decorations each time. Last year, I decided to change my boyfriend and I's tree from our longstanding white and duck egg blue colour scheme to white and copper, which I did in part by repurposing some old baubles. This year, I'm loving copper (no surprises there!) against more earthy tones, dusky pinks and flocked greenery. Looking through our decorations, I realised that we didn't have any white and copper decorations that could stand on the fireplace and so I set about making these paper christmas trees. I'm really pleased with how they turned out and am loving them against these artificial flowers and miniature baubles. Keep reading to find out what I used and how I made them...


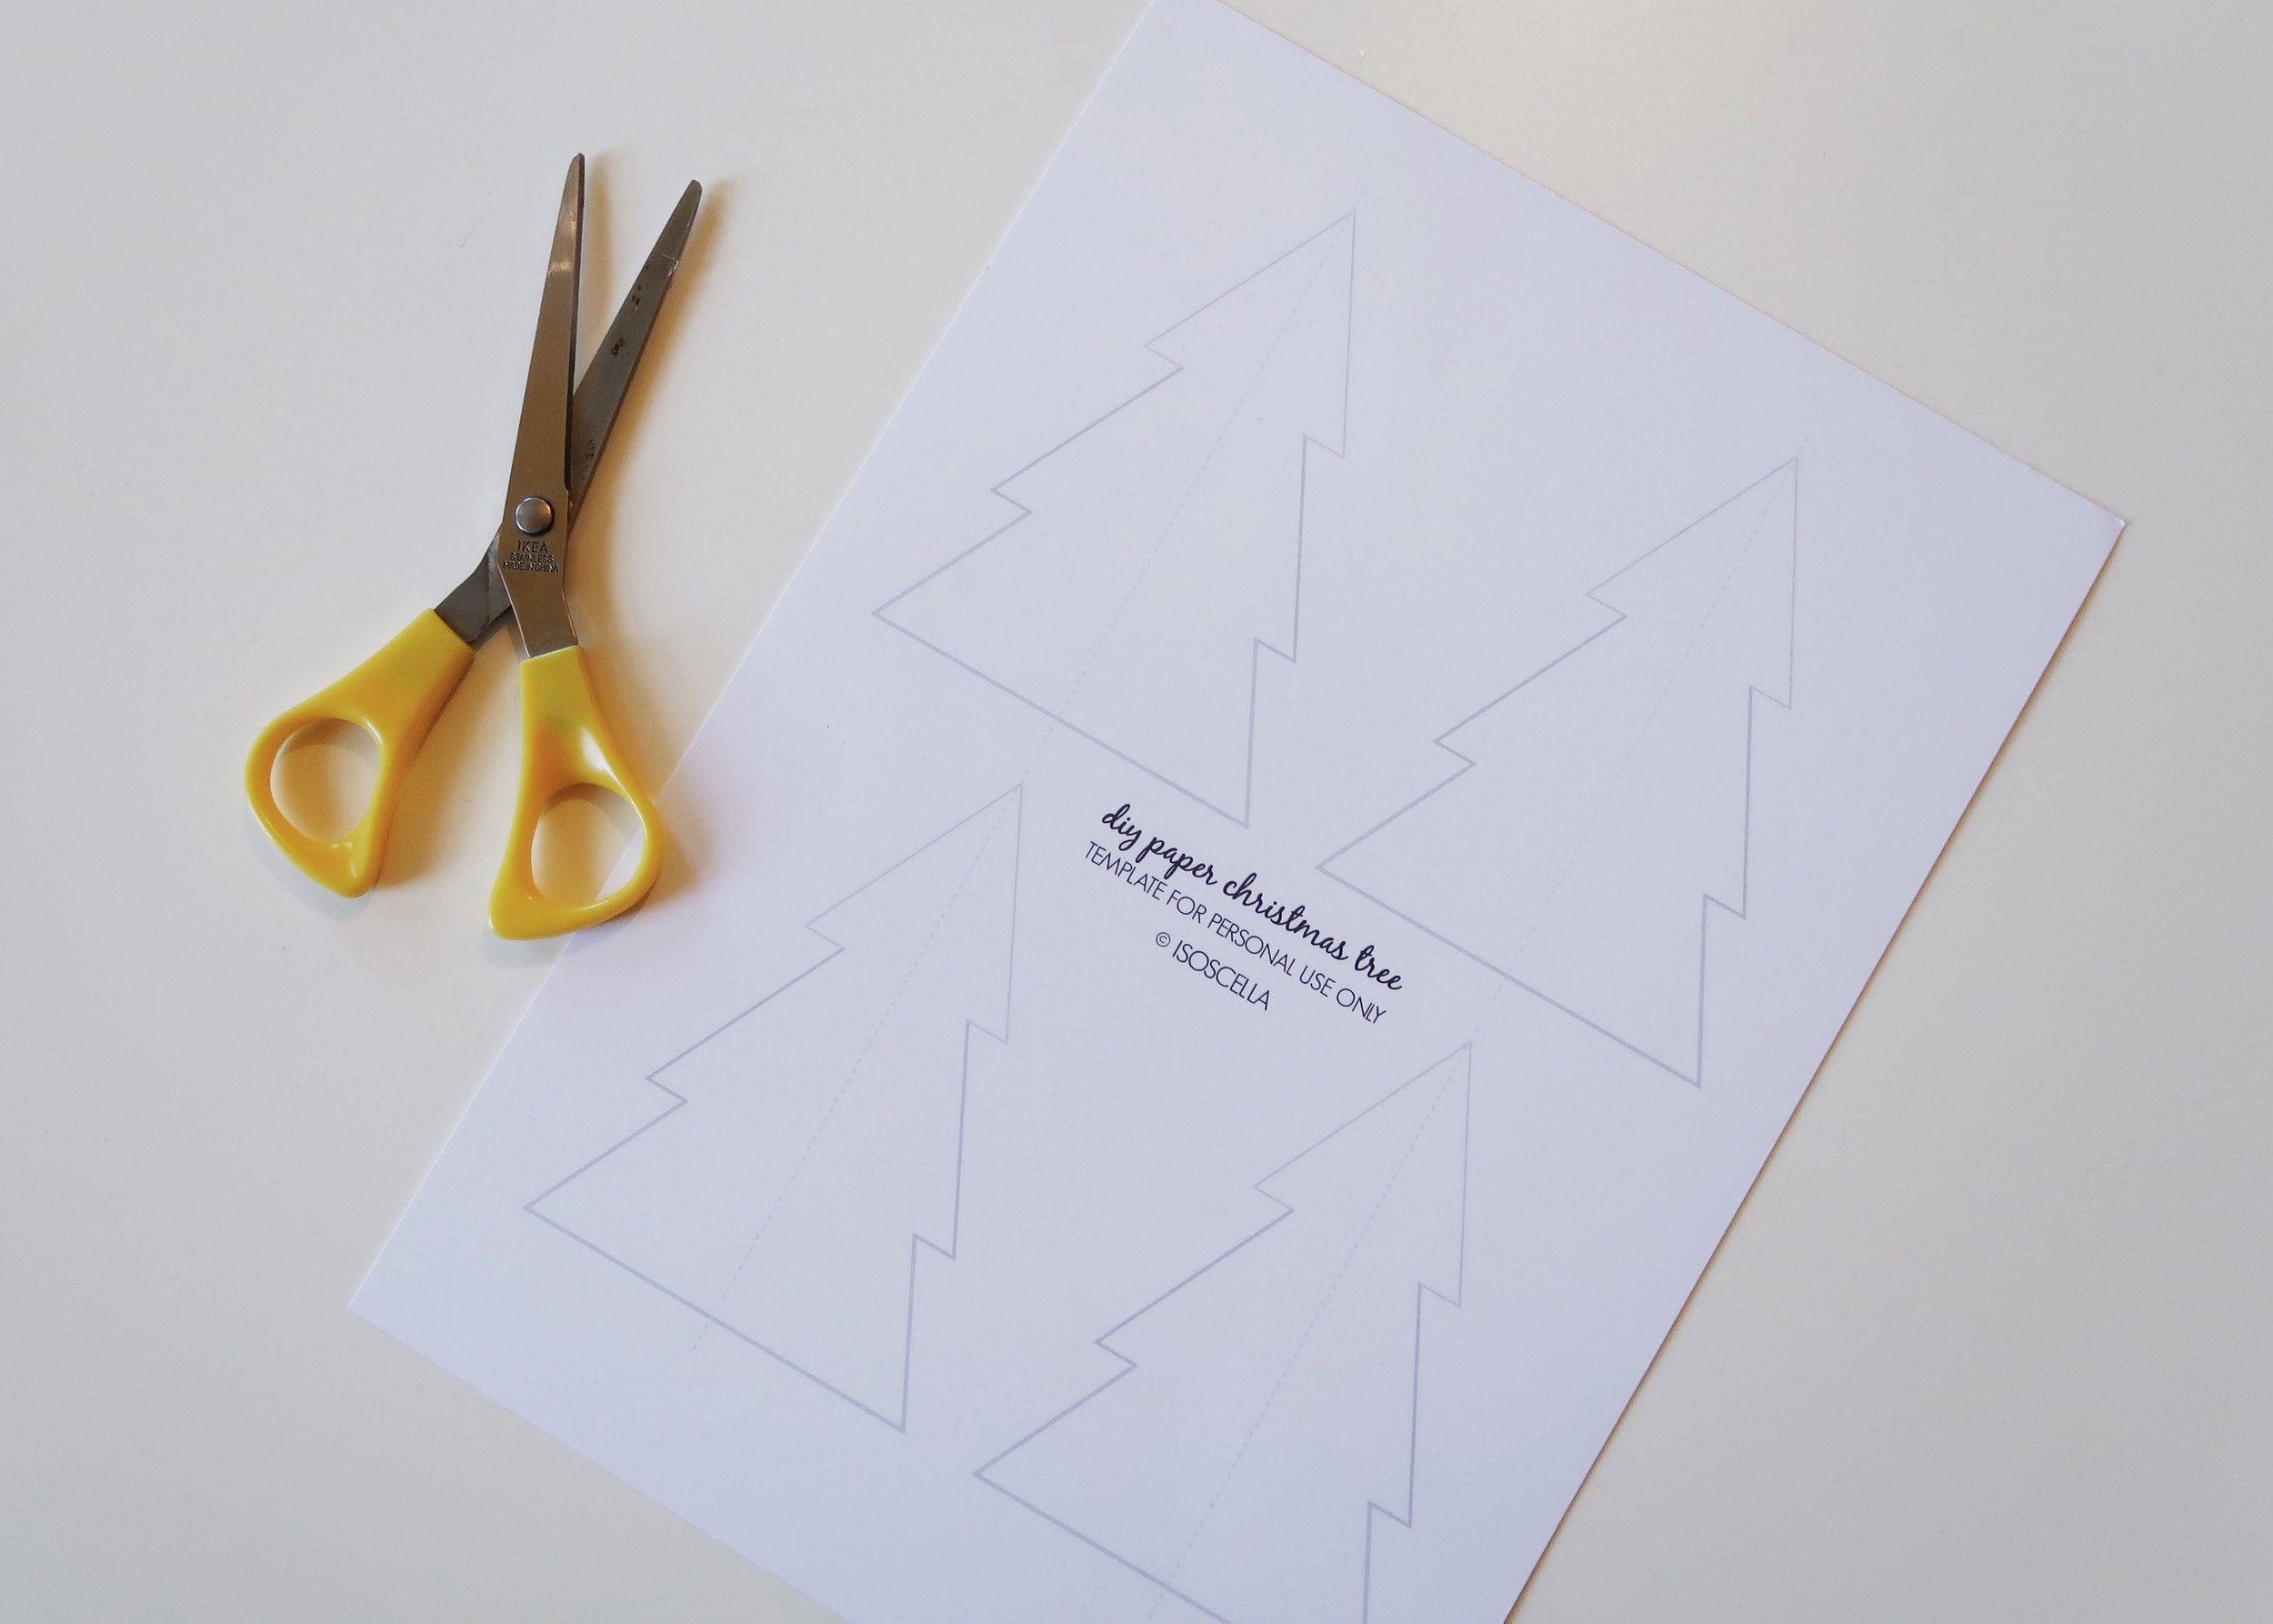
1.
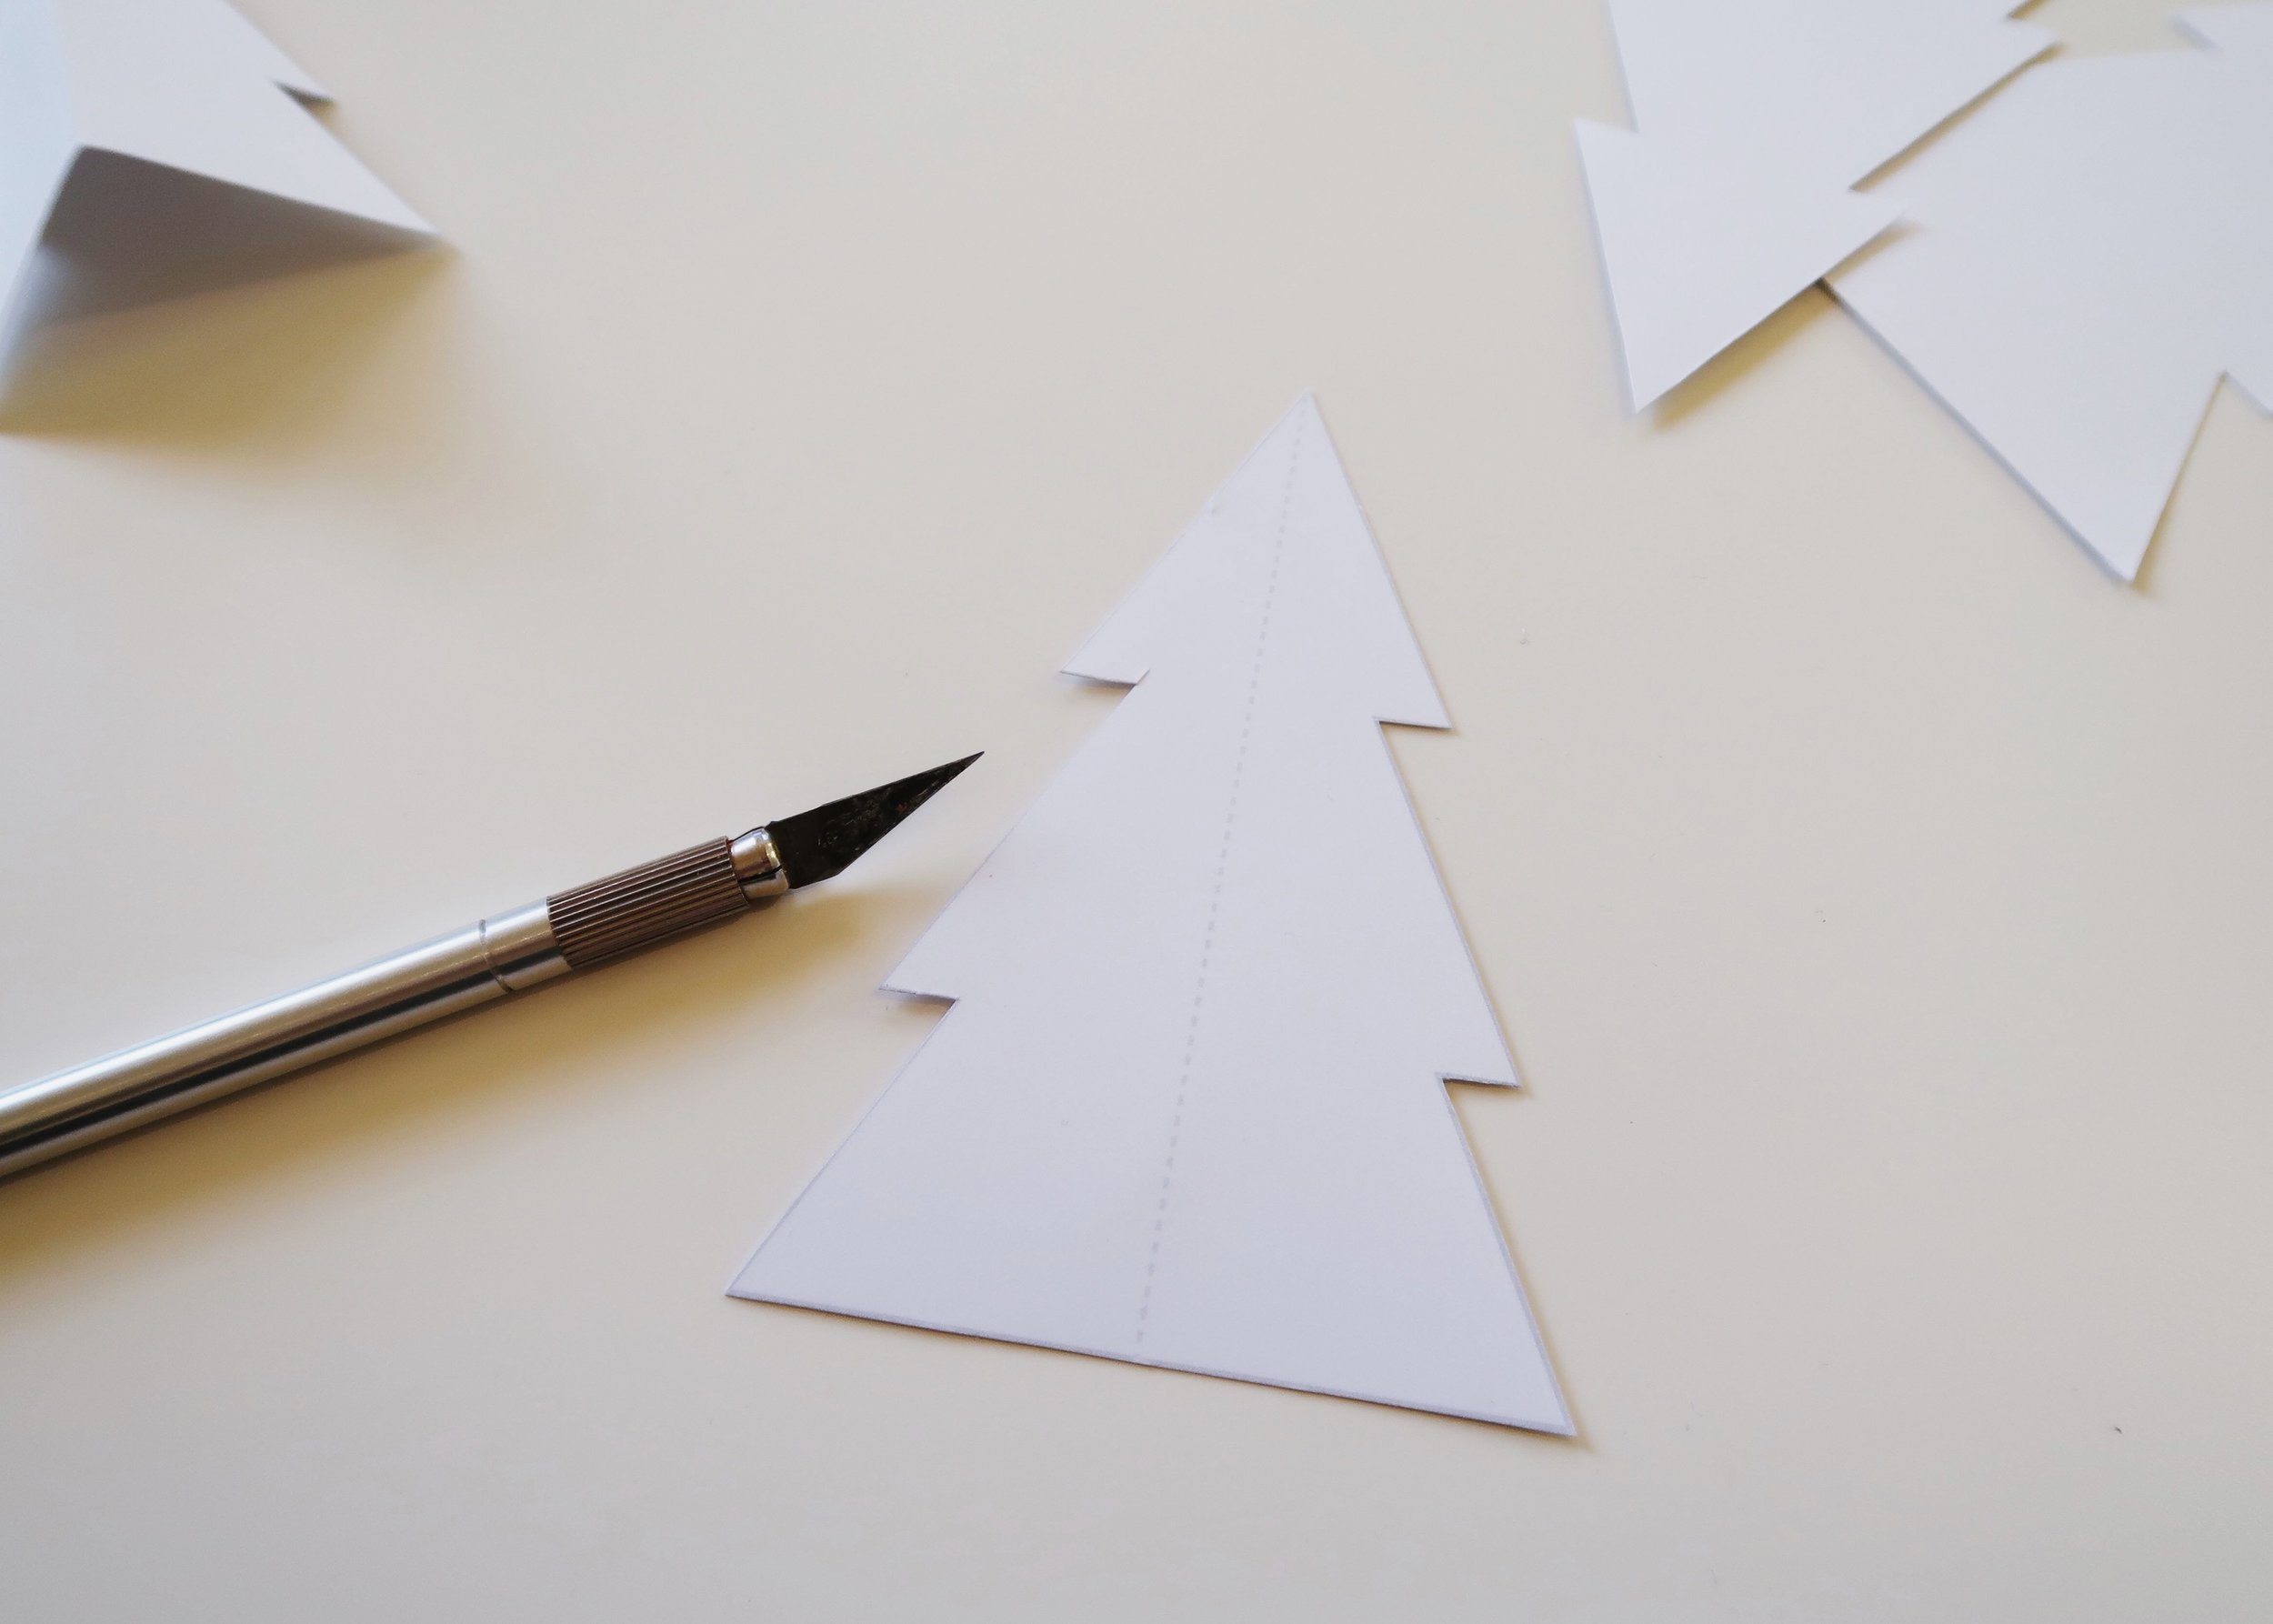
First of all, you want to download the printable below and print it out onto card. I used card that was thin enough to fit through my printer but thick enough to keep it's shape. Next, you want to carefully cut out each of the christmas tree shapes.
2.
Using a ruler and a craft knife (or a pair of scissors), score down the dotted line in the middle of each of the trees. Be careful not to cut all the way through - you just want to make it easier to fold!

3.
Once you've scored them all, fold down the dotted line of each christmas tree shape so that the dotted line is on the outside of the fold.

4.
Next, stick the trees together so that the dotted line is facing inwards. The easiest way to do this is to cover one half of one tree in glue and then stick one half of another tree to it and so on, until you've used all four trees and your now 3D tree is able to stand by itself.
5.
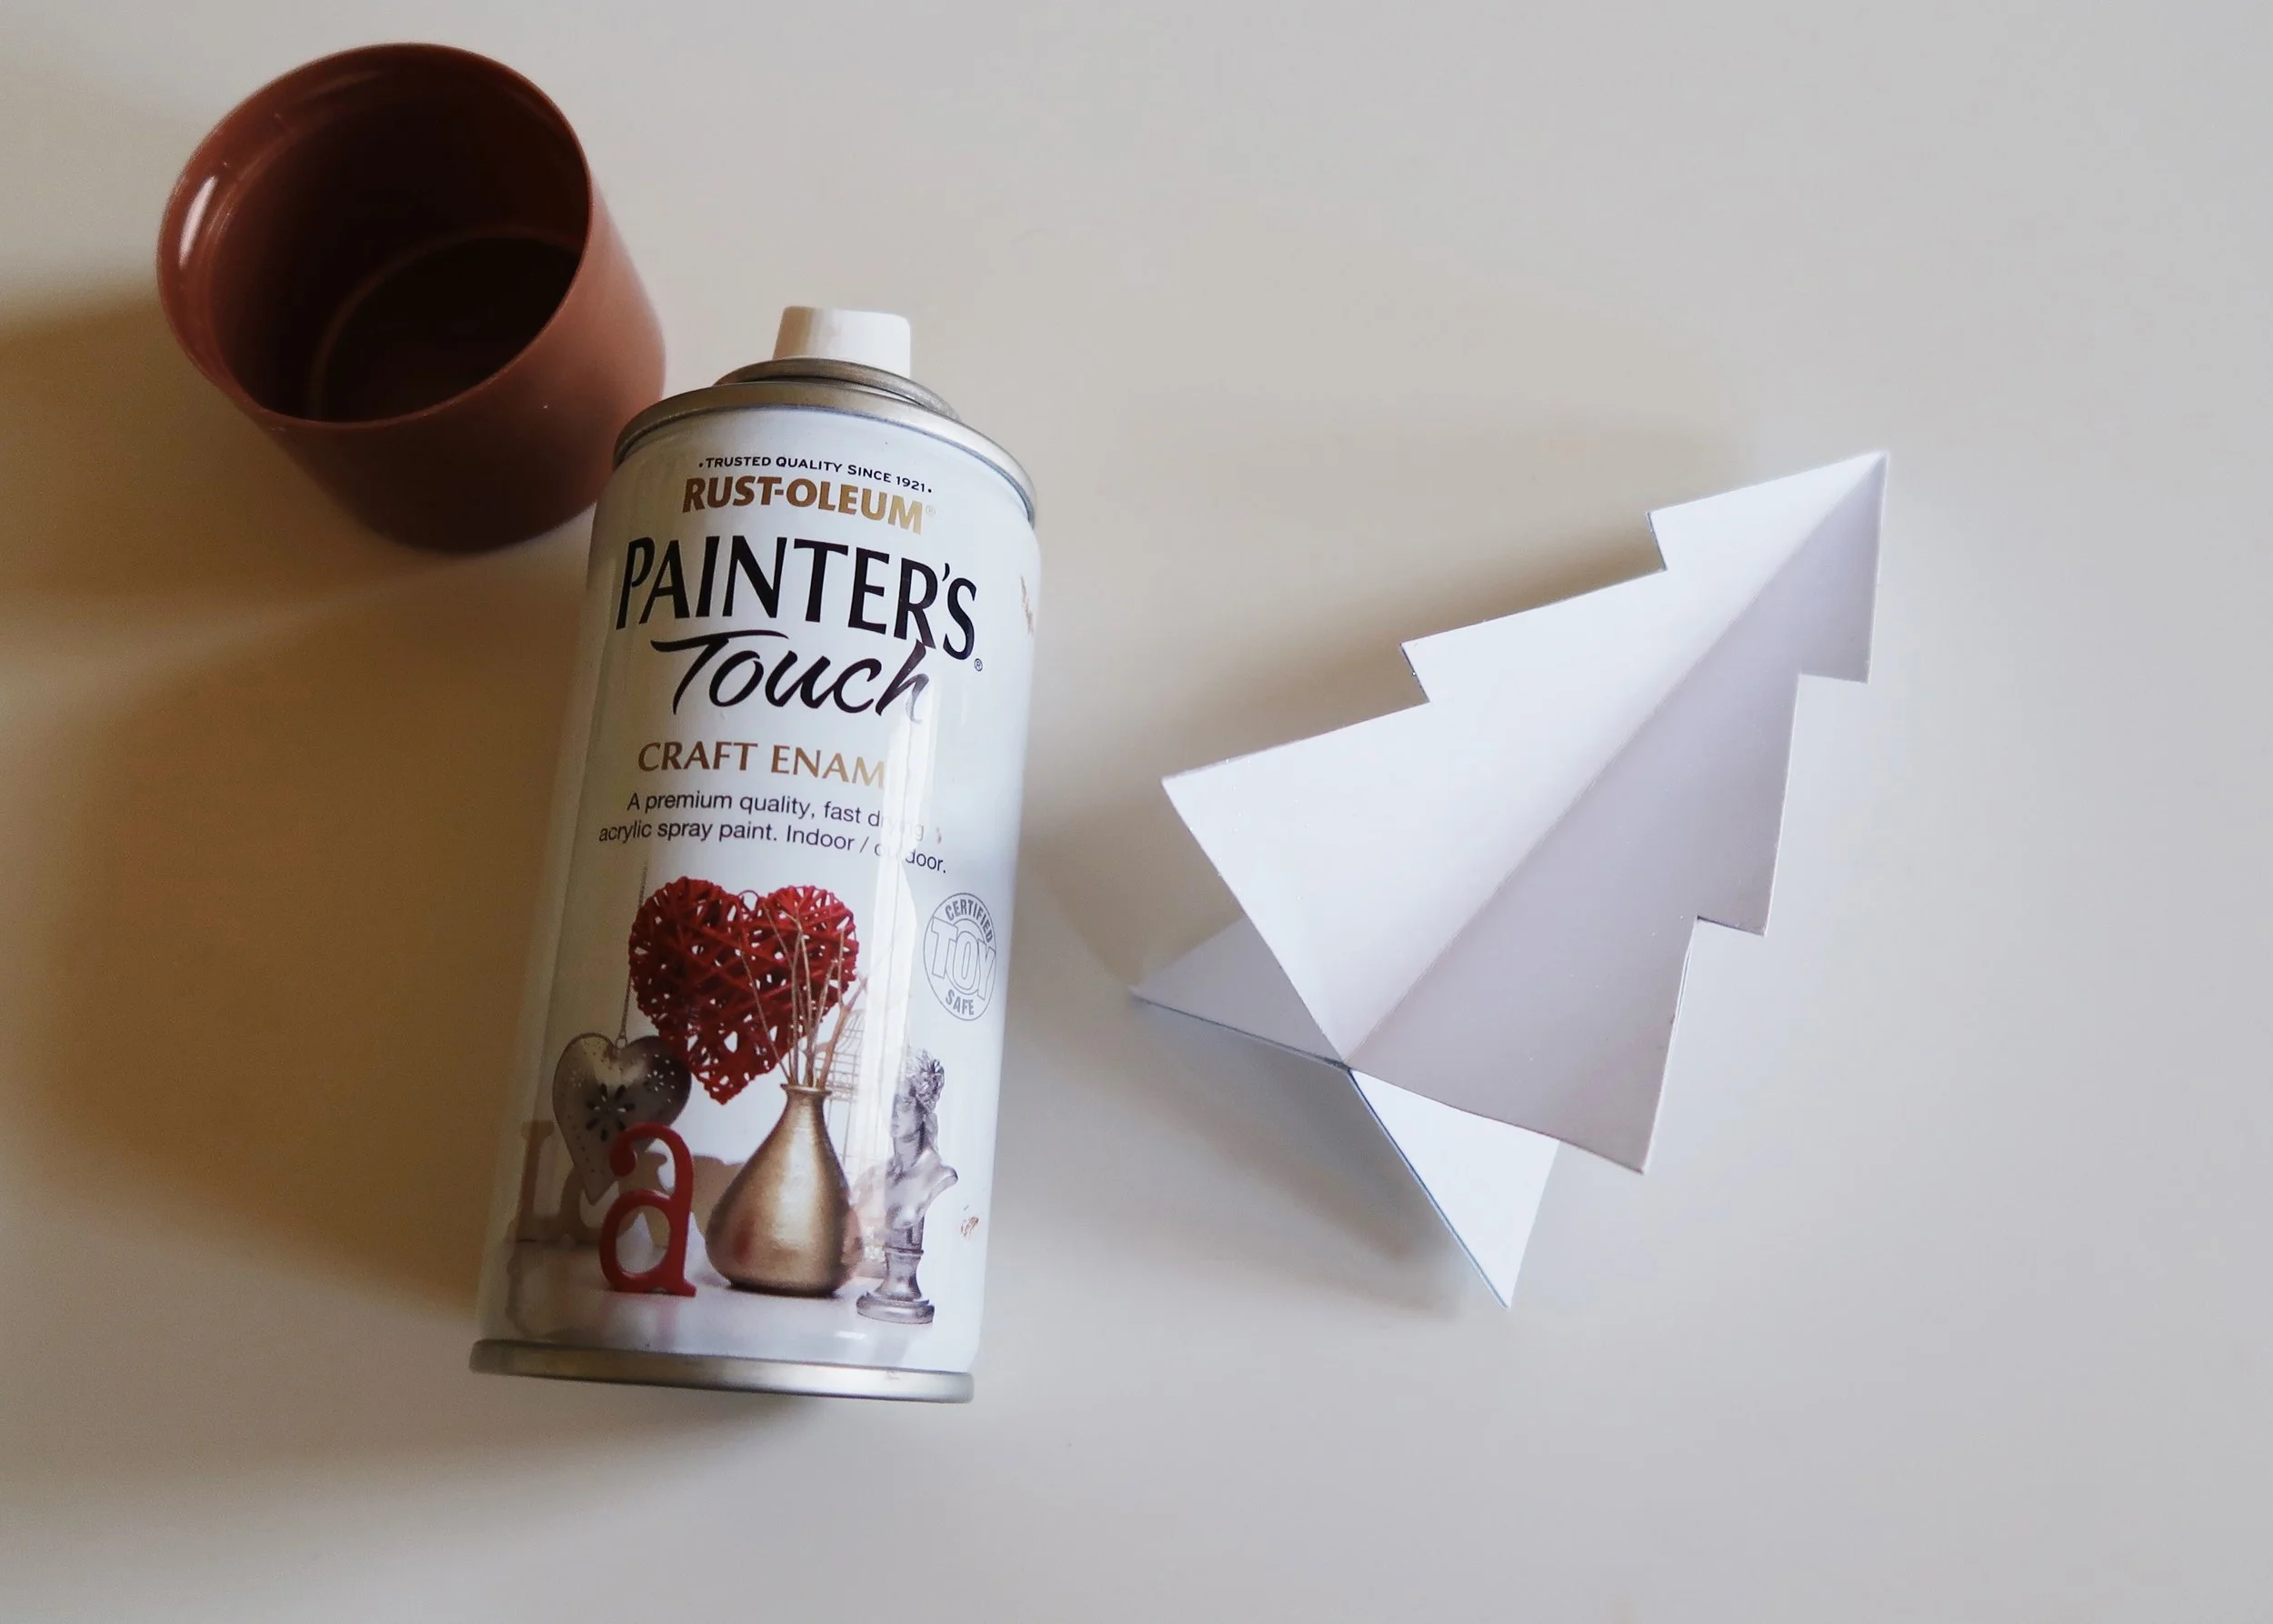
When the glue is dry, hold the tree upside down by its top and spray the base of the tree copper. You may need to rotate the tree a bit whilst you do this to be sure you cover each side. To get a gradient effect, start spraying off of the tree and move the spray downwards a tiny bit onto the tree, releasing pressure on the can and moving the can away as you do.

6.
When the copper paint is dry, now hold the tree by it's base (where you sprayed copper) and spray paint the top white. Again, to get a gradient effect, start spraying off of the tree before moving down onto the tree and releasing pressure on the can (and moving the can away) as you do.
...AND THAT'S IT!


DOWNLOAD THE PDF:


