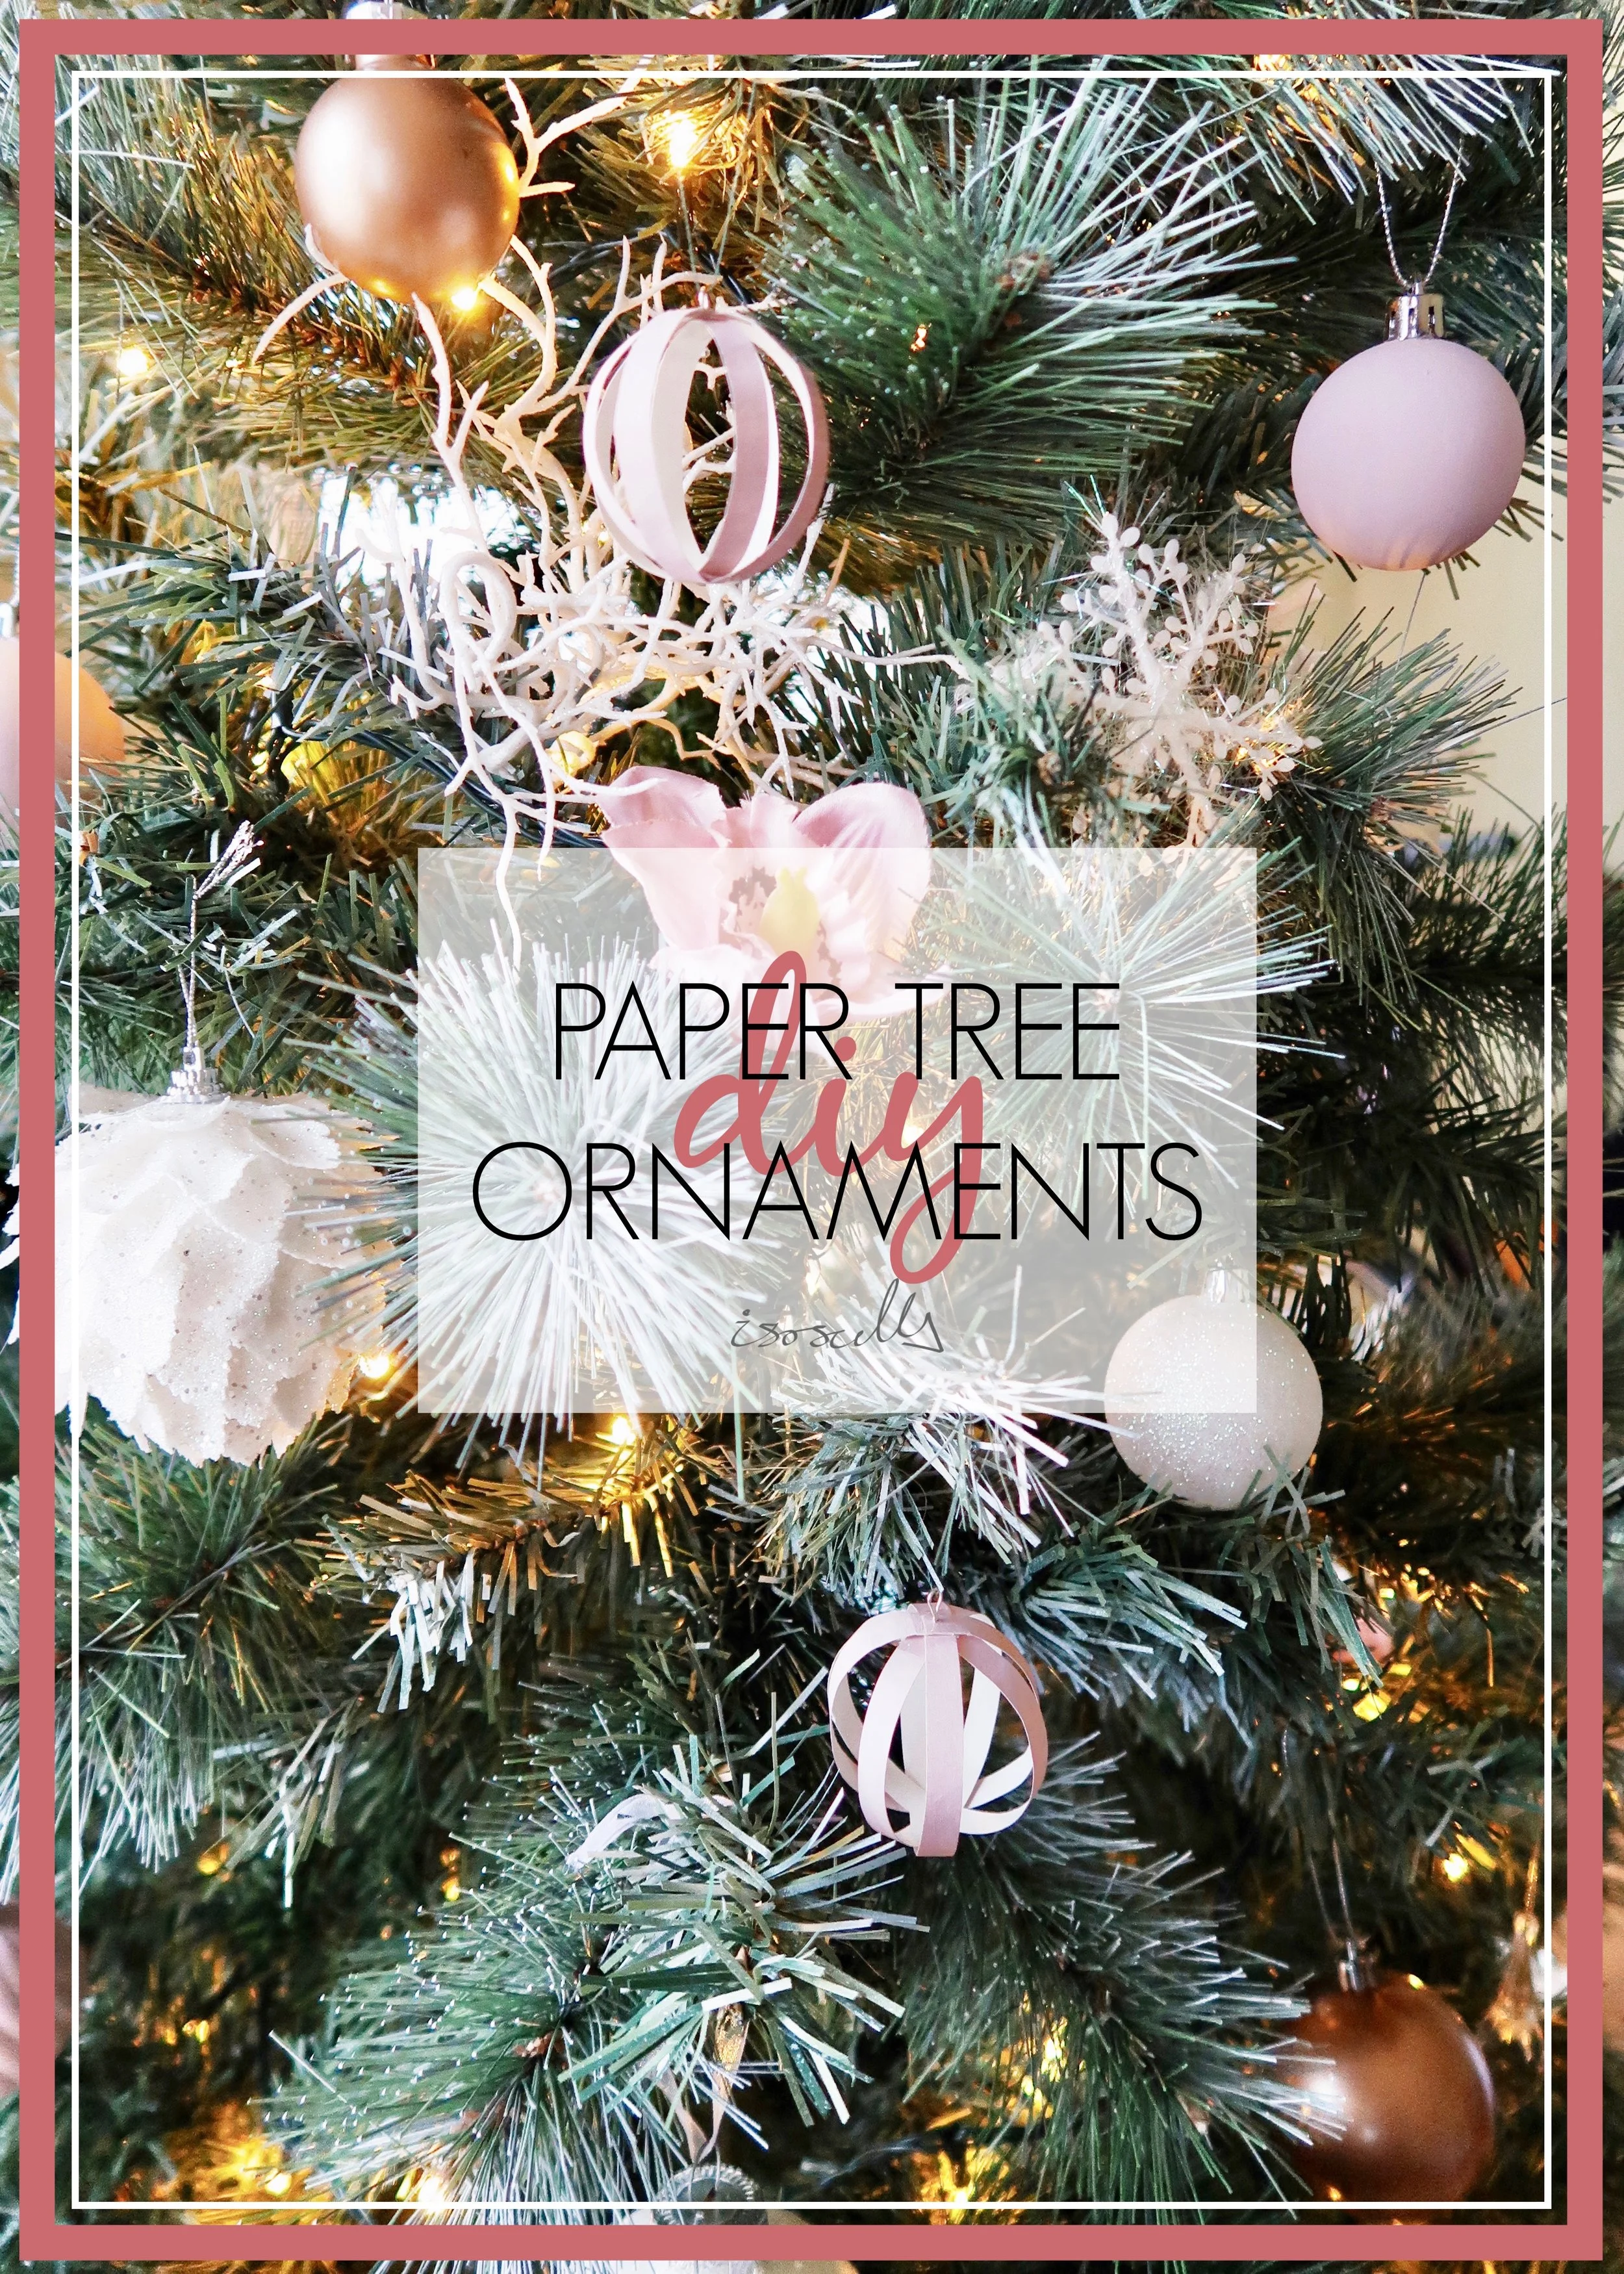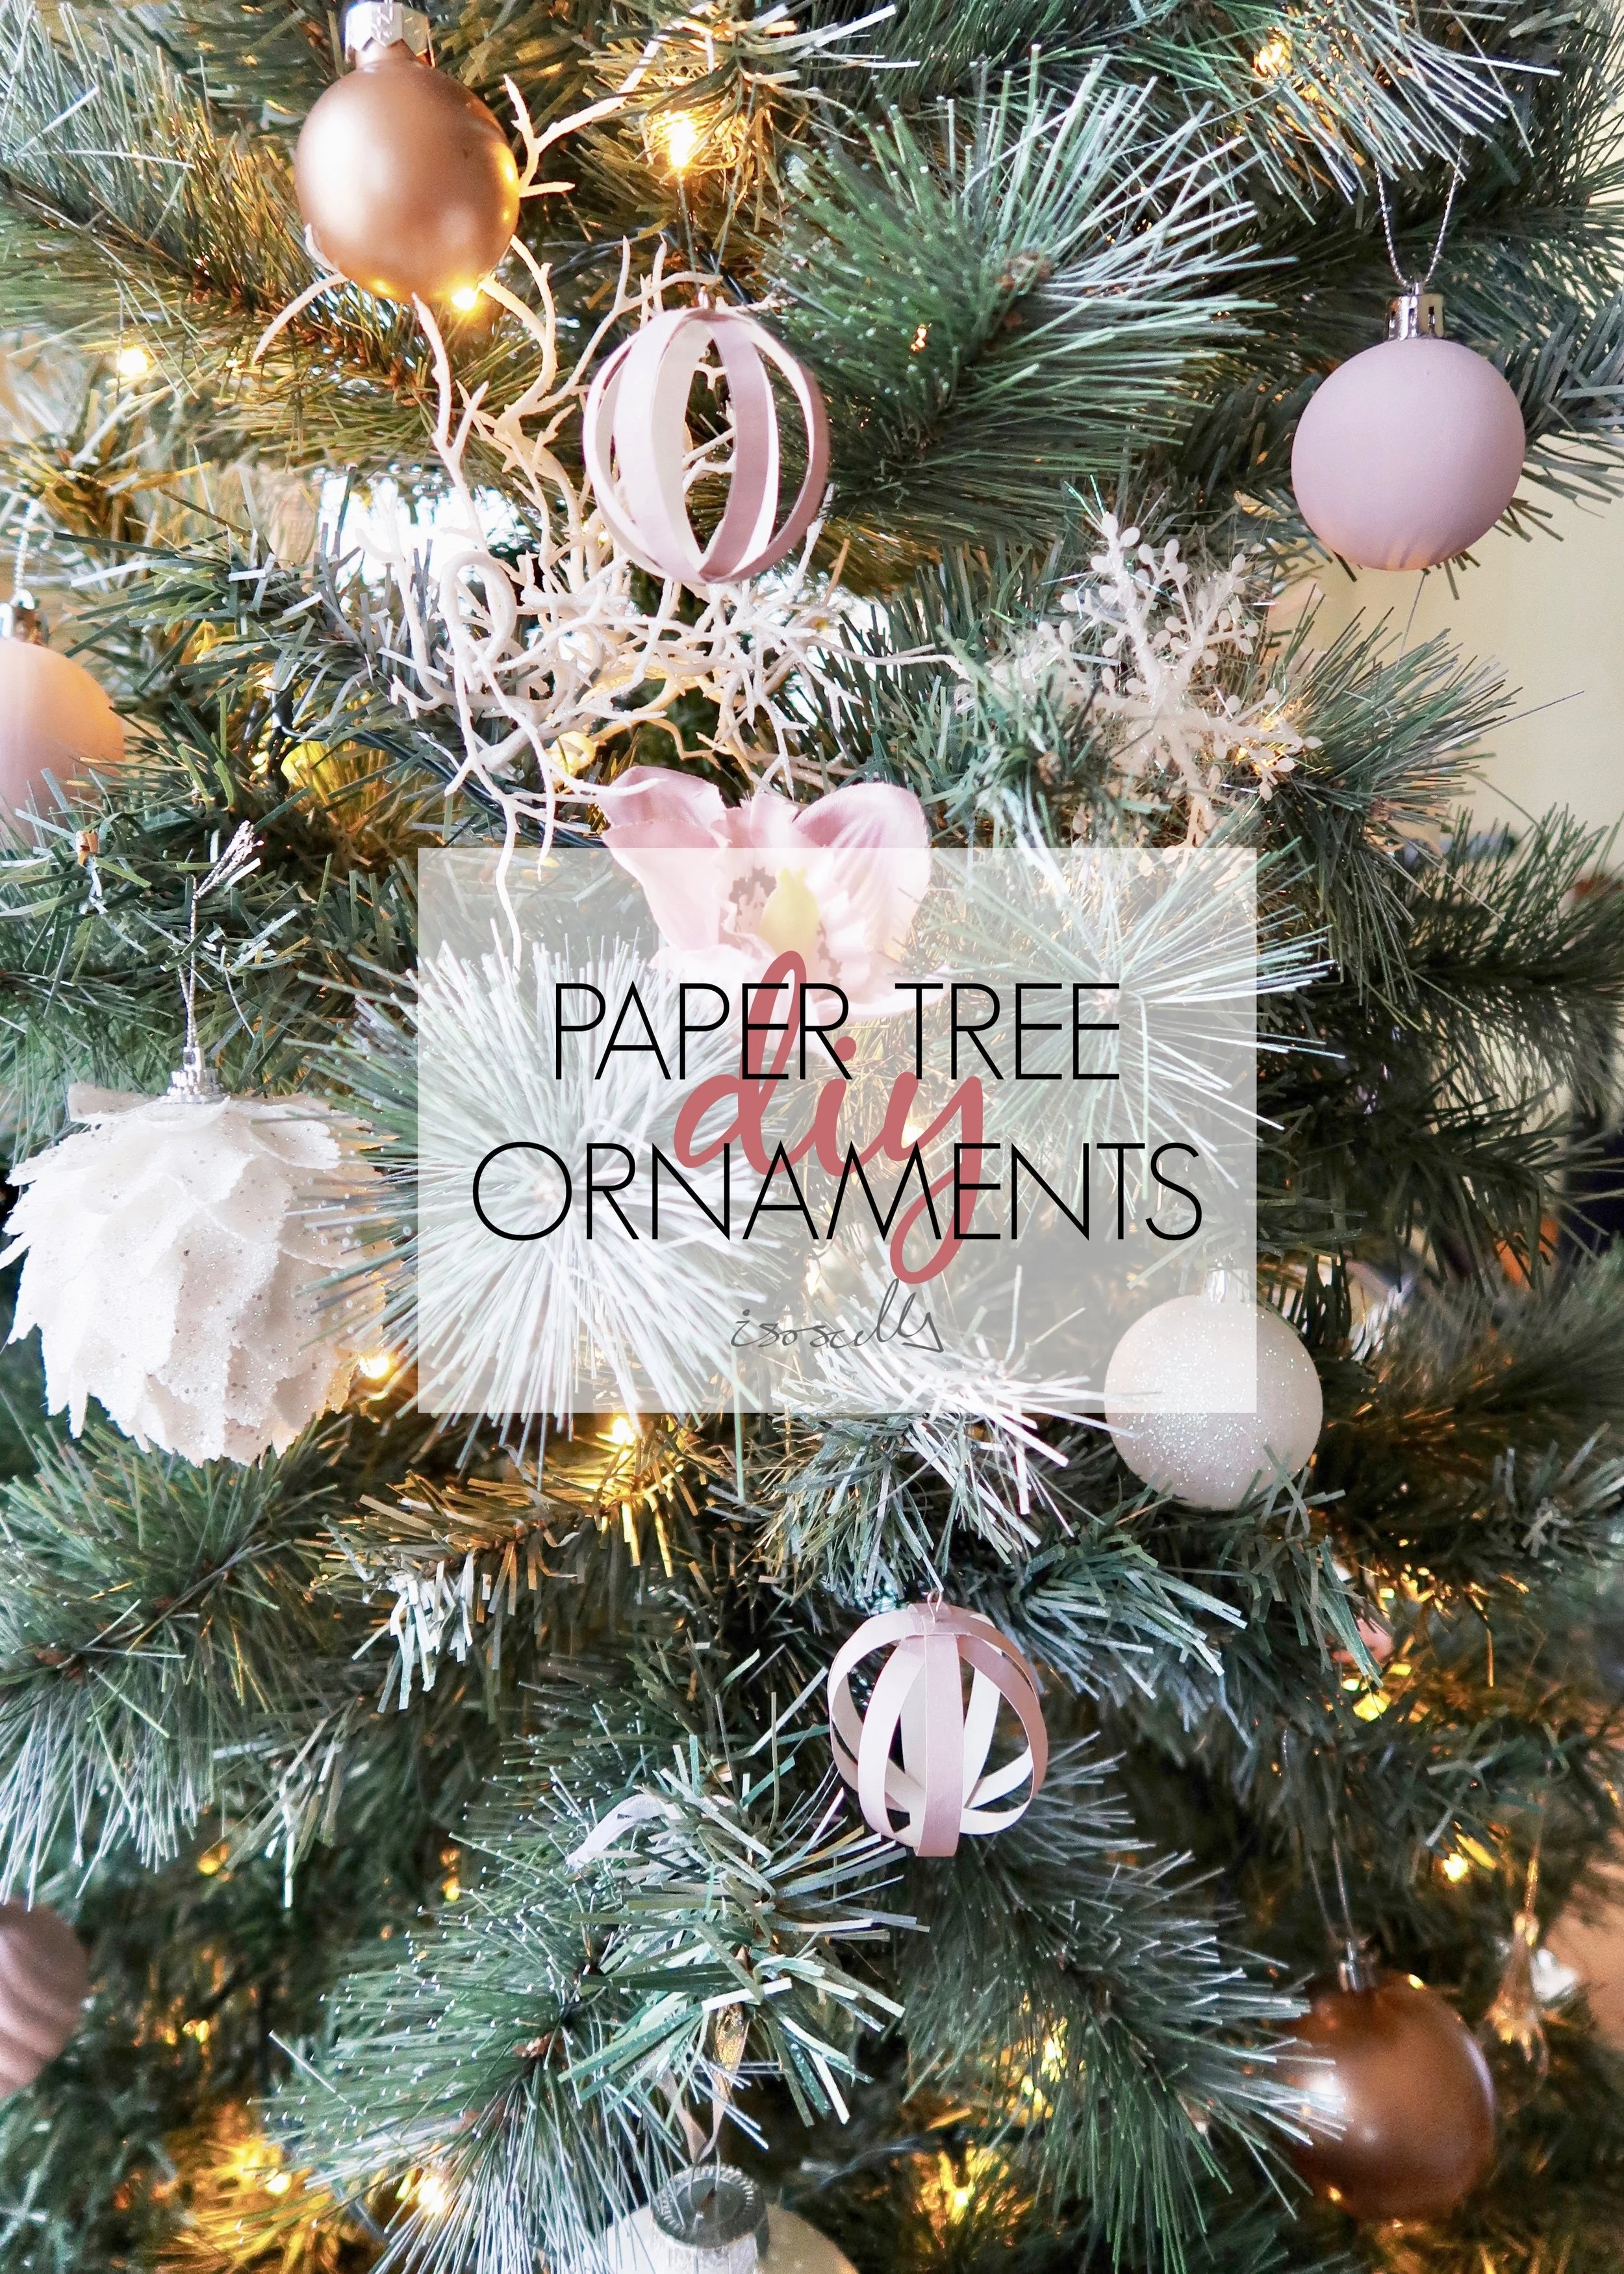

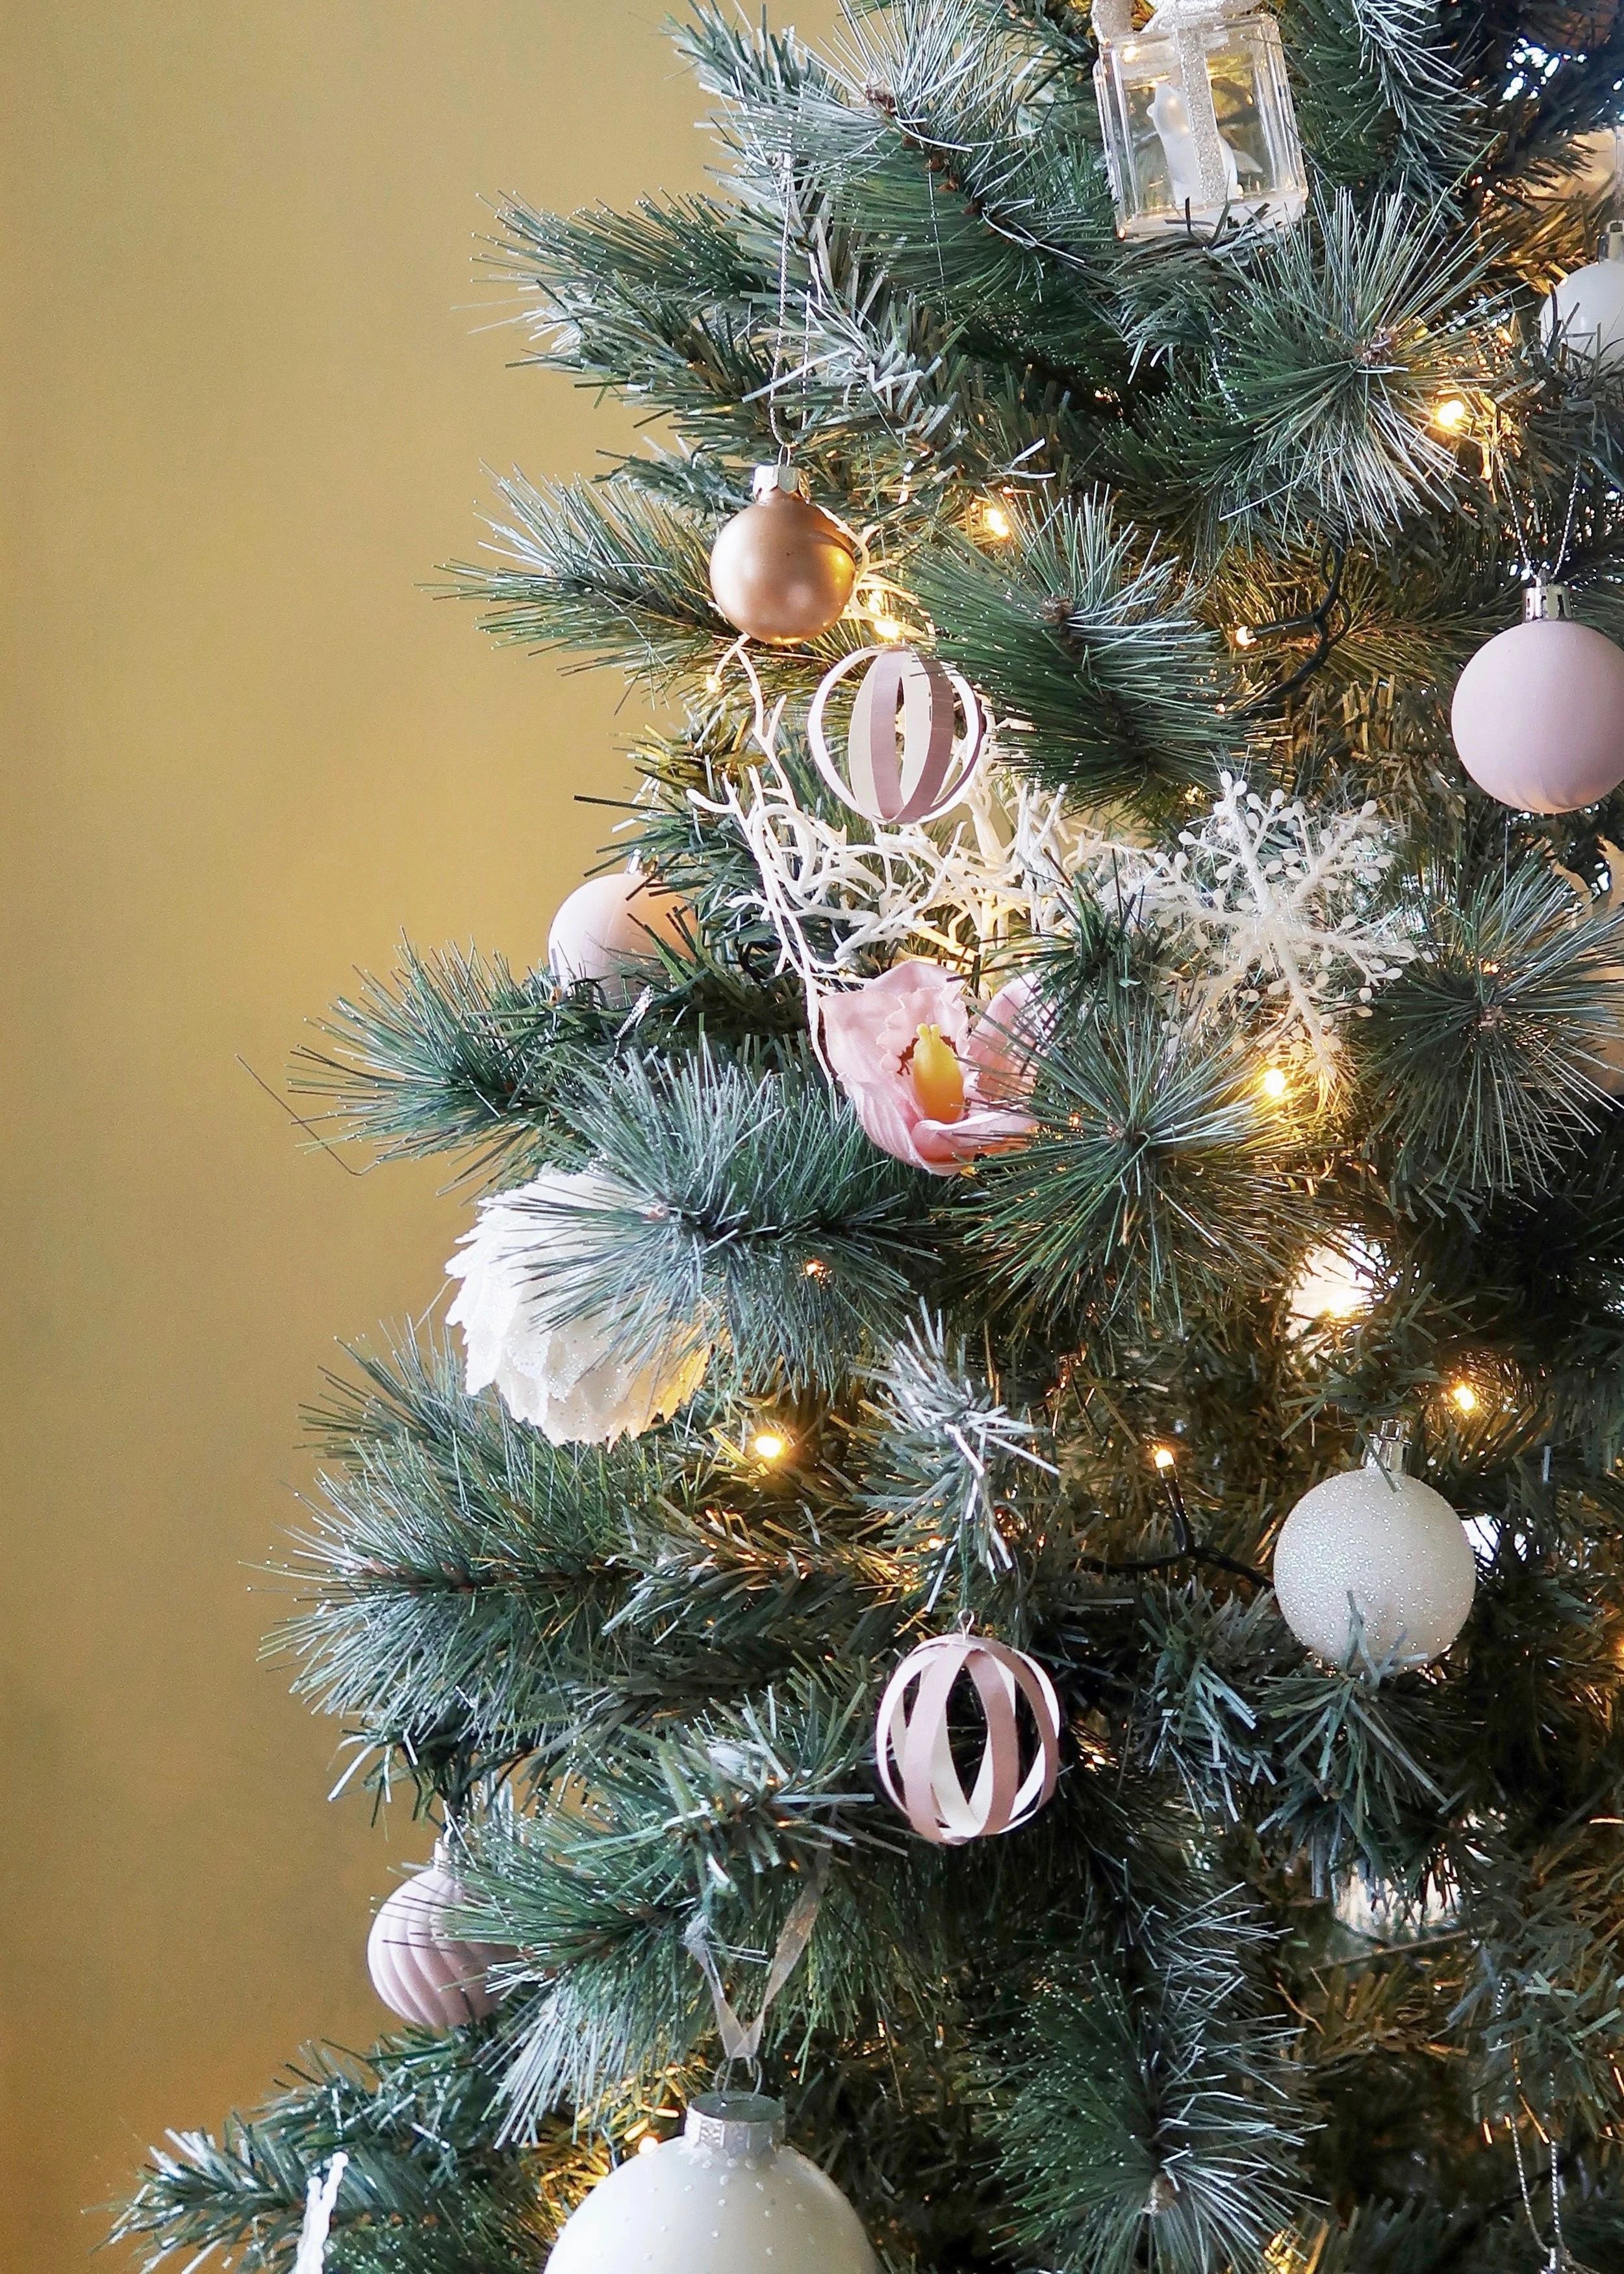
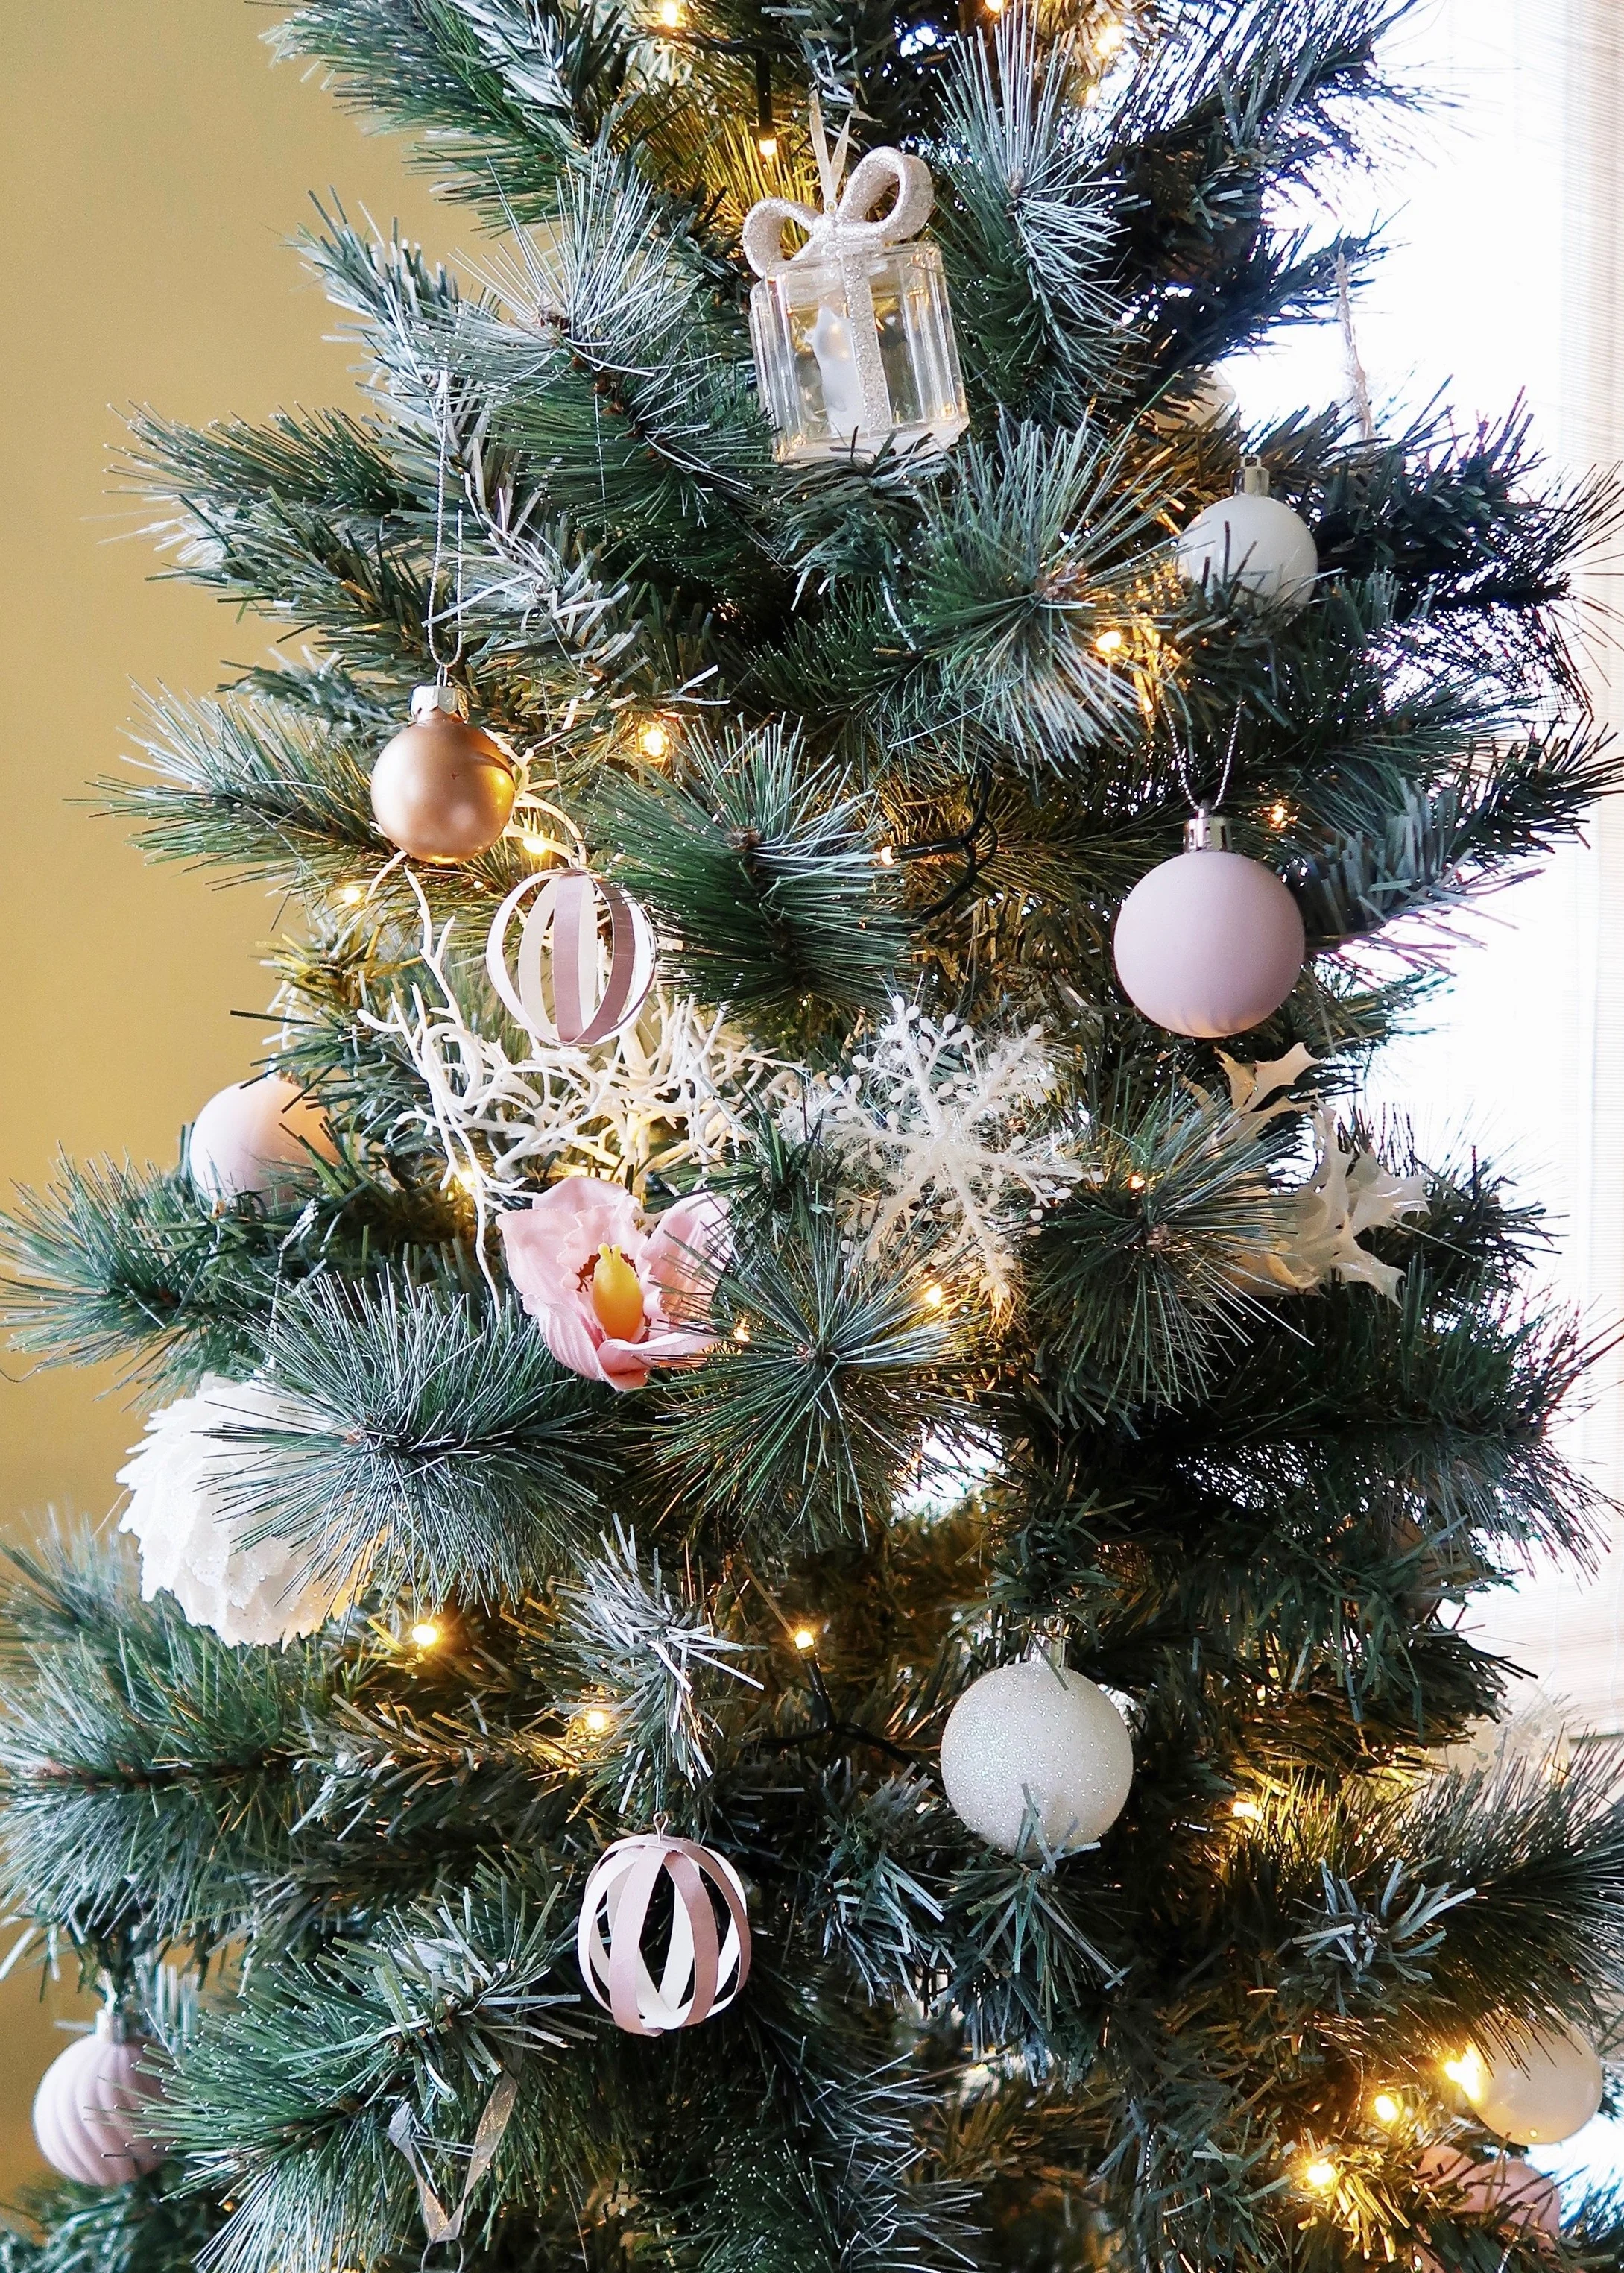
Still not decorated yet for Christmas? Don't worry, we've got you! With this easy, simple and cost-effective DIY you'll have you tree decorated in no time!
I had a lot of fun making these tree ornaments (or baubles as we often call them here in the UK!) and came up with the idea as I was watching one of many Channel 5 Christmas films. There are a lot of paper ornament ideas already out there and so I wasn't sure if the tutorial for them would be of interest to anyone. Thankfully instagram came to the rescue and I used it's poll feature in one of my insta-stories to ask you guys what your thoughts were. Despite a couple of resounding 'no thank yous' - one of which was actually mine as I not only managed to accidentally vote in my own poll, I also managed to vote negatively in it, ha! - you voted for me to share the tutorial, so here it finally is! I had some issues with lighting in my flat this week and so I wasn't too happy with my photos, but hopefully you get the idea. Keep reading to find out what I used and how I made them...


1.
First of all, you want to cut strips of approximately 0.6cm in width and 14.5cm in length from your coloured paper.

2.
Next, take four of these strips and start by bending one into a loop and securing it with some tape (Loop 1).

3.
With the next strip, bend it around Loop 1 so that it is just a tiny bit larger and secure it into a loop (Loop 2). Once secure, place Loop 2 around Loop 1. Repeat this with each strip until you have four loops stacked together.

4.
Position each loop with the tape in the same place and using a pin and rubber create a hole all the way through.

5.
Hold the loops together and carefully remove the pin so that the holes remain lined up. Next, push a jewellery headpin through so that the bottom (the end with the flat or ball-shaped head) is on the inside of the loops.

6.
Next, trim the headpin with wire cutters so that there is about 1cm sticking up from the outside of the loops.

7.
Using round nose pliers, create a loop in this 1cm length so that the paper loops are secured together.

8.
Now the loops are secured together, seperate the outer two loops and position them so that they are perpendicular (form a cross from the top). Use some tape where they cross (opposite the headpin/loop) to fix them in place.

9.
Next, seperate the inner two loops and position them so that they are in the spaces between the two loops you have just secured.

10.
Finally, pull some string or thread through the headpin loop and secure this with a knot. Your paper ornament is now ready to hang!