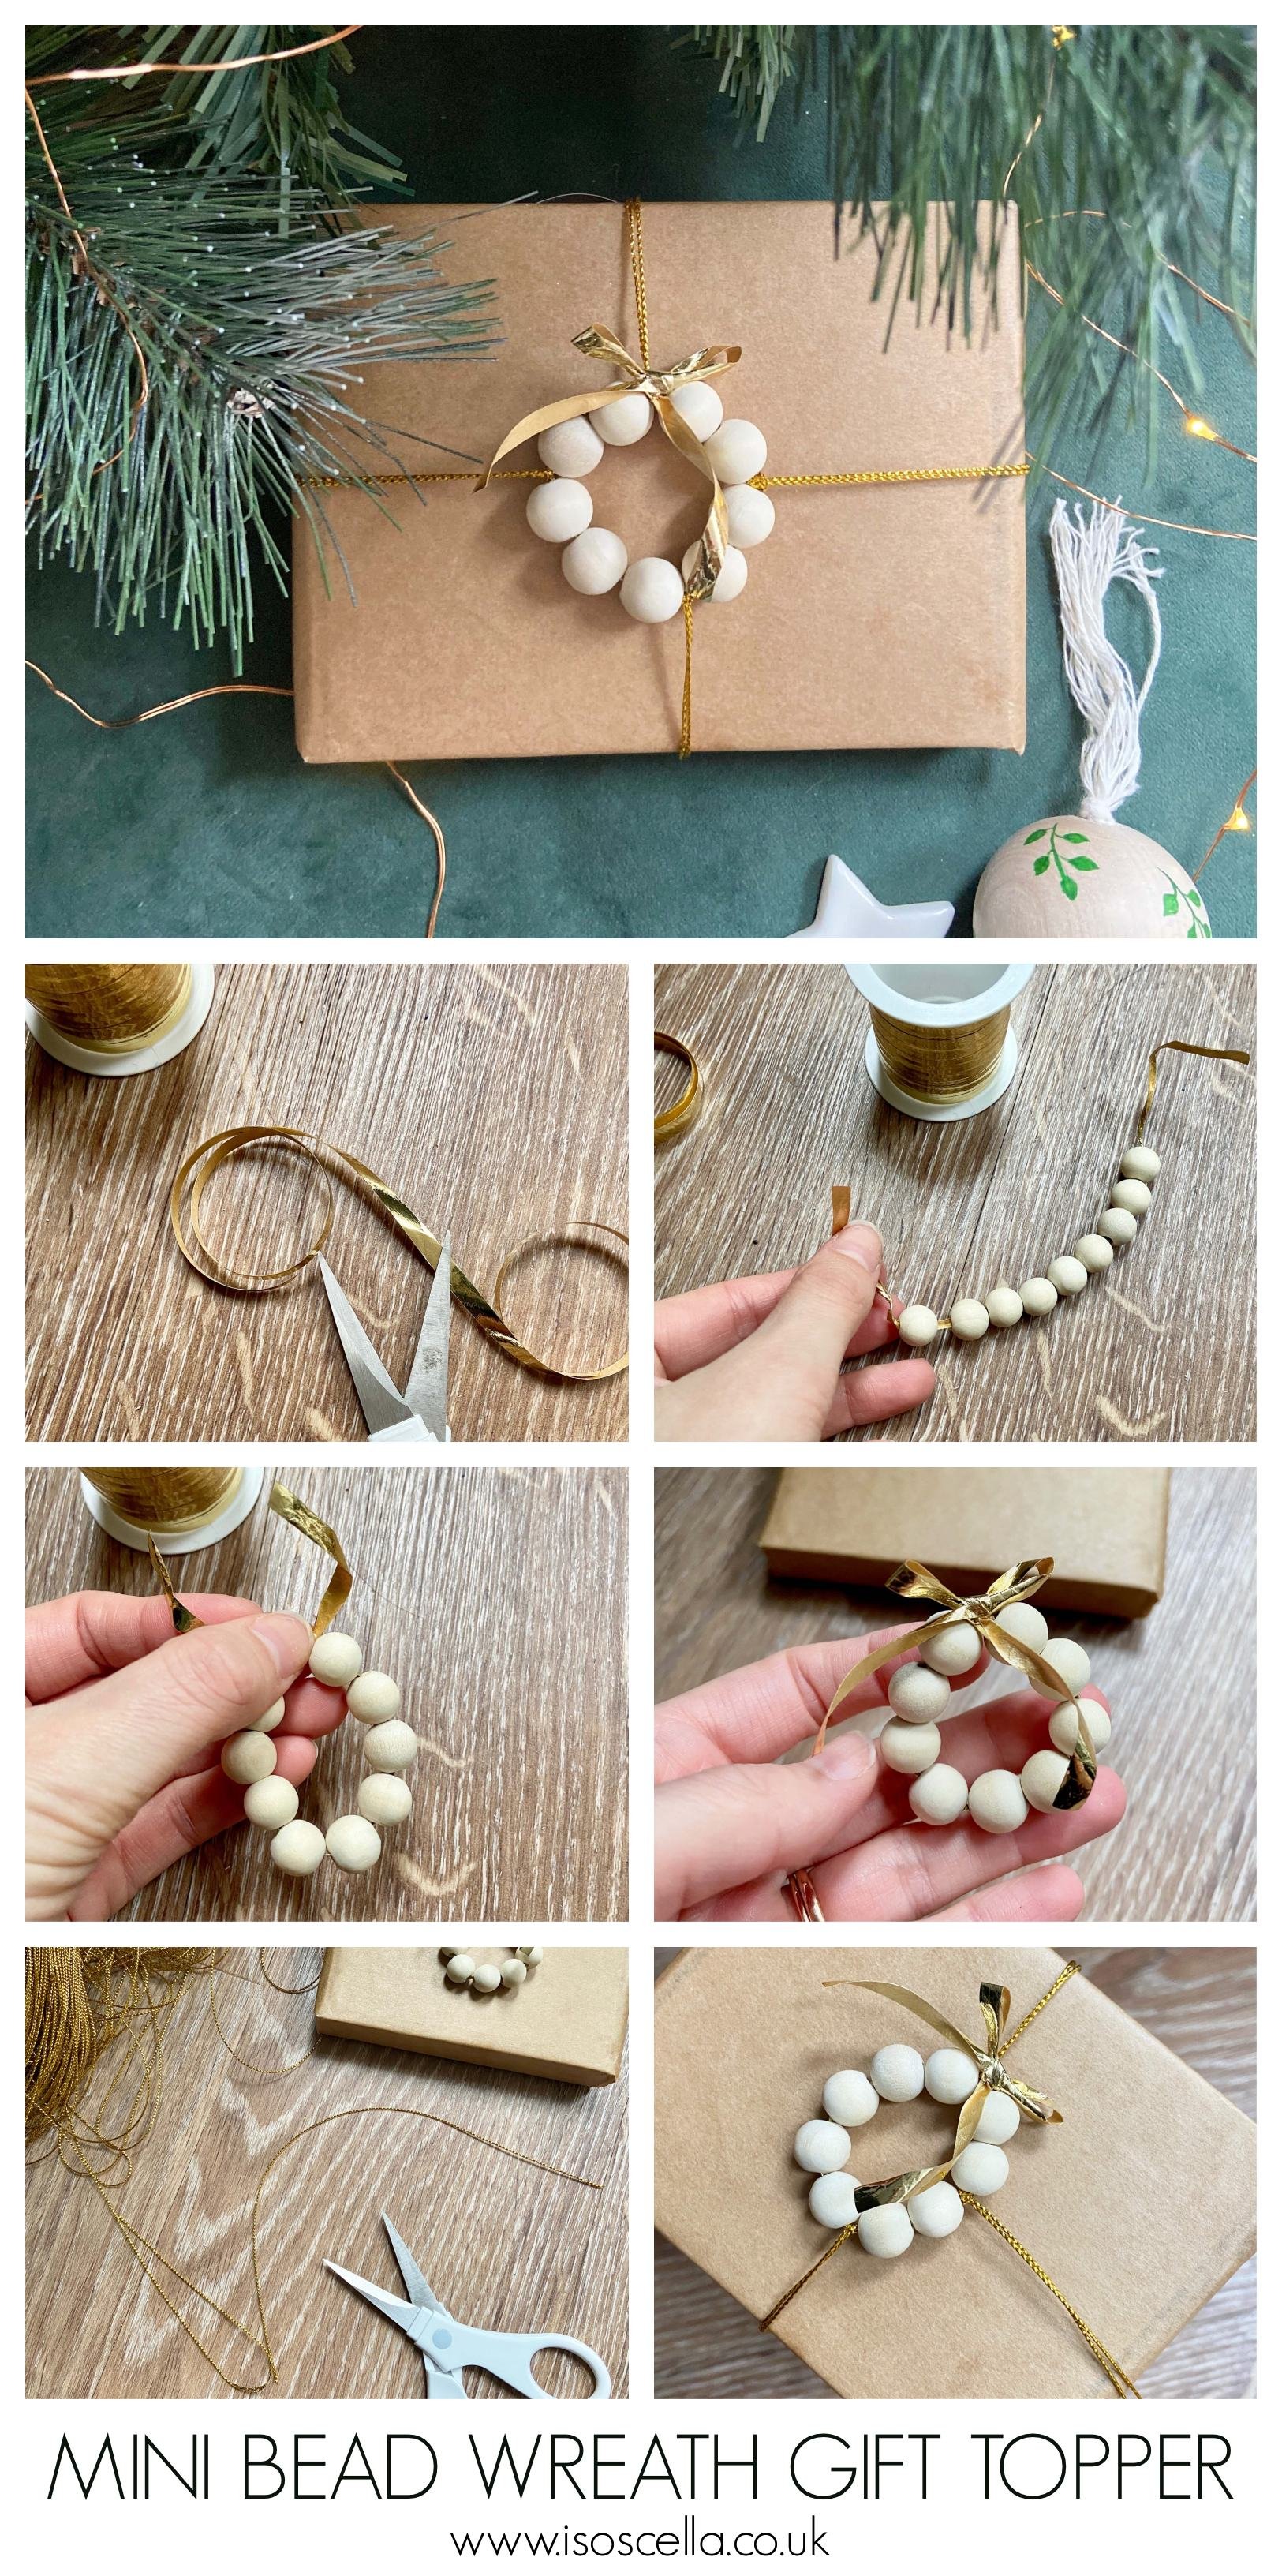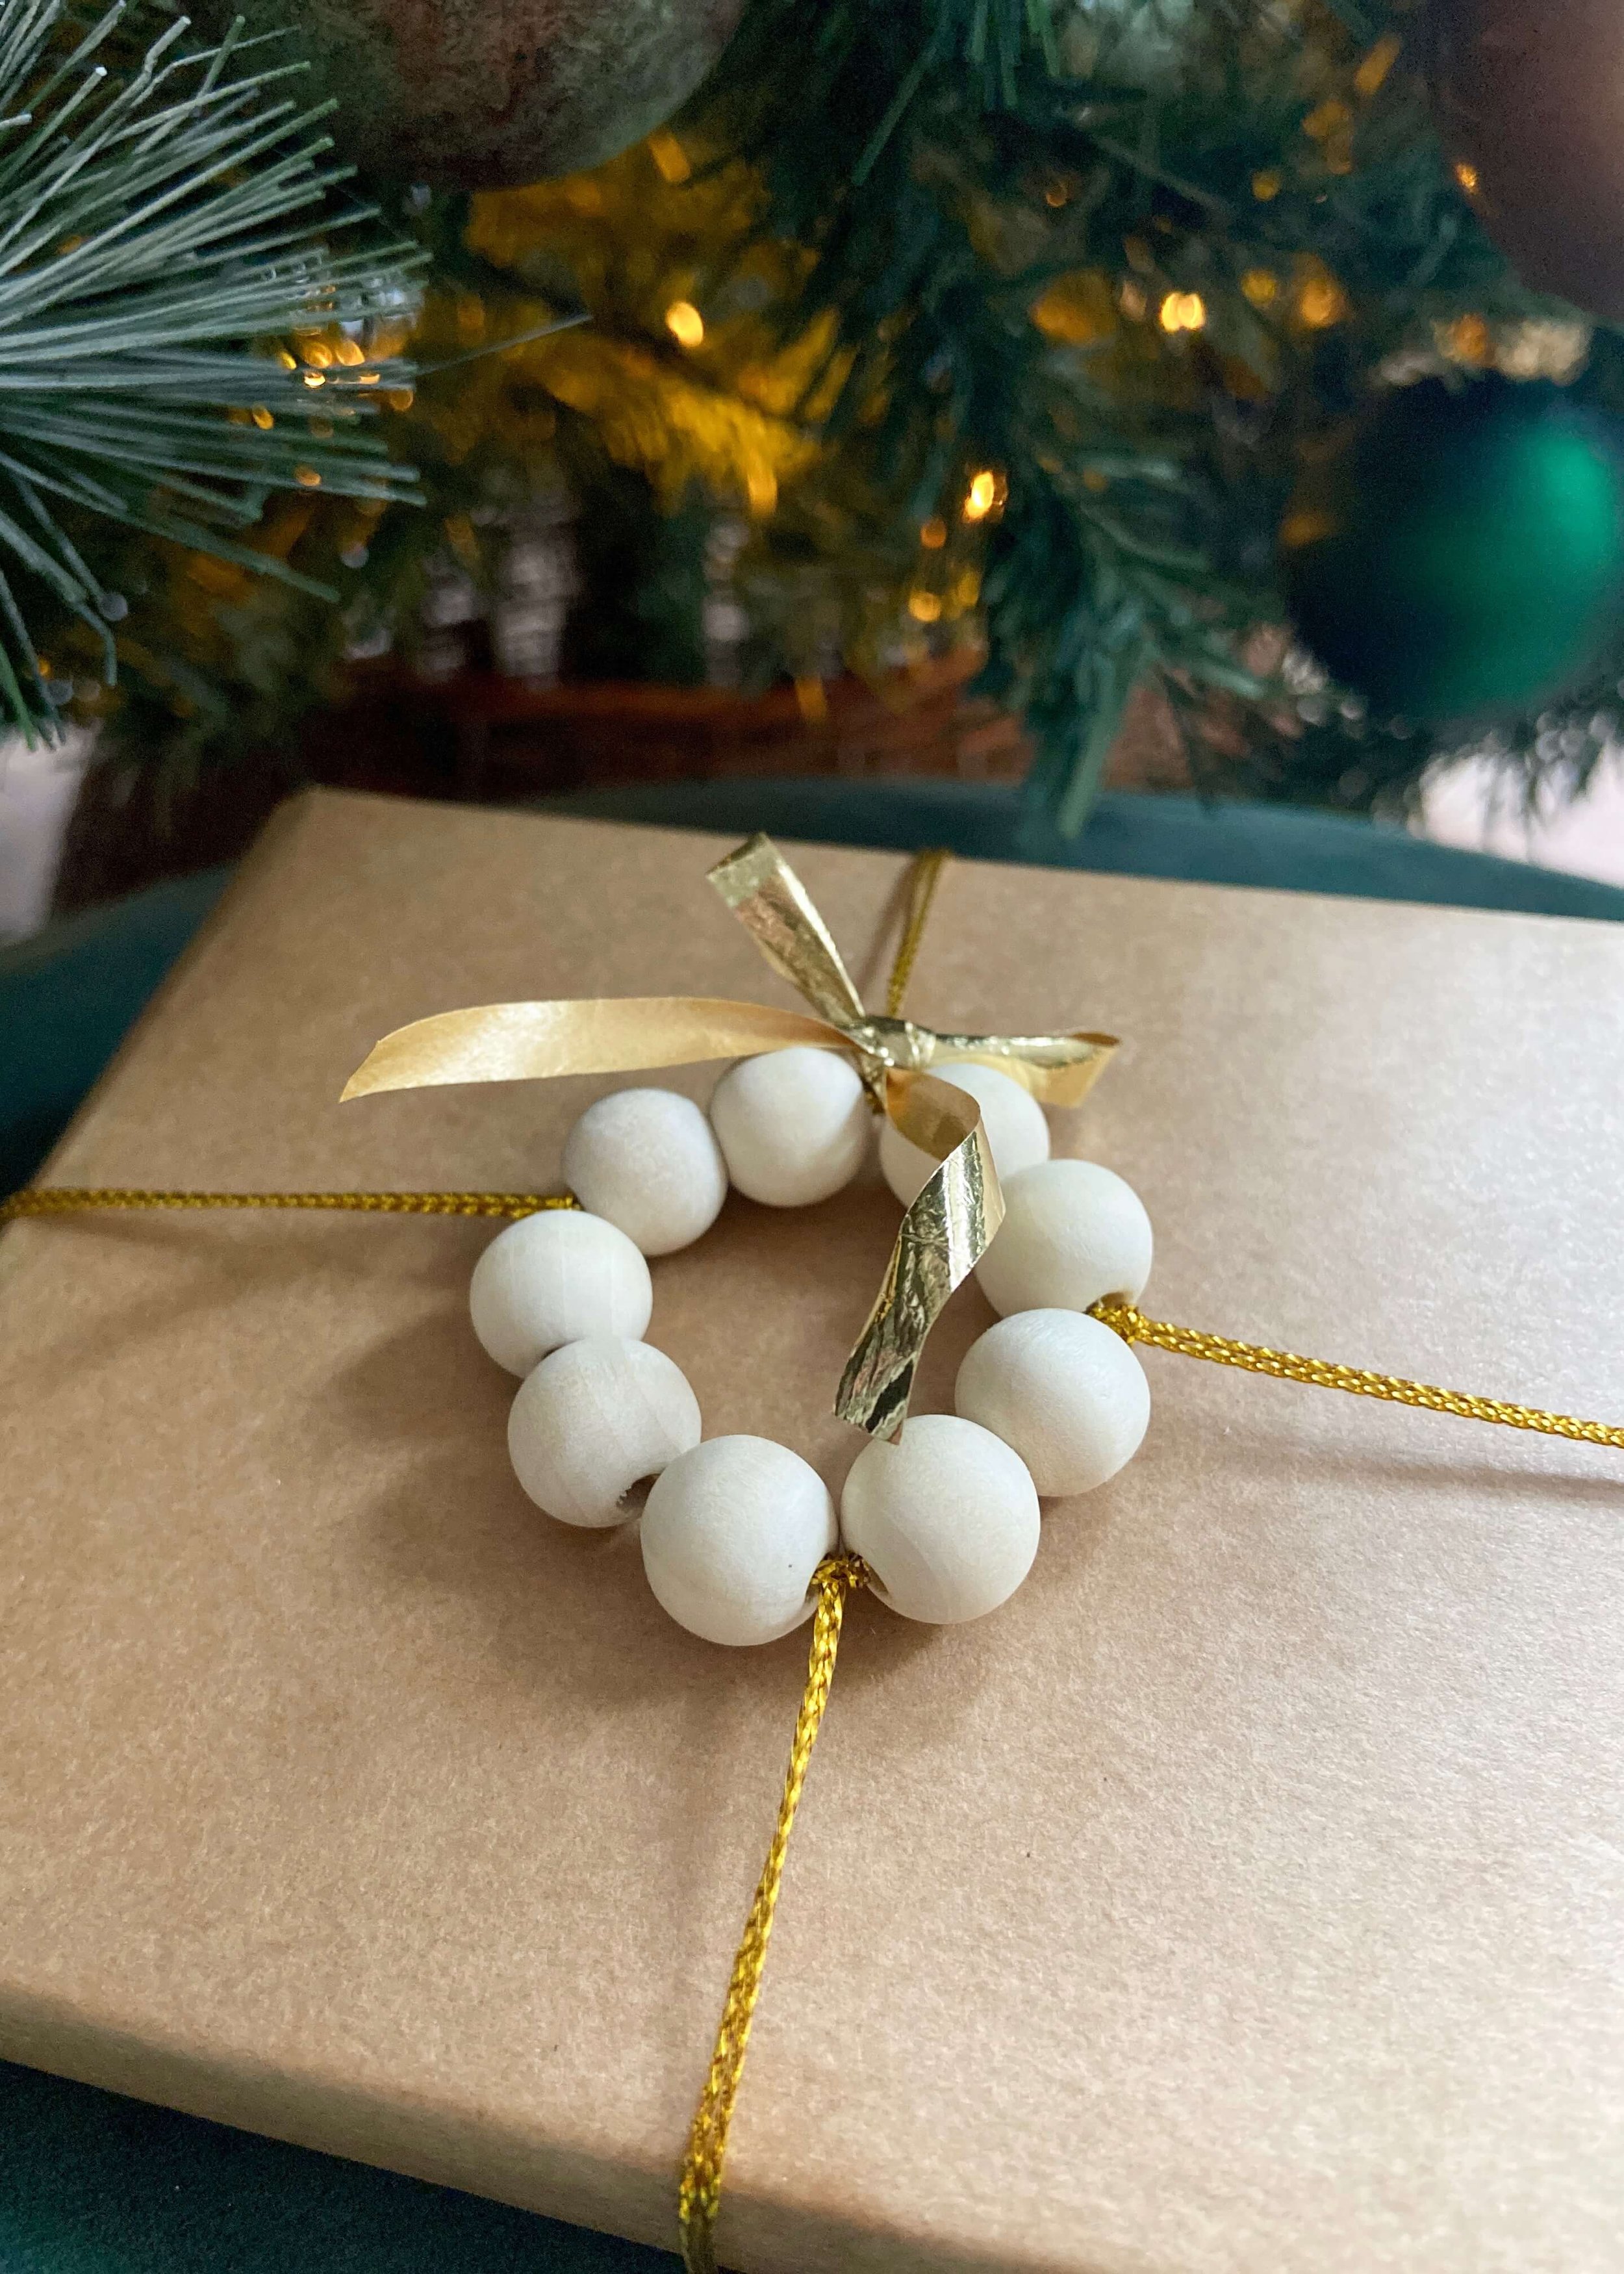
Add these cute mini wooden bead wreath toppers to your Christmas presents!
Weirdly this year I am on top of Christmas shopping and I’ve even started wrapping. As strange as that is for me, it’s SO nice. I can finally spend some time on wrapping gifts, making my own wrapping paper, and creating pretty little toppers and labels for my presents. I always use brown paper to wrap my presents as it’s recyclable and better for the environment, and as much as I love that for my conscience, it is really nice to be able to inject some texture and dimension to it. I often stamp on patterns to my paper, but I got little wreaths in my head and when I found these wooden beads I used for this wooden bead celestial garland last year, I knew I had to use those. I love the raw wood against the brown paper and gold ribbon, and to add a name to the gift, have just tucked a brown tag underneath so that the name shows through the centre of the wreath.
This is a little fiddly at times but looks so cute and jazzes up the plainest of wrapping paper. What do you think? All the steps and products I used are listed below…


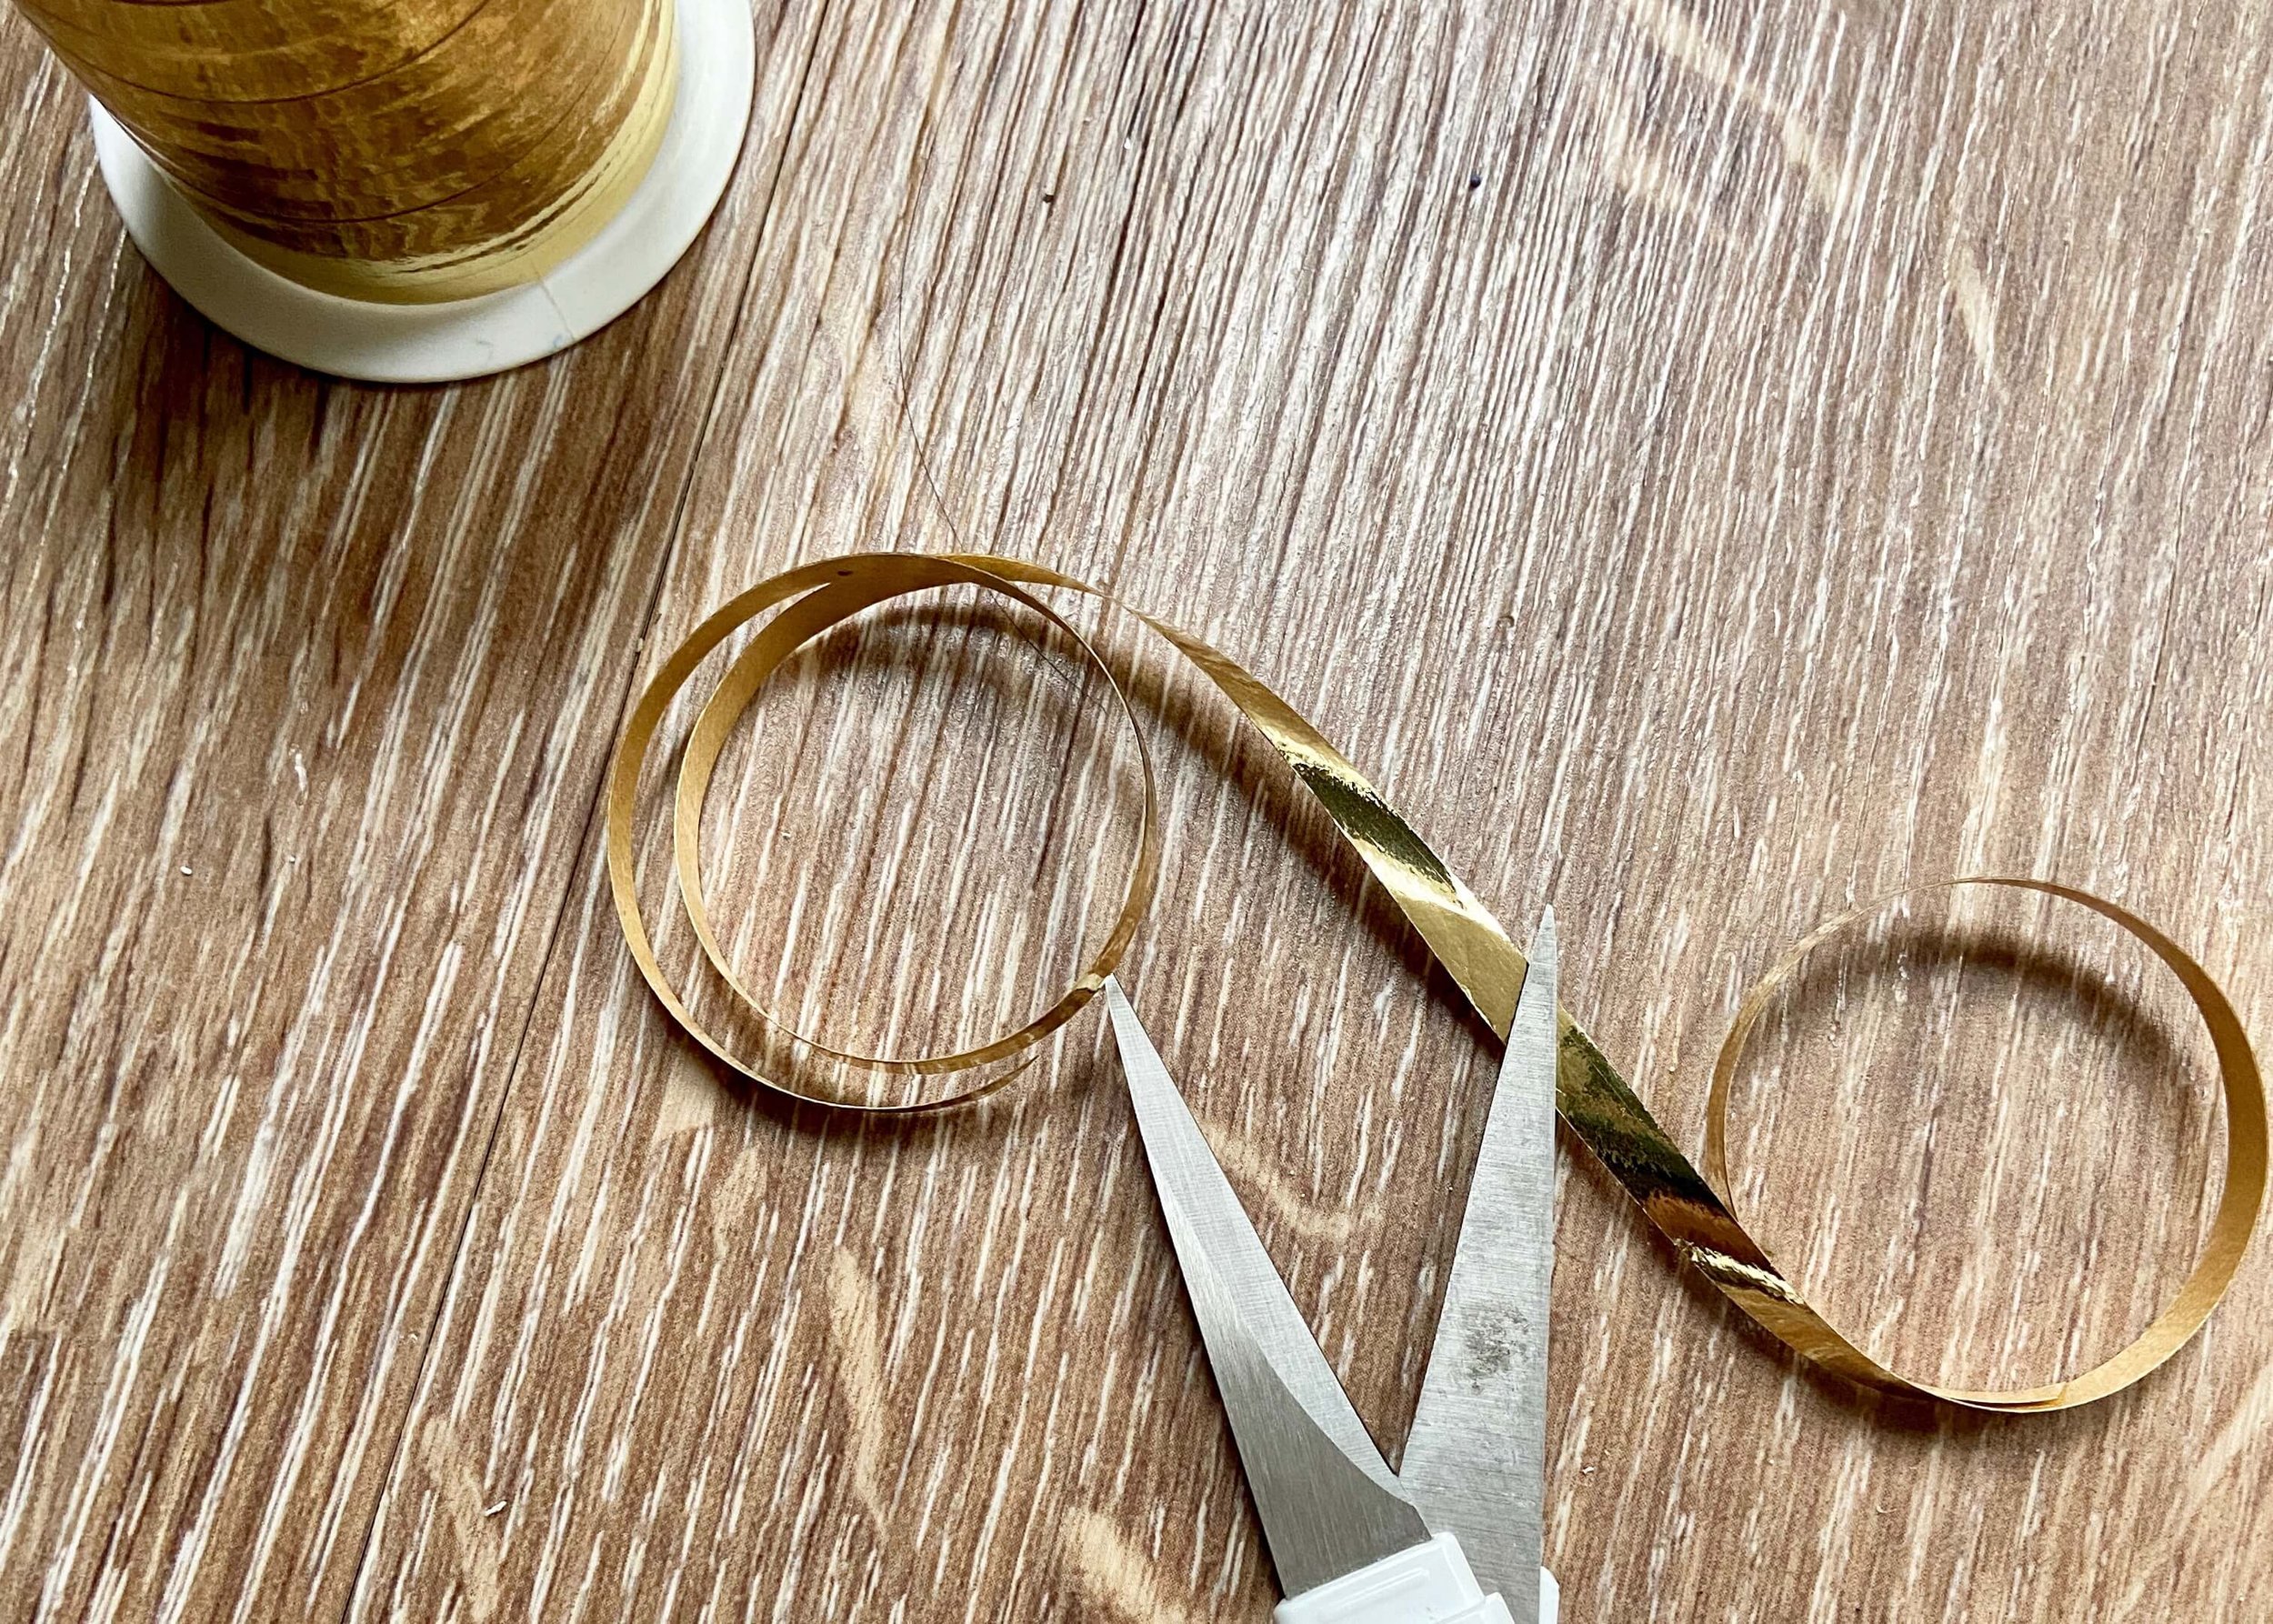
1.
Cut a length of ribbon or twine.
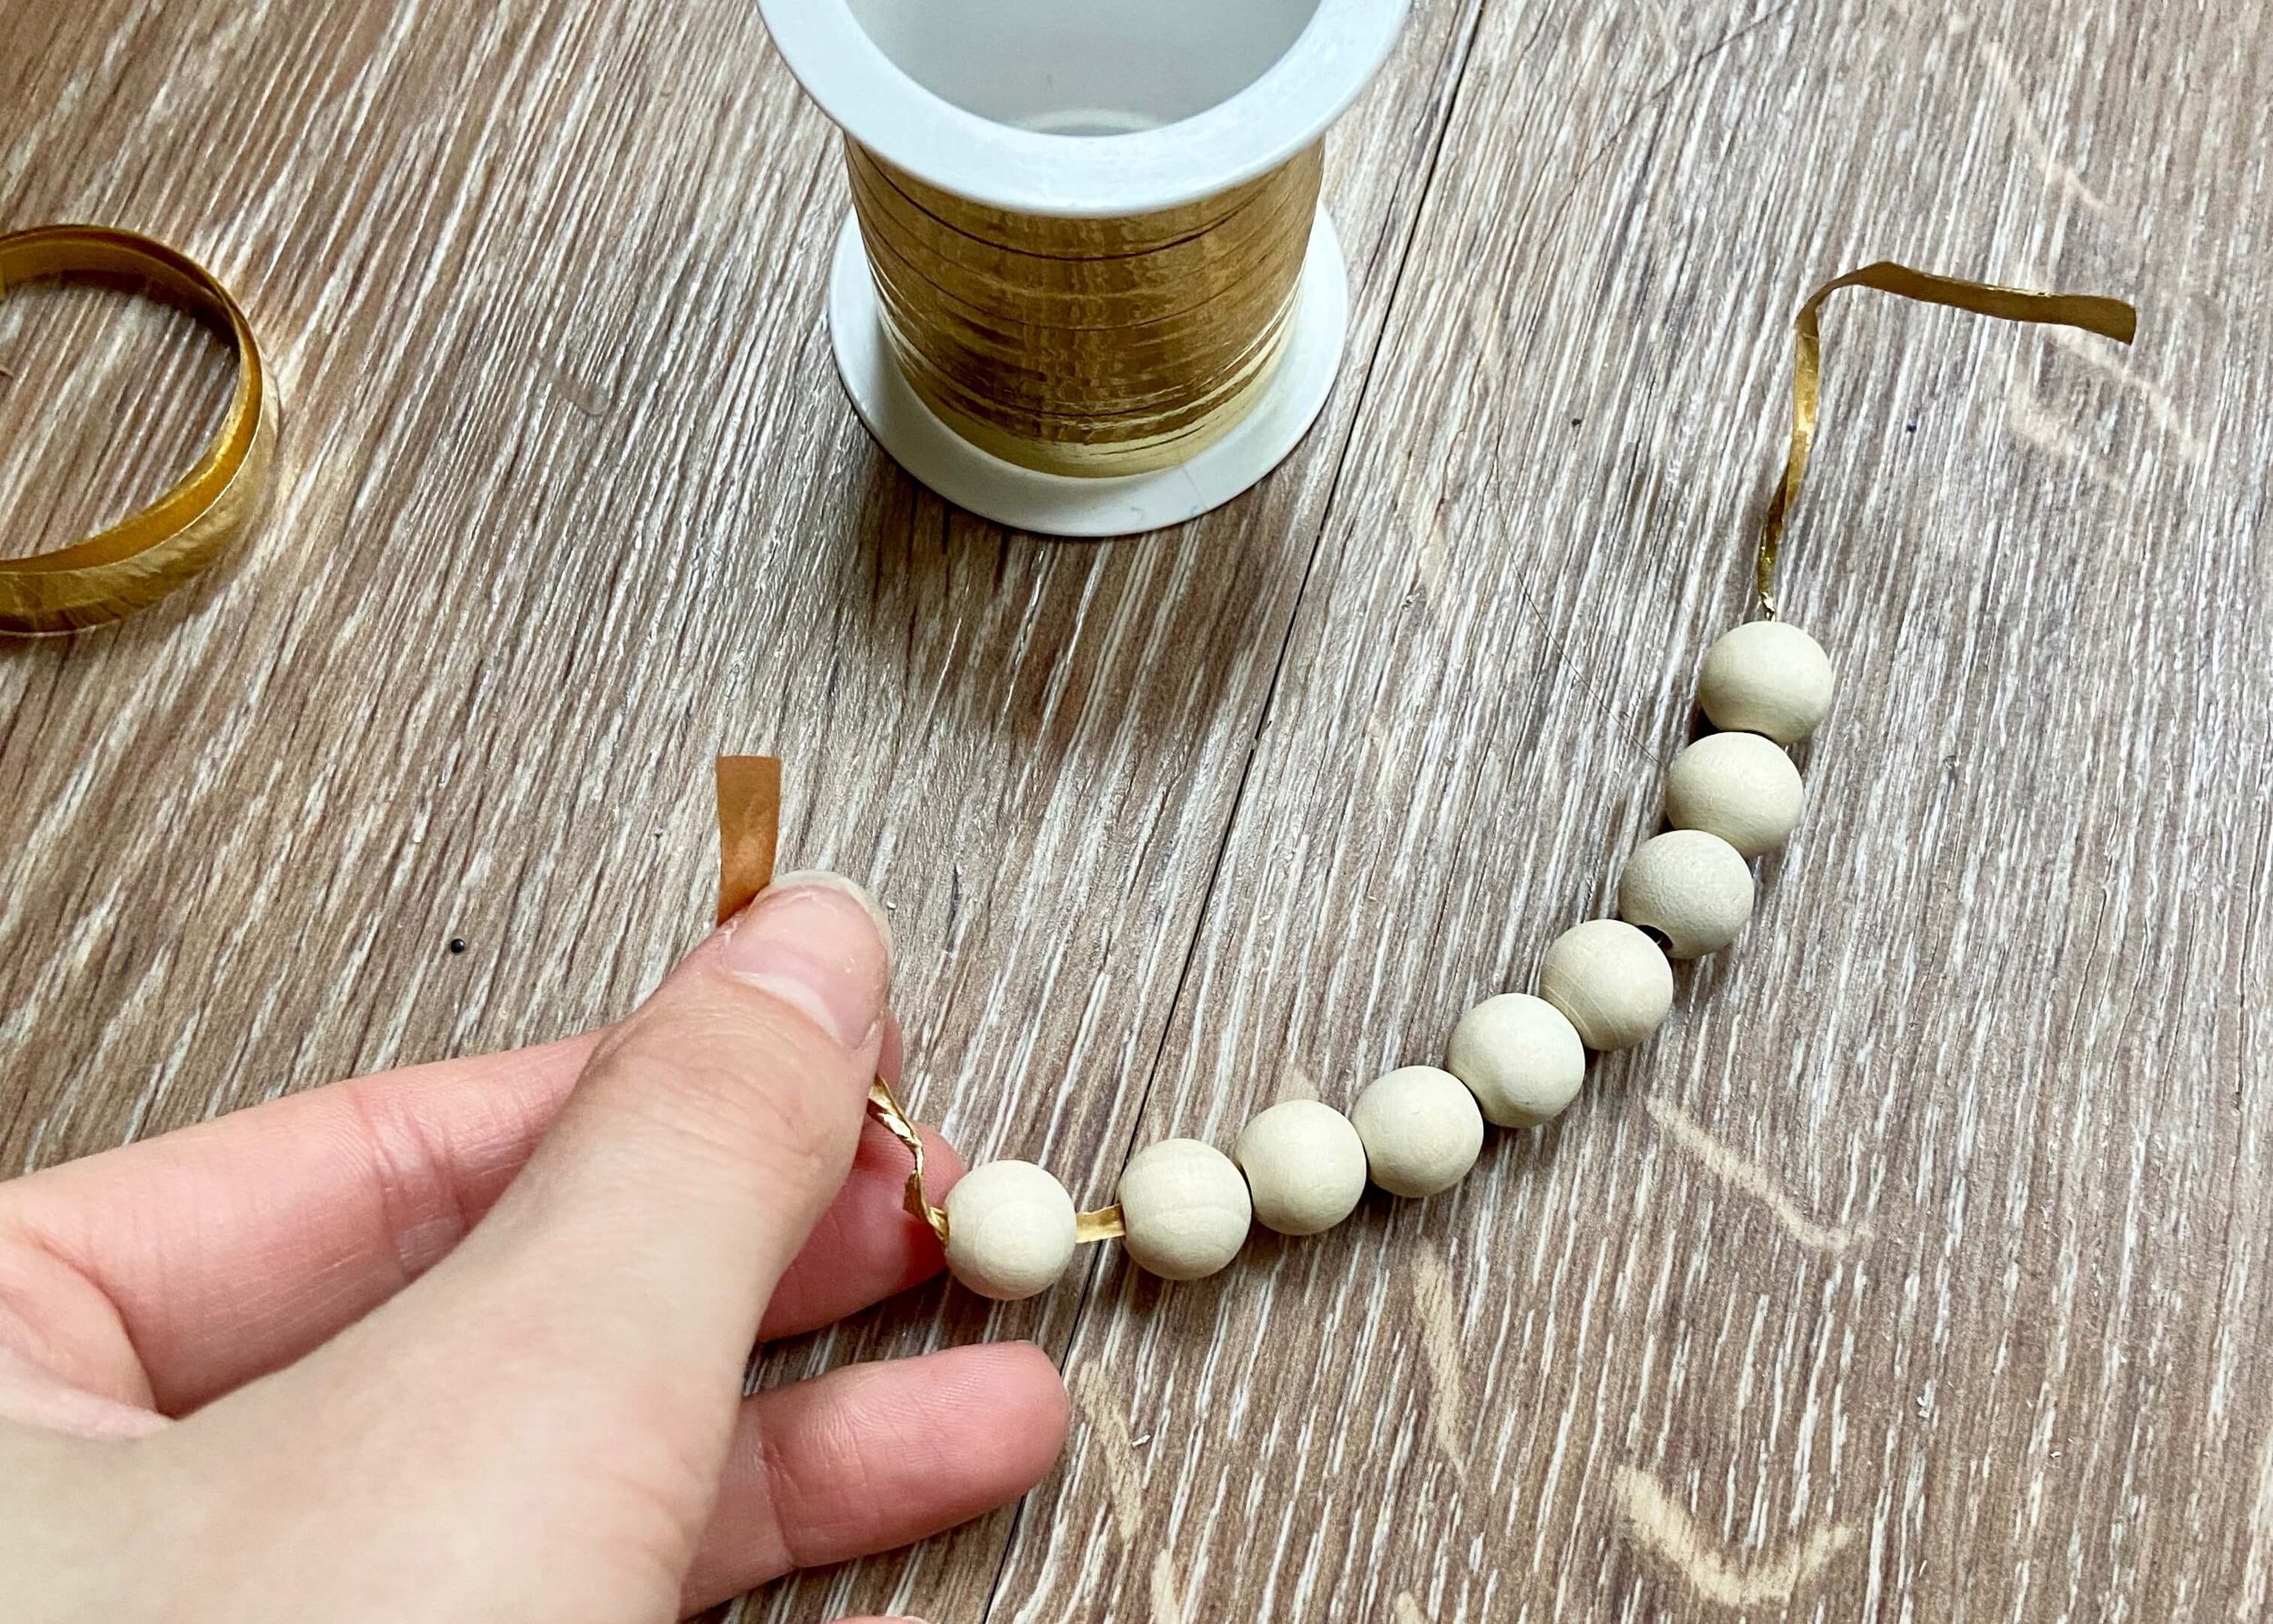
2.
Create a point at one end of the ribbon and thread on the beads. I chose to add 9 beads.

3.
Bring the two ends of the ribbon together and tie tightly so that the beads join. Tie again to secure.

4.
With the leftover ribbon, create a bow. Trim the ends to your desired length.

5.
Next, grab some string, twine or ribbon and cut four lengths of this.

6.
Take the first length, fold this in half, and tie to the top of the wreath. With a second piece, tie to the bottom of the wreath.
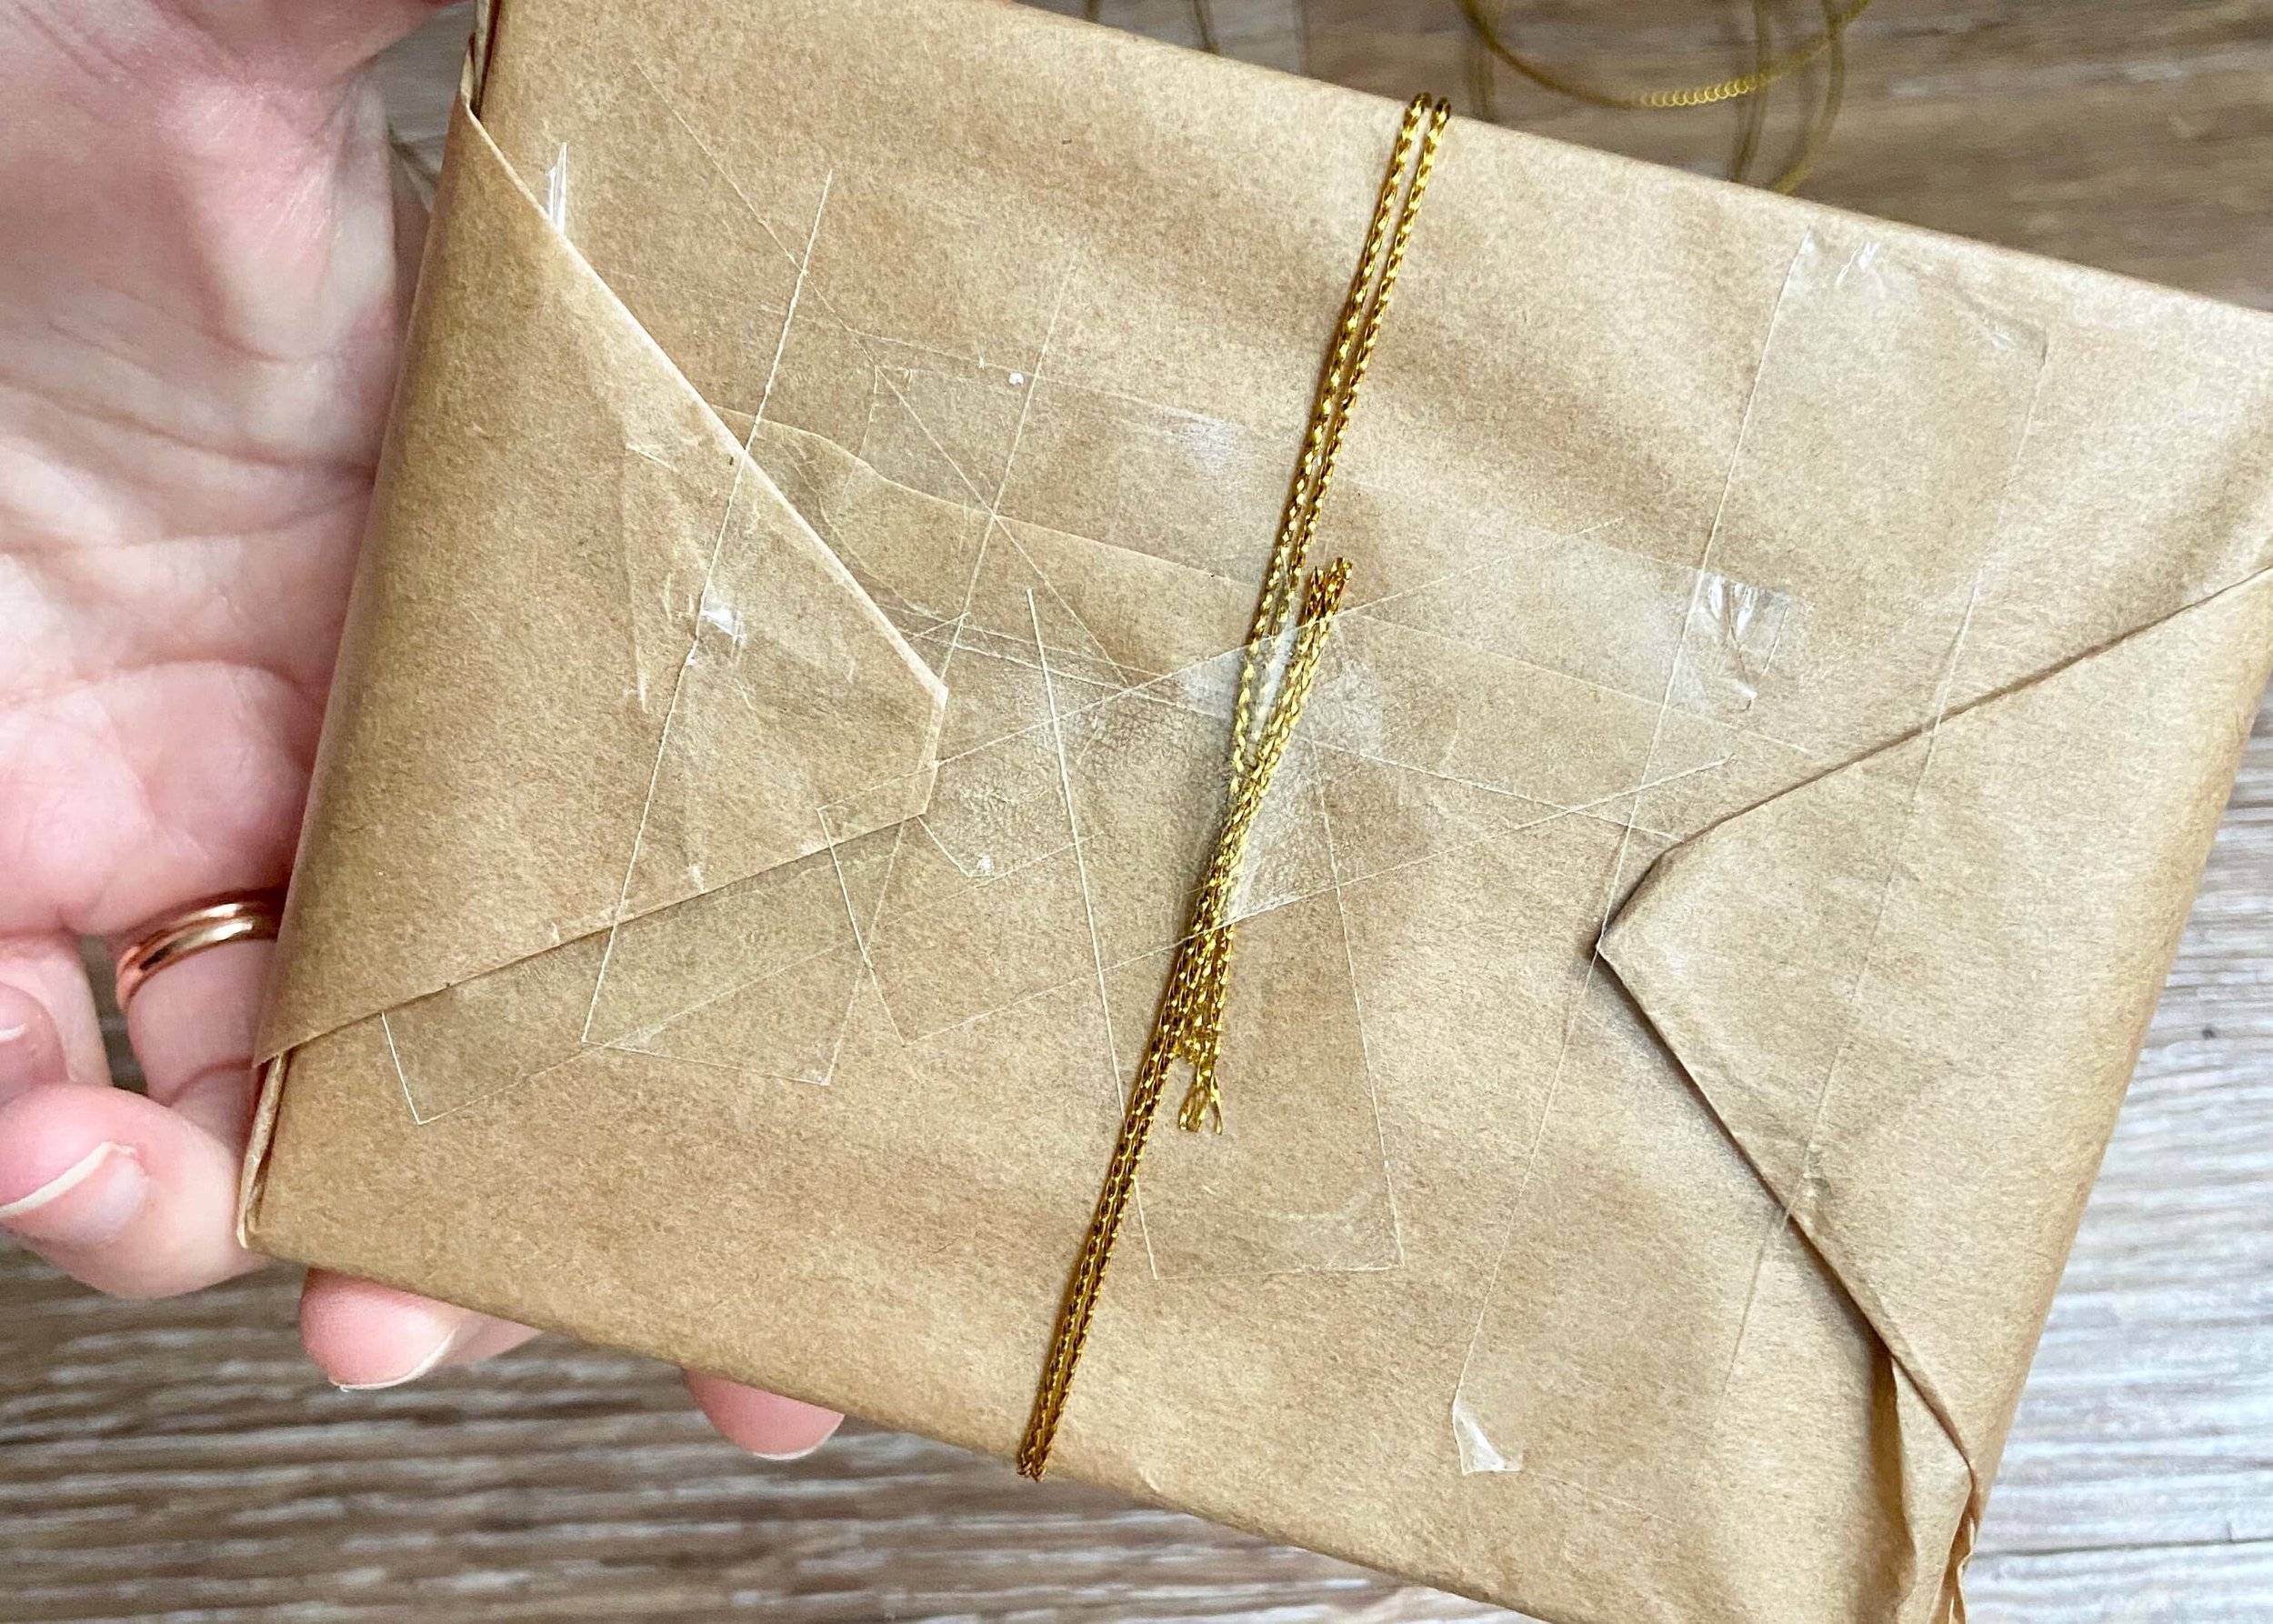
7.
Pulling both pieces of string so that the wreath is taught and in the middle, flip your present over and secure the string on the back with tape.

8.
Repeat step 7 for the left and right sides of the wreath. This will pull the wreath into a circular shape.

9.
Flip the present over pulling these two pieces of string taught and secure with tape.